MOTOQUEEN MQ11501ABW1
MOTOQUEEN Mounting Bracket Set for Govee H705 and H706 Permanent Outdoor Lights
Model: MQ11501ABW1
Introduction
This manual provides instructions for the installation and maintenance of the MOTOQUEEN Mounting Bracket Set, designed specifically for the Govee H705 and H706 Permanent Outdoor Lights' power supply and controller units. These brackets offer a secure and durable solution for mounting your Govee lighting components.
Safety Information
- Always use appropriate safety gear, including eye protection, when drilling or working with tools.
- Ensure the mounting surface is structurally sound and can support the weight of the brackets and devices.
- Disconnect power to the Govee lights before installation to prevent electrical hazards.
- Use only recommended screws (bevel head screws, not included) for secure installation.
Package Contents
- 1 x Mounting Bracket for Power Supply
- 1 x Mounting Bracket for Controller
Note: Mounting screws and hardware are not included and must be purchased separately. Compatible with standard #8 bevel head screws.
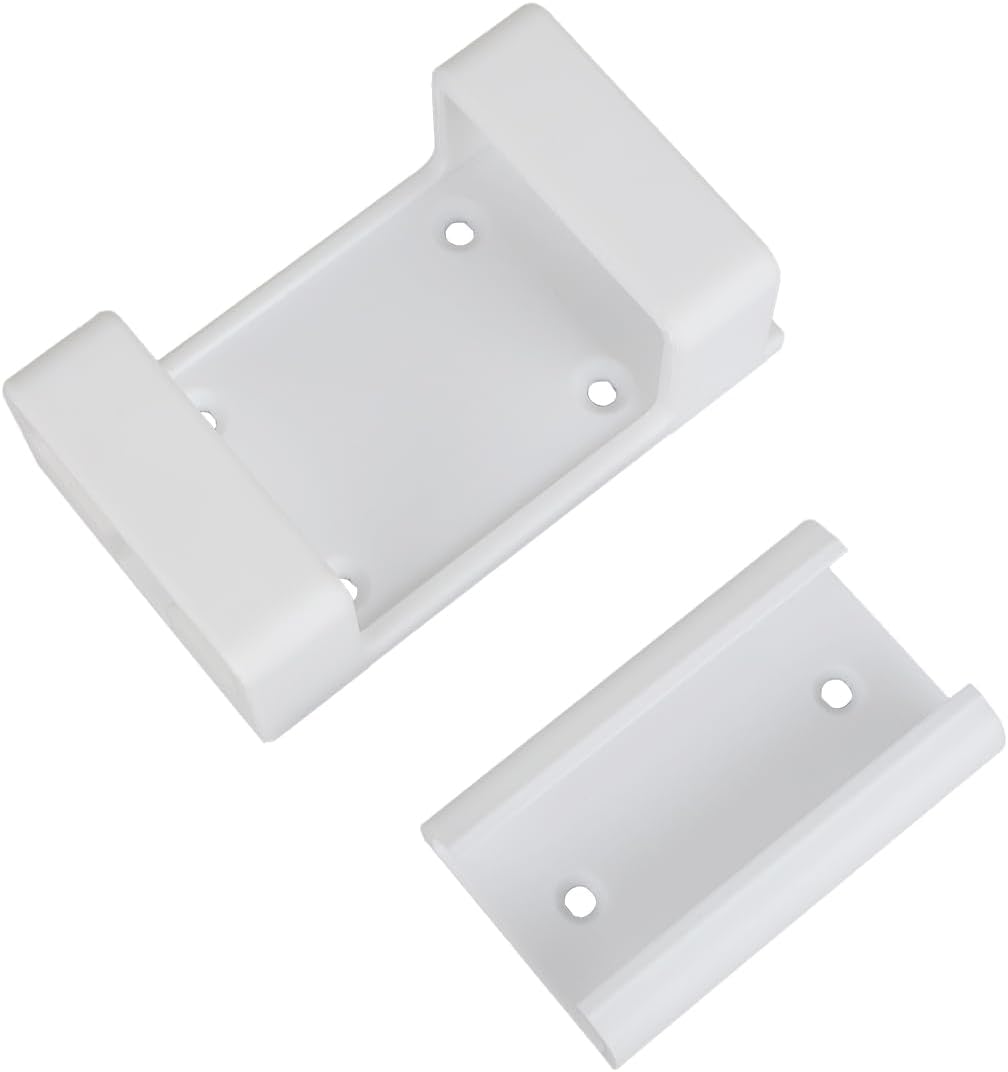
Image: The MOTOQUEEN Mounting Bracket Set, showing one larger bracket for the power supply and one smaller bracket for the controller.
Specifications
| Brand | MOTOQUEEN |
| Model Number | MQ11501ABW1 |
| Material | Polyvinyl Chloride (PVC) |
| Mounting Type | Wall Mount |
| Product Dimensions | 5.9 x 3.9 x 1.94 inches |
| Item Weight | 3.52 ounces |
| Color | White |
| Compatibility | Govee H705 and H706 Permanent Outdoor Lights (Power Supply and Controller) |

Image: Illustrates the industrial-grade polymer material, highlighting UV resistance and temperature range (-40°F to 150°F).
Installation Instructions
Follow these steps for a secure installation of your MOTOQUEEN mounting brackets.
Step 1: Prepare the Govee Units
For optimal fit and to prevent damage to the brackets, it is recommended to remove any existing 3M adhesive pads from the back of your Govee H705/H706 power supply and controller units before attempting to insert them into the brackets. This ensures a proper and secure fit.
Step 2: Choose Mounting Location and Orientation
The brackets are designed for flexible installation. You can mount them vertically or horizontally under an eave, next to the eave, on soffits, or fascia. Select a location that provides easy access for wiring and protection from direct elements if possible.

Image: Depicts various flexible mounting options for the brackets, including vertical/horizontal mount, under eave installation, and sidewall attachment.
Step 3: Mount the Brackets
- Position the appropriate bracket (power supply or controller) at your desired mounting location.
- Mark the screw hole positions on the mounting surface.
- Drill pilot holes if necessary, suitable for #8 bevel head screws.
- Securely fasten the bracket to the surface using bevel head screws (not included). Ensure the bracket is firmly attached and does not wobble.

Image: Illustrates the 3-step installation process: position bracket, secure with screws, and slide device into place.
Step 4: Insert Govee Units
Once the brackets are securely mounted, carefully slide the Govee power supply and controller units into their respective brackets. The design allows for easy insertion and removal while providing a secure hold.

Image: Shows the Govee H705/H706 power supply and controller units securely mounted in the MOTOQUEEN brackets on a house exterior.
Maintenance
- Cleaning: Wipe the brackets periodically with a damp cloth to remove dust and debris. Avoid harsh chemicals that may damage the plastic.
- Inspection: Annually inspect the brackets and mounting screws for any signs of wear, damage, or loosening. Tighten screws if necessary.
- Environmental Factors: While designed for outdoor use, extreme weather conditions may accelerate wear. Consider additional protection if exposed to severe elements.
Troubleshooting
- Issue: Govee unit does not fit into the bracket or is too tight.
- Solution: Ensure that any existing 3M adhesive pads on the back of the Govee power supply or controller have been completely removed. The brackets are designed for a snug fit without these pads. Do not force the unit into the bracket, as this may cause damage to either the unit or the bracket.
- Issue: Bracket feels loose after installation.
- Solution: Re-check the mounting screws. Ensure they are securely tightened and that the mounting surface is solid. If the surface is soft or damaged, consider relocating the bracket or reinforcing the mounting area.
Warranty and Support
For warranty information or technical support, please refer to the MOTOQUEEN official website or contact their customer service directly. Keep your purchase receipt for warranty claims.
Manufacturer: MOTOQUEEN
Part Number: MQ11501ABW1
Ask a question about this manual
Ask about setup, troubleshooting, compatibility, parts, safety, or missing instructions. Manuals+ will review the question and use this page’s manual context to help answer it.