1. Introduction
This manual provides instructions for the assembly, operation, and maintenance of your HAPPYGRILL 71" Raised Garden Bed with Trellis. This versatile garden bed is designed to enhance your outdoor space, offering two planter boxes, two trellises for climbing plants, and a hanging roof structure. Constructed from natural fir wood, it features an efficient drainage system to promote healthy plant growth.
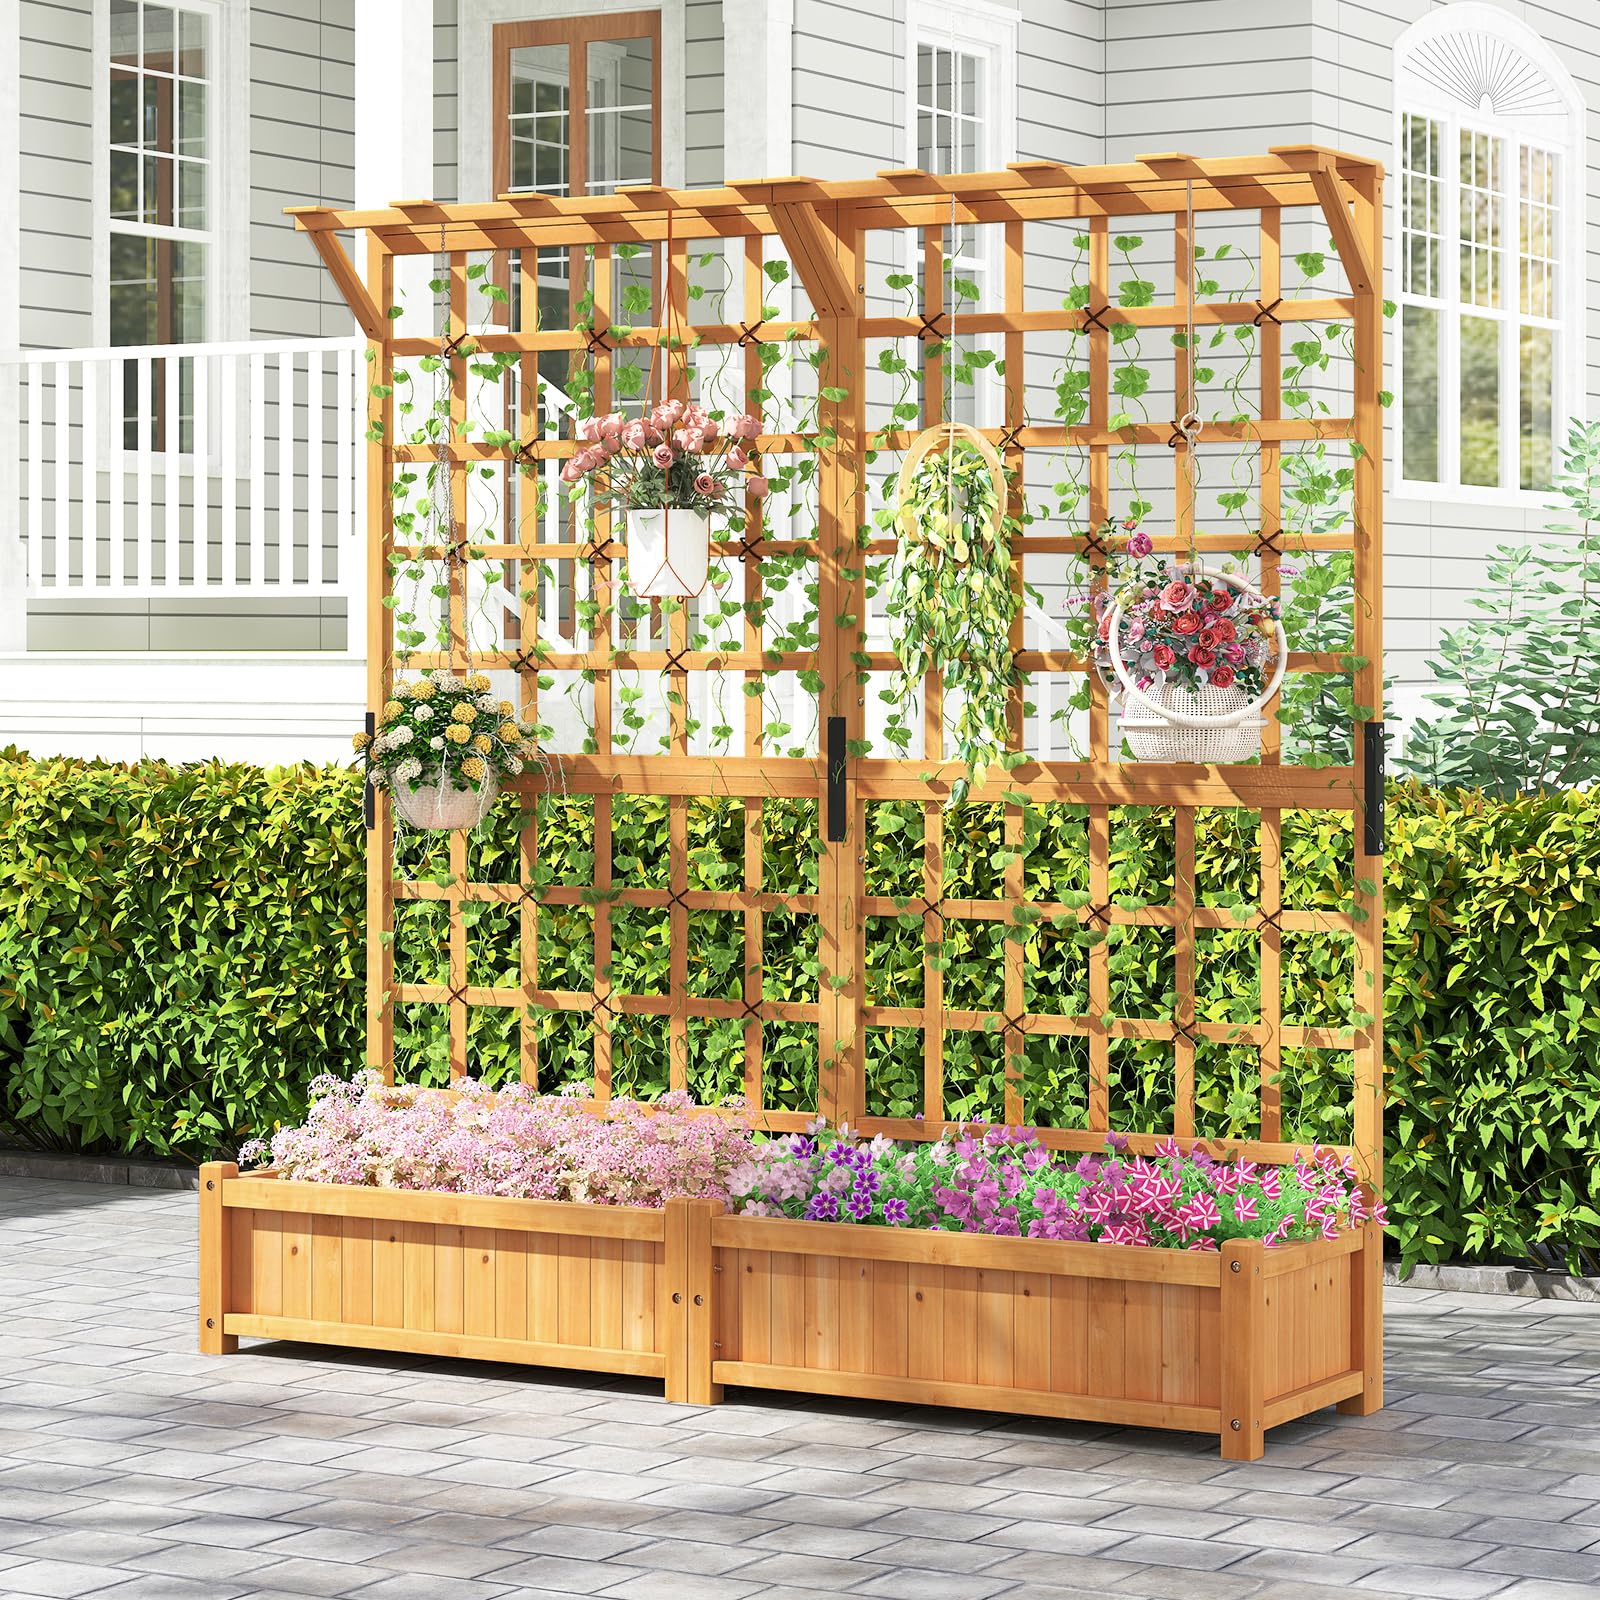
Figure 1: Overview of the HAPPYGRILL Raised Garden Bed with Trellis.

Figure 2: Illustrating the 3-in-1 multifunctional design with planter boxes, trellises, and hanging roof.
2. Components
Before beginning assembly, ensure all parts are present and undamaged. Refer to the included user manual for a detailed parts list and hardware. The main components typically include:
- Raised Garden Bed Panels (various sizes for planter boxes and trellis frames)
- Trellis Grids
- Hanging Roof Components
- Bottom Plates for Planter Boxes
- Assembly Hardware (screws, bolts, nuts, etc.)
- Rope Loop (for hanging items)
- User's Manual (this document)
If any parts are missing or damaged, please contact customer support before proceeding with assembly.
3. Setup and Assembly
Assembly is designed to be straightforward. It is recommended to have at least two people for certain steps. A Phillips head screwdriver and a wrench (often included) will be required.
- Unpack and Inspect: Carefully remove all components from the packaging. Verify that all parts listed in the included manual are present and free from damage.
- Assemble Planter Boxes: Connect the side and end panels of the planter boxes using the provided hardware. Ensure all connections are secure.
- Install Bottom Plates: Place the bottom plates into the assembled planter boxes. These plates feature drainage holes.
- Attach Trellis Frames: Securely attach the vertical trellis frames to the planter boxes using the designated hardware and reinforced metal brackets.
- Install Trellis Grids: Insert or attach the trellis grids into the trellis frames.
- Mount Hanging Roof: Assemble and attach the hanging roof structure to the top of the trellis frames. Ensure it is stable and capable of supporting hanging items.
- Final Checks: Double-check all screws and connections to ensure the entire structure is stable and secure.

Figure 3: Details of construction including cable ties and metal brackets for stability.
4. Operation and Planting
Once assembled, your raised garden bed is ready for planting.
4.1 Preparing the Planter Boxes
- Drainage: The planter boxes are equipped with 4 drainage holes each to prevent waterlogging and ensure proper aeration for plant roots. You may optionally line the bottom with landscaping fabric or a fine mesh screen to prevent soil loss while maintaining drainage.
- Removable Bottom Plate: The bottom plates are removable, allowing for direct ground contact if desired, which can be beneficial for certain plants or to improve drainage in specific soil conditions.
- Filling with Soil: Fill the planter boxes with appropriate potting mix or soil suitable for your chosen plants.

Figure 4: Drainage holes design for optimal root health.
4.2 Utilizing the Trellis and Hanging Roof
- Climbing Plants: The trellises are ideal for supporting climbing plants such as vines, cucumbers, beans, or flowering climbers. Guide young plants to the trellis as they grow.
- Hanging Items: The hanging roof provides space for hanging baskets, decorative lights, or other lightweight garden ornaments. Use the included rope loop or your own hooks.

Figure 5: Examples of plants suitable for the raised garden bed and trellis.
5. Maintenance
Proper maintenance will extend the lifespan and appearance of your garden bed.
- Cleaning: Periodically clean the wood surfaces with a damp cloth to remove dirt and debris. Avoid harsh chemicals.
- Wood Treatment: The fir wood is treated with water-based painting for outdoor use. To further protect the wood and prolong its life, especially in harsh climates, consider applying a wood sealant or spar urethane annually.
- Drainage Check: Ensure drainage holes remain clear of obstructions to prevent water accumulation.
- Structural Integrity: Periodically check all screws and connections for tightness. Tighten as necessary to maintain stability.
- Winter Care: In regions with severe winters, consider emptying the planter boxes and storing the unit in a sheltered area, or covering it to protect the wood from extreme weather conditions.
6. Troubleshooting
| Problem | Possible Cause | Solution |
|---|---|---|
| Water pooling in planter box | Blocked drainage holes; soil too dense. | Clear drainage holes. Consider adding perlite or sand to soil for better drainage. Ensure bottom plates are correctly installed or removed if direct ground contact is preferred. |
| Unit feels unstable after assembly | Loose connections; uneven ground. | Check and tighten all screws and bolts. Ensure the garden bed is placed on a flat, level surface. |
| Wood appears weathered or discolored | Exposure to elements without additional protection. | Apply a suitable outdoor wood sealant or stain to protect the wood from UV and moisture damage. |
| Difficulty with climbing plants on trellis | Plants not guided; trellis too far from plant base. | Gently guide young plant tendrils onto the trellis. Use soft ties if necessary to secure them initially. |
7. Specifications
| Feature | Detail |
|---|---|
| Model Number | HG3416New |
| Overall Dimensions (L x W x H) | 71" x 19" x 72" (180 x 48 x 183 cm) |
| Interior Size of Planter Box (L x W x H) | 68" x 15" x 8" (173 x 37.5 x 21 cm) |
| Material | Fir Wood |
| Color | Orange (Natural Wood Finish) |
| Net Weight | 44 lbs (20 kg) |
| Drainage | 4 drainage holes per planter box; removable bottom plate |
| Special Features | 2 Planter Boxes, 2 Trellises, Hanging Roof, Reinforced Metal Brackets, Cable Ties |

Figure 6: Detailed product dimensions.
8. Warranty and Support
For any questions regarding assembly, missing parts, or product performance, please refer to the contact information provided with your purchase documentation or visit the official HAPPYGRILL website for customer support. Please retain your proof of purchase for warranty claims.