1. Introduction
This manual provides essential instructions for the safe and efficient operation of your WONNIE W-1011 10.5-inch Portable DVD Player. Please read this manual thoroughly before using the device and retain it for future reference.
1.1 What's in the Box
- One WONNIE W-1011 10.5-inch Portable DVD Player
Important Note: This product includes only the portable DVD player. Connecting cables, power adapters, and other accessories are not included and must be acquired separately if needed.
2. Safety Information
To ensure safe operation and prevent damage, please observe the following precautions:
- Do not expose the device to rain, moisture, or extreme temperatures.
- Avoid placing the device near heat sources or in direct sunlight for extended periods.
- Do not attempt to disassemble or modify the device. Refer all servicing to qualified personnel.
- Use only compatible power adapters and accessories (not included) to prevent damage.
- Keep the device away from strong magnetic fields.
- Ensure proper ventilation during use to prevent overheating.
3. Product Overview
The WONNIE W-1011 is a compact and portable DVD player designed for personal entertainment. It features a 10.5-inch screen and various connectivity options.
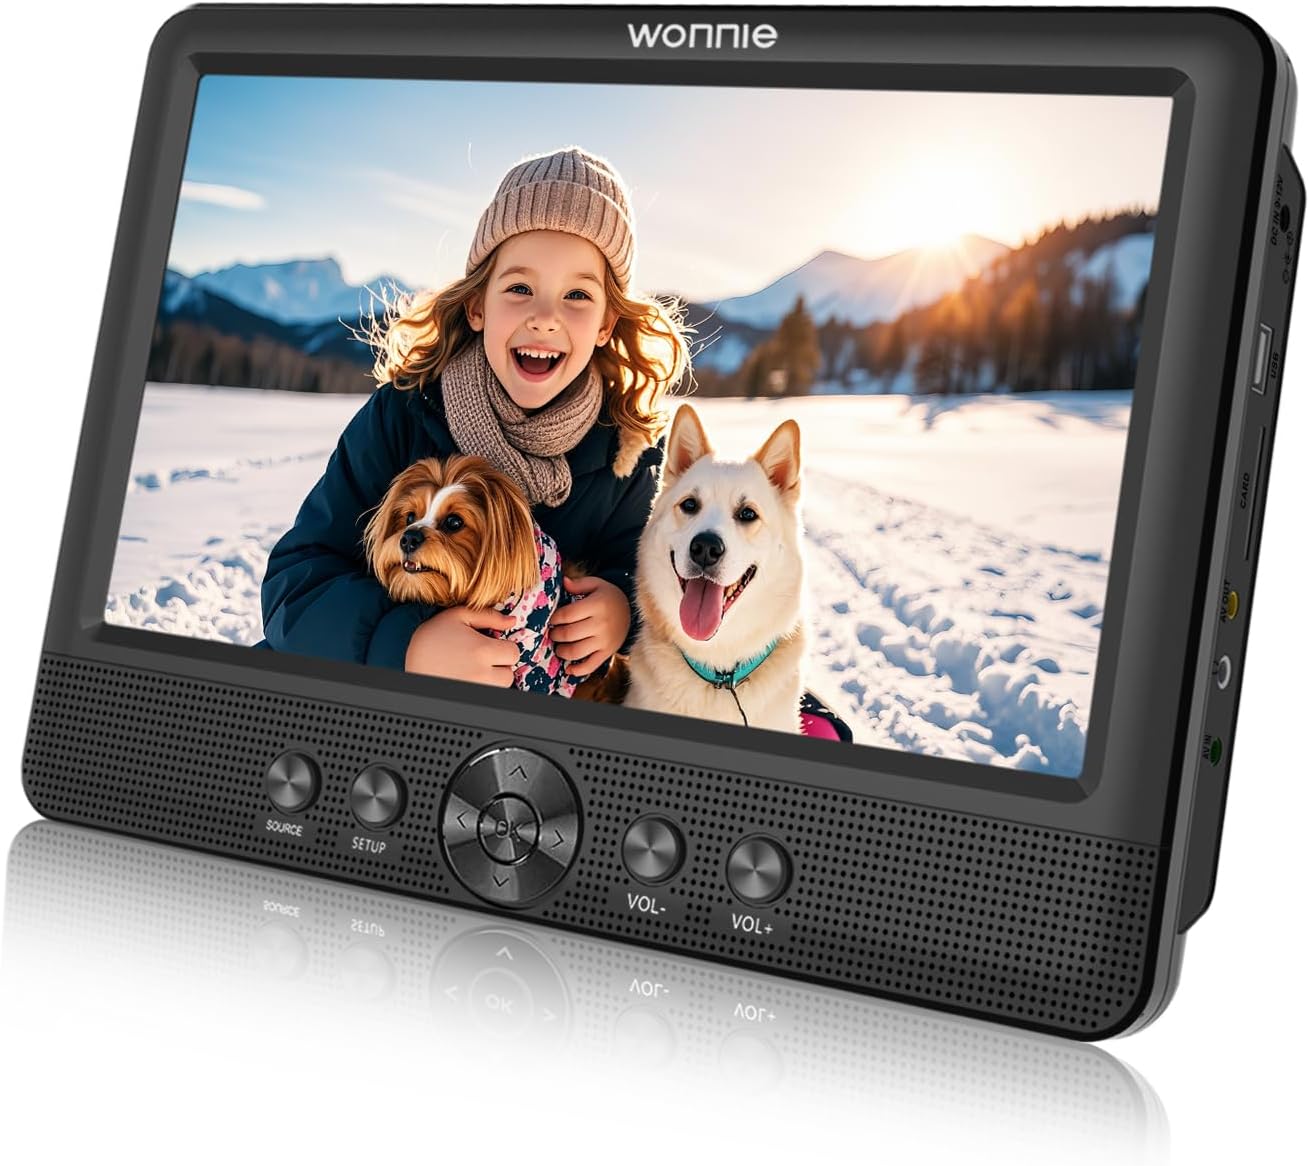
This image displays the WONNIE W-1011 10.5-inch Portable DVD Player. The screen shows a vibrant image of a smiling child holding a small dog, with a larger dog beside them, all in a snowy outdoor setting. The player itself is black with control buttons (SOURCE, SETUP, navigation, VOL-, VOL+) located below the screen and various ports (DC IN, USB, CARD, AV OUT, AV IN, Headphone) on the right side.
3.1 Controls and Ports
Familiarize yourself with the buttons and ports on your device:
- SOURCE: Selects input source (e.g., DVD, USB, SD Card, AV IN).
- SETUP: Accesses the system settings menu.
- Navigation Buttons (Up, Down, Left, Right, OK): Used for menu navigation and selection.
- VOL- / VOL+: Adjusts the volume level.
- DC IN 9-12V: Power input port (power adapter not included).
- USB: Connects USB flash drives for media playback.
- CARD: Inserts SD/MMC cards for media playback.
- AV OUT: Connects to an external display or audio system.
- AV IN: Connects to an external audio/video source.
- Headphone Jack: Connects headphones for private listening.
4. Setup
4.1 Powering the Device
- Ensure the device is fully charged or connected to a power source. The device includes a Lithium Polymer battery.
- Connect a compatible 9-12V DC power adapter (not included) to the 'DC IN' port on the side of the player and then to a power outlet.
- Press the power button (location not specified in provided data, typically on the side or top) to turn on the device.
4.2 Inserting Media
- DVD/CD: Open the disc tray, carefully place the disc with the label side facing up, and close the tray.
- USB Drive: Insert a USB flash drive into the 'USB' port.
- SD/MMC Card: Insert an SD or MMC card into the 'CARD' slot until it clicks into place.
5. Operating Instructions
5.1 Basic Playback
- Turn on the DVD player.
- Insert your desired media (DVD, CD, USB, or SD card).
- Press the SOURCE button repeatedly to select the correct input source (e.g., DVD, USB, CARD, AV IN).
- For disc media, playback should begin automatically. For USB/SD, navigate to your desired file using the navigation buttons and press OK to play.
5.2 Adjusting Volume
Use the VOL- and VOL+ buttons located below the screen to decrease or increase the audio volume, respectively.
5.3 System Settings
Press the SETUP button to access the system settings menu. Use the navigation buttons to browse options and OK to confirm selections. Settings may include video, audio, language, and time configurations.
5.4 Connecting to External Devices
- AV OUT: To display content on a larger screen, connect an AV cable (not included) from the player's AV OUT port to the AV IN ports of an external display (e.g., TV).
- AV IN: To play content from an external source (e.g., game console, camcorder) on the DVD player's screen, connect an AV cable (not included) from the external source's AV OUT to the player's AV IN port. Select 'AV IN' as the source.
6. Maintenance
6.1 Cleaning
- Wipe the exterior of the player with a soft, dry cloth.
- For the screen, use a soft, lint-free cloth specifically designed for electronics screens. Do not use abrasive cleaners or solvents.
- Keep the disc tray and lens clean. Use a specialized disc cleaning kit if necessary.
6.2 Storage
When not in use, store the DVD player in a cool, dry place away from direct sunlight and extreme temperatures.
7. Troubleshooting
If you encounter issues with your WONNIE W-1011, refer to the following common problems and solutions:
| Problem | Possible Solution |
|---|---|
| Device does not power on. | Ensure the battery is charged or a compatible power adapter (not included) is connected and functioning. |
| No disc detected. | Check if the disc is inserted correctly (label side up) and is clean. Ensure the disc type is supported (DVD, CD, VCD, SVCD). Blu-Ray discs are not supported. |
| No sound. | Adjust the volume using VOL+ button. Check if headphones are connected. Verify audio settings in the SETUP menu. |
| No picture. | Ensure the correct SOURCE is selected. If connected to an external display, check the AV cable connection and the external display's input selection. |
| USB/SD card not recognized. | Ensure the USB drive or SD card is properly inserted. Check if the file format is supported (e.g., MP3 for audio, MPEG-2 for video). |
8. Specifications
| Feature | Detail |
|---|---|
| Brand | WONNIE |
| Model Name | W-1011 |
| Screen Size | 10.5 inches (Visible diagonal: 11" / 27 cm) |
| Color | Black |
| Item Weight | 2.07 pounds |
| Package Dimensions | 11.78 x 11.74 x 1.81 inches |
| Batteries | 1 Lithium Polymer battery (included) |
| Media Type Supported | DVD, DVD+R, DVD-R, DVD+RW, DVD-RW, CD, CD+R, CD-R, CD+RW, CD-RW, VCD, SVCD (Blu-Ray not Supported) |
| Connector Type | RCA |
| Connectivity Technology | USB, Headphone, AV IN, AV OUT |
| Audio Output Mode | Stereo |
| Supported Audio Format | MP3 |
| Video Encoding | MPEG-2 |
9. Warranty and Support
For warranty information and technical support, please refer to the documentation provided with your purchase or contact WONNIE customer service directly. Contact details can typically be found on the manufacturer's official website or through your retailer.