
Introduction
Thank you for choosing the Homewell Silver Mirror Window Film. This static cling film is designed to enhance your privacy, reduce solar heat gain, block harmful UV rays, and improve the thermal insulation of your windows. This manual provides comprehensive instructions for proper installation, usage, and maintenance to ensure optimal performance and longevity of your window film.
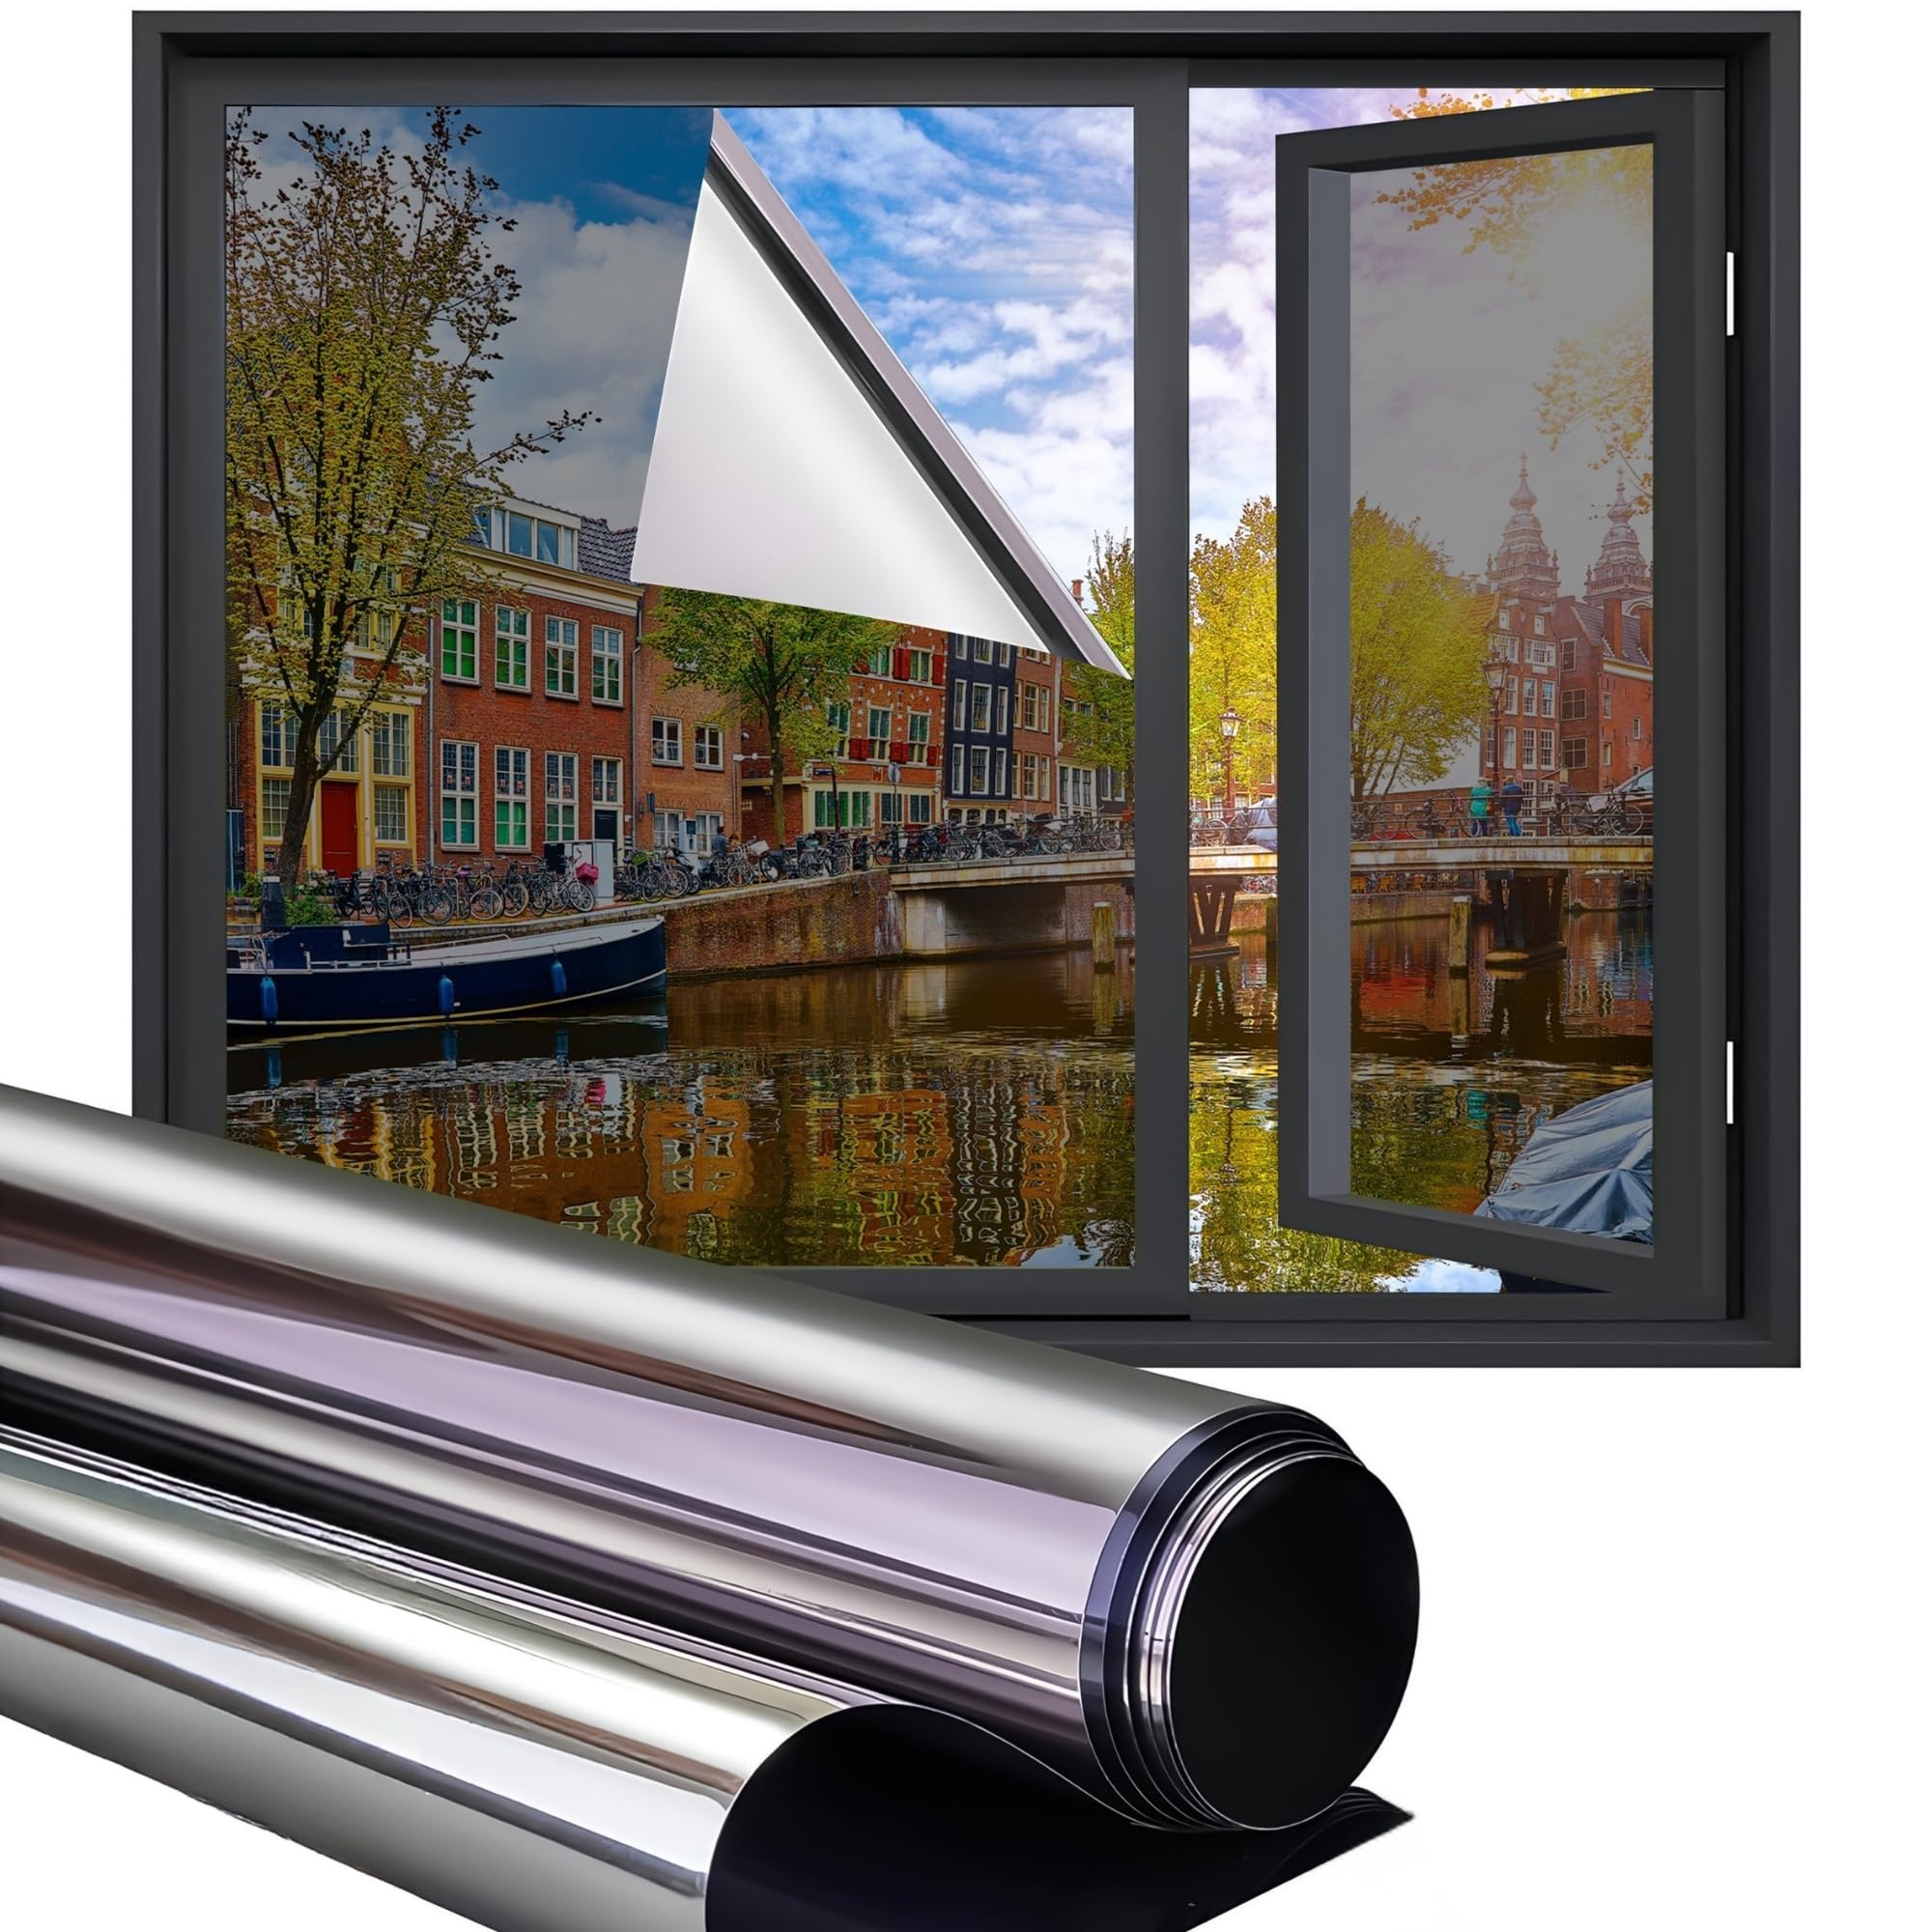
Image: The Homewell Silver Mirror Window Film roll, a squeegee, and a window treated with the film, showing a reflective exterior view.

Image: A visual representation highlighting the six key benefits of the window film: glare reduction, enhanced privacy, heat blocking, protection against glass breakage, prevention of fading, and UV radiation blocking.
Safety Information
- Always use caution when handling sharp tools like utility knives. Keep them out of reach of children.
- Do not apply the film to frosted, patterned, or damaged glass, as this may cause thermal stress and potential cracking.
- Ensure proper ventilation when cleaning windows with chemical solutions before installation.
- Keep the film away from open flames or high heat sources.
Package Contents
Please check the package to ensure all items are present:
- 1 roll of Homewell Silver Mirror Window Film (60x200 cm)
- 1 Squeegee (may vary by package)
- Instruction leaflet (this manual)
Setup and Installation
For best results, install the film on a clean, smooth glass surface. Avoid installation in direct sunlight or extremely cold temperatures.
Tools Required:
- Spray bottle (filled with soapy water: water + a few drops of dish soap)
- Utility knife or sharp blade
- Ruler or measuring tape
- Squeegee (included or similar)
- Lint-free cloth or paper towels
Step-by-Step Installation:
- Measure and Cut the Film: Measure the exact dimensions of your window glass. Cut the film to size, leaving an extra 2-3 cm (approximately 1 inch) on all four sides. This excess will be trimmed later for a perfect fit. The back of the film has a grid for easier cutting.
- Clean the Window: Thoroughly clean the window glass using a glass cleaner and a lint-free cloth. Ensure there is no dust, dirt, or residue. Scrape off any stubborn spots with a razor blade if necessary.
- Wet the Window: Generously spray the entire glass surface with the soapy water solution. The more wet the glass, the easier it is to position the film.
- Remove the Backing Film: This is a critical step. The window film has a clear protective backing. Use two pieces of tape on opposite sides of a corner of the film to separate the clear backing from the main film. Peel off the entire backing film. As you peel, spray the adhesive side of the window film with soapy water to keep it wet and prevent it from sticking to itself.

Image: A close-up showing how to peel off the clear protective backing from the window film, revealing the adhesive side.

Image: A visual guide demonstrating the process of removing the protective film by using tape to separate the layers.
- Apply the Film: Carefully place the wet, adhesive side of the film onto the wet window glass. Position it so that the excess film overlaps the window frame evenly on all sides. You can slide the film around on the wet surface to get the perfect alignment.

Image: A person's hand carefully placing the wet window film onto a window pane, demonstrating the initial application step.
- Squeegee Out Water and Air Bubbles: Once the film is in place, spray the outer surface of the film with soapy water. Use the squeegee to push out water and air bubbles, working from the center outwards to all edges. Apply firm, even pressure. Repeat this process until all water and bubbles are removed.

Image: A squeegee tool being used to smooth the window film, pushing out excess water and air bubbles from the center towards the edges.
- Trim Excess Film: Using the utility knife and a ruler, carefully trim the excess film along the edges of the window frame. Ensure a clean, straight cut for a professional finish. Wipe away any remaining water with a lint-free cloth.
Operating and Usage
The Homewell Silver Mirror Window Film provides excellent daytime privacy and solar control. The mirror effect is most pronounced when the light outside is brighter than the light inside.
- Daytime Privacy: During the day, the film creates a reflective mirror effect on the exterior side of the window, preventing outsiders from seeing into your home while maintaining a clear view from the inside.
- Nighttime Privacy: At night, when interior lights are on and it is dark outside, the mirror effect reverses. People outside may be able to see into your home. For complete privacy at night, it is recommended to close curtains or blinds.

Image: A side-by-side comparison of a house during the day and at night, demonstrating how the window film provides privacy during daylight hours but requires curtains at night when interior lights are on.
- Solar Heat and UV Protection: The film significantly reduces the amount of solar heat entering your room, helping to keep your interior cooler in summer and warmer in winter. It also blocks up to 99% of harmful UV rays, protecting your skin and preventing furniture and flooring from fading.

Image: A diagram showing how the window film reflects solar heat and UV radiation, contributing to energy savings and a cooler indoor temperature, while allowing visible light to pass through.

Image: A visual comparison of indoor and outdoor temperatures, illustrating how the window film helps maintain a comfortable indoor temperature (e.g., 23°C inside when it's 30°C outside).
- Glare Reduction: The film helps to reduce harsh glare from direct sunlight, improving visual comfort, especially when viewing screens.
Maintenance
To maintain the appearance and effectiveness of your Homewell window film, follow these cleaning guidelines:
- Wait at least 48-72 hours after installation before cleaning the film to allow it to fully adhere.
- Use a soft, clean cloth or sponge and a mild soap solution (e.g., dish soap and water).
- Avoid using abrasive cleaners, ammonia-based products, or rough scrubbing pads, as these can scratch or damage the film.
- Gently wipe the surface of the film. Rinse with clean water and dry with a soft, lint-free cloth.
Troubleshooting
| Problem | Possible Cause | Solution |
|---|---|---|
| Bubbles remain after squeegeeing | Insufficient water, trapped air, or dirt particles. | Re-spray the film and window generously with soapy water. Lift the film carefully to the bubble, re-spray, and re-squeegee from the nearest edge towards the bubble. For small bubbles, use a pin to puncture and then squeegee. Ensure the window is thoroughly clean before application. |
| Film is not sticking / Peeling edges | Backing film not removed, insufficient water, or dirty surface. | Ensure the clear backing film has been completely removed. Re-spray the window and film with plenty of soapy water. Press firmly with the squeegee, especially along the edges. Ensure the window surface is clean. |
| Film slides too much | Too much soapy water. | This is generally not a problem during initial positioning. Once positioned, begin squeegeeing to remove excess water and secure the film. |
| Scratches on the film | Using sharp objects or abrasive cleaners. | Avoid using sharp objects on the film surface. Clean only with soft cloths and mild soap. Minor scratches may be permanent; for significant damage, replacement may be necessary. |
Specifications
- Brand: Homewell
- Model Number: Hw-rf-zil-45200
- Dimensions: 60x200 cm (Product title specifies 60x200 cm, while some specifications list 200x45 cm. Please verify your purchased size.)
- Material: PET (Plastic)
- Installation Type: Static Cling (No adhesive glue)
- UV Protection: Yes, blocks 99% of harmful UV rays
- Thermal Insulation: HR+ (High Reflectivity)
- Color: Silver Mirror Effect
Warranty
Homewell products are manufactured to high-quality standards. For specific warranty details, please refer to the purchase documentation or contact your retailer. Generally, products are covered against manufacturing defects for a limited period from the date of purchase.
Customer Support
If you have any questions, require assistance with installation, or encounter any issues not covered in this manual, please contact Homewell customer support or your retailer for further assistance.
For more information, visit the Homewell brand store.