Nintendo Nintendo Switch 2
Nintendo Switch 2 Console User Manual
Model: Nintendo Switch 2
Your guide to setting up, operating, and maintaining your new Nintendo Switch 2 console.
1. Introduction
The Nintendo Switch 2 represents the next evolution in gaming consoles, offering an immersive experience with enhanced graphics and innovative functionalities. This console provides flexibility to play where and how you want, ensuring uninterrupted fun.
This manual will guide you through the setup, operation, and maintenance of your Nintendo Switch 2 console, ensuring you get the most out of your device.
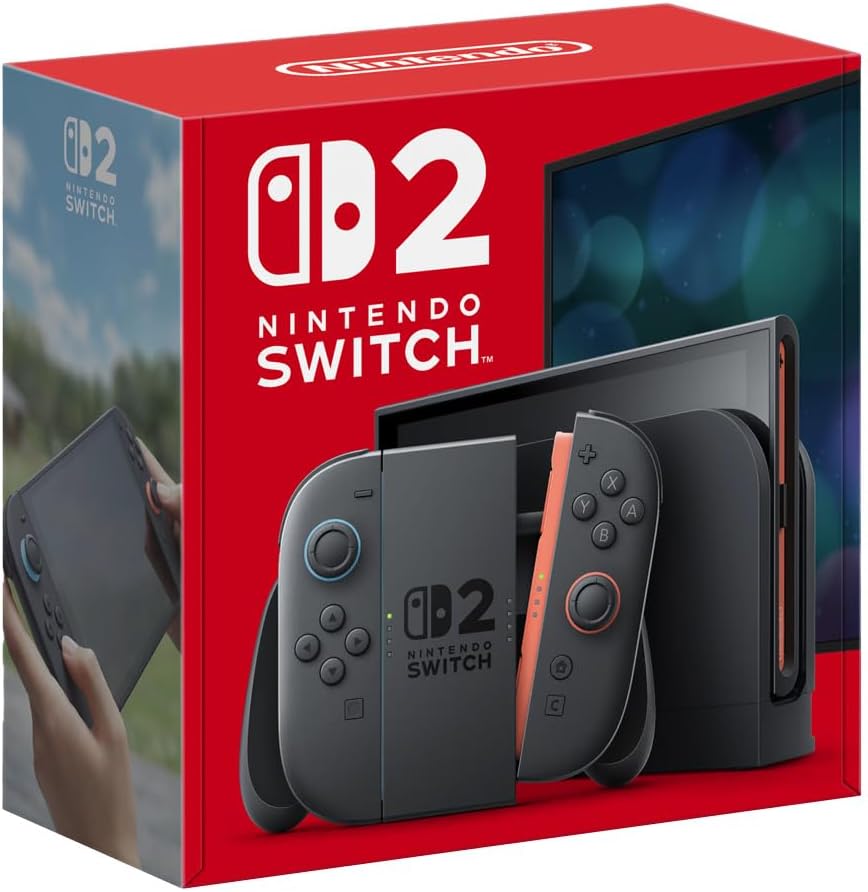
Image: The Nintendo Switch 2 console, Joy-Con controllers, and dock displayed within its retail packaging.
2. What's in the Box
Before you begin, please ensure all the following components are present in your package:
- Nintendo Switch 2 Console
- Joy-Con (L) Controller
- Joy-Con (R) Controller
- Nintendo Switch 2 Dock
- Joy-Con Grip
- Joy-Con Wrist Straps (x2)
- HDMI Cable
- Nintendo Switch 2 AC Adapter
3. Setup
3.1 Initial Charging
It is recommended to fully charge the console and Joy-Con controllers before first use. Connect the AC adapter to the console or the dock and plug it into a power outlet.
3.2 Attaching Joy-Con Controllers
To attach the Joy-Con controllers, slide them down along the rails on the sides of the console until you hear a click. The new Joy-Con 2 controllers feature magnetic connectors for a secure fit.

Image: The Nintendo Switch 2 console in its dock, with one Joy-Con controller detached and held by a hand, demonstrating the magnetic attachment mechanism.
3.3 Connecting to a TV (TV Mode)
- Open the back cover of the Nintendo Switch 2 Dock.
- Connect the HDMI cable to the "HDMI OUT" port on the dock and to an HDMI input on your TV.
- Connect the AC adapter to the "AC ADAPTER" port on the dock and to a power outlet.
- Place the Nintendo Switch 2 console into the dock with the screen facing the front.
- Select the correct HDMI input on your TV.
3.4 Powering On
Press the POWER Button located on the top-left of the console to turn it on. Follow the on-screen instructions for initial setup, including language selection and internet connection.
4. Operating the Nintendo Switch 2
4.1 Game Modes
The Nintendo Switch 2 offers three versatile play modes:
- TV Mode: Connect the console to your TV via the dock to enjoy games in up to 4K resolution with HDR support.
- Handheld Mode: Attach the Joy-Con controllers directly to the console and play on the integrated 7.9-inch LCD screen, offering up to 120 fps.
- Tabletop Mode (Semiportátil): Detach the Joy-Con controllers and use the console's adjustable stand to play on the screen, ideal for multi-player sessions.

Image: The Nintendo Switch 2 console being held in handheld mode, showcasing its large display and attached Joy-Con controllers.

Image: The Nintendo Switch 2 console in tabletop mode, demonstrating its new adjustable stand and detached Joy-Con controllers.
4.2 Joy-Con 2 Features
- Magnetic Connectors: The Joy-Con 2 controllers feature strong magnets that keep them firmly attached to the console. Press the release button on the back to detach them.
- Mouse Mode: Both Joy-Con 2 controllers can be used as mice simultaneously in compatible games, offering new ways to interact.
- GameChat: Utilize the integrated GameChat feature by pressing the 'C' button on the Joy-Con 2. This allows for voice chat, screen sharing, and video calls with friends and family, supported by a built-in microphone and USB-C camera compatibility.

Image: A close-up view of a Joy-Con 2 controller being attached to the Nintendo Switch 2 console, highlighting the magnetic connection.

Image: A hand demonstrating the Joy-Con 2 controller being used in mouse mode, showcasing its ergonomic design.
4.3 System Updates
To ensure optimal performance and access to the latest features, regularly connect your Nintendo Switch 2 to the internet to download system updates. You can check for updates in the System Settings menu.
5. Maintenance
5.1 Cleaning
Use a soft, dry cloth to clean the console and controllers. Do not use abrasive cleaners or solvents. For the screen, a microfiber cloth is recommended.
5.2 Battery Care
The Nintendo Switch 2 has a built-in rechargeable battery. To prolong battery life:
- Avoid exposing the console to extreme temperatures.
- Charge the console regularly, even if not in use for extended periods.
- Do not attempt to replace the battery yourself. Contact Nintendo Support for battery-related issues.
6. Troubleshooting
6.1 Console Not Powering On
- Ensure the AC adapter is securely connected to the console/dock and a working power outlet.
- Try holding the POWER Button for 12 seconds to force a shutdown, then press it again to restart.
- Ensure the battery is sufficiently charged.
6.2 No Image on TV
- Verify the HDMI cable is correctly connected to both the dock and the TV.
- Ensure the TV is set to the correct HDMI input.
- Confirm the console is properly seated in the dock.
- Try using a different HDMI cable or TV.
6.3 Joy-Con Controllers Not Responding
- Ensure the Joy-Con controllers are charged.
- Re-attach the Joy-Con controllers to the console or pair them wirelessly by pressing the SYNC Button.
- Check for system updates, as controller issues can sometimes be resolved with software updates.
7. Specifications
| Feature | Detail |
|---|---|
| Display | 7.9-inch LCD with HDR, up to 120 fps |
| TV Output Resolution | Up to 4K |
| Joy-Con Features | Magnetic connectors, Mouse Mode, GameChat (built-in mic, USB-C camera support) |
| Battery Life | Up to 9 hours (depending on usage) |
| Dimensions (Packaging) | 22.2 x 21.9 x 10.8 cm |
| Weight (Packaging) | 1.6 kg |
| Language | Portuguese (User Interface) |
| Country of Origin | Brazil |
| Certification | 00556-25-04083 |
| Release Date | June 5, 2025 |
8. Warranty and Support
8.1 Warranty Information
The Nintendo Switch 2 console comes with a 1-year manufacturer's warranty against defects. Please retain your proof of purchase for warranty claims.
Extended warranty options may be available:
- Extended Warranty for 12 months against failures and defects.
- Extended Warranty for 24 months against failures and defects.
For detailed terms and conditions regarding your warranty, please refer to the warranty card included with your product or visit the official Nintendo website for your region.
8.2 Customer Support
If you encounter any issues not covered in this manual or require further assistance, please contact Nintendo Customer Support. You can find contact information on the official Nintendo website or through the support section of your console's System Settings.
When contacting support, please have your console's serial number and proof of purchase ready.