Ygpmoiki for Boost Mobile Summit 5G SN339D-SMT
User Manual: LCD Display Touch Screen Digitizer Assembly Replacement
Model: Boost Mobile Summit 5G SN339D-SMT
1. Product Overview
This manual provides essential information for the installation and use of the Ygpmoiki LCD Display Touch Screen Digitizer Assembly Replacement for the Boost Mobile Summit 5G SN339D-SMT 6.6" smartphone. This component is designed to replace a damaged or malfunctioning screen, restoring full display and touch functionality to your device.
2. Product Features
- Compatibility: Specifically designed for Boost Mobile Summit 5G SN339D-SMT 6.6" models.
- Functionality Restoration: Addresses issues such as dead touch, slow touch response, unresponsive screen areas, and broken glass.
- Complete Assembly: Includes the LCD display and touch screen digitizer. Note: This product comes without a front frame.
- Quality Replacement: Provides a clear display and responsive touch experience.
3. What's in the Box

The package includes one (1) LCD Display Touch Screen Digitizer Assembly Replacement for Boost Mobile Summit 5G SN339D-SMT 6.6". Additionally, a set of basic repair tools is provided to assist with the installation process. These tools typically include screwdrivers, pry tools, and a suction cup.
- 1x LCD Display Touch Screen Digitizer Assembly Replacement for Boost Mobile Summit 5G SN339D-SMT 6.6"
- 1x Set of Repair Tools (may vary, typically includes screwdrivers, pry tools, suction cup)
4. Compatibility Verification
Before proceeding with installation, it is crucial to verify that this replacement part is compatible with your specific device model. This LCD Display Touch Screen Digitizer Assembly is designed exclusively for the Boost Mobile Summit 5G SN339D-SMT 6.6". Please check your phone's model number, usually found in the device settings (About Phone) or on the original packaging, to ensure a correct match. Incorrect model purchase may lead to incompatibility and potential damage.
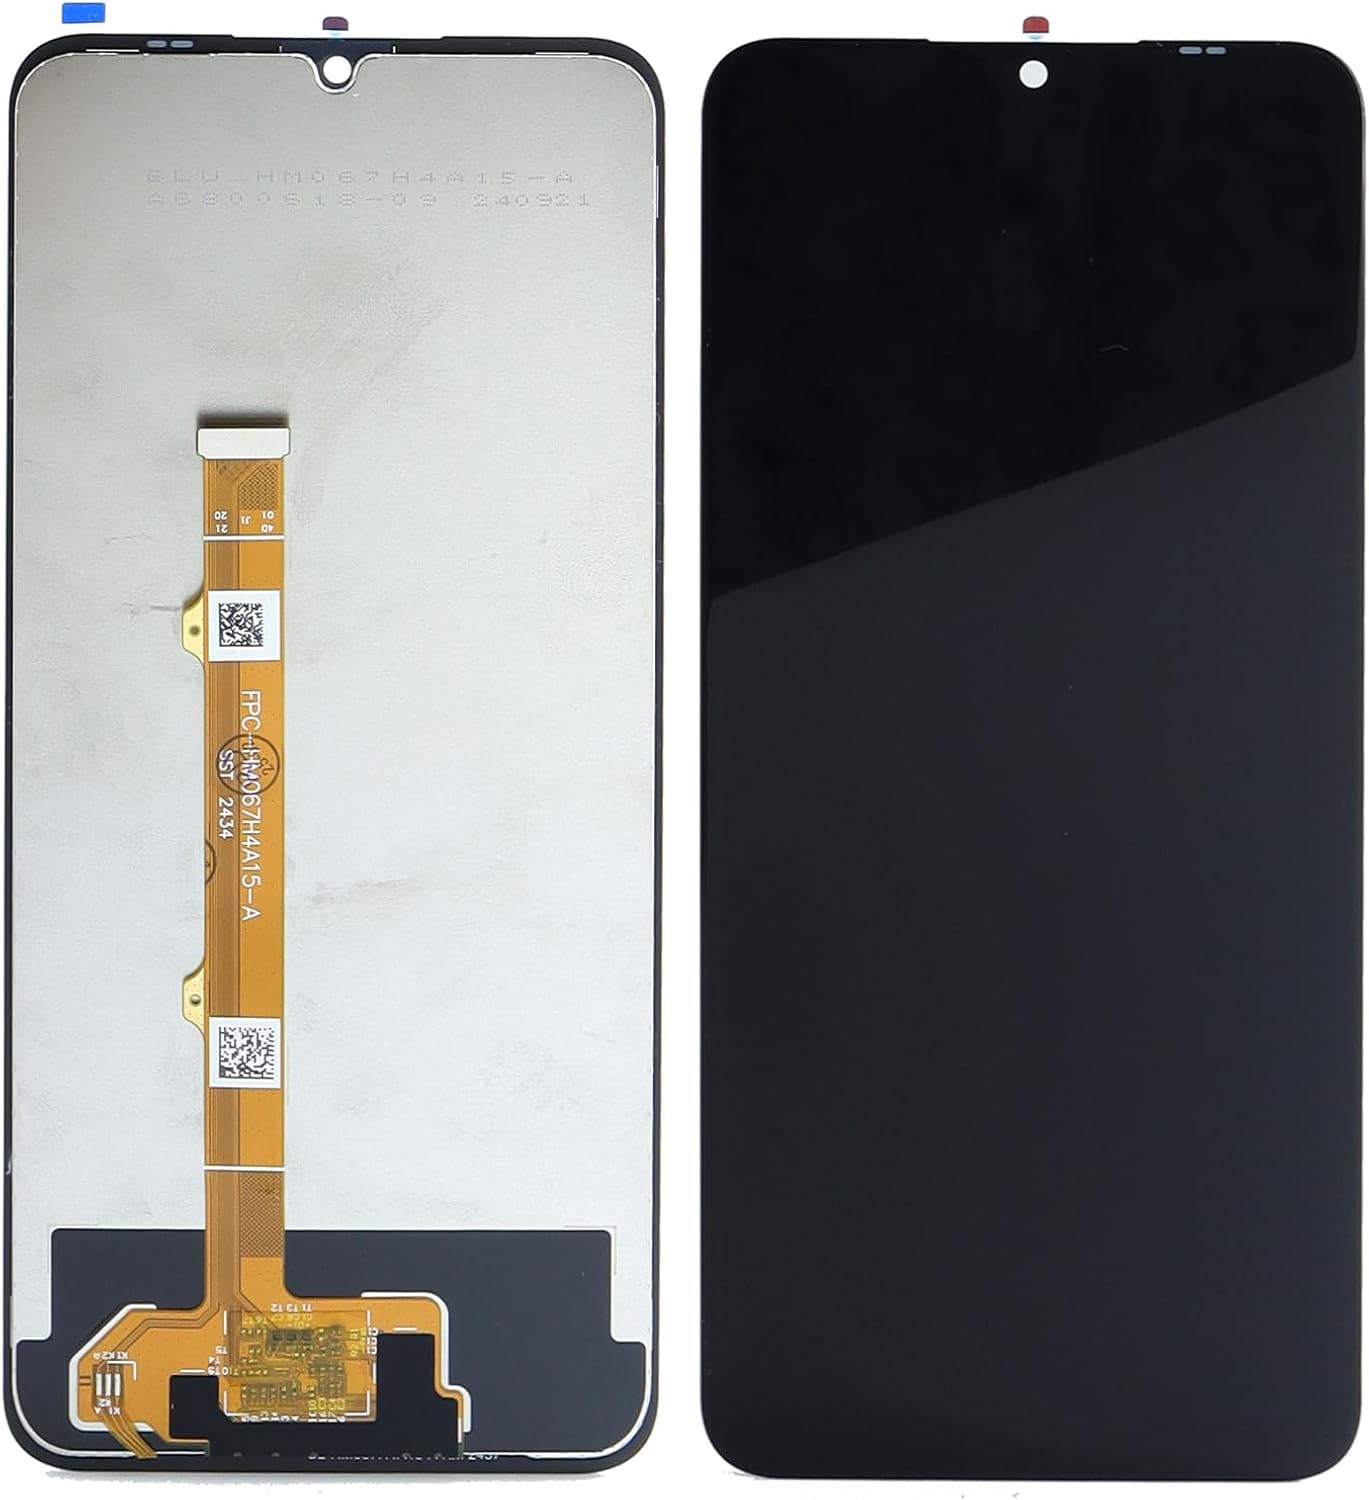
The image displays both the front (black) and back (silver with flex cable) of the replacement screen. The flex cable, visible on the back, is a critical component for connecting the display to the phone's motherboard. Ensure the flex cable and connectors match your device's internal layout.
5. Setup and Installation Guide
Disclaimer: Screen replacement requires technical skill and specialized tools. Proceed with caution. If you are not confident in your ability to perform this repair, it is highly recommended to seek professional assistance to avoid damaging your device or the new component.
5.1. Pre-Installation Steps
- Power Off Device: Completely power off your Boost Mobile Summit 5G SN339D-SMT before starting.
- Backup Data: Back up all important data on your phone to prevent data loss.
- Discharge Battery: If possible, discharge the battery below 25% to reduce the risk of fire if accidentally punctured during repair.
- Gather Tools: Ensure you have all necessary tools, including those provided and any additional tools required for your specific phone model (e.g., heat gun/hair dryer, spudgers, tweezers).
- Test New Screen (Crucial): Before full installation, connect the new screen's flex cable to the phone's motherboard (without fully adhering it) and power on the device. Test touch functionality, display clarity, and color reproduction. If any issues arise, contact support before proceeding.
5.2. Installation Process (General Steps)
The following are general steps. Specific disassembly and reassembly procedures may vary by device model. Refer to online repair guides or videos for your specific phone model.
- Remove Back Cover: Carefully remove the phone's back cover. This may require heating the edges to loosen adhesive.
- Disconnect Battery: Disconnect the battery connector from the motherboard to prevent short circuits.
- Remove Screws/Components: Remove any screws or components (e.g., camera, speaker, motherboard shields) that obstruct access to the screen's flex cable.
- Disconnect Old Screen: Carefully disconnect the old screen's flex cable(s) from the motherboard.
- Remove Old Screen: Gently pry off the old screen from the phone frame. Heat may be needed to soften adhesive. Be careful of broken glass.
- Clean Frame: Thoroughly clean any old adhesive residue from the phone frame.
- Install New Screen: Connect the new screen's flex cable(s) to the motherboard. Carefully align and press the new screen into the phone frame, ensuring a snug fit. Apply new adhesive if necessary (not included).
- Reconnect Components: Reconnect all previously disconnected components and secure screws.
- Reconnect Battery: Reconnect the battery.
- Reassemble Device: Reattach the back cover and any other external components.

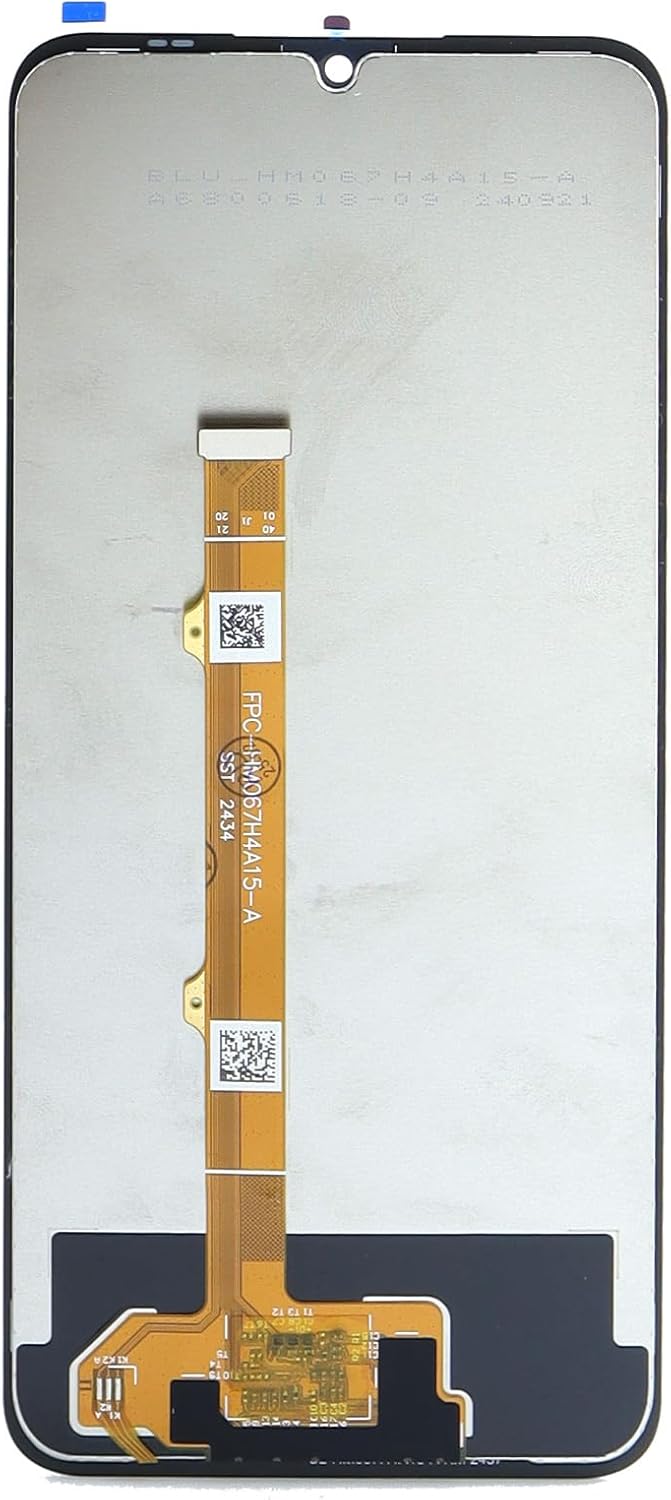
This image shows a detailed view of the main flex cable and its connector. Proper handling of this component is crucial during installation. Avoid bending or creasing the cable excessively, as this can damage the internal circuitry and lead to display or touch issues. Ensure the connector is clean and seats firmly into the corresponding port on the phone's motherboard.

This image provides a close-up of the top section of the replacement screen, highlighting the smaller flex cable often associated with the front camera or proximity sensor. When installing, ensure this smaller cable is also correctly aligned and connected, as it is vital for the proper functioning of these components.
6. Operating the New Display
Once the new display assembly is successfully installed, power on your Boost Mobile Summit 5G SN339D-SMT. The device should boot normally, and the new screen should display the operating system interface. Test the following functionalities:
- Touch Responsiveness: Navigate through menus, open apps, and type on the keyboard to ensure all areas of the screen respond accurately to touch input.
- Multi-Touch: Test pinch-to-zoom and other multi-touch gestures.
- Display Quality: Check for dead pixels, discoloration, or uneven backlighting. View various images and videos to assess color accuracy and brightness.
- Proximity Sensor: Make a call and ensure the screen turns off when held to your ear.
- Brightness Adjustment: Verify that screen brightness can be adjusted through settings.
This image shows the front of the display assembly, which is the user-facing side. After installation, this is what you will see. Ensure there are no gaps between the screen and the phone frame, and that the display is free from dust or debris underneath the glass.
7. Maintenance and Care
To ensure the longevity and optimal performance of your new display, follow these maintenance guidelines:
- Screen Protection: Consider applying a screen protector (tempered glass or film) to guard against scratches and minor impacts.
- Cleaning: Clean the screen regularly with a soft, lint-free microfiber cloth. For stubborn smudges, slightly dampen the cloth with water or a screen-specific cleaning solution. Avoid harsh chemicals, abrasive materials, or excessive moisture.
- Avoid Pressure: Do not apply excessive pressure to the screen, especially when carrying the phone in pockets or bags with other objects.
- Temperature Extremes: Avoid exposing the device to extreme temperatures (very hot or very cold), as this can affect display performance and battery life.
- Drop Protection: Use a protective case to minimize damage from accidental drops.
8. Troubleshooting
If you encounter issues after installing the new display, refer to the following common troubleshooting steps:
| Problem | Possible Cause | Solution |
|---|---|---|
| Screen not turning on / Black screen | Loose flex cable connection, battery not connected, damaged screen during installation. |
|
| Touch not working / Partial touch | Loose touch digitizer flex cable, damaged flex cable, software glitch. |
|
| Display issues (lines, discoloration, flickering) | Loose display flex cable, damaged display, liquid damage. |
|
| Screen not fitting properly | Old adhesive residue, incorrect model, bent frame. |
|
If troubleshooting steps do not resolve the issue, please contact the seller or a professional repair service.
9. Product Specifications
| Feature | Detail |
|---|---|
| Product Type | LCD Display Touch Screen Digitizer Assembly Replacement |
| Compatibility | Boost Mobile Summit 5G SN339D-SMT 6.6" |
| Color | Black |
| Item Weight | 4.2 ounces |
| Package Dimensions | 6.69 x 3.54 x 0.39 inches |
| Manufacturer | Ygpmoiki |
| Model Number | for Boost Mobile Summit 5G SN339D-SMT |
| ASIN | B0F6CX86VL |
10. Warranty and Support
For information regarding warranty coverage, returns, or technical support for your Ygpmoiki LCD Display Touch Screen Digitizer Assembly, please refer to the seller's policy on the platform where the purchase was made. It is recommended to retain your proof of purchase for any warranty claims.
Seller: Pretty YiKi
Return Policy: Typically 30 days for refund/replacement (as per Amazon's policy for this product).
For further assistance, you may contact the seller directly through the Amazon messaging system or refer to the product listing for updated contact information.
Related Documents - for Boost Mobile Summit 5G SN339D-SMT
 |
iPhone 12 Pro Max LCD Screen Testing Guide Comprehensive guide for testing iPhone 12 Pro Max LCD replacement screens before installation. Covers frame check, cable connection, 3D Touch, and touch functionality. |
 |
Samsung Galaxy Note 20 Ultra LCD Screen Replacement Guide Comprehensive guide for replacing the Samsung Galaxy Note 20 Ultra LCD screen with frame, including touch digitizer assembly. Details on testing, installation, package contents, and important precautions. |
 |
MOTO Edge 30 Fusion LCD Display Replacement Kit High-quality LCD display replacement with touch digitizer and frame assembly for MOTO Edge 30 Fusion. Includes 9-in-1 tools. Tested parts for a like-new phone. Important installation notes provided. |
 |
DYNX AMOLED Display Replacement Guide for Xiaomi Redmi Note 11 | FAQ & Tips Comprehensive FAQ and guide for replacing the AMOLED display on your Xiaomi Redmi Note 11 (Models 2201117TG, 2201117TI). Learn about compatibility, tools, common issues, and professional repair advice from DYNX. |
 |
iPhone Screen Installation and Testing Guide - Elekworld A comprehensive guide for testing and installing Elekworld replacement screens for iPhone 12 and iPhone 12 Pro models, ensuring proper functionality and preventing common installation errors. |
 |
Phone Screen Replacement Guide: FAQs and Tips for Mobile Devices Comprehensive frequently asked questions and essential tips for successfully replacing a mobile phone screen, covering necessary tools, compatibility checks, troubleshooting common issues, and installation advice. |
Ask a question about this manual
Ask about setup, troubleshooting, compatibility, parts, safety, or missing instructions. Manuals+ will review the question and use this page’s manual context to help answer it.