1. Introduction
This manual provides essential instructions for the installation, operation, and maintenance of your POWLAND 12000W Solar Hybrid Inverter. This device integrates a solar charge controller, inverter, and battery charger into one unit, offering uninterruptible power support. Please read this manual thoroughly before installation and operation to ensure optimal performance and safety.

Image 1.1: Front view of the POWLAND 12000W Solar Hybrid Inverter, showing the LCD display and indicator lights.
2. Safety Instructions
WARNING: Before proceeding with installation or operation, carefully read and understand all safety warnings and instructions in this manual. Failure to follow these instructions may result in electric shock, fire, severe injury, or death.
- Installation must be performed by qualified personnel.
- Ensure all wiring is correctly sized and properly insulated.
- Disconnect all power sources (AC, DC, and PV) before performing any maintenance or wiring.
- Do not disassemble the inverter. There are no user-serviceable parts inside.
- Avoid exposure to rain, snow, or liquids.
- Ensure adequate ventilation around the inverter to prevent overheating.
- This inverter is designed for indoor use in a controlled environment.
- Always use appropriate personal protective equipment (PPE) when working with electrical systems.

Image 2.1: Visual representation of the inverter's comprehensive protection features, including safeguards against overload, short-circuit, reverse polarity, overvoltage, and undervoltage.
3. Product Overview
3.1 Key Features
- 12000W Pure Sine Wave Output (120V±5%) for sensitive electronics.
- Integrated 200A MPPT Solar Charge Controller with 99.9% efficiency.
- Supports extreme solar input (90-500VDC).
- Compatible with 48V LiFePO4 and Lead-Acid battery systems.
- Battery-free operation mode available.
- Scalable system with up to 6 units stacking (72,000W total) for single-phase output.
- Multiple charging modes: Solar-Only, Grid-Priority, Solar-Priority, Dual-Input Mode.
- Comprehensive protection: Overload, Short-Circuit, Reverse Polarity, Auto-voltage cutoff.
- IP65-rated casing for environmental durability.
- LCD display and tri-color LED indicators for real-time monitoring.
3.2 LCD Display and Indicators
The inverter features an LCD HD display for viewing real-time data and setting various parameters. Tri-color LED indicators provide quick status updates.
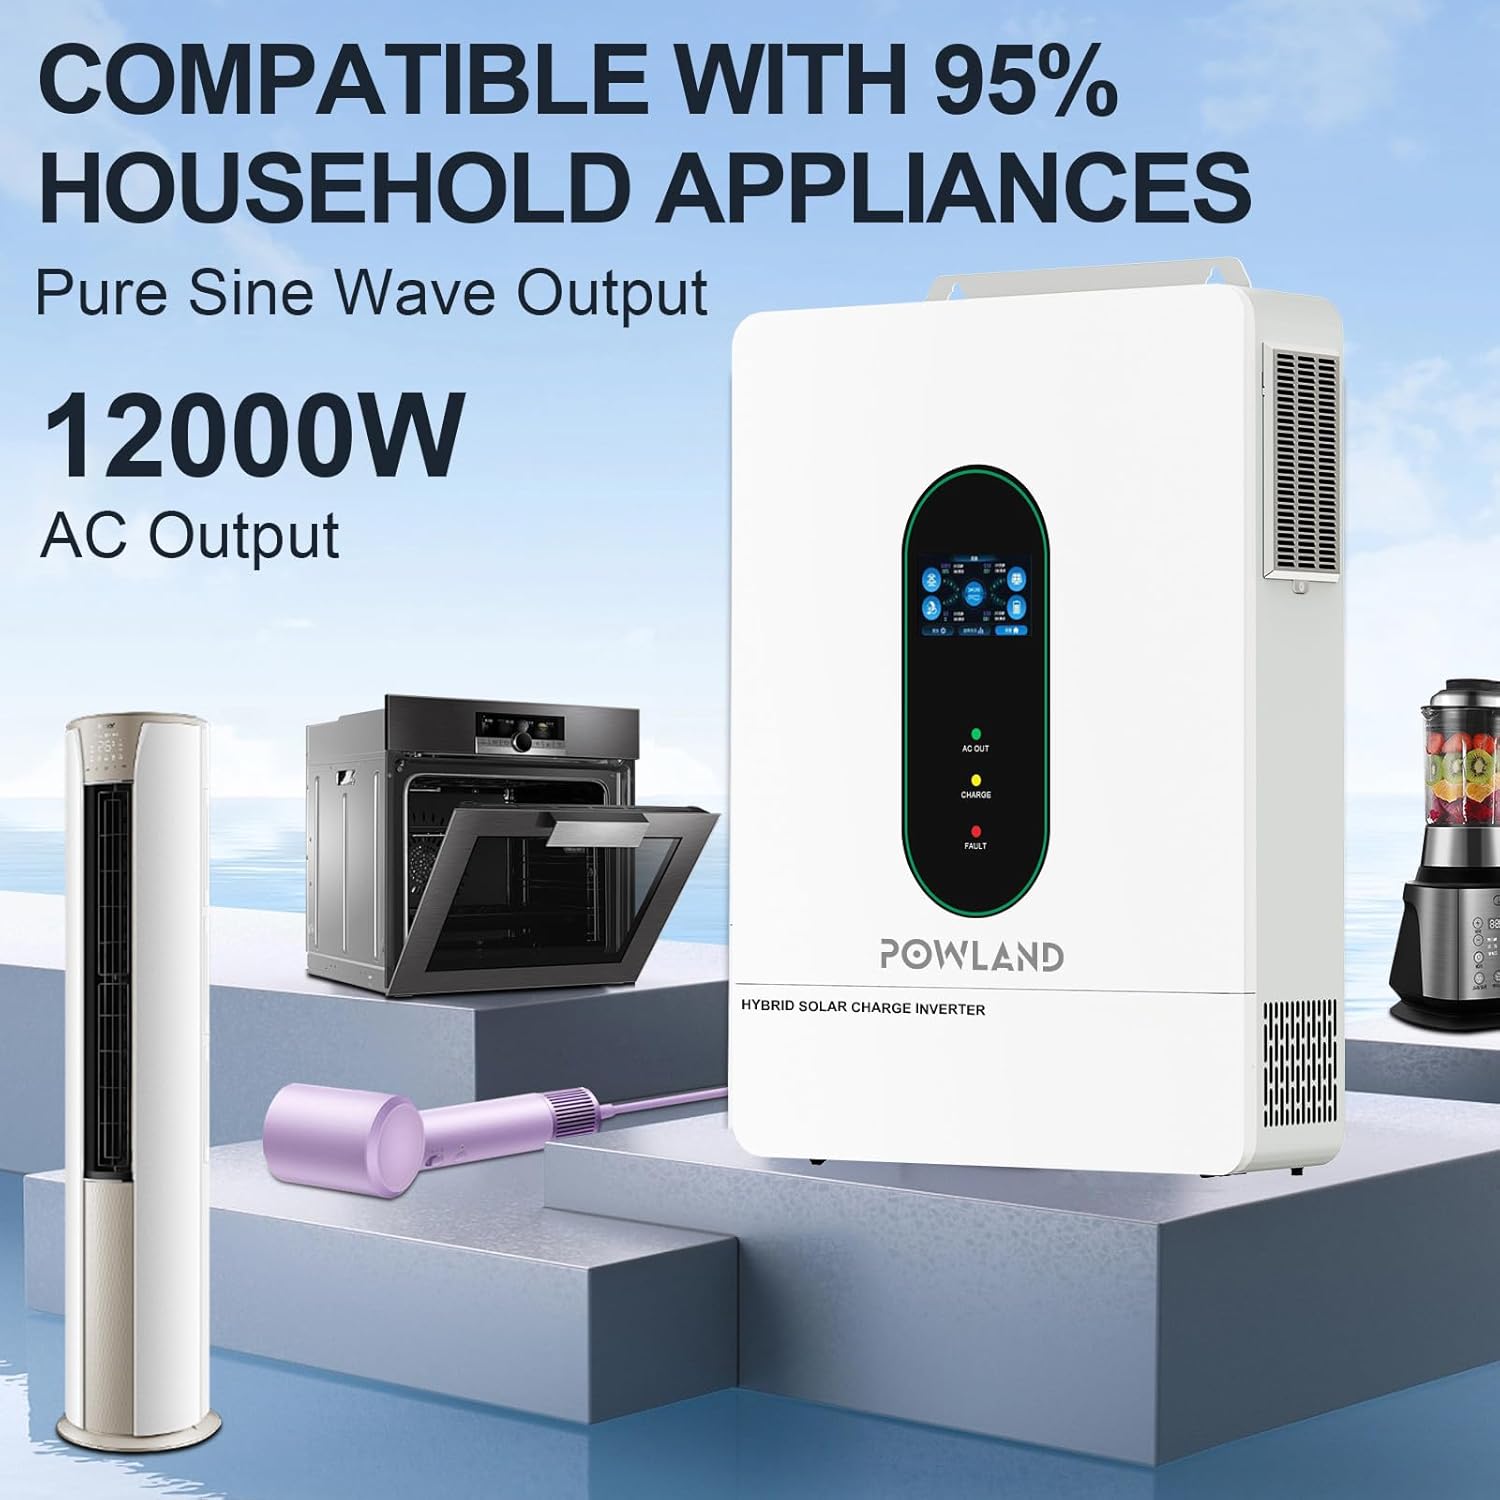
Image 3.1: Detailed view of the LCD HD Display, illustrating the interface for monitoring and setting operational parameters.
- AC OUT LED (Green): Indicates AC output status.
- CHARGE LED (Yellow): Indicates battery charging status.
- FAULT LED (Red): Indicates system fault or error.
4. Setup and Installation
4.1 Unpacking and Inspection
Upon receiving the inverter, carefully unpack it and inspect for any damage. Report any damage to your dealer immediately. Ensure all accessories are present.
4.2 Installation Location
Choose a suitable location for installation:
- Mount vertically on a wall.
- Ensure adequate clearance (at least 20 cm) around the unit for proper heat dissipation.
- Avoid direct sunlight, high temperatures, and high humidity.
- Install in a clean, dry, and well-ventilated area.
4.3 Wiring Connections
Refer to the connection diagram for proper wiring. All connections must be secure and correctly polarized.

Image 4.1: Detailed connection diagram showing inputs for Mains Power, Generator, Solar Panels, and Battery, along with AC output to Home Load.
- Battery Connection: Connect the 48V battery bank to the inverter's battery terminals. Ensure correct polarity (positive to positive, negative to negative). The inverter supports various battery types including SLD, FLD, AGM, GEL, LI (Lithium), and SUER.
- PV Input Connection: Connect your solar panel array to the PV input terminals. Observe maximum PV input voltage (500VDC) and current (22A x 2).
- AC Input Connection: Connect the AC utility grid or a generator to the AC input terminals.
- AC Output Connection: Connect your home loads to the AC output terminals. The inverter provides 120V-240V AC split-phase output.

Image 4.2: Illustration of the inverter's compatibility with various 48V battery types, including Lithium and Lead-Acid, and its battery activation function.
4.4 Parallel Operation (Optional)
The inverter supports parallel operation of up to 6 units for increased power output, reaching up to 72,000W in single-phase configuration. Refer to the specific parallel kit manual for detailed instructions.

Image 4.3: Diagrams illustrating how to connect multiple inverters (2, 3, or 6 units) in parallel for increased power output in a single-phase system.
5. Operating Instructions
5.1 Initial Power-Up
- Ensure all wiring connections are correct and secure.
- Turn on the battery breaker.
- Turn on the PV array breaker.
- Turn on the AC input breaker (if connected to grid/generator).
- Turn on the inverter's power switch.
- Observe the LCD display and LED indicators for normal operation.
5.2 LCD Display Navigation and Settings
Use the buttons below the LCD display to navigate menus and adjust settings. Key settings include:
- Output Voltage/Frequency: Configure AC output parameters.
- Battery Type: Select the correct battery type (LiFePO4, Lead-Acid, etc.) for accurate charging.
- Charging Current: Adjust the maximum charging current from AC or solar.
- Charging Source Priority: Set the preferred charging source.
- Output Source Priority: Define the priority for AC output (e.g., Solar First, Utility First).
5.3 Charging Modes
The inverter offers intelligent hybrid charging modes to adapt to various scenarios:
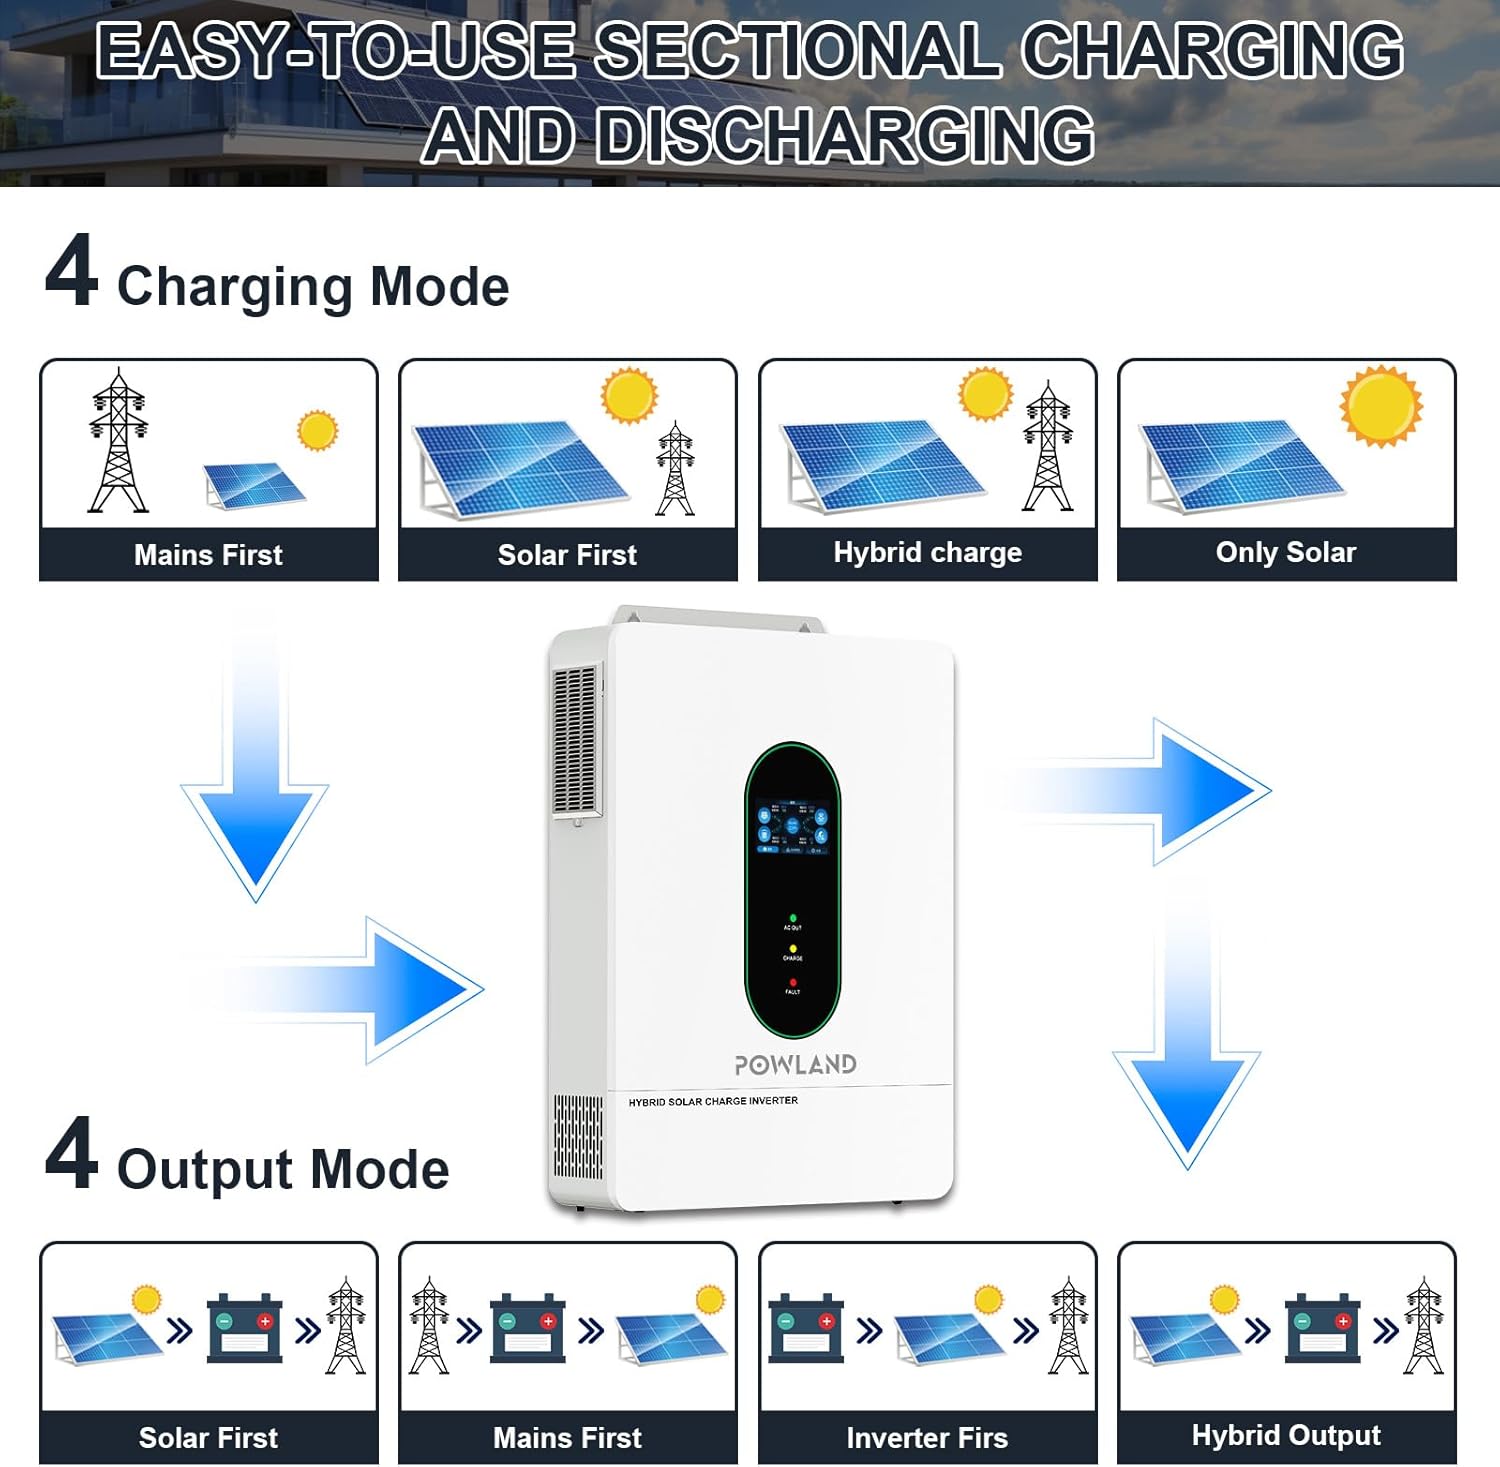
Image 5.1: Visual representation of the four available charging modes (Mains First, Solar First, Hybrid Charge, Only Solar) and four output modes (Solar First, Mains First, Inverter First, Hybrid Output).
- Mains First: Prioritizes utility power for charging and load supply.
- Solar First: Prioritizes solar power for charging and load supply.
- Hybrid Charge: Utilizes both solar and utility power for charging.
- Only Solar: Charges batteries exclusively from solar power.
5.4 Output Modes
The inverter also provides flexible output modes:
- Solar First: Prioritizes solar power for loads, then battery, then utility.
- Mains First: Prioritizes utility power for loads, then battery, then solar.
- Inverter First: Prioritizes battery power for loads, then utility.
- Hybrid Output: Dynamically switches between sources based on availability and load.

Image 5.2: The inverter demonstrating compatibility with a wide range of household appliances, including high-power devices.
6. Maintenance
Regular maintenance ensures the longevity and optimal performance of your inverter.
- Cleaning: Periodically clean the inverter's exterior and ventilation openings to prevent dust accumulation. Use a dry, soft cloth. Do not use liquid cleaners.
- Connections Check: Annually inspect all wiring connections for tightness and corrosion. Loose connections can cause overheating and damage.
- Battery Inspection: For lead-acid batteries, check electrolyte levels and terminal corrosion. For all battery types, monitor voltage and health as recommended by the battery manufacturer.
- Environment: Ensure the installation environment remains within specified temperature and humidity ranges.
7. Troubleshooting
This section provides solutions for common issues. If a problem persists, contact technical support.
| Problem | Possible Cause | Solution |
|---|---|---|
| Inverter not turning on | No battery connection; Battery voltage too low; Power switch off; Blown fuse/breaker. | Check battery connections; Charge battery; Turn on power switch; Check and reset breakers. |
| No AC output | Overload; Output breaker tripped; Inverter in fault mode; Incorrect output settings. | Reduce load; Reset output breaker; Check fault codes on LCD; Verify output settings. |
| Battery not charging | PV input too low/high; AC input not present; Incorrect charging settings; Battery fault. | Check PV voltage/current; Verify AC input; Adjust charging mode/current; Inspect battery. |
| Overload warning | Connected load exceeds inverter capacity. | Reduce the total load connected to the inverter. |
| High temperature warning | Insufficient ventilation; Ambient temperature too high; Fan malfunction. | Ensure clear airflow around the inverter; Relocate to a cooler area; Contact support if fan is faulty. |
8. Specifications
The following table details the technical specifications of the POWLAND 12000W Solar Hybrid Inverter (Model 12KW-48V).
| Feature | Specification |
|---|---|
| Output Power | 12000 Watts |
| Input Voltage (DC) | 48 Volts |
| AC Output Voltage | 120V-240V AC (Split Phase) |
| MPPT Charge Controller Current | 200A |
| Max PV Input Voltage | 500VDC |
| Max PV Input Current | 22A x 2 |
| Max AC Charging Current | 0-63A |
| Battery Compatibility | 48V LiFePO4, Lead-Acid (SLD, FLD, AGM, GEL, SUER) |
| Parallel Capability | Up to 6 units (72000W total) |
| Item Weight | 60.5 pounds |
| Package Dimensions | 24 x 17 x 5.2 inches |
9. Warranty and Support
For warranty information, please refer to the warranty card included with your product or contact your point of purchase. POWLAND is committed to providing reliable products and customer support.
If you encounter any issues or have questions not covered in this manual, please contact POWLAND customer service through the official channels provided at the time of purchase. When contacting support, please have your product model (12KW-48V) and serial number ready.