Important Safeguards
Please read all instructions carefully before using this appliance. Failure to follow these instructions may result in electric shock, fire, or serious injury.
- Do not touch hot surfaces. Use handles or knobs.
- To protect against electrical hazards, do not immerse cord, plugs, or the appliance in water or other liquid.
- Close supervision is necessary when any appliance is used by or near children.
- Unplug from outlet when not in use and before cleaning. Allow to cool before putting on or taking off parts, and before cleaning the appliance.
- Do not operate any appliance with a damaged cord or plug, or after the appliance malfunctions or has been damaged in any manner. Contact customer support for assistance.
- The use of accessory attachments not recommended by the appliance manufacturer may result in fire, electric shock, or injury to persons.
- Do not use outdoors.
- Do not let cord hang over edge of table or counter, or touch hot surfaces.
- Do not place on or near a hot gas or electric burner, or in a heated oven.
- Always attach plug to appliance first, then plug cord into the wall outlet. To disconnect, turn any control to 'off', then remove plug from wall outlet.
- Do not use appliance for other than intended household use.
- Ensure the appliance is placed on a stable, level surface during operation.
- This appliance is designed for use with standard K-Cup pods only. Do not use other capsule types.
- BPA-free materials are used in the construction of this coffee maker.
Product Components
Familiarize yourself with the parts of your Bonsenkitchen Single Serve Coffee Maker.
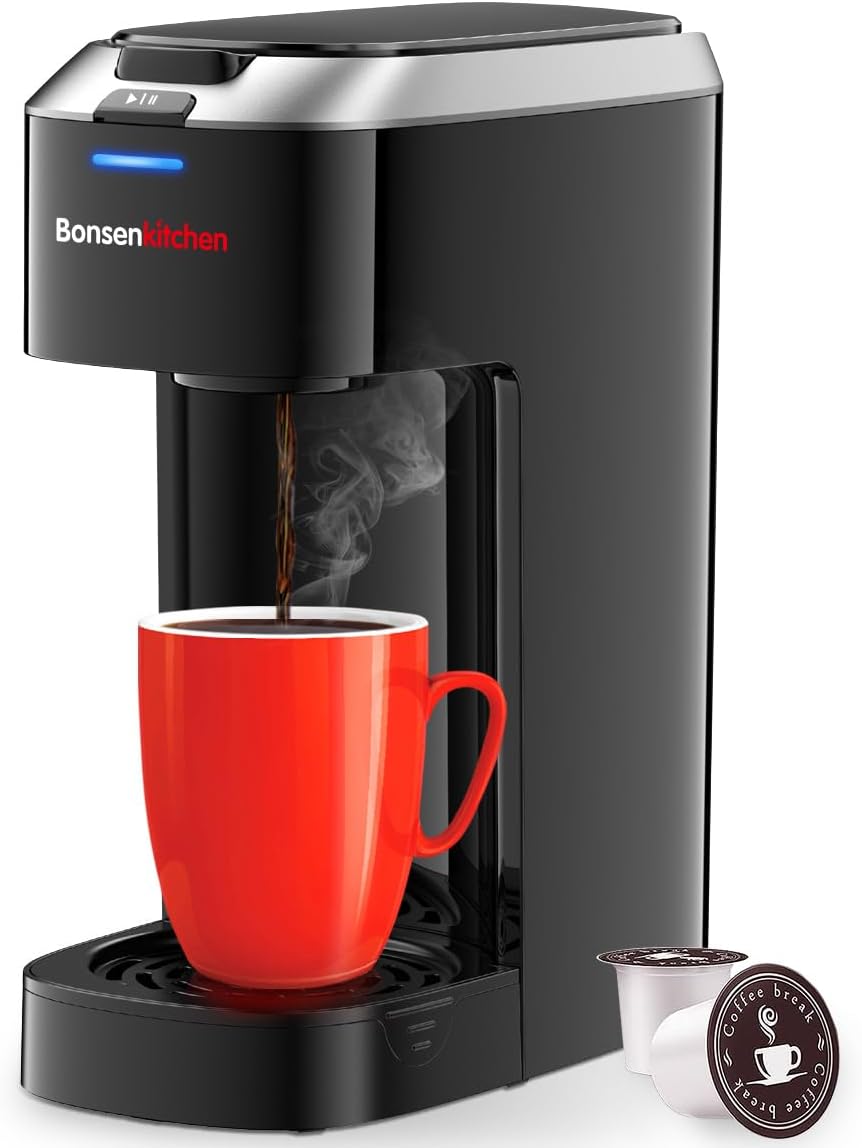
Image: The Bonsenkitchen Single Serve Coffee Maker in black and silver, shown actively brewing coffee into a red mug. Several K-Cup pods are visible next to the machine.
- Water Reservoir: Located at the back, holds water for brewing. Features internal markings for 6oz, 8oz, 10oz, 12oz, and 14oz brew sizes.
- Brew Head: Area where the K-Cup pod is inserted.
- Power Button/Brew Button: Initiates the brewing process.
- Drip Tray: Removable tray to catch drips and spills. Accommodates travel mugs up to 6.6 inches tall when removed.
- Piercing Needle: Located in the brew head and at the bottom of the pod holder, punctures the K-Cup pod.
Before First Use
Before brewing your first cup of coffee, follow these steps to prepare your new coffee maker:
- Unpack: Remove all packaging materials and labels from the coffee maker.
- Clean Components: Wash the removable drip tray and water reservoir with warm, soapy water. Rinse thoroughly and dry.
- Initial Rinse Cycle: Fill the water reservoir to the MAX line with fresh water. Do not insert a K-Cup pod. Place a large mug on the drip tray. Press the brew button to run a water-only cycle. Discard the hot water. This cleans the internal components and prepares the machine for use.
Operating Instructions
Brewing Coffee
Follow these steps to brew a single cup of coffee:

Image: A visual guide showing the four steps for brewing coffee: 1. Add water to the reservoir. 2. Place a K-Cup pod into the holder. 3. Close the lid. 4. Press the brew button to start.
- Add Water: Open the lid and fill the water reservoir with fresh water to your desired brew size (6oz to 14oz). Do not exceed the MAX fill line.
- Insert Pod: Place a standard K-Cup pod into the pod holder. Ensure it is seated correctly.
- Close Lid: Close the lid firmly until it clicks into place. This will puncture the K-Cup pod.
- Place Mug: Position your mug or cup on the drip tray.
- Start Brewing: Press the brew button. The indicator light will illuminate, and brewing will begin. Brewing takes approximately 3 minutes.
- Enjoy: Once brewing is complete, the machine will automatically shut off. Carefully remove your hot beverage.

Image: An illustration clarifying that the coffee maker is compatible with K-Cup capsules only, and not with Nespresso or Dolce Gusto capsules.
Adjusting Brew Strength
The coffee maker allows you to customize your coffee strength by adjusting the amount of water used.

Image: A detailed view of the water reservoir, highlighting the internal measurement lines for 6oz, 8oz, 10oz, 12oz, and 14oz, allowing users to select their preferred brew volume and strength.
- Fill the water reservoir to the desired marking (6oz for a stronger brew, 14oz for a milder brew).
- The internal water markings (MIN 6oz to MAX 14oz) provide clear guidance.
Using Travel Mugs
The coffee maker is designed to accommodate various mug sizes, including travel mugs.

Image: A diagram illustrating the compact dimensions of the coffee maker (9.09"D x 4.65"W x 11.1"H) and demonstrating how the removable drip tray allows for travel mugs up to 6.6 inches in height.
- For taller travel mugs (up to 6.6 inches), simply remove the drip tray assembly.
- Place your travel mug directly on the base of the coffee maker.
Cleaning and Maintenance
Regular cleaning ensures optimal performance and extends the lifespan of your coffee maker.

Image: A comprehensive four-step visual guide for cleaning the coffee maker, detailing how to clean the surface, water tank and filter components, drip tray, and the piercing needles.
Daily Cleaning
- Clean the Surface: Wipe the exterior of the coffee maker with a damp, non-abrasive, lint-free cloth. After brewing, wipe any steam condensation from the back panel with a dry cloth.
- Empty Drip Tray: After each use, empty the drip tray and wipe it clean with a damp, non-abrasive, lint-free cloth to prevent overflow or odors. The removable drip tray is dishwasher-safe.
Periodic Cleaning (Descaling)
To prevent mineral buildup and maintain performance, periodic descaling is recommended.
- Clean Water Tank and Filter Components: Clean the water tank and filter components with a damp, non-abrasive cloth and mild soap. Rinse well to remove any soap residue. Air dry fully. The removable water tank is dishwasher-safe.
- Clean Piercing Needles: Use an unbent paper clip to carefully clear any debris from the piercing needles in the brew head and the pod holder bottom. Caution: Needles are sharp; handle with care to avoid injury.
- Descaling (Recommended Monthly):
- Fill the water reservoir with a mixture of one part white vinegar and one part water.
- Place a large mug on the drip tray.
- Run a brew cycle without a K-Cup pod.
- Repeat this process until the reservoir is empty.
- Run several cycles with fresh water only to rinse out any vinegar residue.
Troubleshooting
Refer to this table for common issues and their solutions.
| Problem | Possible Cause | Solution |
|---|---|---|
| Coffee maker does not turn on. | Not plugged in; power outlet malfunction. | Ensure the power cord is securely plugged into a working electrical outlet. |
| Coffee is not brewing. | Insufficient water in reservoir; lid not closed properly; piercing needle clogged. | Fill water reservoir to the desired level. Ensure the lid is fully closed. Clean the piercing needles with a paper clip. |
| Coffee tastes weak. | Too much water for the pod; old coffee pod. | Use less water for a stronger brew. Ensure K-Cup pods are fresh. |
| Coffee overflows from mug. | Mug is too small for selected brew size. | Use a larger mug or select a smaller brew size. |
| Water leaking from machine. | Drip tray full; reservoir not seated correctly. | Empty the drip tray. Ensure the water reservoir is properly seated. |
If the problem persists after attempting these solutions, please contact customer support.
Product Specifications
Technical details for the Bonsenkitchen Single Serve Coffee Maker.
| Feature | Specification |
|---|---|
| Brand | Bonsenkitchen |
| Model Name | CM3302-V1 |
| Color | Black+Silver |
| Product Dimensions | 9.09"D x 4.65"W x 11.1"H |
| Item Weight | 3.2 pounds |
| Coffee Maker Type | Drip Coffee Machine |
| Coffee Input Type | Pod (K-Cup compatible) |
| Brew Sizes | 6oz, 8oz, 10oz, 12oz, 14oz |
| Special Features | Adjustable Brew Strength, One Touch Operation, Single Cup Brew, Removable Drip Tray (fits 6.6" travel mugs), BPA-free Materials |
| Certifications | ETL certified, UL standards compliant |
Customer Support
For further assistance, product inquiries, or warranty information, please contact Bonsenkitchen customer support. Refer to the product packaging or the official Bonsenkitchen website for the most current contact details.