Petrice VT02-00031
Petrice Automatic Cat Feeder User Manual
Model: VT02-00031
This manual provides instructions for the safe and efficient operation of your Petrice Automatic Cat Feeder. Please read thoroughly before use.
1. Product Overview
The Petrice Automatic Cat Feeder is designed to provide scheduled meals for your cats and small dogs, ensuring consistent nutrition even when you are away. It features a large capacity, customizable feeding schedules, voice recording, and dual power options for reliability.

Image: The Petrice Automatic Cat Feeder in black, with a cat actively eating from its stainless steel bowl. This image highlights the feeder's design and its primary function.
2. Setup Guide
2.1 Unboxing and Components
Carefully remove all components from the packaging. Ensure the following items are present:
- Automatic Feeder Unit (main body with food hopper)
- Stainless Steel Food Bowl
- Food Bowl Holder
- 5V DC Power Adapter
- Desiccant Bag (pre-installed or separate)
- User Manual (this document)
2.2 Power Supply Connection
The feeder supports dual power options: a 5V DC power adapter or 3 D-cell batteries (not included). It is recommended to use both for uninterrupted operation, especially during power outages.
- Connect the 5V DC power adapter to the power port on the back of the feeder and plug it into a wall outlet.
- For battery backup, open the battery compartment at the bottom of the feeder. Insert 3 D-cell batteries, ensuring correct polarity. Close the compartment securely.

Image: Illustration of the dual power supply options for the feeder, showing both the DC adapter connection and the battery installation. This ensures continuous operation.
Video: Demonstrates the dual power supply feature, showing how to connect the power adapter and install the D-cell batteries. (Relevant segment: 0:34-0:40)
2.3 Assembly and Food Filling
- Place the food bowl holder onto the base of the feeder.
- Insert the stainless steel bowl into the holder.
- Open the top lid of the food hopper. If a desiccant bag is not already installed, place it in the designated compartment under the lid to maintain food freshness.
- Pour dry pet food into the hopper. The 4-liter capacity can hold enough food for several days.
- Close the lid securely to ensure an airtight seal. The feeder features anti-slip pads on the base for stability.

Image: Shows the process of adding the desiccant bag to the feeder lid and securing the lid to keep food fresh and dry.

Image: Detailed view of the feeder's stability features, including the locking lid, sturdy base lock, and anti-slip pads, designed to prevent tipping and maintain food security.
Video: Illustrates the 4L capacity and the function of the desiccant bag for food freshness. (Relevant segment: 0:11-0:16)
3. Operating Instructions
3.1 Control Panel Overview
The feeder features an intuitive LED display and four control buttons:
- Microphone Button: For recording voice messages.
- Up/Down Buttons: To navigate menus and adjust values.
- Set Button: To confirm selections and save settings.
- Unlock Button: Press and hold for 3 seconds to unlock the control panel.
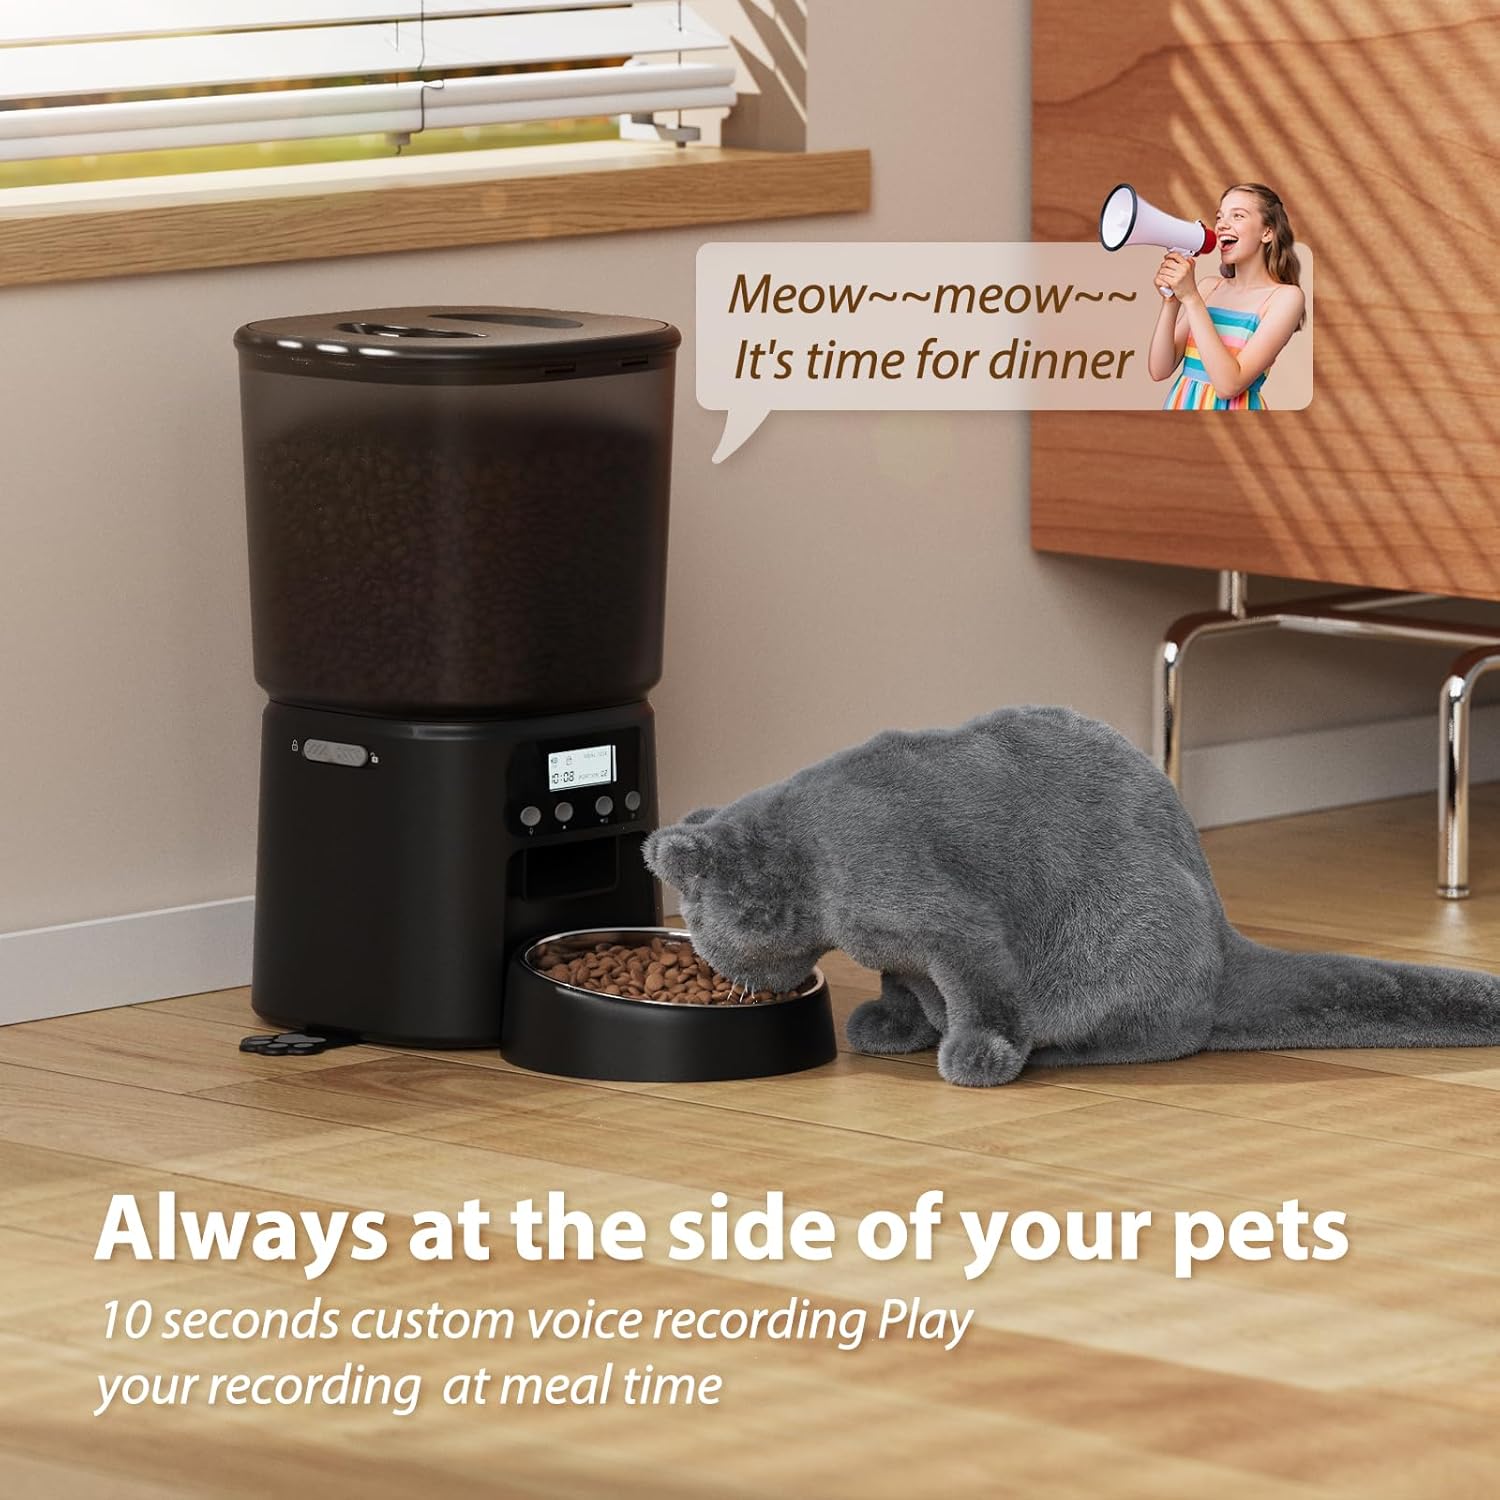
Image: A detailed view of the feeder's LED display and control buttons, indicating functions like current time, feeding amount, and button lock status.
Video: Provides an overview of the control panel, highlighting the display and button functions. (Relevant segment: 0:05-0:09)
3.2 Setting Feeding Schedule
You can program up to 6 meals per day, with 1 to 30 portions per meal.
- Press and hold the "Set" button for 3 seconds to enter programming mode.
- Use the "Up" and "Down" buttons to adjust the current time. Press "Set" to confirm.
- Navigate to "Meal 1" setting. Use "Up" and "Down" to set the feeding time and number of portions. Press "Set" to confirm.
- Repeat for up to 6 meals as desired.
- After setting all meals, press and hold "Set" to exit programming mode.

Image: A visual representation of the feeder's scheduling interface, demonstrating how to set meal times and the number of portions for each feeding.
Video: Shows how to customize the feeding schedule, including setting meal times and portions. (Relevant segment: 0:16-0:19)
3.3 Voice Recording Function
Record a 10-second voice message that will play at each scheduled feeding time to call your pet.
- Press and hold the "Microphone" button until the recording indicator appears on the display.
- Speak your message clearly into the microphone.
- Release the "Microphone" button to save the recording.
- To test the recording, briefly press the "Microphone" button.
Image: The feeder with a visual representation of the voice recording feature, showing a speech bubble with a message for the pet.
Video: Demonstrates how to record a personalized 10-second voice message that plays during feeding times. (Relevant segment: 0:19-0:22)
3.4 Manual Feeding (Extra Meal Mode)
To dispense an extra meal outside of the programmed schedule:
- Briefly press the "Unlock" button to unlock the control panel.
- Press the "Set" button once to dispense one portion of food. Repeat as needed for additional portions.
3.5 Recommended Kibble Size and Anti-Clog Design
The feeder is designed to prevent food jams and is suitable for dry kibble sizes between 2mm and 15mm. This includes dry food, freeze-dried food, and mixed food.

Image: Illustrates the range of suitable kibble sizes (2mm-15mm) and types of food (dry, freeze-dried, mixed) that can be used with the feeder, emphasizing its anti-clog design.
Video: Highlights the anti-jamming design and the suitable kibble size range (2-10mm dry kibble). (Relevant segment: 0:25-0:27)
4. Maintenance
4.1 Cleaning the Feeder
Regular cleaning ensures hygiene and extends the life of your feeder. The removable stainless steel bowl and BPA-free components make cleaning easy.
- Unplug the feeder and remove any batteries.
- Remove the stainless steel bowl and wash it with mild soap and water. Rinse thoroughly and dry completely.
- The food hopper and main unit can be wiped clean with a damp cloth. Do not submerge the main unit in water.
- Ensure all parts are completely dry before reassembling and adding food.

Image: Demonstrates the ease of cleaning the feeder, showing the removable food hopper and stainless steel bowl being washed.
4.2 Desiccant Bag Replacement
The desiccant bag helps keep food fresh. Replace it every 1-2 months, or as needed, depending on humidity levels.
- Open the top lid of the food hopper.
- Remove the old desiccant bag from its compartment.
- Insert a new desiccant bag.
- Close the lid securely.
5. Troubleshooting
| Problem | Possible Cause | Solution |
|---|---|---|
| Feeder not dispensing food. |
|
|
| Voice recording not playing. |
|
|
| Display not working. |
|
|
6. Specifications
- Model: VT02-00031
- Capacity: 4 Liters (approx. 3.02 lbs dry food)
- Material: Food-grade ABS, Stainless Steel Bowl
- Power Supply: 5V DC Adapter, 3 x D-cell Batteries (not included)
- Feeding Schedule: Up to 6 meals/day
- Portion Size: 1-30 portions/meal
- Voice Recording: 10 seconds
- Recommended Kibble Size: 2-15mm
- Dimensions: 7.68 x 9.65 x 7.68 inches (L x W x H)
- Weight: 3.01 pounds
- Manufacturer: Petrice
- Country of Origin: China
Ask a question about this manual
Ask about setup, troubleshooting, compatibility, parts, safety, or missing instructions. Manuals+ will review the question and use this page’s manual context to help answer it.