Aksozamg V40 PRO
Aksozamg V40 PRO Handheld Game Console User Manual
Model: V40 PRO
1. Overview
The Aksozamg V40 PRO is a portable handheld game console designed for retro gaming enthusiasts. It features a Linux-based operating system, a 3.5-inch IPS display, and comes pre-loaded with a large library of classic games. This manual provides instructions for setting up, operating, and maintaining your device.

Image 1.1: Aksozamg V40 PRO Handheld Game Console and included accessories.
2. Package Contents
Verify that all items are present in the package:
- Aksozamg V40 PRO Handheld Game Console
- 256GB TF Card (pre-installed)
- USB Type-C Charging Cable
- Screen Protector Kit (wipes, screen protector)
- Carrying Case
- User Manual (this document)
3. Product Features
3.1 High-Performance Processor
The V40 PRO is equipped with a 1.5GHz 64-bit RK3326 CPU and Mali-G31MP quad-core GPU, providing smooth performance for 2D and 3D games. It features 4GB x 2 RAM DDR3L for responsive operation.

Image 3.1: Diagram illustrating the RK3326 professional gaming processor.
3.2 3.5-inch IPS Display
Experience clear visuals on the 3.5-inch IPS high-definition full screen with a resolution of 640x480 pixels. The screen is constructed with tempered glass for enhanced durability.
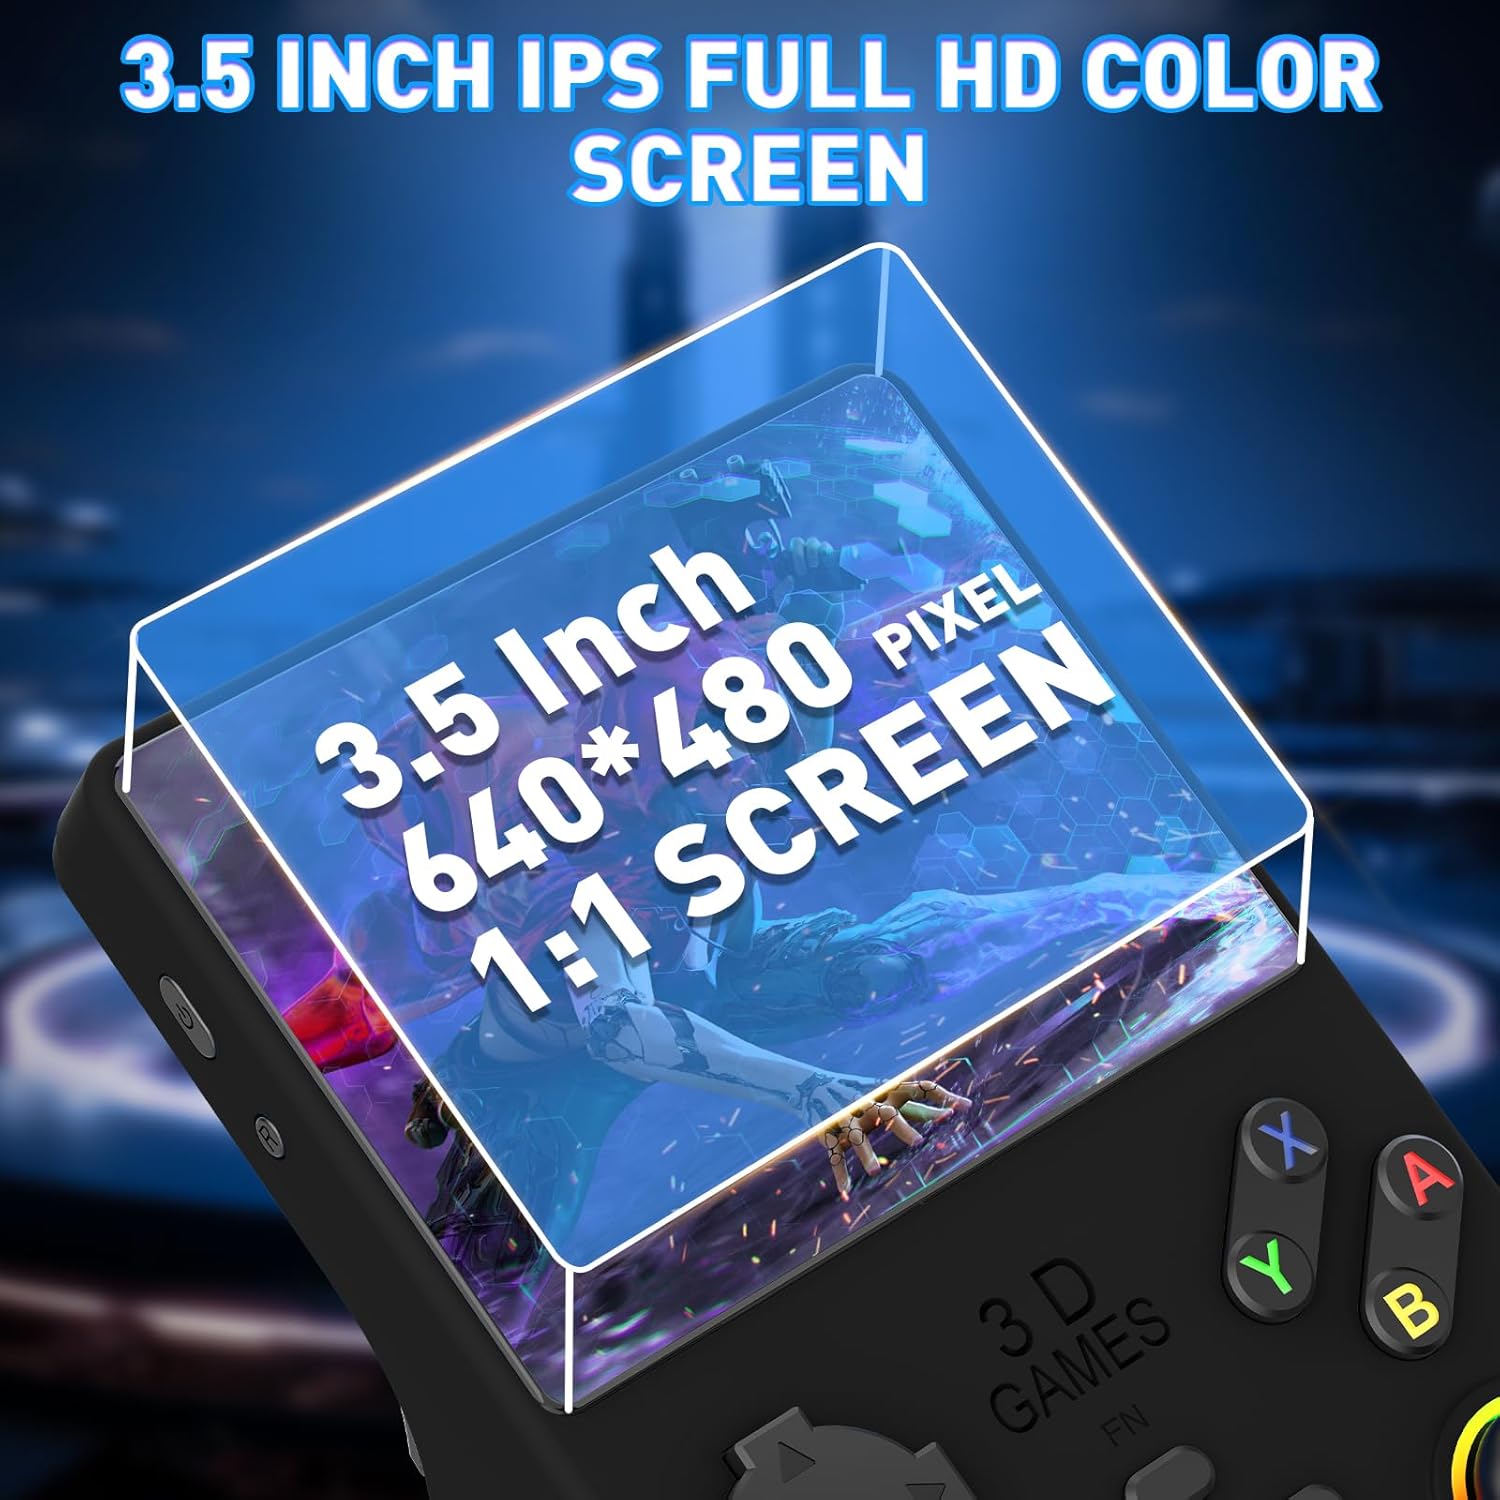
Image 3.2: Close-up view of the 3.5-inch IPS screen with 640x480 resolution.
3.3 Extensive Game Library
The console comes with a 256GB TF card pre-loaded with over 35,000 classic games and supports more than 36 emulators, allowing for a wide range of retro gaming experiences.

Image 3.3: Visual representation of the console's extensive game library and emulator support.
3.4 Portable Design and Battery Life
Designed for portability, the V40 PRO features a compact and lightweight form factor. It includes a 3800mAh rechargeable battery, providing up to 10 hours of playtime on a single charge. Charging is via a Type-C interface.

Image 3.4: Illustration of the console's 3800mAh battery and Type-C charging capability.

Image 3.5: The console's compact size, measuring 3.27 inches wide and 6.02 inches high, suitable for travel.
3.5 Controls and Connectivity
The console features dual 3D joysticks and standard gaming buttons for precise control. It includes a 3.5mm headphone jack for audio and a Type-C interface for charging and OTG connectivity, allowing connection to larger screens via an adapter.

Image 3.6: Detail of the dual 3D Hall joysticks for enhanced control.
4. Setup
- Initial Charge: Before first use, fully charge the console using the provided USB Type-C cable and a compatible 5V/2A power adapter (not included). The charging indicator will show progress.
- TF Card: The 256GB TF card is pre-installed. Ensure it is securely seated in the TF1-OS slot.
- Power On: Press and hold the Power button located on the side of the console until the screen illuminates.
- Screen Protector: Apply the included screen protector to the display following the instructions in the kit to protect against scratches.
5. Operating Instructions

Image 5.1: Layout of buttons and ports on the Aksozamg V40 PRO console.
5.1 Basic Controls
- Power Button: Press and hold to turn the console on or off. A short press will put the device into sleep mode or wake it up.
- Reset Button: A small button, typically recessed, used to restart the console if it becomes unresponsive. Use a thin object like a paperclip to press it.
- Directional Pad (D-Pad): Used for menu navigation and in-game movement.
- Left/Right Rocker (Joysticks): Provide analog control for movement and camera in supported games.
- A/B/X/Y Buttons: Action buttons for in-game commands and menu selections.
- Select/Start Buttons: Used for in-game functions (e.g., pausing, opening menus) and menu navigation.
- L1/L2/R1/R2 Buttons: Shoulder buttons for additional in-game actions.
- Volume Keys (+/-): Adjust the audio output level.
- Function (FN) Button: May provide access to system-level menus or shortcuts depending on the operating system configuration.
5.2 Navigating the System
Upon powering on, the console will boot into its Linux-based operating system. Use the D-Pad or joysticks to navigate through game lists and system menus. Press the 'A' button to select an option and 'B' to go back.
5.3 Playing Games
- From the main menu, select the desired emulator or game category.
- Browse the list of available games.
- Select a game using the 'A' button to launch it.
- To exit a game, refer to the specific emulator's hotkey combination (often a combination of 'Select' and 'Start' or 'FN' and another button).
5.4 External Display Connection
To connect the console to a larger screen (e.g., TV or projector), use a Type-C OTG adapter (not included) and an HDMI cable (not included). Connect the Type-C OTG adapter to the console's Type-C port, then connect the HDMI cable from the adapter to your display. Ensure your display is set to the correct HDMI input.
5.5 Multiplayer
The console supports multiplayer battles between two players online. Additional controllers (not included) may be required and connected via the Type-C OTG adapter.
6. Game Management
6.1 Adding Games
To add more games, connect the TF card to a computer using a card reader. Copy compatible game ROMs into the appropriate emulator folders on the TF card. Ensure the ROMs are in supported formats for the respective emulators.
6.2 Saving Game Progress
Most emulators support in-game saving and savestates. Refer to the specific emulator's documentation or in-game menu for instructions on how to save and load game progress. Note that some older games or specific emulator configurations may not fully support saving progress, requiring gameplay from the beginning of a session.
7. Maintenance
- Cleaning: Use a soft, dry cloth to clean the console's exterior. For the screen, use a microfiber cloth specifically designed for electronics. Avoid abrasive cleaners or solvents.
- Battery Care: To prolong battery life, avoid fully discharging the console frequently. Charge the device regularly, even if not in use for extended periods. Store the console in a cool, dry place.
- Screen Protection: The screen is made of tempered glass, but it is not indestructible. Avoid dropping the device or applying excessive pressure to the screen. Ensure the screen protector is properly applied for added defense against scratches.
- Storage: When not in use, store the console in its carrying case to protect it from dust and physical damage.
8. Troubleshooting
| Problem | Possible Cause | Solution |
|---|---|---|
| Console does not power on. | Low battery; system crash. | Charge the console for at least 30 minutes. If still unresponsive, press the Reset button with a thin object. |
| Battery drains quickly or does not hold charge. | Battery degradation; background processes. | Ensure all applications are closed when not in use. Fully charge the device before use. If the issue persists, contact customer support. |
| Screen is unresponsive or detached. | Physical damage; manufacturing defect. | If the screen is physically damaged or detached, discontinue use and contact customer support for assistance. |
| Games lag or perform slowly. | System overload; emulator incompatibility. | Close any unnecessary background applications. Some demanding games or emulators may naturally run slower. Ensure the TF card is not corrupted. |
| Cannot save game progress. | Emulator limitation; incorrect save settings. | Verify the emulator's save functionality. Some older games do not support in-game saves. Ensure there is sufficient space on the TF card. |
| External display not working. | Incorrect connection; faulty adapter/cable. | Ensure the Type-C OTG adapter and HDMI cable are correctly connected. Verify the TV input is set to the correct HDMI port. Test with different cables/adapters if possible. |
9. Specifications
| Model | V40 PRO |
| Processor | RK3326 (1.5GHz 64-bit CPU), Mali-G31MP (Quad-core GPU) |
| RAM | 4GB x 2 DDR3L |
| Operating System | Linux System |
| Screen Size | 3.5 Inches IPS |
| Resolution | 640 x 480 pixels |
| Storage | 256GB TF Card (included) |
| Battery | 3800mAh Lithium-Ion (up to 10 hours playtime) |
| Charging Port | USB Type-C (5V/2A input) |
| Audio Output | Built-in speakers, 3.5mm headphone jack |
| Connectivity | Type-C OTG (for external display/multiplayer) |
| Dimensions | 3.22"L x 1.05"W x 5.07"H |
| Weight | 11.7 ounces |
| Material | Plastic |
| Recommended Age | 10 years and up |
10. Warranty and Support
For warranty information and technical support, please contact Aksozamg customer service. Refer to the product packaging or the seller's information for contact details.
You can also visit the official Aksozamg store for more product information and support resources: Aksozamg Store
Ask a question about this manual
Ask about setup, troubleshooting, compatibility, parts, safety, or missing instructions. Manuals+ will review the question and use this page’s manual context to help answer it.