1. Product Overview
This document provides essential information for the installation, operation, and maintenance of your new replacement starter motor. This starter is designed to be compatible with various Yanmar industrial diesel engines, specifically models L70AE-SE, L75AESE, L90AESE, and L100AESE, replacing part number 18494.
The unit has been tested for performance and reliability to ensure proper function. It is a direct replacement for Yanmar part numbers 114351-77011 and 414351-77011.
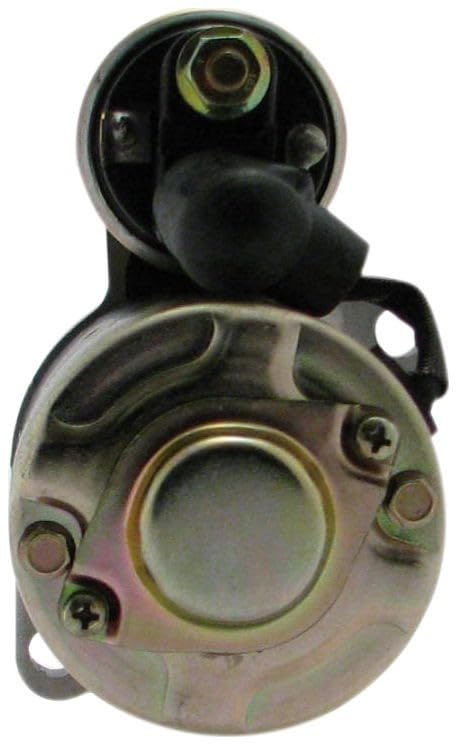
Figure 1: Generic Replacement Starter Motor. This image shows the complete starter motor assembly, featuring its metallic housing, solenoid, and gear end.
2. Safety Information
Always observe the following safety precautions when working with electrical components and engine systems:
- Disconnect the battery's negative terminal before beginning any installation or maintenance work to prevent electrical shock or short circuits.
- Wear appropriate personal protective equipment (PPE), including safety glasses and gloves.
- Ensure the engine is cool before working on it to avoid burns.
- Refer to your engine's specific service manual for detailed instructions and torque specifications.
- Keep the work area clean and well-lit.
3. Installation Instructions
3.1. Tools Required
- Socket/Wrench Set
- Battery Terminal Cleaner
- Wire Brush
- Multimeter (for testing, optional)
3.2. Removal of Old Starter
- Ensure the engine is off and cool.
- Disconnect the negative (-) battery cable, then the positive (+) battery cable.
- Locate the starter motor on your Yanmar engine.
- Disconnect the main battery cable and the solenoid wire(s) from the starter. Note their positions for reinstallation.
- Remove the mounting bolts securing the starter motor to the engine block.
- Carefully remove the old starter motor from its mounting position.
3.3. Installation of New Starter
- Inspect the mounting surface on the engine block and clean any debris or corrosion.
- Position the new starter motor into place, ensuring it aligns correctly with the mounting holes.
- Install the mounting bolts and tighten them to the manufacturer's specified torque (refer to your engine's service manual).
- Connect the solenoid wire(s) to the appropriate terminals on the new starter.
- Connect the main battery cable to the large terminal on the starter solenoid. Ensure all connections are clean and secure.
- Reconnect the positive (+) battery cable, then the negative (-) battery cable.
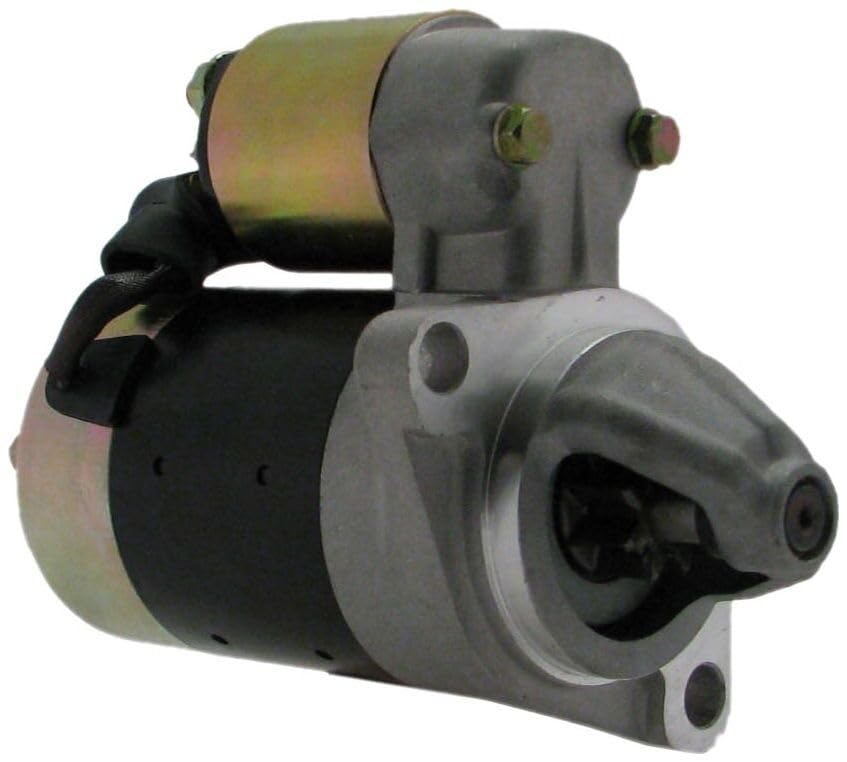
Figure 2: Close-up view of the starter motor's solenoid and gear end. This shows the electrical connection points and the drive gear that engages with the engine's flywheel.
4. Operating Instructions
After successful installation, the starter motor operates as part of your engine's starting system. To start the engine:
- Ensure the engine's fuel supply is on and all pre-start checks are completed according to your engine's manual.
- Turn the ignition key to the "START" position. The starter motor will engage the engine's flywheel and crank the engine.
- Once the engine starts, release the ignition key. The starter motor will disengage automatically.
- Do not crank the engine for more than 10-15 seconds at a time. Allow a brief pause (30-60 seconds) between attempts to prevent overheating the starter motor.
5. Maintenance
The replacement starter motor is designed for durability and requires minimal maintenance. However, periodic checks can help ensure its longevity:
- Battery Condition: Ensure your engine's battery is fully charged and in good condition. A weak battery can strain the starter motor.
- Cable Connections: Periodically inspect all battery and starter cable connections for corrosion, looseness, or damage. Clean and tighten as necessary.
- Mounting Security: Check that the starter motor's mounting bolts remain tight.
- Environmental Protection: Keep the starter motor free from excessive dirt, moisture, and oil, which can degrade its performance over time.
6. Troubleshooting
If you experience issues with your starter motor, consider the following common problems and solutions:
| Symptom | Possible Cause | Solution |
|---|---|---|
| Starter does not crank or clicks once. | Dead or weak battery; loose or corroded battery cables; faulty starter solenoid; faulty ignition switch. | Check battery charge and terminals. Clean and tighten connections. Test battery. If battery is good, test starter solenoid and ignition switch. |
| Starter cranks slowly. | Low battery charge; corroded battery cables; high resistance in starter circuit. | Charge or replace battery. Clean and tighten all electrical connections. Inspect cables for damage. |
| Starter spins but engine does not crank. | Faulty starter drive (bendix) or flywheel ring gear damage. | Inspect starter drive and flywheel for damage. Replacement of starter or flywheel may be necessary. |
If troubleshooting steps do not resolve the issue, it is recommended to consult a qualified technician or contact customer support.
7. Product Specifications
- Part Number: 18494
- Compatible Yanmar Part Numbers: 114351-77011, 414351-77011
- Gear OD: 1.024 inches / 26 mm
- Engine Compatibility: Yanmar L70AE-SE, L75AESE, L90AESE, L100AESE 10HP Industrial Diesel Engines
- Manufacturer: Starter-QA-9328
8. Warranty and Support
This product comes with a 1-year warranty from the date of purchase, covering manufacturing defects. For warranty claims or technical assistance, please contact the seller directly.
Return Policy: A return policy of 30 days is typically offered for refunds or replacements, subject to seller terms.
If you have any questions about this product or require further assistance, please contact us. We are available to help.


