Introduction
This instruction manual provides essential information for the safe and effective installation, operation, and maintenance of your new Generic Replacement Bake Element, designed for Whirlpool ovens. This element directly replaces part number 4334146. Please read this manual thoroughly before attempting any installation or repair to ensure proper function and safety.
The bake element is a critical component in your oven, responsible for generating heat from the bottom of the oven cavity for baking and roasting. Ensuring its correct installation and function is vital for appliance performance.
Product Overview
The replacement bake element is designed to fit specific Whirlpool oven models. It is a U-shaped heating element with electrical terminals at each end, secured by mounting brackets.
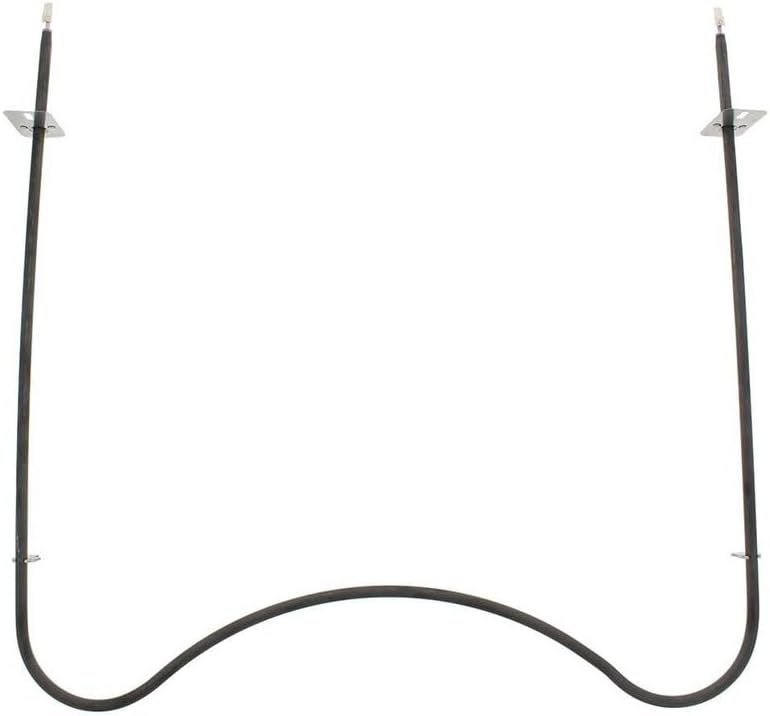
Image 1: Front view of the Generic Replacement Bake Element. This image shows the overall U-shaped design of the heating element, with mounting brackets and electrical terminals visible at both ends.
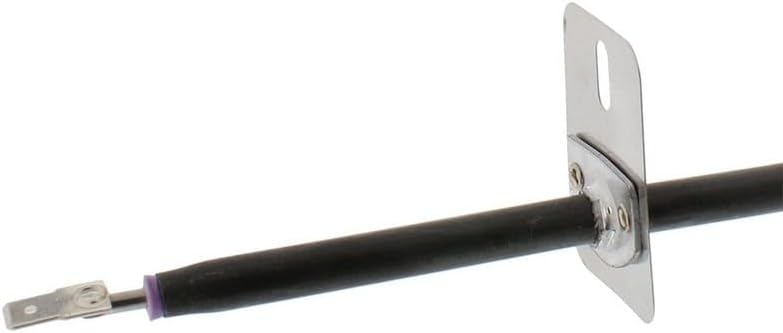
Image 2: Close-up view of one end of the bake element, showing the electrical terminal and mounting bracket. This detail highlights the connection point for the oven's wiring.
Safety Information
WARNING: Before attempting any repair or installation, always disconnect power to the appliance at the circuit breaker or fuse box. Failure to do so can result in electrical shock, serious injury, or death.
- Wear appropriate personal protective equipment, such as gloves and safety glasses.
- Ensure the oven cavity is cool before beginning work.
- If you are unsure about any step, consult a qualified appliance repair technician.
- Keep children and pets away from the work area.
- Handle the element carefully to avoid bending or damaging it.
Setup and Installation
This section outlines the general steps for replacing a bake element. Specific procedures may vary slightly depending on your oven model. Always refer to your appliance's service manual for detailed instructions.
- Disconnect Power: Turn off the circuit breaker supplying power to your oven. Verify power is off by attempting to turn on the oven light or controls.
- Access Oven Interior: Open the oven door and remove any oven racks.
- Locate Bake Element: The bake element is typically located at the bottom of the oven cavity.
- Remove Mounting Screws: Identify and remove the screws that secure the bake element to the back wall of the oven. Keep these screws for reinstallation.
- Carefully Pull Element Forward: Gently pull the element forward a few inches into the oven cavity. This will expose the electrical terminals.
- Disconnect Wires: Note the position of the wires on the old element. Disconnect the electrical wires from the terminals of the old bake element. It is recommended to take a photo before disconnecting.
- Remove Old Element: Once wires are disconnected, carefully remove the old bake element from the oven.
- Install New Element: Connect the electrical wires to the terminals of the new replacement bake element. Ensure connections are secure.
- Secure New Element: Push the new element into place, aligning the mounting brackets with the screw holes. Reinstall the mounting screws.
- Restore Power: Replace oven racks, close the oven door, and restore power to the appliance at the circuit breaker.
- Test Functionality: Turn on the oven to a low bake setting and observe if the element heats up properly.
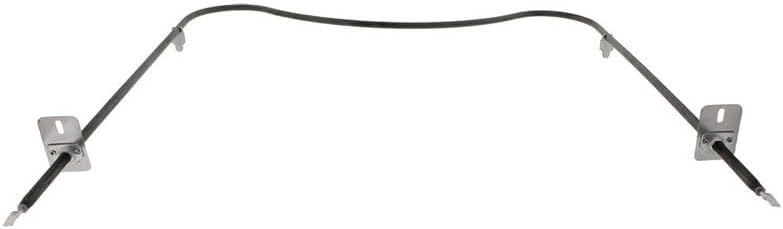
Image 3: Rear view of the bake element, showing the terminals and how they extend from the element body. This view is important for understanding how to connect the electrical wiring during installation.

Image 4: Close-up of a mounting clip on the bake element. These clips secure the element within the oven cavity, preventing movement during operation.
Operating Principles
The bake element functions by converting electrical energy into heat. When the oven is set to a bake temperature, electricity flows through the element, causing it to glow red and radiate heat. This heat is then distributed throughout the oven cavity, cooking food from the bottom up. The oven's thermostat regulates the power to the element to maintain the desired temperature.
Maintenance
The bake element itself requires minimal maintenance. However, proper care of your oven can extend the life of all its components, including the element.
- Keep Oven Clean: Regularly clean the oven interior to prevent food spills from baking onto the element, which can cause smoke or damage.
- Avoid Direct Contact: Do not place aluminum foil or other materials directly on the bake element, as this can cause overheating and damage.
- Inspect Periodically: During routine oven cleaning, visually inspect the element for any signs of damage, such as cracks, breaks, or severe discoloration.
Troubleshooting
If your oven is not heating correctly after replacing the bake element, consider the following common issues:
- Oven Not Heating:
- No Power: Check the circuit breaker to ensure the oven has power.
- Loose Connections: Verify that the electrical wires are securely connected to the element terminals.
- Faulty Element: Although new, inspect the element for any visible damage that might have occurred during shipping or installation.
- Other Component Failure: If the element appears fine, the issue might be with the oven's thermostat, control board, or wiring harness. Professional diagnosis may be required.
- Element Not Glowing: A bake element should glow red when heating. If it does not, check power supply and connections.
- Uneven Heating: While less common with a new element, ensure the element is properly seated and not obstructed.
For complex issues, it is recommended to contact a certified appliance repair technician.
Specifications
| Feature | Detail |
|---|---|
| Part Number | 4334146 (bakepart#352495) |
| Compatible Brand | Whirlpool |
| Manufacturer | Generic |
| Item Package Quantity | 1 Set |
| ASIN | B0F6388WWW |
Warranty and Support
For warranty information and customer support regarding this replacement part, please refer to the seller or manufacturer directly. Details regarding return policy and warranty duration are typically provided at the point of purchase.
Always retain your proof of purchase for any warranty claims.