Introduction
This manual provides instructions for the ZWXYVUT R36XX Retro Handheld Game Console. This device features an open-source Linux gaming system, a 3.5-inch IPS screen, and supports a wide variety of classic games across multiple emulators. It is designed for portable entertainment.
What's in the Box
- 1 x R36XX Game Console
- 1 x Game Pad
- 1 x Micro USB Charging Line
- 1 x HDMI-compatible Cable
- 1 x Packing Box
Setup
1. Initial Charging
Before first use, fully charge the console. Connect the Micro USB Charging Line to the console's charging port and a compatible USB power adapter (not included). The built-in 3000mAh lithium battery typically requires approximately 2 hours for a full charge, providing up to 6 hours of gameplay.
2. SD Card Installation
The console comes with a 64GB TF card pre-installed, containing over 20,000 games and the operating system. The independent system and game storage design allows for easy management and addition of more games if desired. Ensure the TF card is securely inserted into its slot before powering on.
3. Powering On/Off
To power on the console, press and hold the power button located on the device. To power off, press and hold the power button until the shutdown options appear, then select to power off.
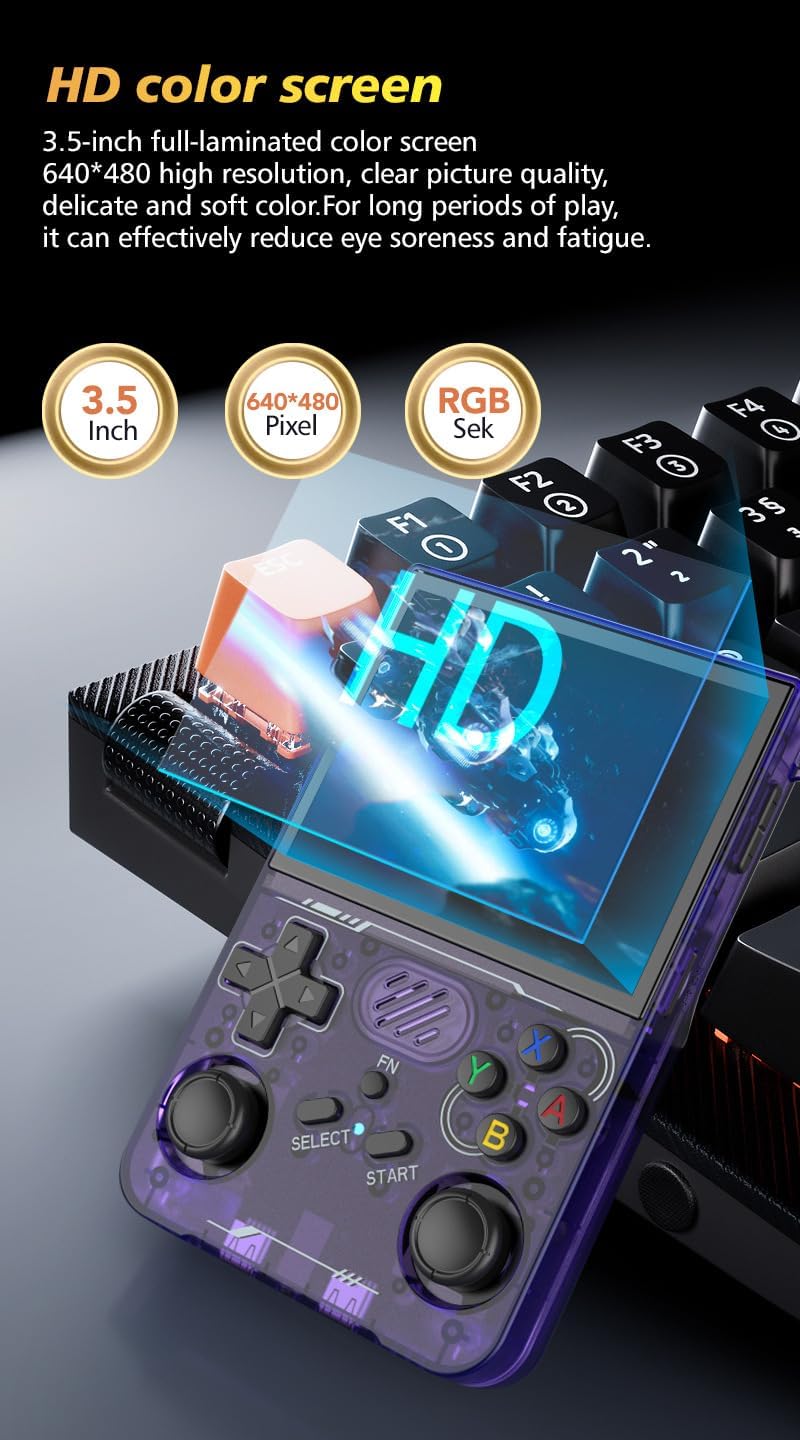
Figure 1: Front view of the R36XX console, displaying a game menu.
Operating Instructions
1. Navigating the System
The R36XX operates on an open-source Linux system, providing a responsive user experience. Use the D-Pad and joysticks to navigate through the menus. The system supports over 20 mainstream emulators, offering access to a vast library of classic games.
Figure 2: The 3.5-inch IPS screen provides a clear 640x480 resolution display.
2. Game Selection and Play
Browse through the pre-installed games categorized by emulator. Select a game using the A button. The console features dual 3D joysticks and responsive buttons for precise control during gameplay. The L/R keys on the back are designed for comfortable grip and improved game status feedback.

Figure 3: Dual 3D joysticks for versatile gameplay.

Figure 4: Ergonomically designed L/R keys on the back of the console.
3. Controls Overview
Refer to the diagram below for an overview of the console's buttons and ports:

Figure 5: R36XX Console Key Resolution Diagram.
- Volume button: Adjusts audio output.
- TF1-OS: Slot for the operating system TF card.
- A/B/X/Y Game keys: Primary action buttons.
- Joystick (R3): Right analog stick.
- START: Initiates games or confirms selections.
- Battery indicator light: Shows battery status.
- SELECT: Used for various in-game functions or menu navigation.
- D-Pad: Directional pad for movement and menu navigation.
- Joystick (L3): Left analog stick.
- Lithium-ion batteries: Internal power source.
- 3.5-Inch HD screen: Main display.
- Power key: Turns the device on/off.
- RESET: Resets the console.
- TF2-GAME: Slot for the game TF card.
- Headphone hole: 3.5mm audio output.
- HOME/FN: Function/Home button.
- Back R/L buttons: Shoulder buttons on the rear.
- OTG: On-The-Go port.
- 3.5mm audio hole: Additional audio output.
- DC input: Power input port.
Maintenance
1. Screen Care
The console's 3.5-inch IPS screen is made of tempered glass for enhanced durability and wear resistance. To clean, gently wipe the screen with a soft, lint-free cloth. Avoid using harsh chemicals or abrasive materials that could damage the display.
2. Battery Care
To prolong battery life, avoid fully discharging the 3000mAh lithium battery frequently. Charge the device using the provided Micro USB cable and a suitable power adapter. Store the console in a cool, dry place when not in use for extended periods.
3. General Cleaning
Keep the console free from dust and debris. Use a soft, dry cloth to wipe the exterior. For hard-to-reach areas, a soft brush or compressed air can be used carefully. Ensure no liquids enter the ports or openings.
Troubleshooting
Console Does Not Power On
- Ensure the battery is sufficiently charged. Connect the console to a power source and allow it to charge for at least 30 minutes before attempting to power on again.
- Verify that the TF1-OS card is correctly inserted. A missing or improperly seated OS card can prevent the console from booting.
Games Experience Lag or Poor Performance
- While the console supports many emulators, performance can vary for more demanding games or systems (e.g., some N64 titles).
- Check for available system updates for the open-source Linux system, as these may include performance improvements.
- Ensure the game ROMs are compatible and not corrupted.
Audio Issues (e.g., crackling speaker)
- Adjust the volume using the volume buttons.
- Test with headphones connected to the 3.5mm headphone jack to determine if the issue is with the internal speaker or the audio output in general.
- If the issue persists, contact customer support.
Specifications
| Model | R36XX |
| Screen Size | 3.5 Inches |
| Display Type | IPS LCD |
| Resolution | 640x480 pixels |
| Memory Storage Capacity | 64 GB (expandable via TF card) |
| Controller Type | Button Control, Dual 3D Joysticks |
| Power Source | Battery Powered |
| Battery Type | 3000mAh Lithium-ion |
| Battery Life | Up to 6 Hours |
| Charging Time | Approx. 2 Hours (via USB Type-C) |
| Operating System | Open Source Linux System |
| Dimensions | 7.5 x 3.1 x 1.3 inches |
| Material | Plastic |
| Manufacturer | ZWXYVUT |
Warranty and Support
For warranty information, technical support, or service inquiries, please refer to the documentation included with your purchase or contact the manufacturer directly. Keep your proof of purchase for warranty claims.