Introduction
This manual provides detailed instructions for the setup, operation, and maintenance of your JORREP Switch 2 Joy-Con Charging Dock. Please read this manual thoroughly before using the product to ensure proper function and safety. This charging dock is designed to charge up to four Nintendo Switch 2 Joy-Con controllers simultaneously, featuring magnetic fast charging and customizable RGB lighting.
Product Overview
The JORREP Switch 2 Joy-Con Charging Dock is a compact and efficient solution for keeping your controllers charged and organized. It features multiple charging slots, LED indicators, and a unique RGB lighting system.
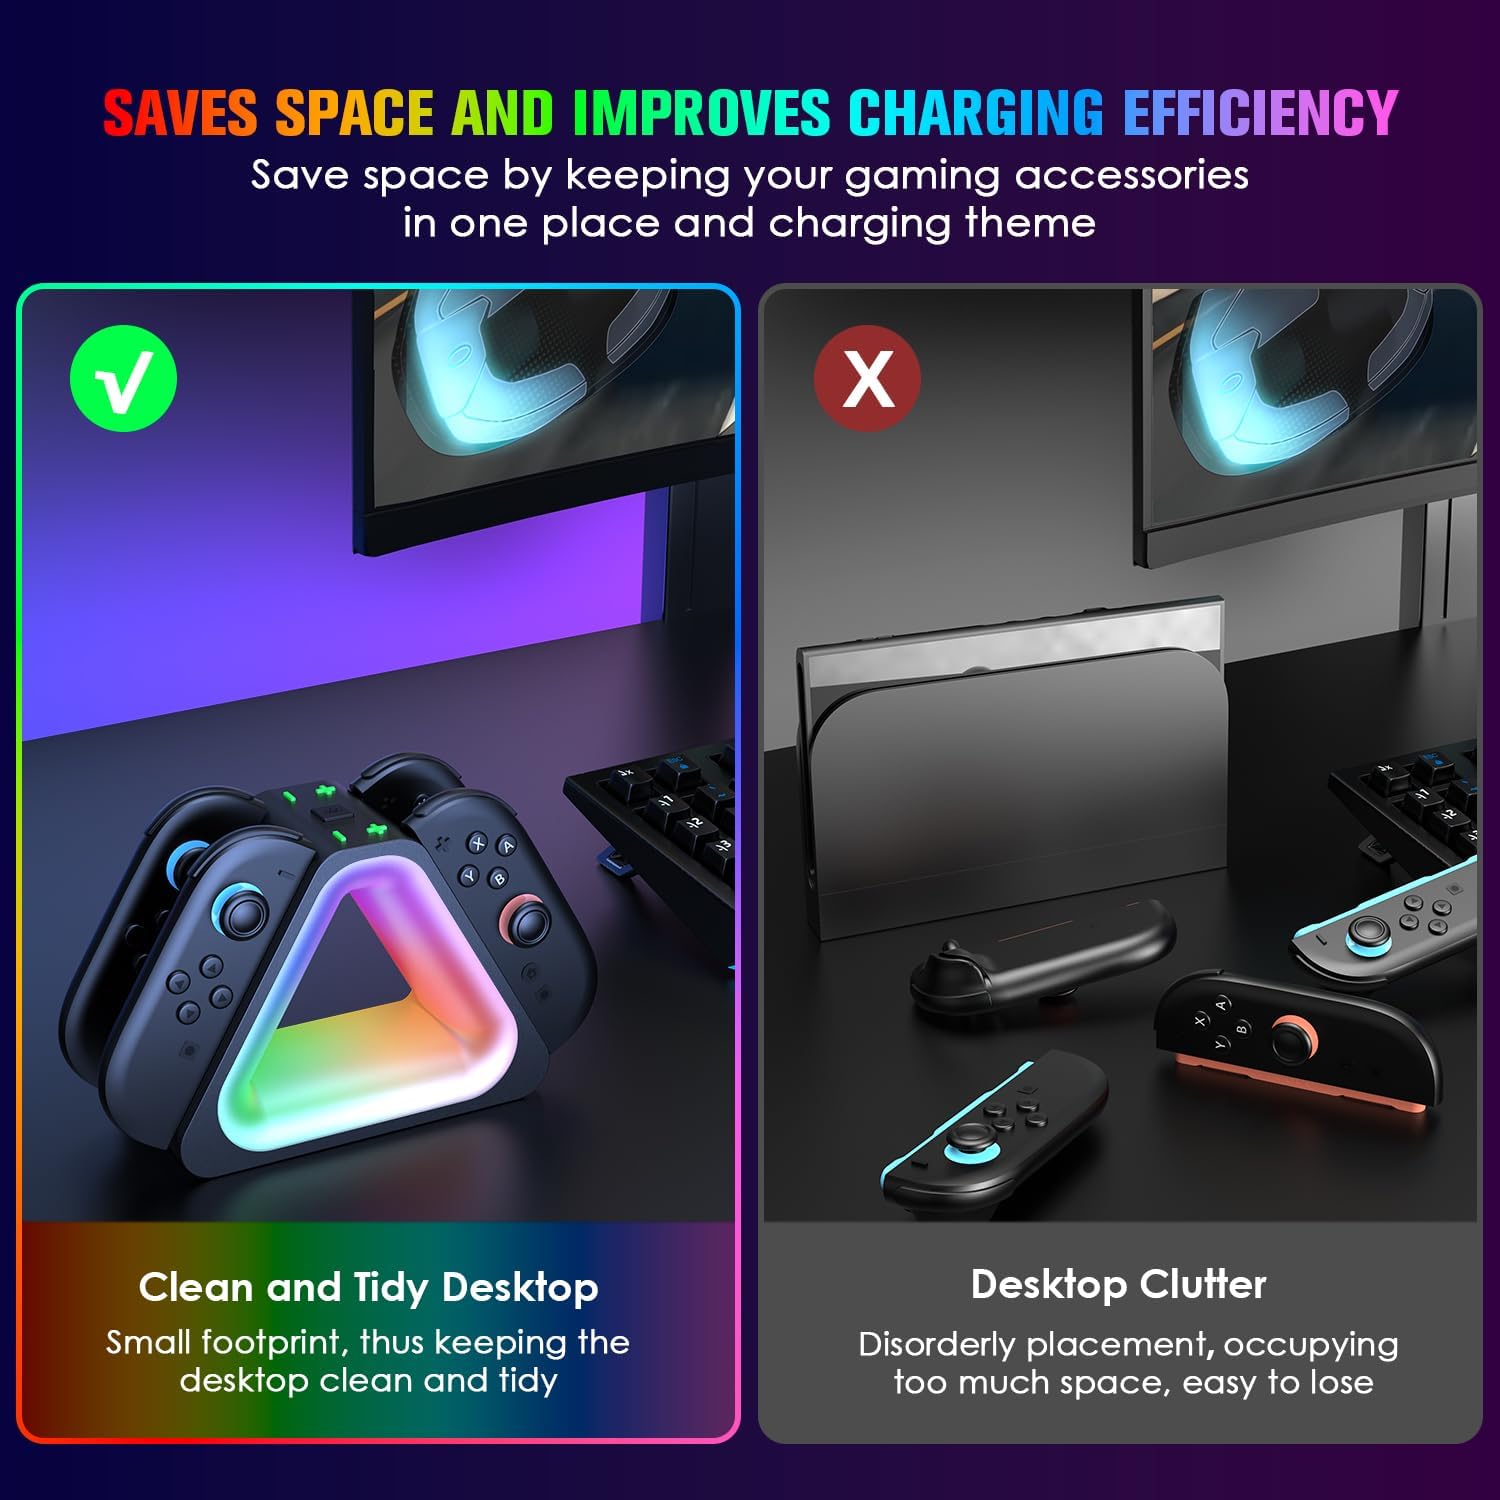
Image: The JORREP Switch 2 Joy-Con Charging Dock, showcasing its design and RGB lighting.
Components
- JORREP Switch 2 Joy-Con Charging Dock
- USB-C Power Cable
- User Manual (this document)
Setup Instructions
- Connect Power: Connect the provided USB-C power cable to the charging dock. Plug the other end of the USB-C cable into a compatible 5V/2A power source, such as the original console dock, a USB wall adapter, or a computer USB port.
- Insert Joy-Cons: Align your Switch 2 Joy-Con controllers with the charging slots on the dock. The magnetic design will guide them into place. Ensure a secure connection for charging to begin.
- Placement: Place the charging dock on a stable, flat surface. Its compact design helps save space and keep your gaming area tidy.

Image: The charging dock's USB-C cable can connect to various power sources like wall adapters, laptops, or desktop computers.

Image: Two Joy-Con controllers securely inserted into the charging dock, showing the charging indicators.

Image: The charging dock helps maintain a clean and organized desktop by consolidating controllers in one place.
Operating Instructions
Charging Joy-Cons
- Once Joy-Cons are correctly inserted, the charging indicators on the dock will illuminate. An orange light typically indicates charging, while a green light signifies a full charge.
- The charging process takes approximately 2-4 hours for a full charge, depending on the battery level of the Joy-Cons.
- The smart chip protection automatically stops charging when controllers are fully charged to prevent overcharging and overheating.

Image: Details on input voltage (DC5V-2A), charging current (200mA*4), and estimated charging time (2-4 hours).
RGB Lighting Modes
The charging dock features 7 RGB lighting modes to enhance your gaming environment.
- To cycle through the lighting modes, press the dedicated RGB light button on the dock.
- Available modes include Dazzling Running Lights, Slow Flash, Fast Flash, Red Constant Light, Green Constant Light, Blue Constant Light, and White Constant Light.
- To turn off the RGB atmosphere light and charging indicator, long press the RGB light button for 3 seconds.
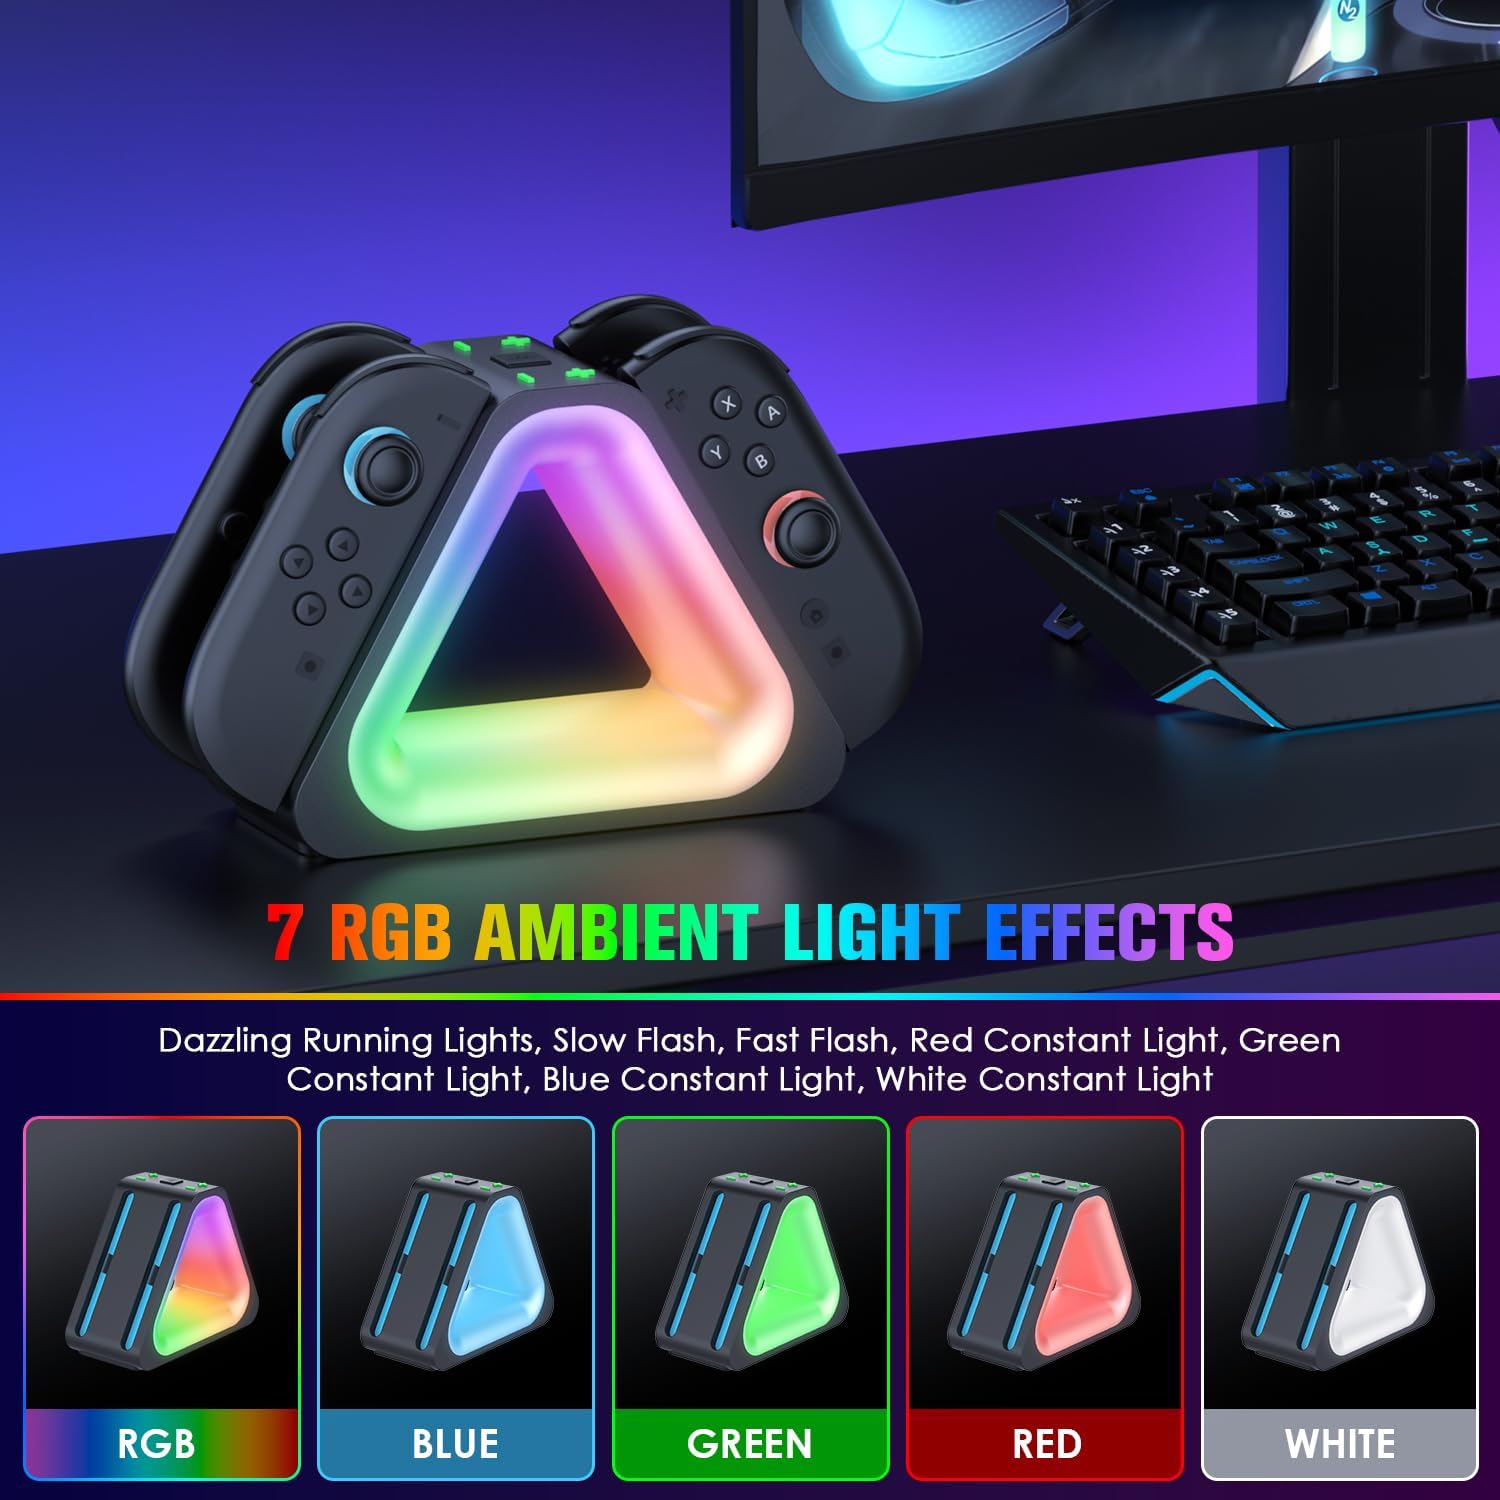
Image: The charging dock showcasing its seven RGB ambient light effects, including various colors and dynamic patterns.
Maintenance
- Cleaning: Use a soft, dry cloth to wipe the surface of the charging dock. Do not use liquid cleaners or abrasive materials.
- Storage: When not in use for extended periods, disconnect the power cable and store the dock in a cool, dry place away from direct sunlight.
- Handling: Avoid dropping or subjecting the dock to strong impacts, as this may damage internal components.
Troubleshooting
- Joy-Cons not charging:
- Ensure the USB-C power cable is securely connected to both the dock and the power source.
- Verify that the power source (e.g., wall adapter) is functioning correctly and providing 5V/2A output.
- Check if the Joy-Cons are properly seated in the charging slots. The magnetic connection should feel firm.
- Try using a different USB-C cable or power source to rule out cable/adapter issues.
- RGB lights not working:
- Ensure the dock is powered on.
- Press the RGB light button to cycle through modes. A long press (3 seconds) can turn the lights off, so try pressing it briefly.
- Overheating:
- If the dock or controllers feel excessively hot, disconnect them immediately.
- Ensure adequate ventilation around the dock. Do not cover it.
- The dock has built-in overcharging and overheating protection, but continuous issues may indicate a fault. Contact support if problems persist.
Specifications
| Feature | Specification |
|---|---|
| Brand | JORREP |
| Model | 4-in-1 Magnetic Fast Charging Station |
| Compatibility | Nintendo Switch 2 Joy-Con Controllers |
| Input Voltage | DC 5V-2A |
| Charging Current | 200mA * 4 |
| Charging Time | 2-4 Hours (approx.) |
| RGB Lighting Modes | 7 modes (Dazzling Running Lights, Slow Flash, Fast Flash, Red, Green, Blue, White Constant Light) |
| Safety Protection | Overcharging, Overheating |
| Material | Plastic |
| Dimensions | Approx. 14.5cm (5.71in) x 11cm (4.33in) x 6.3cm (2.48in) |

Image: Detailed dimensions of the charging dock, including height, width, and depth.
Safety Information
- Do not disassemble or attempt to repair the device yourself. This may void the warranty and cause damage.
- Keep the charging dock away from water, moisture, and extreme temperatures.
- Use only the provided USB-C cable or a certified equivalent.
- Ensure the power source meets the specified input voltage and current requirements (DC 5V-2A).
- Keep out of reach of children.
Warranty and Support
For warranty information or technical support, please refer to the contact details provided with your purchase or visit the official JORREP website. Keep your proof of purchase for warranty claims.