1. Introduction
The ibasenice Bike Tire Patch Kit is designed for quick and effective repair of punctures in bicycle inner tubes. This kit provides a convenient solution for cyclists to address flat tires on the go or at home. The self-adhesive silicone patches are lightweight and easy to apply, ensuring you can get back to riding with minimal delay.

Image 1.1: The ibasenice Bike Tire Patch Kit is suitable for various bicycle types, including road bikes, mountain bikes, and fixed gear bikes.
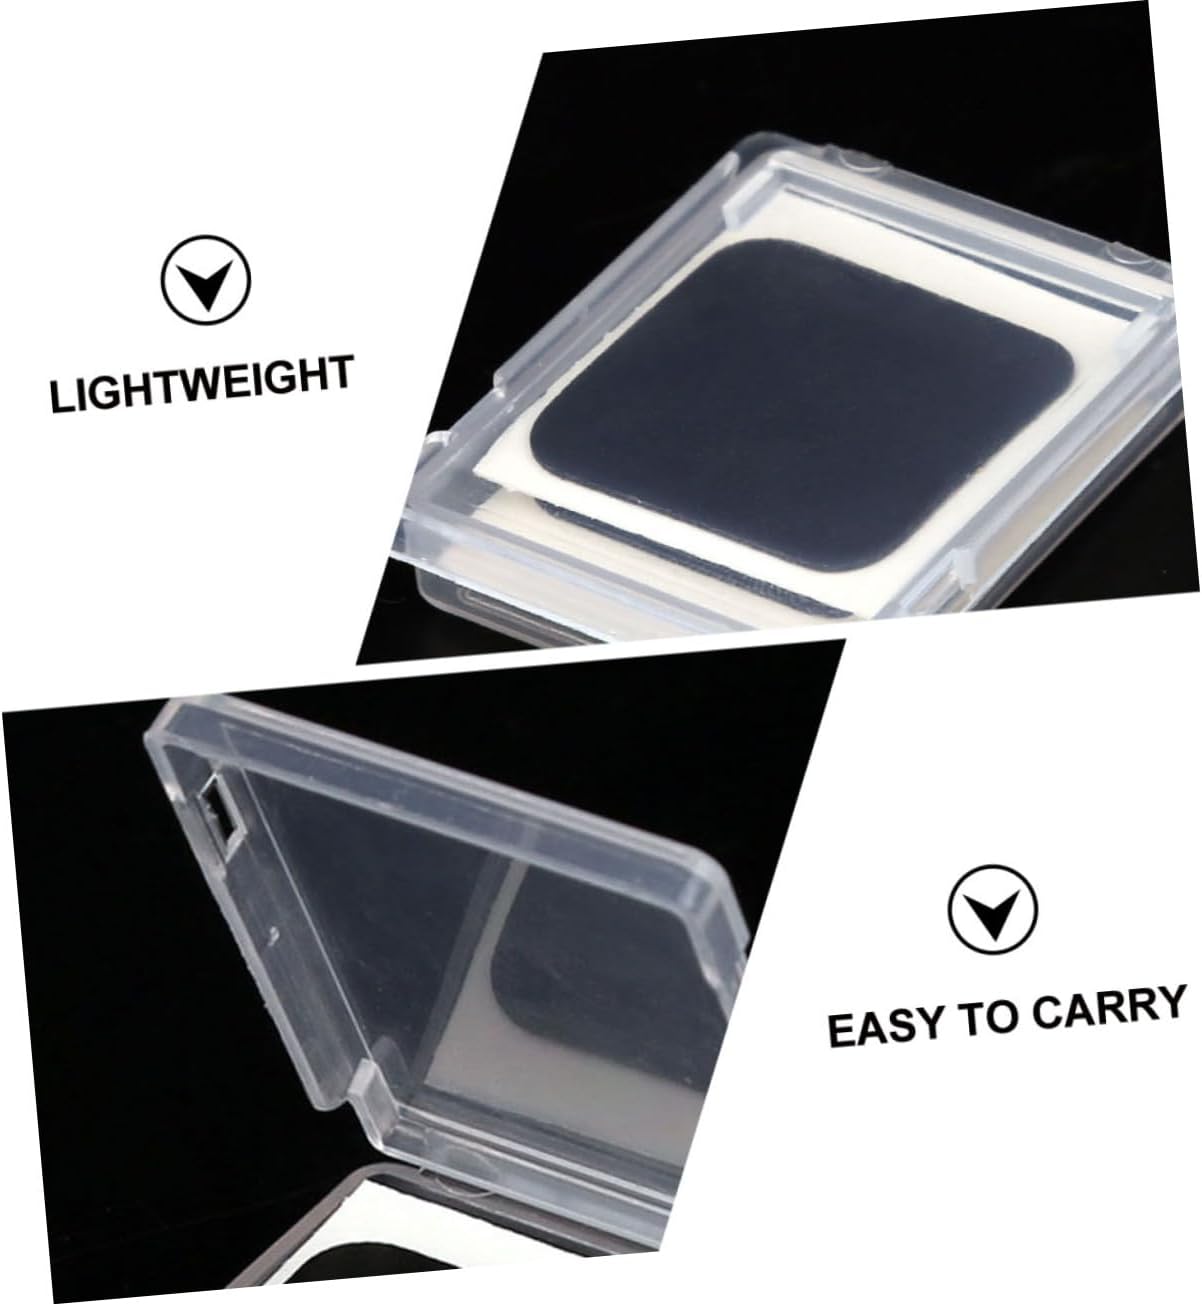
Image 1.2: The compact and lightweight design of the patch kit makes it easy to carry for emergency repairs.
2. Safety Information
- Always wear appropriate safety gear, such as gloves, when handling bicycle components.
- Ensure the bicycle is stable and secure before attempting any repairs.
- Keep the patch kit out of reach of children.
- Avoid contact of the adhesive with eyes or skin. In case of contact, rinse thoroughly with water.
- Dispose of used materials responsibly.
3. Package Contents
Your ibasenice Bike Tire Patch Kit typically includes the following items:
- Self-adhesive silicone patches (multiple pieces)
- Metal grater/scuffer
- Compact storage case

Image 3.1: The kit includes self-adhesive patches, a metal grater, and a protective storage case.
4. Setup and Preparation
Before applying a patch, proper preparation of the inner tube is crucial for a lasting repair.
- Remove the Wheel: Carefully remove the wheel from your bicycle.
- Remove the Inner Tube: Use tire levers to gently pry the tire off the rim and extract the inner tube.
- Locate the Puncture: Inflate the inner tube slightly and submerge it in water to find the air leak, or listen/feel for escaping air. Mark the puncture location.
- Clean the Area: Ensure the area around the puncture is clean and dry. Use a cloth to wipe away any dirt, dust, or moisture.
- Scuff the Surface: Use the provided metal grater/scuffer to lightly abrade the area around the puncture. This creates a rough surface for better patch adhesion. The scuffed area should be slightly larger than the patch you intend to use.
5. Operating Instructions: Applying the Patch
Follow these steps to apply the self-adhesive patch:
- Peel the Patch: Carefully peel one self-adhesive silicone patch from its backing paper. Avoid touching the adhesive side with your fingers.
- Apply the Patch: Center the patch directly over the puncture hole on the prepared inner tube.
- Press Firmly: Press down firmly on the patch, working from the center outwards to remove any air bubbles. Apply consistent pressure for at least 30 seconds to ensure a strong bond.
- Check Adhesion: Gently test the edges of the patch to ensure it is fully adhered to the inner tube.
- Reassemble: Once the patch is securely in place, reinsert the inner tube into the tire, ensuring it is not twisted. Mount the tire back onto the rim and then reattach the wheel to your bicycle.
- Inflate and Test: Inflate the tire to the recommended pressure and check for any remaining leaks.
6. Maintenance
To ensure the longevity and effectiveness of your ibasenice Bike Tire Patch Kit:
- Store the patches in their original storage case in a cool, dry place, away from direct sunlight and extreme temperatures.
- Keep the adhesive side of unused patches protected from dust and debris.
- Ensure the metal grater is clean and dry before storing to prevent rust.
7. Troubleshooting
If you encounter issues during or after patching:
- Patch Not Sticking: Ensure the inner tube surface was thoroughly cleaned and scuffed before application. The area must be completely dry. Re-scuff and apply a new patch if necessary.
- Air Still Leaking: The patch may not be centered over the puncture, or there might be another puncture nearby. Re-examine the inner tube for additional leaks. Ensure the patch was pressed firmly from the center outwards to eliminate air bubbles.
- Patch Peeling: This often indicates insufficient pressure during application or improper surface preparation. Ensure the edges are fully adhered. If peeling persists, remove the patch and apply a new one following all steps carefully.
8. Specifications
| Material | Plastic and Silicone |
| Item Dimensions (LxWxH) | 1.3 x 1.69 x 0.39 inches (approximate per patch) |
| Item Weight | 18.14 g (total kit) |
| Model Number | 17YISY87PLY117B15501YUS |
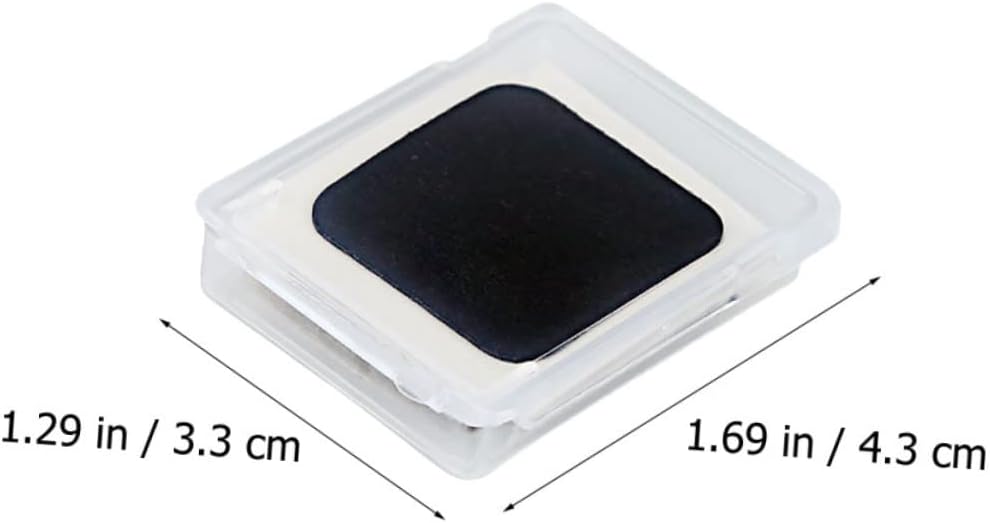
Image 8.1: Approximate dimensions of the individual patch within its case.
9. Warranty and Support
For any questions, concerns, or support regarding your ibasenice Bike Tire Patch Kit, please refer to the retailer's return policy or contact ibasenice customer service through their official channels. Please retain your proof of purchase for any warranty claims.