1. Introduction
This manual provides detailed instructions for the assembly, installation, and maintenance of your VEVOR Modern Floating TV Stand, Model SHSHDSG1116-2. Designed for wall mounting, this 55-inch media console offers ample storage and a sleek design to complement your living space. Please read these instructions carefully before beginning assembly to ensure proper installation and safe use.
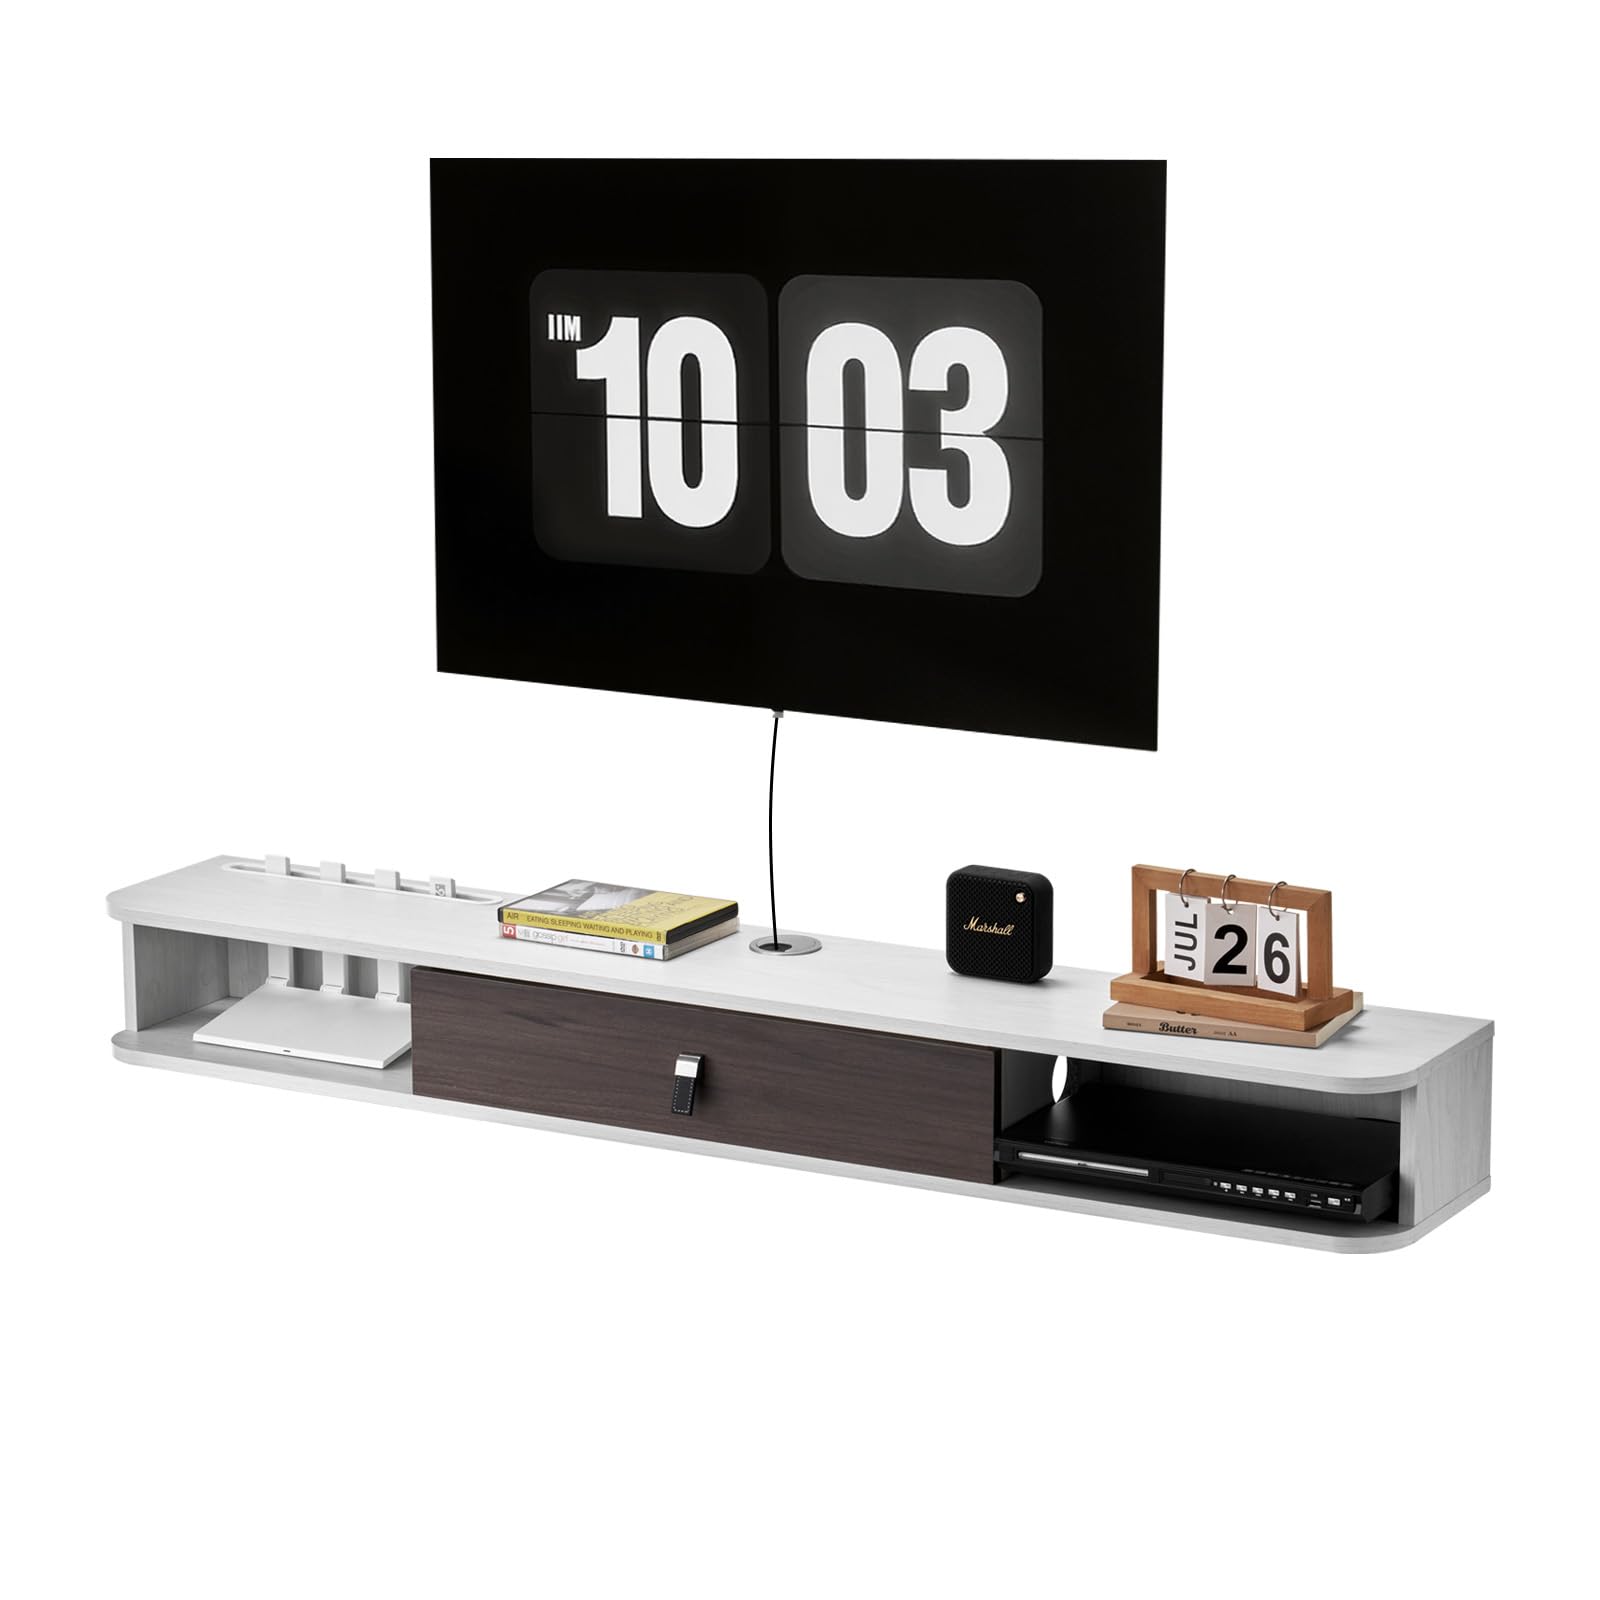
Figure 1.1: Overview of the VEVOR Modern Floating TV Stand.
2. Safety Information
For your safety and to prevent damage to the product, please adhere to the following guidelines:
- Weight Capacity: Do not load the TV stand with more than 115 lbs (52 kg). Exceeding this limit can cause structural failure and potential injury.
- Tip-Over Prevention: Ensure the cabinets with doors are securely fastened to prevent accidental tip-over, especially if children are present.
- Wall Type: This floating TV stand is designed for mounting on concrete, brick, or wooden walls. Ensure your wall type is suitable and use appropriate mounting hardware.
- Professional Installation: If you are unsure about wall mounting procedures, consult a qualified professional.
- Component Check: Before assembly, verify that all parts are present and undamaged. Do not proceed with assembly if any parts are missing or defective.

Figure 2.1: Wall compatibility for mounting the TV stand.
3. Package Contents
Before starting assembly, please check that all components listed below are included in your package. If any parts are missing or damaged, please contact VEVOR customer support.

Figure 3.1: All accessories are complete and labeled for easy assembly.
The package includes the main structural panels, hardware (screws, anchors, hinges), and an instruction manual. Ensure all numbered parts match the provided diagram.
4. Assembly and Installation
Follow these steps carefully for proper assembly and secure wall mounting of your TV stand.
- Prepare Components: Unpack all parts and lay them out on a clean, soft surface to prevent scratches. Identify each component using the provided labels and diagrams.
- Assemble the Main Structure: Connect the main panels according to the detailed assembly instructions provided in the included manual. Use the designated screws and fasteners.
- Install Cabinet Doors: Attach the flip-top cabinet doors using the metal hinges. Ensure smooth opening and closing.
- Mark Wall Mounting Points: Choose a suitable location on your wall. Use a level to mark the precise drilling points for the mounting hardware. Ensure the stand will be level once installed.
- Drill Holes and Insert Anchors: Drill holes at the marked points. Insert appropriate wall anchors (e.g., drywall toggle anchors for drywall, expansion bolts for concrete/brick) suitable for your wall type and the weight capacity.
- Mount the Stand: Securely attach the TV stand to the wall using the provided screws and the installed anchors. Ensure the stand is firmly fixed and stable before placing any items on it. The design includes double screws and iron plate reinforcement for stable support.

Figure 4.1: Installation of flip-top cabinet doors with metal hinges for smooth operation.

Figure 4.2: Illustration of the powerful load-bearing capacity with reinforced mounting.
5. Operating Instructions
Your VEVOR Floating TV Stand is designed for efficient organization and display.
- Storage Compartments: Utilize the various compartments for storing media devices, books, and other essentials. The semi-open design ensures privacy for stored items.
- Router-Specific Hole: A dedicated hole is provided for your router, designed to prevent interference with Wi-Fi signals and keep the device neatly stored.
- Cable Management: Use the integrated cable holes to route and organize power cords and media cables, maintaining a clean and clutter-free appearance.
- Top Surface: The top surface can be used for decorative items such as vases, lamps, or small plants, enhancing your living room aesthetics.

Figure 5.1: Large storage space with semi-open design for privacy.

Figure 5.2: Router-specific hole for optimal Wi-Fi signal and tidy storage.

Figure 5.3: Integrated cable management hole for organized wiring.
6. Maintenance
To ensure the longevity and appearance of your VEVOR Floating TV Stand, follow these simple maintenance tips:
- Cleaning: The stand features an E1-grade particleboard with a melamine surface finish, making it scratch-resistant, stain-resistant, and easy to clean. Wipe surfaces with a soft, damp cloth. Avoid abrasive cleaners or harsh chemicals.
- Dust Protection: The cabinet doors help protect stored items from dust. Regularly wipe down the exterior surfaces to maintain cleanliness.
- Hardware Check: Periodically check all mounting hardware and fasteners to ensure they remain tight and secure. Tighten if necessary.
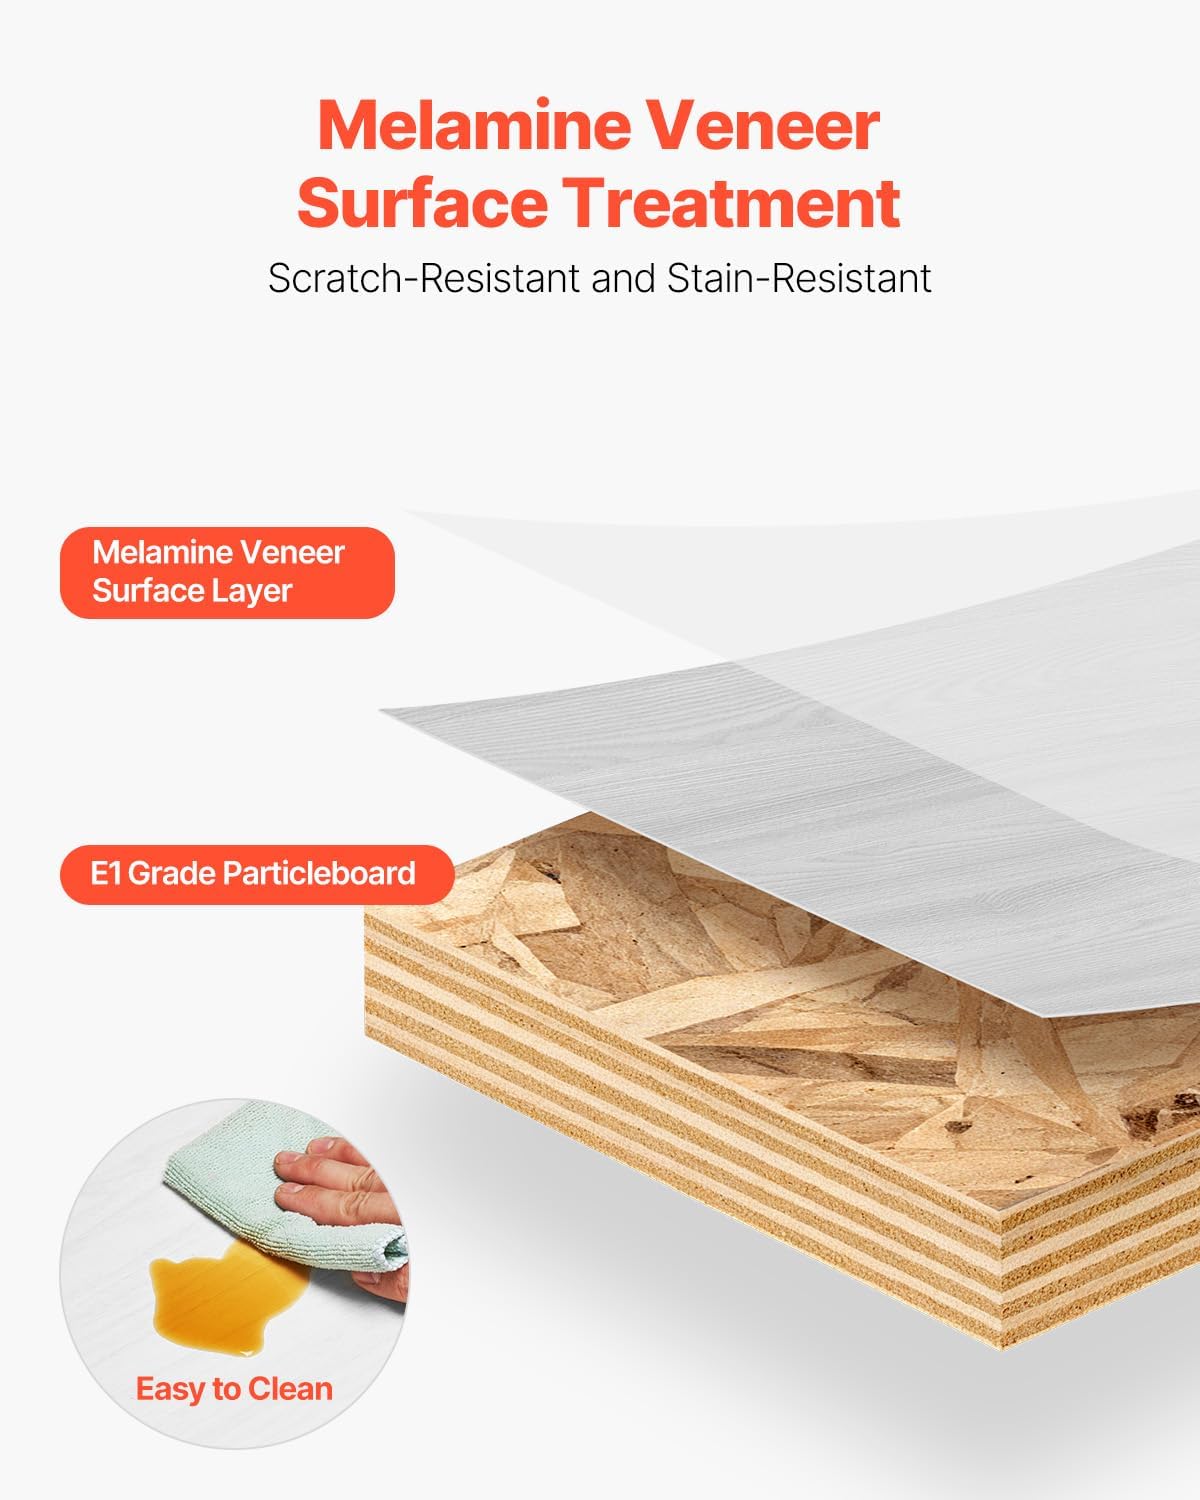
Figure 6.1: Melamine veneer surface treatment ensures scratch and stain resistance, making it easy to clean.
7. Specifications
| Item Model Number | SHSHDSG1116-2 |
| Color | White, Wood Color Accents |
| Material | E1 Grade Particleboard with Melamine Surface |
| Product Dimensions (L x W x H) | 55.12 x 9.29 x 6.29 inches (1400 x 236 x 160 mm) |
| Weight Capacity | 115 lbs (52 kg) |
| Product Weight | 21.8 lbs (9.9 kg) (including all accessories) |
| Cable Hole Diameter | 2.05 inches (52 mm) |
| Assembly Required | Yes |

Figure 7.1: Product dimensions and specifications.
8. Warranty and Support
VEVOR products are designed for durability and performance. For any questions regarding your VEVOR Modern Floating TV Stand, including assembly, missing parts, or operational concerns, please contact VEVOR customer support. Refer to your purchase documentation for specific warranty details and contact information.
You can often find support information on the official VEVOR website or through the retailer where you purchased the product.