1. Introduction
This manual provides comprehensive instructions for the installation, operation, and maintenance of your AutoSky ADC-201 Dash Cam. Please read this manual thoroughly before using the device to ensure proper functionality and to maximize your user experience. Keep this manual for future reference.
2. What's in the Box
Verify that all items listed below are included in your package:
- AutoSky ADC-201 Dash Camera
- Memory Card (pre-installed or separate)
- Mount (adhesive or suction cup)
- Power Cable (car charger)
- User Manual

Image 2.1: The AutoSky ADC-201 Dash Cam package contents, showing the dash camera, a memory card, the mounting bracket, and the car power adapter.
3. Product Overview
The AutoSky ADC-201 is a compact dash camera designed to record your journeys in 2K Ultra HD resolution. It features a 140-degree wide-angle lens for extensive road coverage and built-in Wi-Fi for seamless smartphone connectivity.
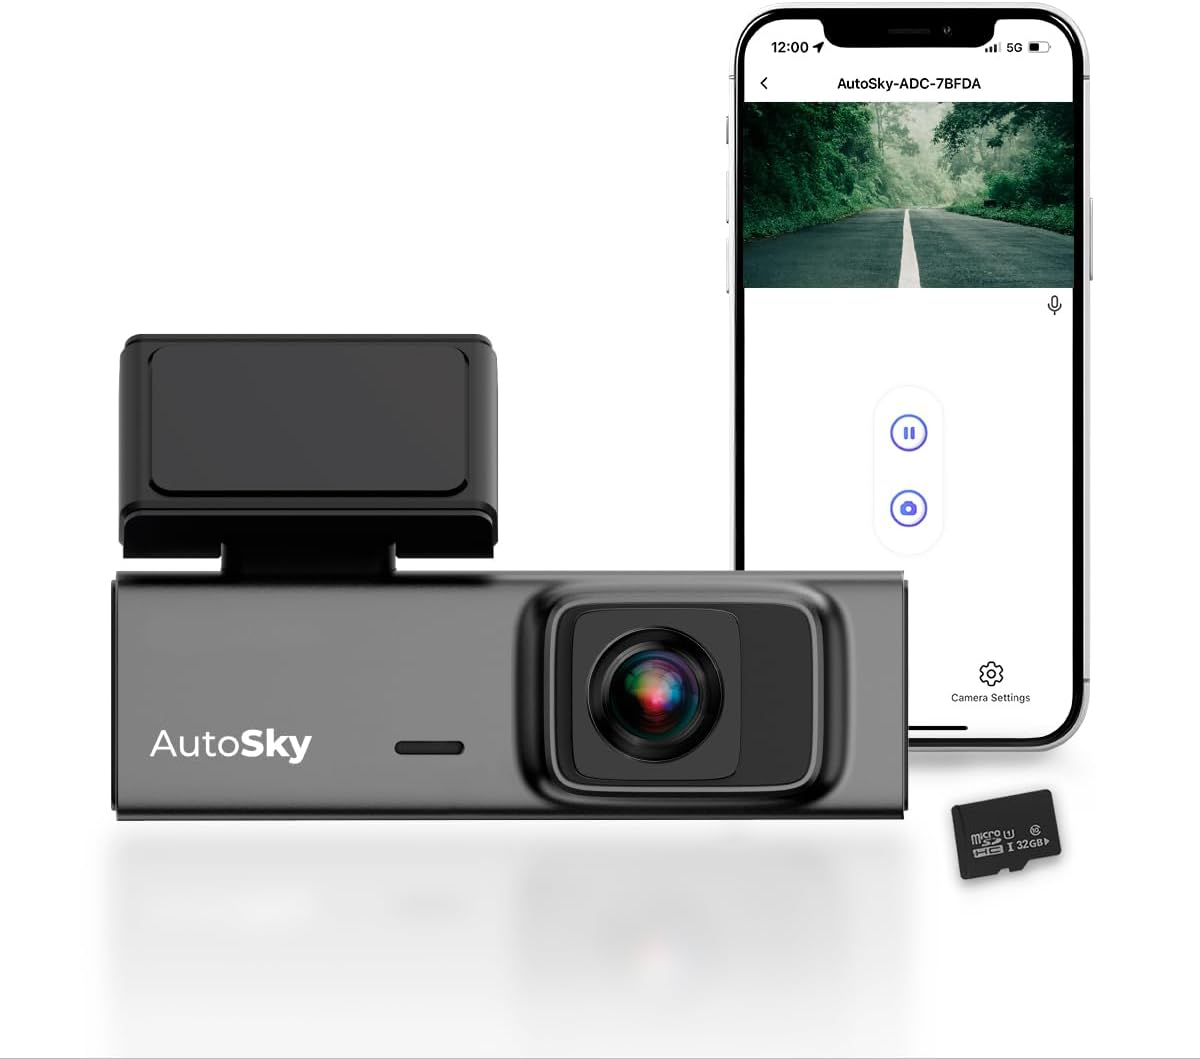
Image 3.1: The AutoSky ADC-201 Dash Cam with its companion smartphone app and included memory card.
4. Setup and Installation
4.1. Inserting the Memory Card
Locate the memory card slot on the dash cam. Insert the provided microSD card with the gold contacts facing the camera's front. Ensure it clicks into place. A memory card is essential for recording footage.
4.2. Mounting the Dash Cam
- Clean the area on your windshield where you intend to mount the dash cam. Ensure it does not obstruct your view of the road.
- Attach the mount to the dash cam.
- Remove the protective film from the adhesive pad on the mount.
- Firmly press the mount onto the chosen area of the windshield for at least 30 seconds.
- Adjust the camera angle to ensure the lens captures the road ahead clearly.
4.3. Power Connection
Connect the provided car charger to the dash cam's power input port and plug the other end into your vehicle's 12V power outlet (cigarette lighter socket). The dash cam will typically power on automatically when your vehicle starts.

Image 4.1: The AutoSky ADC-201 Dash Cam mounted on a car windshield, demonstrating its discreet placement and wireless connectivity.
5. Operating Instructions
5.1. Automatic Recording
Once powered on, the dash cam will automatically begin recording. Footage is saved to the inserted memory card. The camera records in continuous loops, overwriting the oldest files when the memory card is full, unless protected by the G-sensor or manual lock.
5.2. Accessing Footage
Footage can be accessed and managed primarily through the dedicated smartphone application. Refer to Section 6 for details on connecting your dash cam to your smartphone.

Image 5.1: The dash cam actively recording, capturing clear 2K video of the road ahead.
6. Smartphone App Connectivity
The AutoSky ADC-201 features built-in Wi-Fi for seamless connection to your smartphone, allowing for live view, video playback, settings adjustment, and footage download.
6.1. Downloading the App
Search for the official AutoSky Dash Cam app in your smartphone's app store (iOS App Store or Google Play Store) and install it.
6.2. Connecting to the Dash Cam
- Ensure the dash cam is powered on.
- Open the AutoSky app on your smartphone.
- Follow the in-app instructions to connect to the dash cam's Wi-Fi network. The Wi-Fi network name (SSID) and password can usually be found on the dash cam's screen or in the included quick start guide.
- Once connected, you can access live footage, browse recorded videos, download clips to your phone, and modify camera settings.

Image 6.1: The AutoSky Dash Cam connected to a smartphone via Wi-Fi, showing the live feed and app controls.
7. Advanced Features
7.1. G-Sensor (Emergency Recording)
The built-in G-sensor automatically detects sudden movements, impacts, or collisions. When triggered, it locks the current video segment, preventing it from being overwritten by loop recording. This ensures critical event footage is preserved.
7.2. Loop Recording
Loop recording ensures continuous recording by overwriting the oldest unprotected files when the memory card reaches its capacity. This eliminates the need for manual memory card management.
7.3. Time-Lapse Recording
Time-lapse recording captures footage at a lower frame rate, condensing long periods into short, viewable videos. This feature is useful for monitoring parking or extended journeys efficiently.
7.4. Parking Mode
When enabled, Parking Mode allows the dash cam to monitor your vehicle while parked. It typically uses the G-sensor to detect impacts or motion detection to record events when the vehicle is stationary. Note: This feature often requires a continuous power supply (hardwire kit, not included) to function when the vehicle's ignition is off.

Image 7.1: Illustration of the dash cam's parking mode, providing surveillance for your vehicle when parked.
8. Maintenance
8.1. Memory Card Formatting
It is recommended to format the memory card regularly (e.g., once a month) using the dash cam's app settings. This helps maintain optimal recording performance and prevents data corruption. Warning: Formatting will erase all data on the card.
8.2. Cleaning the Lens
Gently wipe the dash cam lens with a soft, lint-free cloth to ensure clear video quality. Avoid using abrasive cleaners or materials that could scratch the lens.
9. Troubleshooting
- Dash Cam not powering on:
Ensure the power cable is securely connected to both the dash cam and the vehicle's 12V power outlet. Check if the vehicle's power outlet is functioning. - Recording issues (e.g., no recording, corrupted files):
Ensure a memory card is properly inserted and formatted. Try formatting the card again via the app. If issues persist, try a different, high-quality memory card. - Wi-Fi connection problems:
Make sure the dash cam is powered on. Restart both the dash cam and your smartphone. Ensure you are connecting to the correct Wi-Fi network provided by the dash cam. - Poor video quality:
Clean the dash cam lens. Ensure the protective film has been removed from the lens. Check settings in the app to confirm 2K resolution is selected.
10. Specifications
| Feature | Specification |
|---|---|
| Model Name | ADC-201 |
| Video Capture Resolution | 2K Ultra HD |
| Field Of View | 140 Degrees |
| Connectivity Technology | Bluetooth, Wi-Fi |
| Special Features | G-Sensor, Loop Recording, Time-lapse Recording, Wifi Connectivity |
| Product Dimensions | 1.2 x 3.4 x 1.5 inches |
| Item Weight | 12.7 ounces |
| Mounting Type | Dashboard Mount |
11. Warranty and Support
For warranty information and technical support, please refer to the warranty card included in your product packaging or visit the official AutoSky website. You may also contact AutoSky customer service directly for assistance with your ADC-201 Dash Cam.