Introduction
The plplaaoo Portable LCD Fish Finder Sonar Sensor TL88E is designed to assist fishing enthusiasts in locating fish and understanding underwater structures in various environments, including rivers, lakes, and seas. This device utilizes advanced sonar technology to provide accurate readings of fish depth, size, and location. Its user-friendly design and portable nature make it a convenient tool for any fishing trip.
This manual provides detailed instructions for the proper setup, operation, maintenance, and troubleshooting of your TL88E fish finder to ensure optimal performance and longevity.
Package Contents
Before proceeding with the setup, please ensure all components are present in the package:
- plplaaoo Portable LCD Fish Finder (Main Unit)
- Sonar Sensor with Cable
- Neck Strap
- Float (for sensor)
- User Manual (this document)

Image: All components of the plplaaoo TL88E fish finder, including the main unit, sonar sensor with cable, and float.
Setup
- Install Batteries:
The fish finder requires 4 AAA batteries (not included). Open the battery compartment on the back of the main unit and insert the batteries, ensuring correct polarity. Close the compartment securely.

Image: Back view of the fish finder, indicating the battery compartment.
- Connect Sonar Sensor:
Connect the sonar sensor cable to the designated port on the main unit. Ensure the connection is firm to prevent water ingress and ensure proper signal transmission.
- Attach Neck Strap:
Attach the provided neck strap to the main unit for convenient carrying and hands-free operation during fishing.

Image: Front view of the fish finder with sensor and neck strap.
- Positioning the Sonar Sensor:
The sonar sensor can be deployed in several ways:
- Float Method: Attach the float to the sensor cable and cast the sensor into the water.
- Boat Mount: Secure the sensor to the hull of a boat using appropriate mounting hardware (not included), ensuring it is submerged and facing downwards.
- Ice Fishing: Place the sensor directly into a hole in the ice, ensuring it is fully submerged.

Image: Illustrations of different sonar sensor deployment methods.
Operating Instructions
Controls Overview:
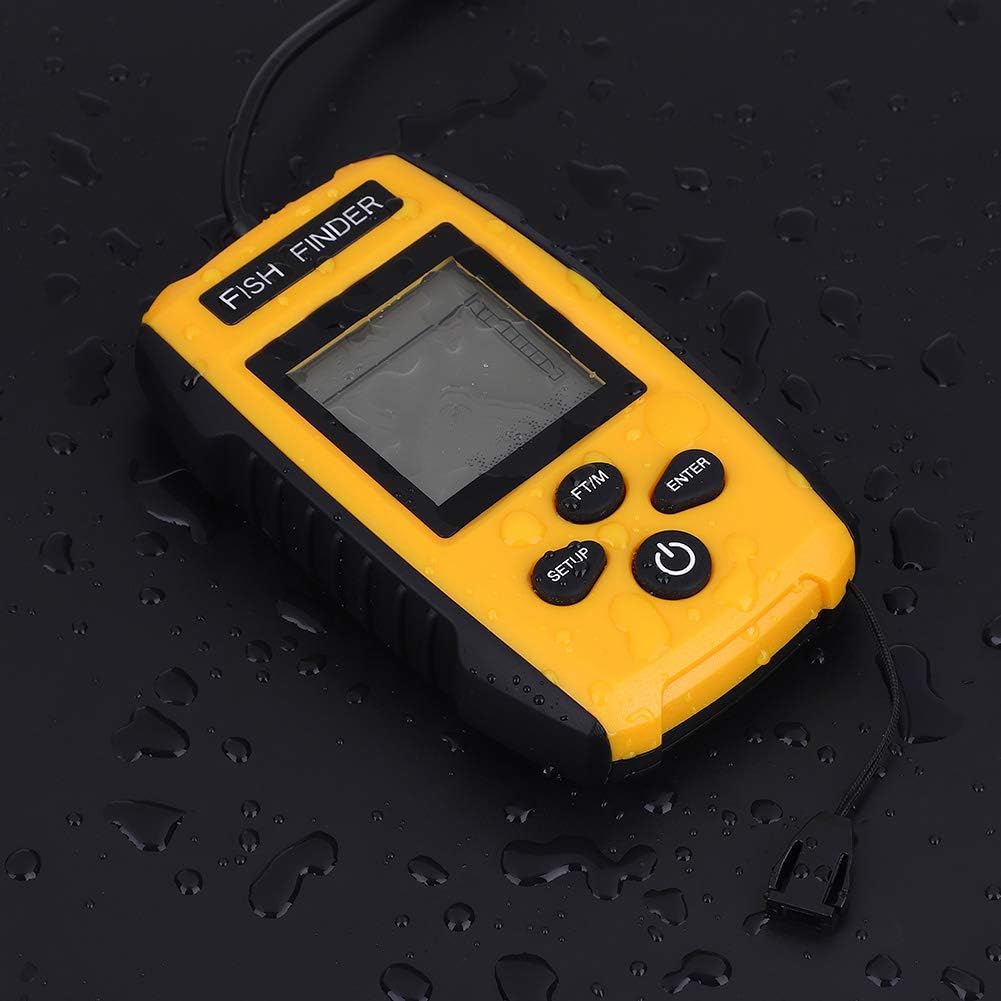
Image: Control panel of the fish finder.
- POWER Button: Press and hold to turn the unit ON/OFF. Press briefly to access backlight settings.
- SETUP Button: Enters the settings menu to adjust sensitivity, depth range, fish alarm, and other parameters.
- ENTER Button: Confirms selections within the settings menu.
- FT/M Button: Toggles the depth display between feet (FT) and meters (M).
Basic Operation:
- Power On: Press and hold the POWER button until the display illuminates.
- Sonar Scan: Once powered on and the sensor is submerged, the unit will automatically begin scanning. The display will show real-time sonar readings, including water depth, fish icons, and bottom contour.

Image: Fish finder displaying sonar data in a fishing environment.
- Adjust Settings:
- Press the SETUP button to enter the settings menu.
- Use the POWER or FT/M buttons to navigate through options.
- Press ENTER to select an option and adjust its value.
- Common settings include:
- Sensitivity: Adjusts the unit's ability to detect weak sonar returns. Higher sensitivity detects smaller targets but may also show more clutter.
- Depth Range: Sets the maximum depth displayed.
- Fish Alarm: Activates an audible alert when fish are detected.
- Unit of Measure: Use the FT/M button to switch between feet and meters.
- Power Off: Press and hold the POWER button until the unit shuts down.
Maintenance
- Cleaning: After each use, especially in saltwater, rinse the sonar sensor and main unit with fresh water. Wipe dry with a soft cloth. Do not use abrasive cleaners or solvents.
- Storage: Store the fish finder in a cool, dry place away from direct sunlight. If storing for extended periods, remove the batteries to prevent leakage.
- Sensor Care: Inspect the sonar sensor cable for any signs of damage or wear before each use. Ensure the sensor surface is clean and free of debris for optimal performance.
- Battery Replacement: Replace batteries when the low battery indicator appears on the display or when the unit fails to power on.

Image: Fish finder unit with water droplets, highlighting its durability.
Troubleshooting
| Problem | Possible Cause | Solution |
|---|---|---|
| Unit does not power on. | Dead or incorrectly installed batteries. | Replace batteries with new ones, ensuring correct polarity. |
| No sonar reading or erratic readings. |
|
|
| Fish icons not appearing. |
|
|
| Display is dim or difficult to read. |
|
|
Specifications
| Model Name | TL88E |
| Sonar Frequency | 200KHz |
| Sonar Beam Angle | 45 degrees |
| Depth Range | 0.7 meters (2.3 feet) to 100 meters (328 feet) |
| Display | 2-inch Anti-LCD with Green LED Backlight |
| Power Requirement | 4 x AAA batteries (not included) |
| Battery Life | Up to 24 hours (continuous usage) |
| Material | ABS |
| Dimensions (Main Unit) | 12 x 7.5 x 2.5 cm (4.7 x 3 x 1 inches) |
| Weight | 567 Grams (approx. 1.25 lbs) |

Image: Dimensions of the fish finder unit.
Warranty
The plplaaoo Portable LCD Fish Finder Sonar Sensor TL88E comes with a manufacturer warranty for 90 days from the date of purchase. This warranty covers defects in materials and workmanship under normal use. It does not cover damage caused by misuse, accident, unauthorized modification, or improper maintenance.
Please retain your proof of purchase for warranty claims. For warranty service, contact customer support as described in the Support section.
Support
For technical assistance, troubleshooting beyond this manual, or warranty inquiries, please contact plplaaoo customer support. Refer to the product packaging or the official plplaaoo website for the most current contact information.
When contacting support, please have your product model (TL88E) and purchase information readily available.
Important Safety Information
- Do not attempt to open or repair the unit yourself. This may void the warranty and cause damage.
- Keep the unit and its components out of reach of children.
- Ensure the battery compartment is sealed properly before exposing the unit to water.
- Dispose of batteries responsibly according to local regulations.
Video Resources
No official product videos from the seller were found in the provided data. Please refer to the written instructions and diagrams for guidance.