1. Introduction
This manual provides essential instructions for the installation, operation, and maintenance of your Hikvision DS-2CD1041G0-I 4MP Fixed Wired Bullet Network Camera. Please read this manual thoroughly before using the product to ensure correct usage and to prevent damage.
2. Safety Information
- Ensure the power supply meets the camera's requirements.
- Do not expose the camera to extreme temperatures, humidity, or corrosive environments.
- Avoid pointing the camera lens directly at strong light sources.
- Installation should be performed by qualified personnel.
- Disconnect power before any maintenance or installation procedures.
3. Package Contents
Verify that all items are present in the package:
- Hikvision DS-2CD1041G0-I 4MP Fixed Wired Bullet Network Camera
- Instruction Manual
- Mounting Screws
4. Product Overview
The Hikvision DS-2CD1041G0-I is a robust 4MP (2560 × 1440) fixed bullet network camera designed for reliable outdoor surveillance. It features advanced imaging and compression technologies to deliver clear video while optimizing storage and bandwidth.
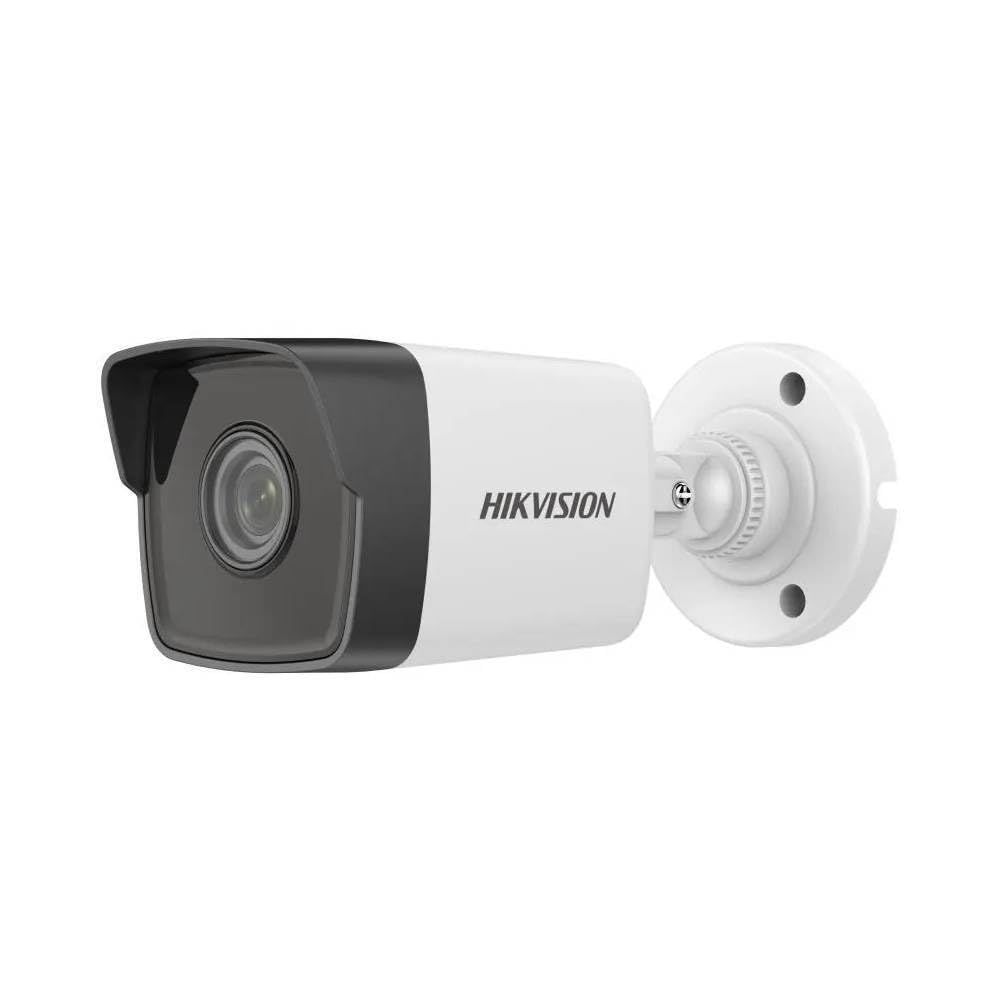
Figure 1: Hikvision DS-2CD1041G0-I 4MP Fixed Wired Bullet Network Camera. This image displays the compact bullet-style design of the camera, suitable for various outdoor mounting scenarios.
Key Features:
- High-Quality Imaging: Delivers 4 MP resolution (2560 × 1440) for clear and detailed video.
- Advanced Compression: Utilizes H.265+ compression technology to reduce bandwidth and storage requirements.
- Wide Dynamic Range (WDR): Ensures clear imaging in challenging lighting conditions.
- EXIR 2.0 Infrared Technology: Provides enhanced night vision capabilities with a long IR range up to 30 meters.
- Weather and Dust Resistance: Rated IP67, making it suitable for outdoor installations.
5. Setup and Installation
5.1 Mounting Location
Choose a suitable outdoor location for mounting the camera. Ensure the area provides a clear field of view and is within reach of power and network cables. The camera is designed for wall mount installation.
5.2 Physical Installation
- Prepare the Surface: Mark the drilling points on the wall using the camera's mounting template (if provided) or the camera base.
- Drill Holes: Drill pilot holes at the marked positions. Insert wall anchors if necessary.
- Secure the Camera: Attach the camera base to the wall using the provided mounting screws. Ensure it is firmly secured.
- Adjust Angle: Loosen the adjustment screws to position the camera for the desired viewing angle. Tighten the screws once adjusted.
5.3 Wiring Connections
Connect the camera to your network and power supply.
- Network Connection: Connect an Ethernet cable from your network switch or router to the camera's RJ45 port. This camera uses a wired Ethernet connection.
- Power Connection: Connect the power adapter (not always included, check package) to the camera's power input and then to a power outlet. The camera operates via corded electric power.
6. Operating the Camera
6.1 Initial Setup and Configuration
After physical installation and connection, the camera needs to be configured via network software.
- Install Software: Download and install the Hikvision SADP Tool or Hik-Connect app on your computer or mobile device.
- Activate Camera: Use the SADP Tool to find the camera on your network. Activate it by setting a strong password.
- Network Settings: Configure network parameters such as IP address (DHCP or static).
- Access Live View: Access the camera's web interface via its IP address in a web browser or through the Hik-Connect app for live viewing and further settings.
6.2 Video Recording and Storage
The camera supports various recording options, typically managed through a Network Video Recorder (NVR) or directly to an SD card (if supported by model, check specifications) or network storage.
- Configure recording schedules (continuous, motion-triggered, alarm-triggered).
- Set up storage locations and ensure sufficient capacity.
- Video capture format is AVI.
6.3 Remote Access
For remote viewing, configure port forwarding on your router or use the Hik-Connect cloud service.
7. Maintenance
7.1 Cleaning
- Regularly clean the camera lens with a soft, dry cloth to ensure clear image quality.
- Do not use harsh chemicals or abrasive cleaners.
- Wipe the camera body with a damp cloth to remove dust and dirt.
7.2 Firmware Updates
Periodically check the Hikvision official website for firmware updates. Updating firmware can improve performance, add features, and enhance security.
7.3 Environmental Considerations
Although rated IP67 for outdoor use, ensure the camera is not subjected to prolonged direct water submersion or extreme physical impact.
8. Troubleshooting
| Problem | Possible Cause | Solution |
|---|---|---|
| No image/No power | Power cable disconnected; Power adapter faulty. | Check power connections; Test with a known good power adapter. |
| Cannot connect to network | Ethernet cable faulty; Incorrect IP address; Network configuration error. | Check Ethernet cable; Verify IP settings using SADP Tool; Ensure camera and NVR/router are on the same subnet. |
| Poor image quality | Dirty lens; Insufficient lighting; Incorrect resolution settings. | Clean the lens; Ensure adequate lighting or enable IR; Adjust resolution settings in the camera's web interface. |
| Night vision not working | IR LEDs blocked; IR settings disabled. | Clear any obstructions; Check IR settings in the camera's configuration. |
9. Specifications
| Feature | Detail |
|---|---|
| Model Name | HIKVISION DS-2CD1041G0-I |
| Recommended Uses | Outdoor Security |
| Connectivity Technology | Wired (Ethernet) |
| Indoor/Outdoor Usage | Outdoor |
| Power Source | Corded Electric |
| Mounting Type | Wall Mount |
| Video Capture Resolution | 1440p (4MP) |
| Video Capture Format | AVI |
| Item Dimensions | 15 x 15 x 15 Centimeters |
| IP Rating | IP67 (Weather and Dust Resistance) |
| Infrared Technology | EXIR 2.0, up to 30 meters IR range |
| Compression Technology | H.265+ |
| Dynamic Range | Wide Dynamic Range (WDR) |
10. Warranty and Support
10.1 Warranty Information
This product typically comes with a standard manufacturer's warranty. Additionally, a 1-Year Extended Warranty by Onsitego may be available for purchase. Please refer to your purchase documentation for specific warranty terms and conditions.
10.2 Technical Support
For technical assistance, troubleshooting beyond this manual, or warranty claims, please contact your authorized Hikvision dealer or visit the official Hikvision support website. Ensure you have your product model number (DS-2CD1041G0-I) and purchase details ready.
Manufacturer: HIKVISION


