1. Introduction
This manual provides essential information for the safe and efficient installation, operation, and maintenance of your YJSDXBSF 11KW 220V-240V Pool Heater. Please read this manual thoroughly before installation and use, and retain it for future reference. Proper adherence to these instructions will ensure optimal performance and longevity of your pool heater.
2. Safety Information
WARNING: This is a high-power electrical unit. Installation must be performed by a licensed electrician in accordance with all local and national electrical codes. Failure to do so may result in electric shock, fire, property damage, or serious injury.
- Ensure the power supply matches the heater's voltage requirements (220V-240V).
- Always disconnect power before performing any maintenance or service.
- The heater must be properly grounded.
- Do not operate the heater without adequate water flow. The unit includes built-in water shortage auto shut-off protection.
- Keep children and unauthorized personnel away from the heater during operation.
- Do not block the air vents of the heater.
- The heater should be installed in conjunction with a circulation pump.
3. Product Components and Features
The YJSDXBSF 11KW Pool Heater is designed for efficient water heating in above-ground pools, hot tubs, and spas. Key features include:
- 11kW Power Output: Capable of heating up to 1000-gallon pools to 87°F in approximately 3 hours.
- Digital Touch Screen Display: For precise control of heating time and temperature, with easy switching between Celsius and Fahrenheit.
- 316 Stainless Steel Heating Elements: Provides faster heat transfer and enhanced durability.
- Safety Protections: Includes anti-dry burn, water shortage auto shut-off, and high-temperature protection (shuts off at 50°C/122°F).
- 1.5" NPT Inlet/Outlet: Standard connection for plumbing.

Figure 3.1: Front view of the YJSDXBSF 11KW Pool Heater, showing the control panel and water connections.
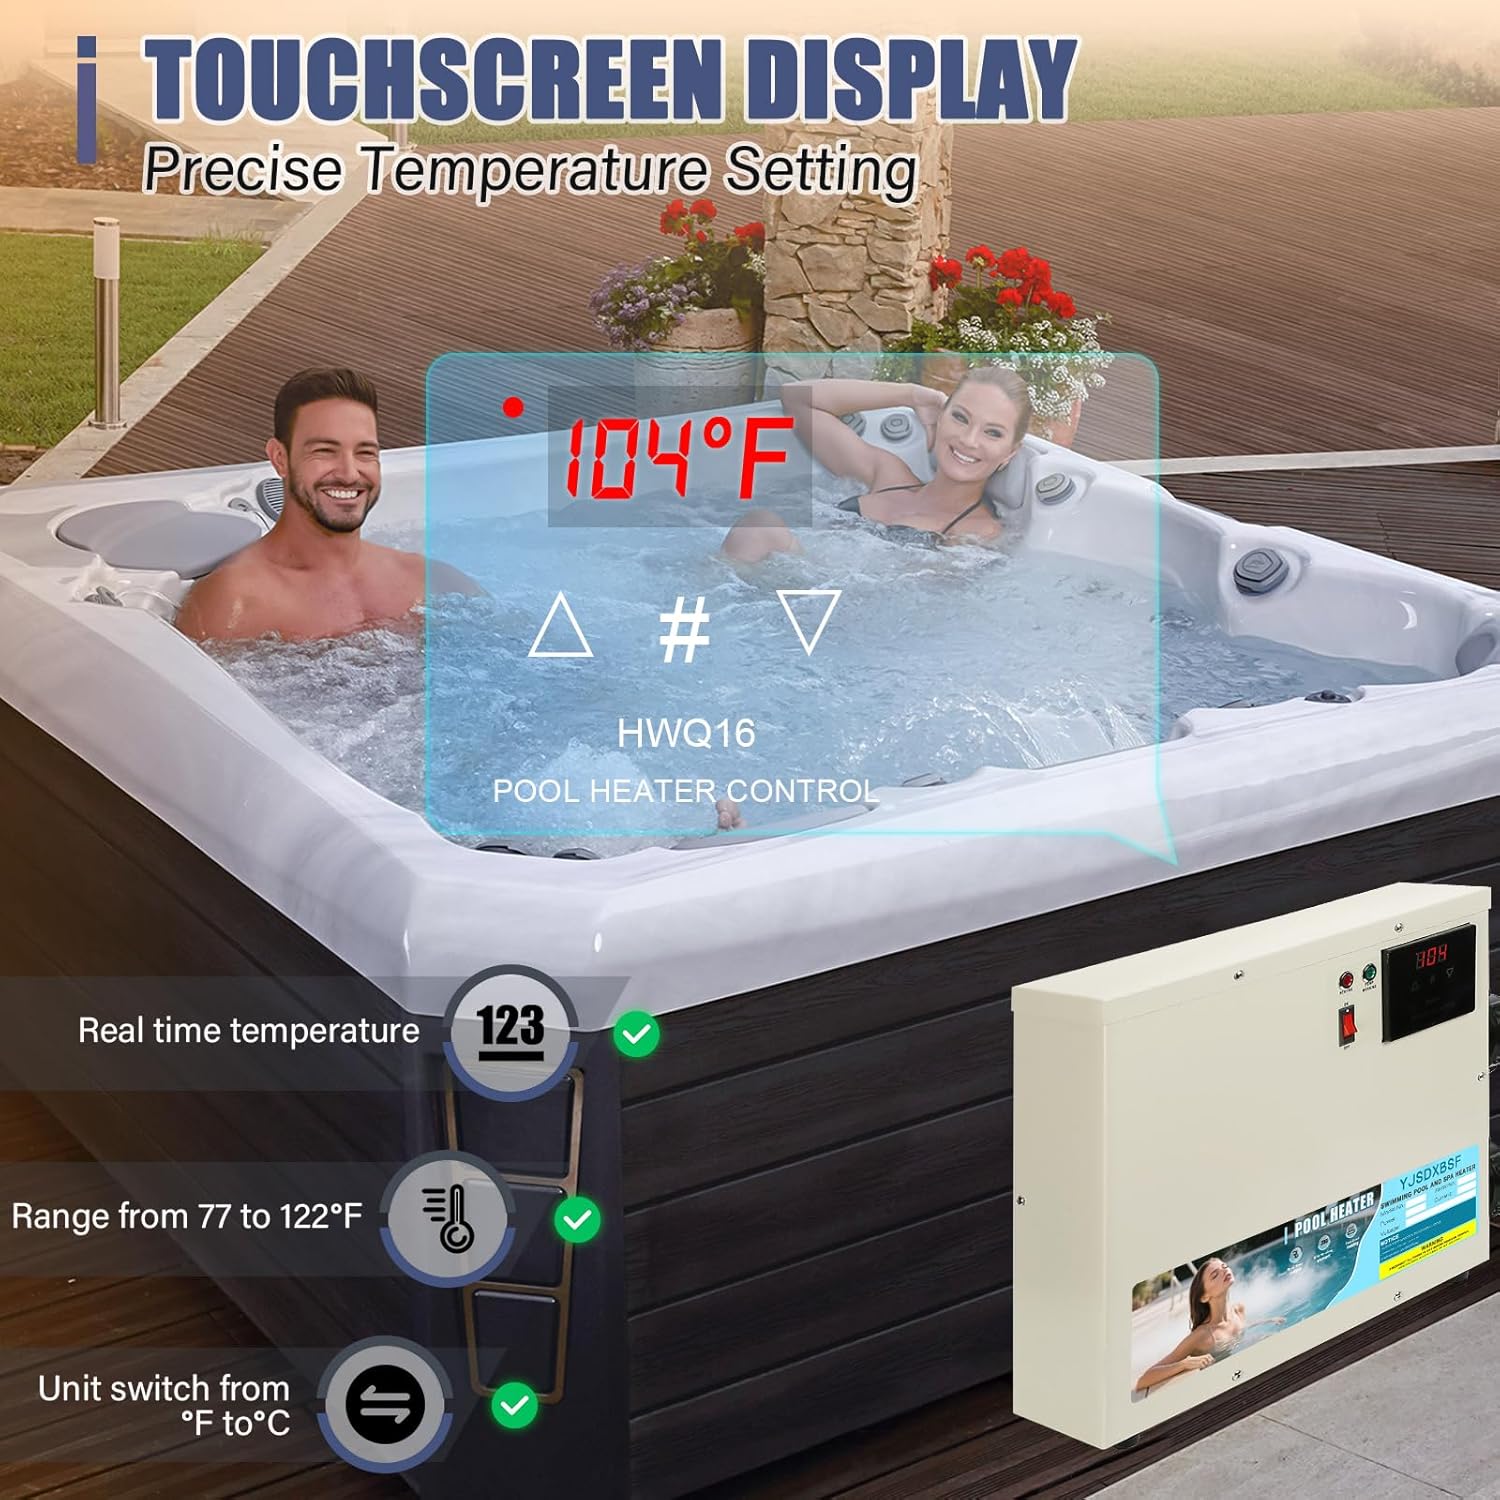
Figure 3.2: Close-up of the digital touchscreen display for temperature and settings control.
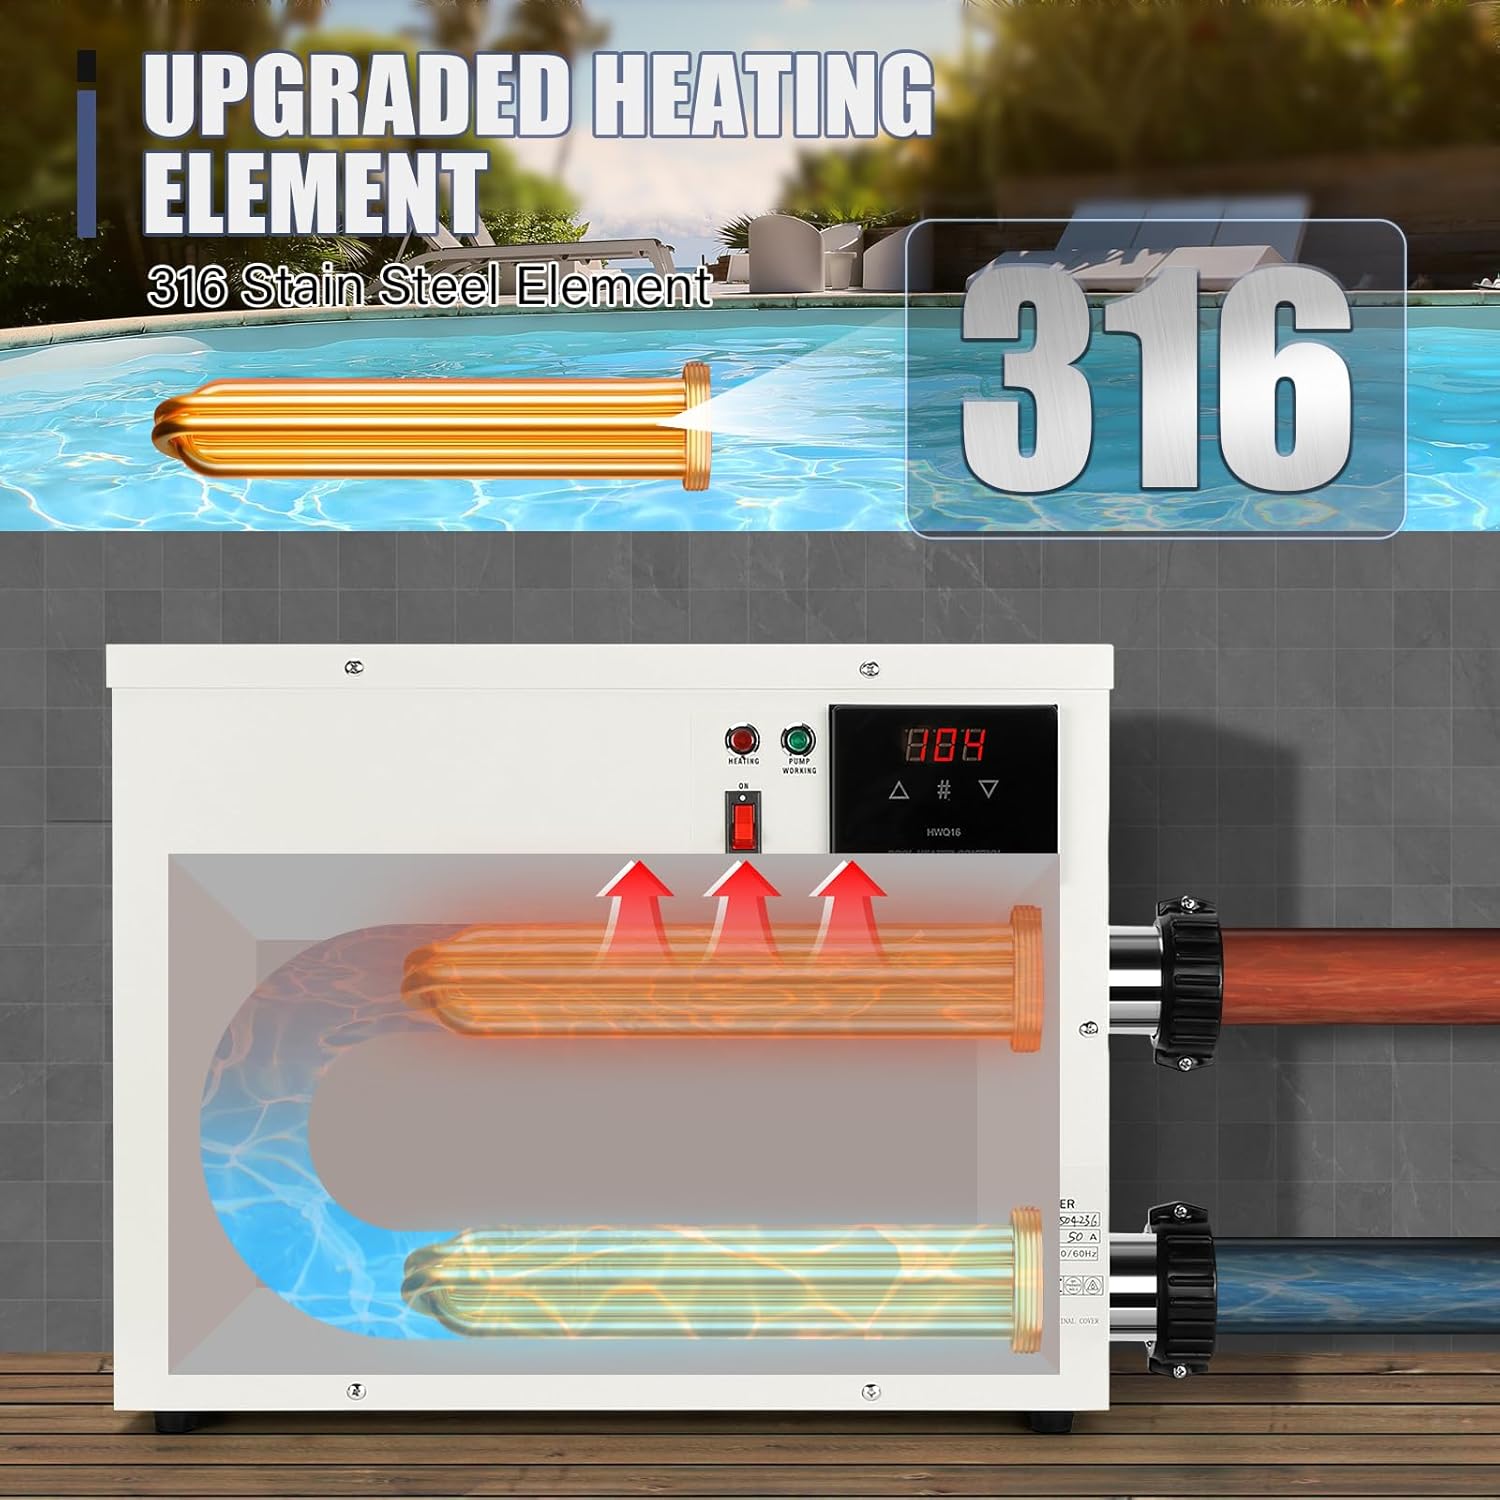
Figure 3.3: Internal view illustrating the 316 stainless steel heating elements and water flow path.
4. Technical Specifications
| Feature | Specification |
|---|---|
| Model Number | 11KW |
| Power Output | 11 kW |
| Voltage | 220V-240V AC |
| Current (11KW) | 50A |
| Breaker Required (11KW) | 60A |
| Wire Gauge (11KW) | 7AWG |
| Plumbing Size | SCH40 1.5" PVC |
| Minimum Circulation Pump | ≥1HP |
| Suggested Capacity (11KW) | 1300 Gallons |
| Min Temperature Setting | 87°F (30.5°C) |
| Max Temperature Setting | 122°F (50°C) |
| Heating Method | Electric Convection |
| Indoor/Outdoor Usage | Outdoor |
| Dimensions (D x W x H) | 1"D x 1"W x 1"H (Note: This dimension seems generic, refer to product packaging for exact dimensions) |

Figure 4.1: Detailed specifications for various power options, including electrical and plumbing requirements.
5. Installation
IMPORTANT: Professional installation by a licensed electrician is required. This unit is hardwired and does not use a plug. Incorrect installation can lead to severe hazards.
5.1 Pre-Installation Checklist
- Verify power supply voltage and amperage capacity.
- Ensure a dedicated circuit with the appropriate breaker size (60A for 11KW model) is available.
- Confirm a circulation pump of at least 1HP is installed and operational.
- Gather necessary plumbing materials (SCH40 1.5" PVC pipes and fittings).
- Select a suitable outdoor location, protected from direct weather exposure but with adequate ventilation.
5.2 Plumbing Connection
- Connect the heater's inlet to the outlet of your circulation pump using SCH40 1.5" PVC plumbing.
- Connect the heater's outlet to the return line of your pool/spa.
- Ensure all connections are watertight and secure.
- The heater must be installed after the filter and before any chemical feeders.
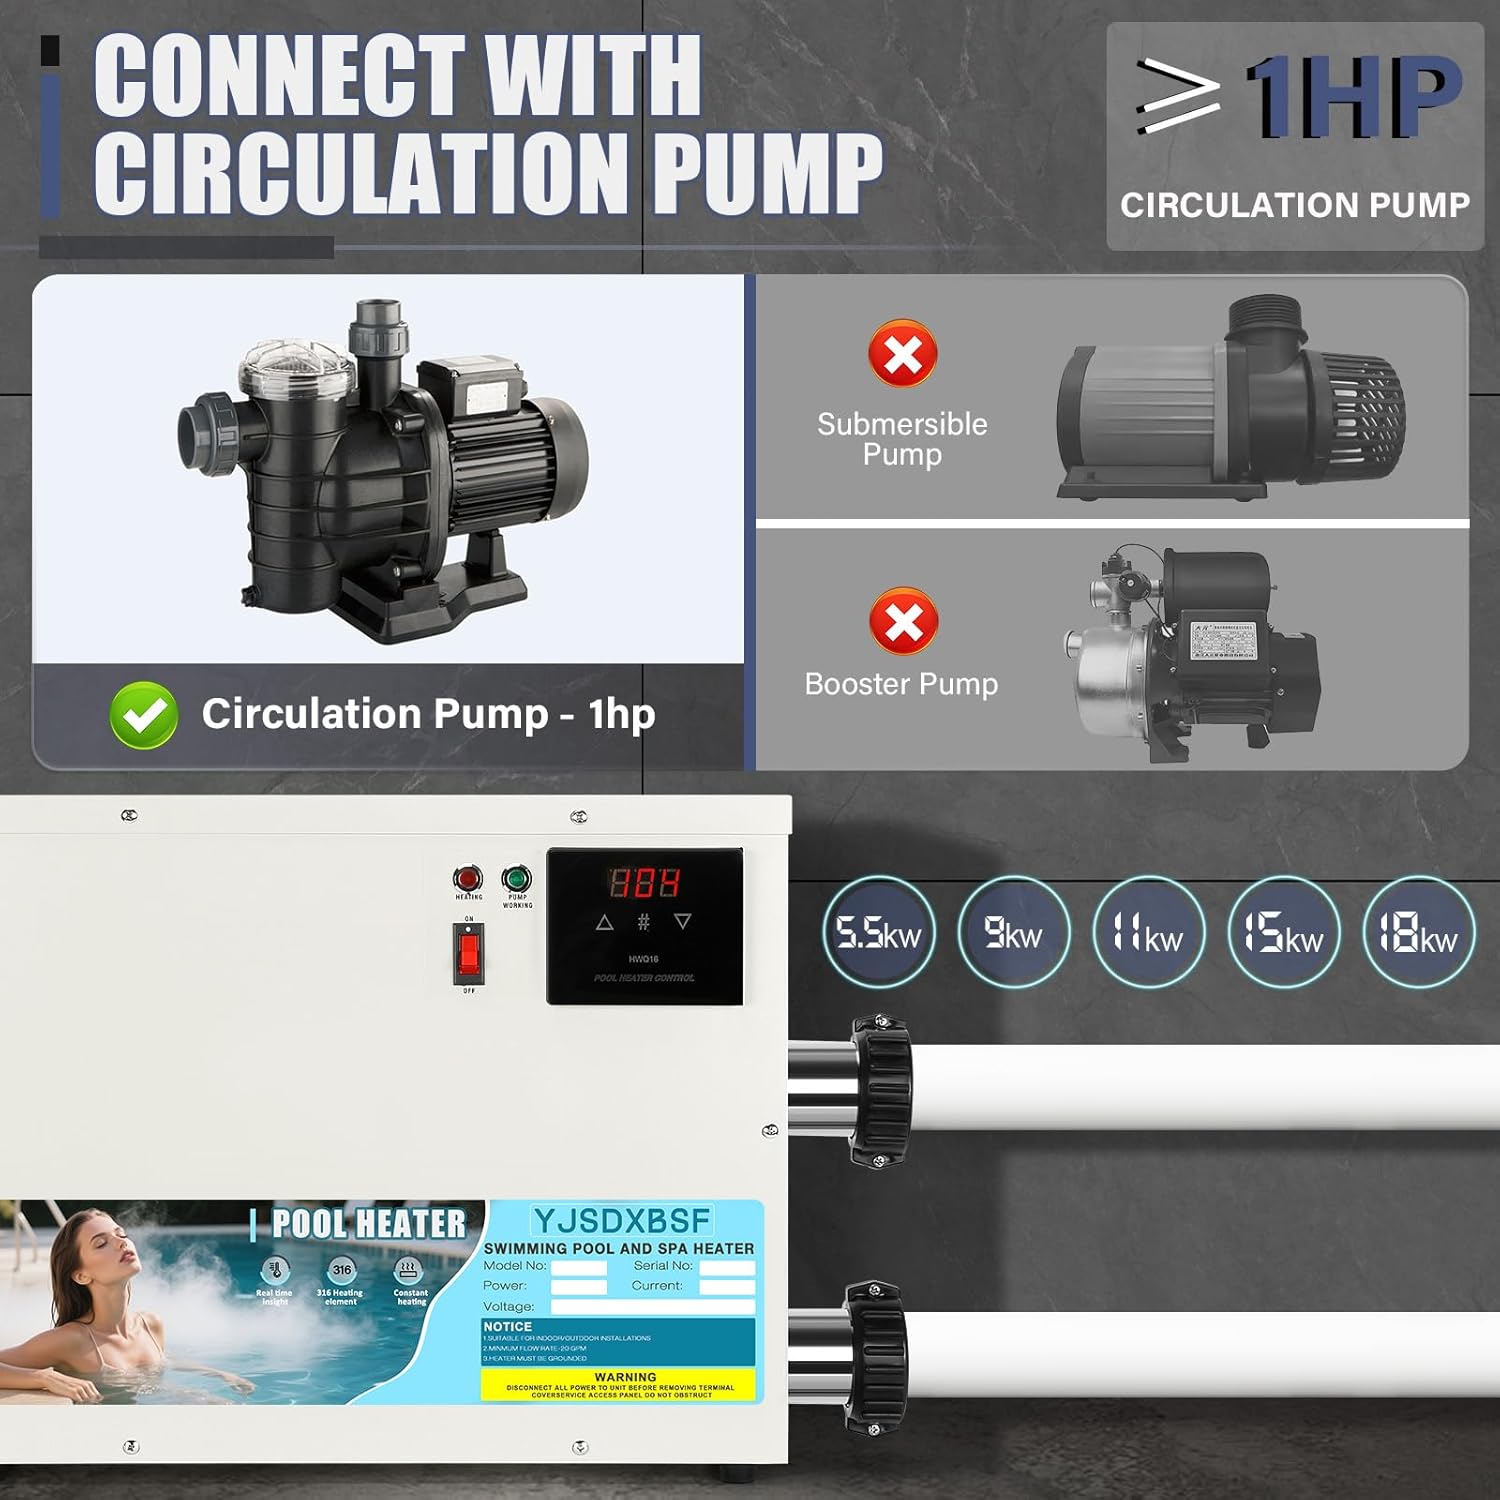
Figure 5.1: Illustration of the pool heater connected to a circulation pump. A 1HP circulation pump is required.
5.3 Electrical Wiring
- Turn off the main power supply at the circuit breaker before beginning any electrical work.
- Open the heater's electrical access panel.
- Connect the L1 and L2 power lines (220V-240V) to the designated terminals within the heater.
- Connect the ground wire to the grounding terminal.
- Ensure all wire connections are tight and secure. Use 7AWG wire for the 11KW model.
- Close the electrical access panel securely.
Video 5.1: An overview of the YJSDXBSF pool heater, demonstrating its components and general setup. This video provides a visual aid for understanding the product's physical aspects and how it integrates into a pool system.
Video 5.2: A short demonstration of the electric swimming pool heater in operation, highlighting its heating function. This video helps visualize the heater's role in maintaining water temperature.
6. Operating Instructions
6.1 Initial Startup
- After ensuring all plumbing and electrical connections are secure and verified by a professional, turn on the circulation pump. Allow water to flow through the heater for several minutes to purge any air.
- Turn on the power supply to the heater at the circuit breaker.
- The digital display will illuminate.
6.2 Setting Temperature
- Use the digital touch screen to navigate the settings.
- Press the appropriate buttons (usually up/down arrows or a dedicated temperature button) to adjust the desired water temperature.
- The heater will automatically activate when the water temperature falls below the set point and deactivate once the set temperature is reached.
- To switch between Celsius (°C) and Fahrenheit (°F), locate the toggle option on the display and select your preferred unit.

Figure 6.1: Graph illustrating the automatic temperature regulation, maintaining the water within a desired range for pools or hot tubs.
7. Maintenance
Regular maintenance ensures the longevity and efficient operation of your pool heater.
7.1 Routine Checks
- Periodically inspect the heater for any signs of leaks, corrosion, or damage to the casing or connections.
- Ensure the area around the heater is clear of debris and allows for proper ventilation.
- Check water flow to ensure it is consistent and unobstructed. Clogged water inlets can trigger safety shutdowns.
7.2 Cleaning
- Wipe down the exterior of the heater with a soft, damp cloth. Do not use abrasive cleaners or solvents.
- For internal cleaning or descaling, consult a qualified pool technician.
7.3 Winterization (if applicable)
- In colder climates, proper winterization is crucial to prevent freeze damage.
- Drain all water from the heater and plumbing lines according to your pool system's winterization procedures.
- Store the heater in a dry, protected area if it is easily removable, or cover it if it remains installed.
8. Troubleshooting
This section addresses common issues you might encounter with your pool heater.
| Problem | Possible Cause | Solution |
|---|---|---|
| Heater not turning on | No power supply; tripped circuit breaker; insufficient water flow. | Check power connections and circuit breaker. Ensure circulation pump is running and water flow is adequate. |
| Water not heating | Incorrect temperature setting; low water flow; heating elements malfunction. | Verify temperature setting. Check circulation pump and filter for clogs. If elements are suspected, contact a qualified technician. |
| Error code on display | Specific system fault (e.g., water flow sensor, temperature sensor). | Refer to the heater's display for the specific error code and consult a technician if the issue persists after basic checks. |
| Heater frequently shuts off | Overheating due to insufficient water flow; clogged inlet/outlet; faulty sensor. | Check water flow, clean filters, and ensure plumbing is clear. If problem continues, contact a professional. |
9. Warranty and Support
For warranty information or technical support, please refer to the warranty card included with your product or contact YJSDXBSF customer service through the retailer where the product was purchased. Please have your model number (11KW) and purchase date available when contacting support.


