1. Introduction
Thank you for choosing the Generic Solar Flood Light. This manual provides essential information for the safe and efficient installation, operation, and maintenance of your solar light. Please read these instructions carefully before use and retain them for future reference.
This solar light is designed for outdoor use, featuring automatic dusk-to-dawn sensing and motion detection for enhanced illumination in areas such as gardens, yards, patios, and pathways.
2. Product Overview
2.1 Key Features
- Durable Construction: Made of high-quality stainless steel and transparent PC, ensuring sturdiness and durability. Designed to perform well in adverse outdoor weather conditions, offering antifreeze, heat-resistant, and waterproof (IP65) properties.
- High-Brightness LED Lighting: Equipped with 5 high-brightness LED lamp beads for efficient illumination and a long lifespan. The lampshade features a refraction and anti-glare design, providing strong light without dazzling.
- Automatic Operation: Integrates light control and induction. The light automatically turns on with dim illumination at night and switches to bright illumination when human motion is detected.
- Easy Installation: Designed for simple screw-based mounting, making it convenient for various outdoor locations such as front doors, eaves, garages, patios, gardens, and stairs.
2.2 Components
The Generic Solar Flood Light consists of the following main components:
- Solar Panel (top surface)
- LED Light Array (front)
- Motion Sensor (integrated)
- Waterproof On/Off Switch (rear)
- Mounting Holes (rear)

Figure 1: Front view of the Generic Solar Flood Light, showing the solar panel on top and the LED light array below.

Figure 2: Detailed view of the high-brightness LED lights, highlighting the individual lamp beads.

Figure 3: Rear view of the solar flood light, indicating the location of the waterproof switch and mounting holes.
3. Specifications
3.1 Technical Data
- Product Name: Solar Lights
- Material: ABS + PC + Stainless steel
- Charging Time: Approximately 4-5 hours (under direct sunlight)
- Lighting Time: Approximately 12 hours (after a full charge)
- Control Mechanism: Light control (dusk-to-dawn sensor) + Induction (motion sensor)
- Dimensions: 4.7" x 3.3" x 1.5" (11.9 cm x 8.4 cm x 3.8 cm)
- Waterproof Grade: IP65
- Induction Distance: 6-26 ft (5-8 m)
- Power Source: Solar powered (batteries not required for operation, integrated rechargeable battery)
- Unit Count: 1.0 Count

Figure 4: Product dimensions of the solar flood light.
4. Setup and Installation
4.1 Before Installation
- Initial Charge: Before first use, ensure the solar light is placed in direct sunlight for at least 6-8 hours to allow the internal battery to fully charge.
- Activate Switch: Locate the waterproof switch on the back of the unit (refer to Figure 3). Turn this switch to the 'ON' position before installation. The light will not operate automatically if the switch is off.
4.2 Installation Steps
- Choose Location: Select a location that receives ample direct sunlight throughout the day to maximize charging efficiency. Avoid areas under eaves, trees, or other obstructions that might block sunlight.
- Mark Drilling Points: Hold the light against the desired mounting surface and mark the positions for the mounting holes.
- Drill Holes: Use an appropriate drill bit to create pilot holes at the marked positions.
- Insert Anchors (if needed): If installing on masonry or drywall, insert wall anchors into the drilled holes.
- Mount the Light: Align the mounting holes on the back of the light with the drilled holes/anchors. Secure the light firmly using screws.
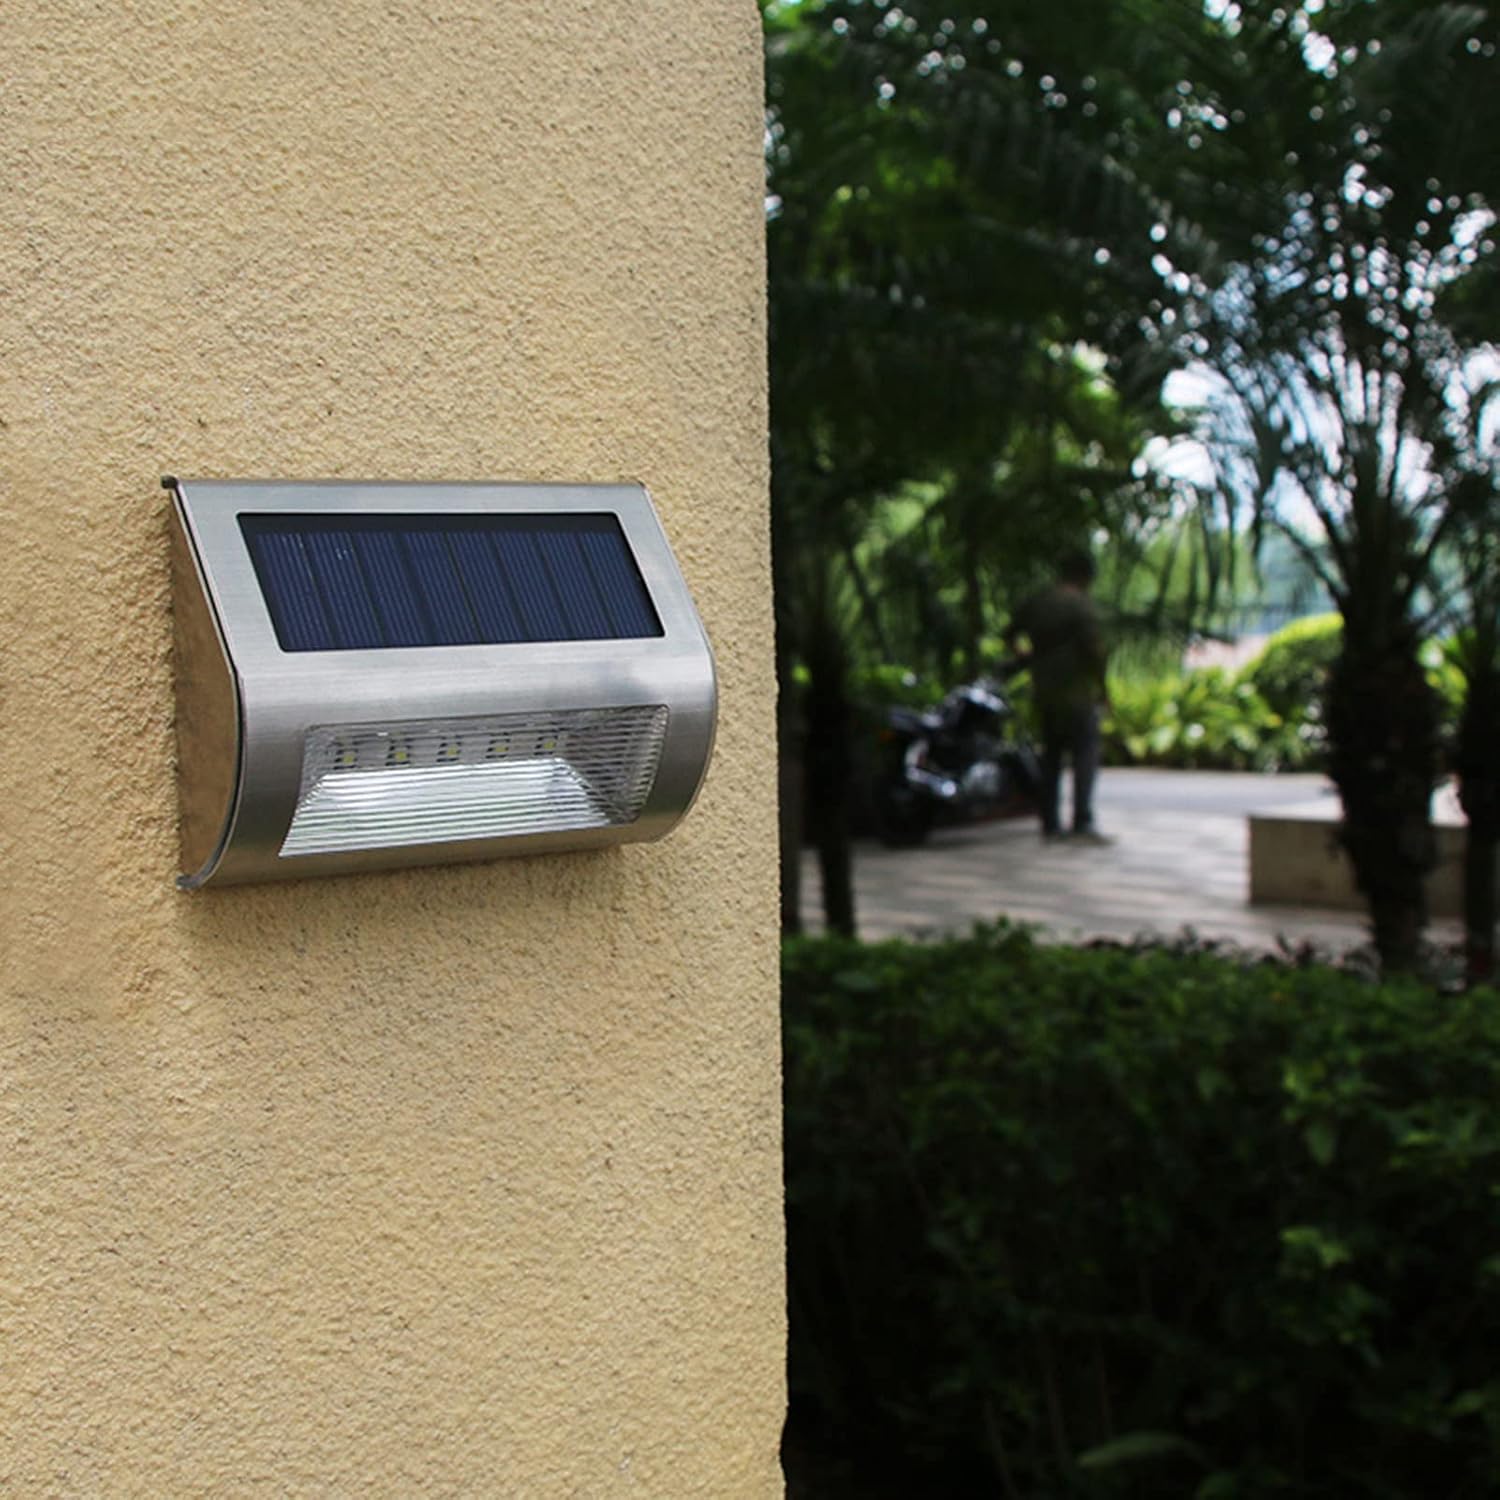
Figure 5: Example of the solar flood light mounted on an outdoor wall.

Figure 6: Examples of solar flood lights illuminating outdoor stairs and patio areas.
5. Operating Instructions
5.1 Automatic Operation
Once the light is installed and the back switch is in the 'ON' position, the solar flood light operates automatically:
- Dusk-to-Dawn Sensor: During the day, the solar panel absorbs sunlight and converts it into electrical energy, charging the internal battery. At dusk, the light sensor detects low ambient light and automatically turns on the light at a dim setting.
- Motion Sensor: When human motion is detected within the induction distance (6-26 ft or 5-8 m) while the light is in dim mode, the light will automatically switch to a bright illumination mode. After approximately 15-30 seconds of no further motion, the light will revert to the dim setting.
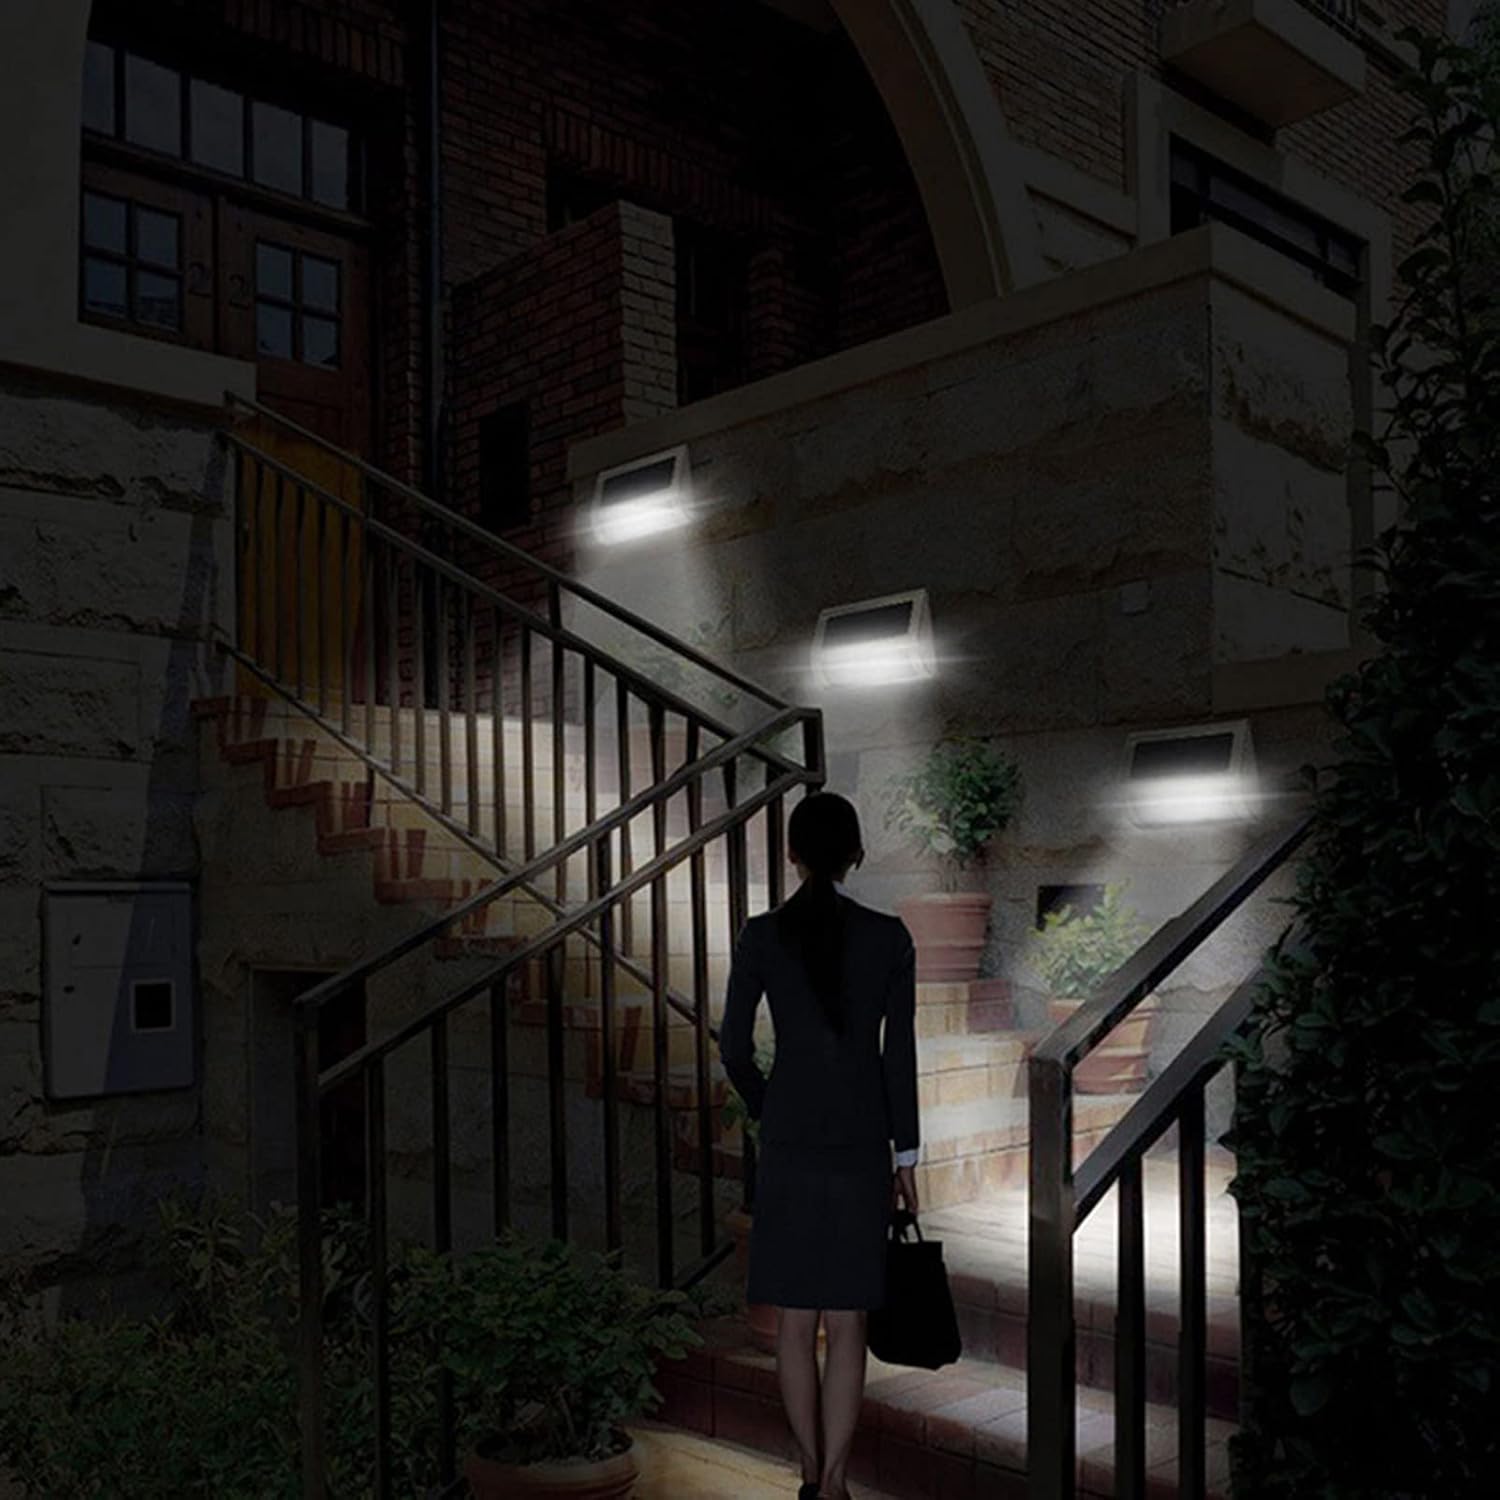
Figure 7: Solar flood lights providing illumination on outdoor stairs at night, demonstrating automatic operation.
6. Maintenance
6.1 Cleaning
To ensure optimal performance, regularly clean the solar panel and the LED light surface. Dust, dirt, and debris can reduce the efficiency of the solar panel and dim the light output.
- Wipe the solar panel and light surface with a soft, damp cloth.
- Do not use abrasive cleaners or harsh chemicals, as these can damage the surfaces.
6.2 Battery Care
The integrated rechargeable battery is designed for long-term use. To prolong its lifespan:
- Ensure the light receives adequate direct sunlight daily for proper charging.
- Avoid prolonged storage of the light with a completely depleted battery. If storing for an extended period, ensure it is fully charged first.
7. Troubleshooting
7.1 Common Issues and Solutions
- Light does not turn on at night:
- Ensure the waterproof switch on the back is in the 'ON' position.
- Verify the solar panel is receiving sufficient direct sunlight during the day (4-5 hours minimum). Relocate if necessary.
- Check if the solar panel is dirty or obstructed. Clean it as per maintenance instructions.
- Ensure there are no strong light sources (e.g., streetlights, other outdoor lights) near the solar light that might trick the dusk-to-dawn sensor into thinking it is daytime.
- Light is dim or only stays on for a short period:
- The battery may not be fully charged. Ensure the light receives maximum direct sunlight for a full day.
- The ambient temperature might be too low, affecting battery performance.
- The solar panel might be dirty. Clean it thoroughly.
- Motion sensor is not working:
- Ensure the light is in its dim night mode. The motion sensor only activates from this state.
- Check for obstructions blocking the sensor's field of view.
- Verify that motion is occurring within the specified induction distance (6-26 ft).
8. Warranty and Support
8.1 Warranty Information
This product comes with a 3-month warranty from the date of purchase. This warranty covers manufacturing defects under normal use. It does not cover damage caused by misuse, accidents, unauthorized modifications, or improper installation.
8.2 Customer Support
If you have any questions, concerns, or require assistance with your Generic Solar Flood Light, please contact the seller or retailer from whom you purchased the product. Please have your purchase details and product model number (B0F59WVSNL) ready when contacting support.