OGACFO YOLFHM103WH
OGACFO 14000 BTU Portable Air Conditioner User Manual
Model: YOLFHM103WH
1. Introduction
Thank you for choosing the OGACFO 14000 BTU Portable Air Conditioner. This 3-in-1 unit provides powerful cooling, efficient dehumidification, and a refreshing fan mode, designed to offer versatile climate control for spaces up to 700 sq ft. Its portable design with built-in wheels and handles ensures easy movement, while advanced noise-reduction technology provides quiet operation. This manual provides essential information for safe operation, installation, maintenance, and troubleshooting.
2. Safety Information
Please read all safety warnings and instructions carefully before using this appliance to prevent injury or damage. Keep this manual for future reference.
General Precautions
- Do not block air inlets or outlets.
- Ensure the unit is placed on a flat, stable surface.
- Keep children and pets away from the unit during operation.
- Do not insert objects into the unit.
Electrical Safety
- Use only a grounded electrical outlet with the correct voltage (115 Volts).
- Do not use extension cords or adapter plugs.
- Unplug the unit before cleaning or servicing.
- Do not operate the unit with a damaged cord or plug.
3. Product Components
The following items are included in your package:
- Portable Air Conditioner Unit
- Air Exhaust Hose (5.2 ft)
- Hose Adapters
- Window Kit
- Water Drain Hose (2 ft)
- Full Function Remote Control
- Product Manual (this document)

Figure 3.1: Included Components. This image displays the main portable air conditioner unit alongside its accessories: a remote control, a flexible exhaust hose, a window kit for sealing, hose adapters, and a drainage hose.
4. Setup and Installation
Follow these steps to set up your portable air conditioner.
Placement
- Place the unit on a firm, level surface.
- Ensure there is at least 20 inches (50 cm) of space around the unit for proper airflow.
- The unit features 360° rotating wheels and hidden handles for easy portability.

Figure 4.1: Improved Design Features. This image highlights the unit's design enhancements, including a convenient cord storage area, two hidden handles for lifting, and 360-degree rotating wheels for effortless movement.
Window Kit Installation
The included window kit is designed for easy installation in both vertical and horizontal sliding windows with a size range of 25.5"-27".
- Assemble the window kit panels to fit your window opening.
- Secure the window kit in the window frame.
- Attach one end of the exhaust hose to the unit and the other end to the window kit adapter.
- Ensure all connections are secure to prevent air leakage.

Figure 4.2: Easy Window Installation. This diagram illustrates the straightforward process of installing the exhaust hose and window kit, demonstrating compatibility with both vertical and horizontal sliding window types.
5. Operating Instructions
Your portable air conditioner can be operated using the LED control panel on the unit or the full-function remote control.
Control Panel and Remote Control
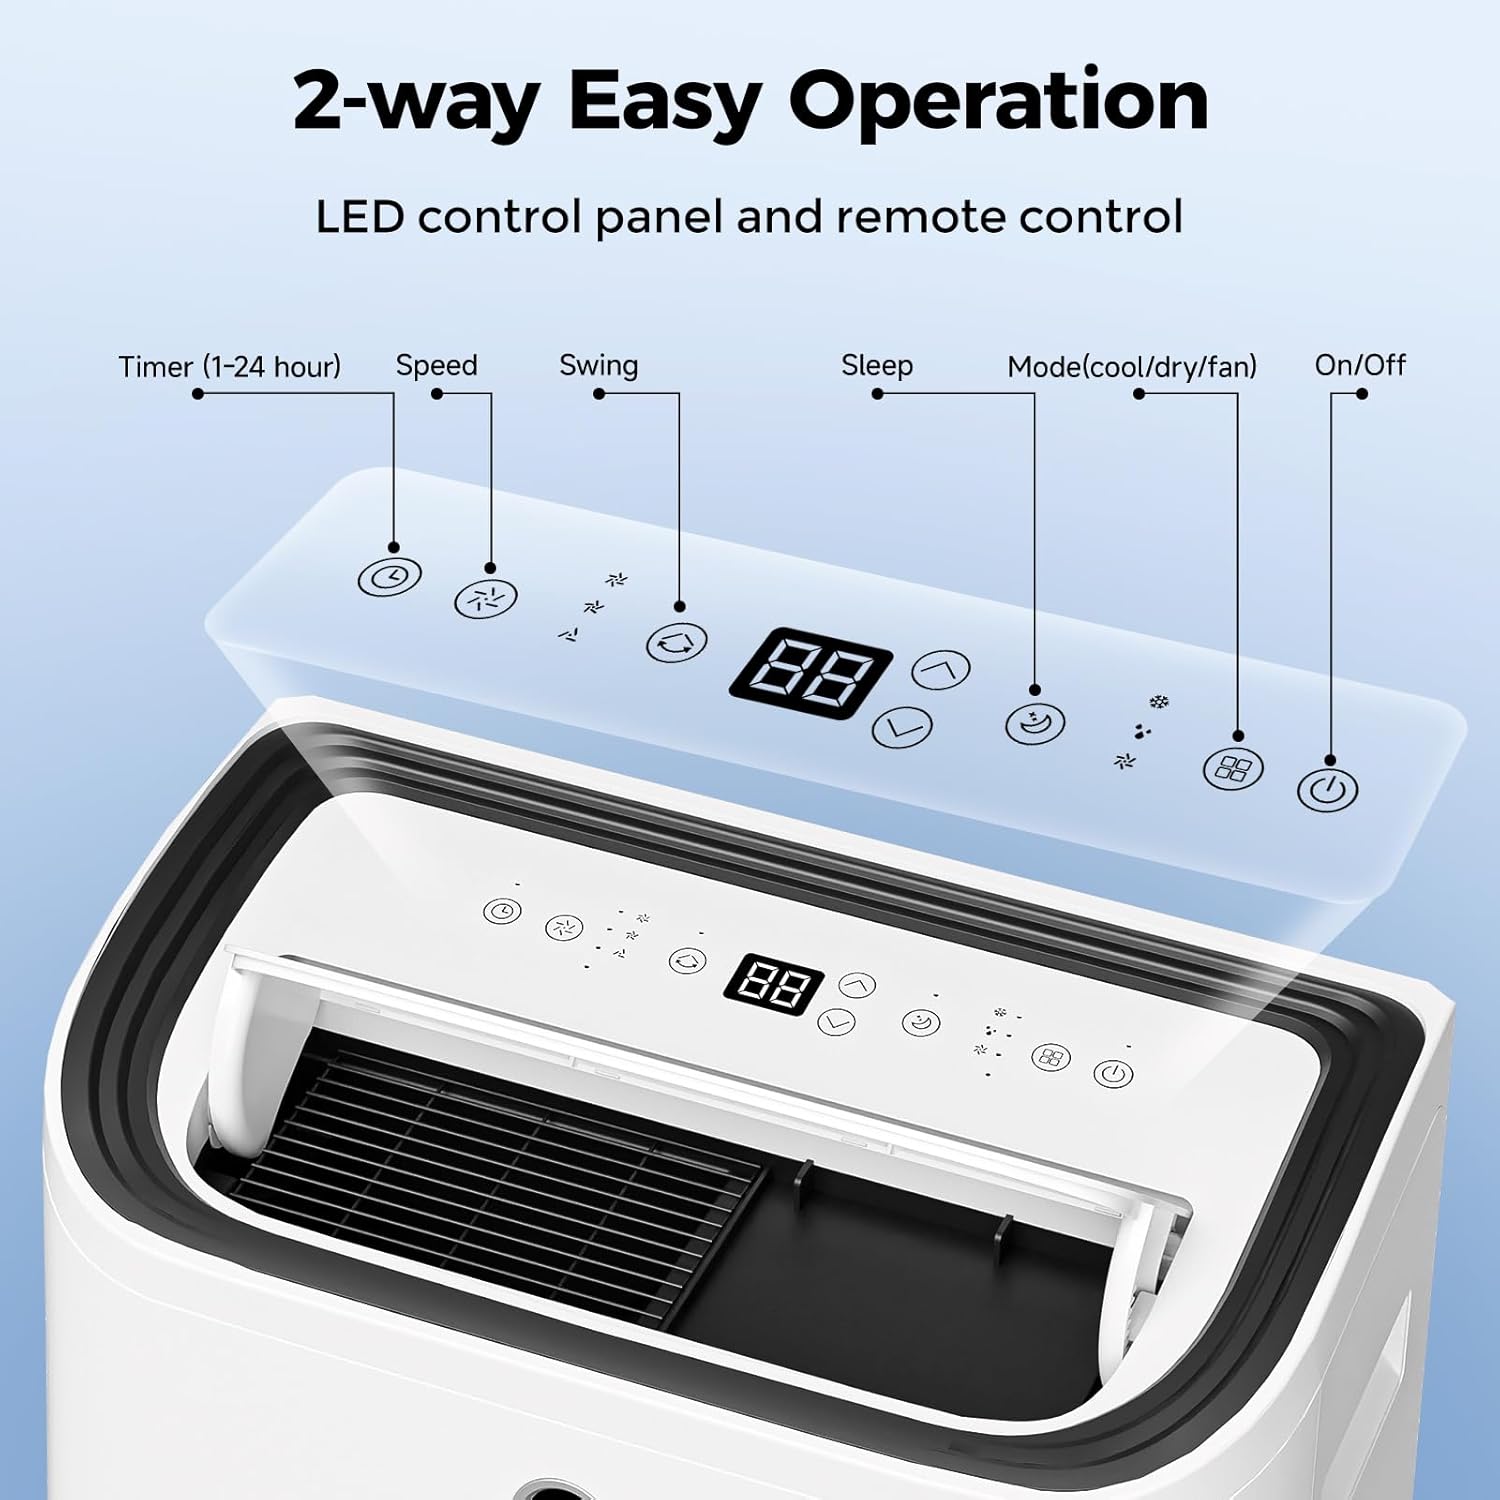
Figure 5.1: LED Control Panel. This image provides a detailed view of the unit's top-mounted LED control panel, indicating the functions of each button: Timer (1-24 hour), Speed, Swing, Sleep, Mode (cool/dry/fan), and On/Off.

Figure 5.2: Unit with Remote Control. This image shows the portable air conditioner unit positioned next to its remote control, illustrating both primary methods of operation.
Operating Modes
The unit offers three primary operating modes:
- AC Cooling: Provides powerful cooling for rapid temperature reduction.
- Dehumidify: Removes excess moisture from the air, ideal for humid conditions.
- Fan: Circulates air without cooling, providing a refreshing breeze.

Figure 5.3: 3-in-1 Modes. This image visually represents the three distinct operating modes: AC Cooling, Dehumidify, and Fan, demonstrating the unit's versatility in climate control.
Special Features
- Sleep Mode: Operates at an ultra-quiet level (below 48 dB) for undisturbed rest.
- Timer: Set the unit to turn on or off automatically within a 1-24 hour period.
- Swing: Activates the automatic louver swing for wider air distribution.
- Speed: Adjusts fan speed (low, medium, high).
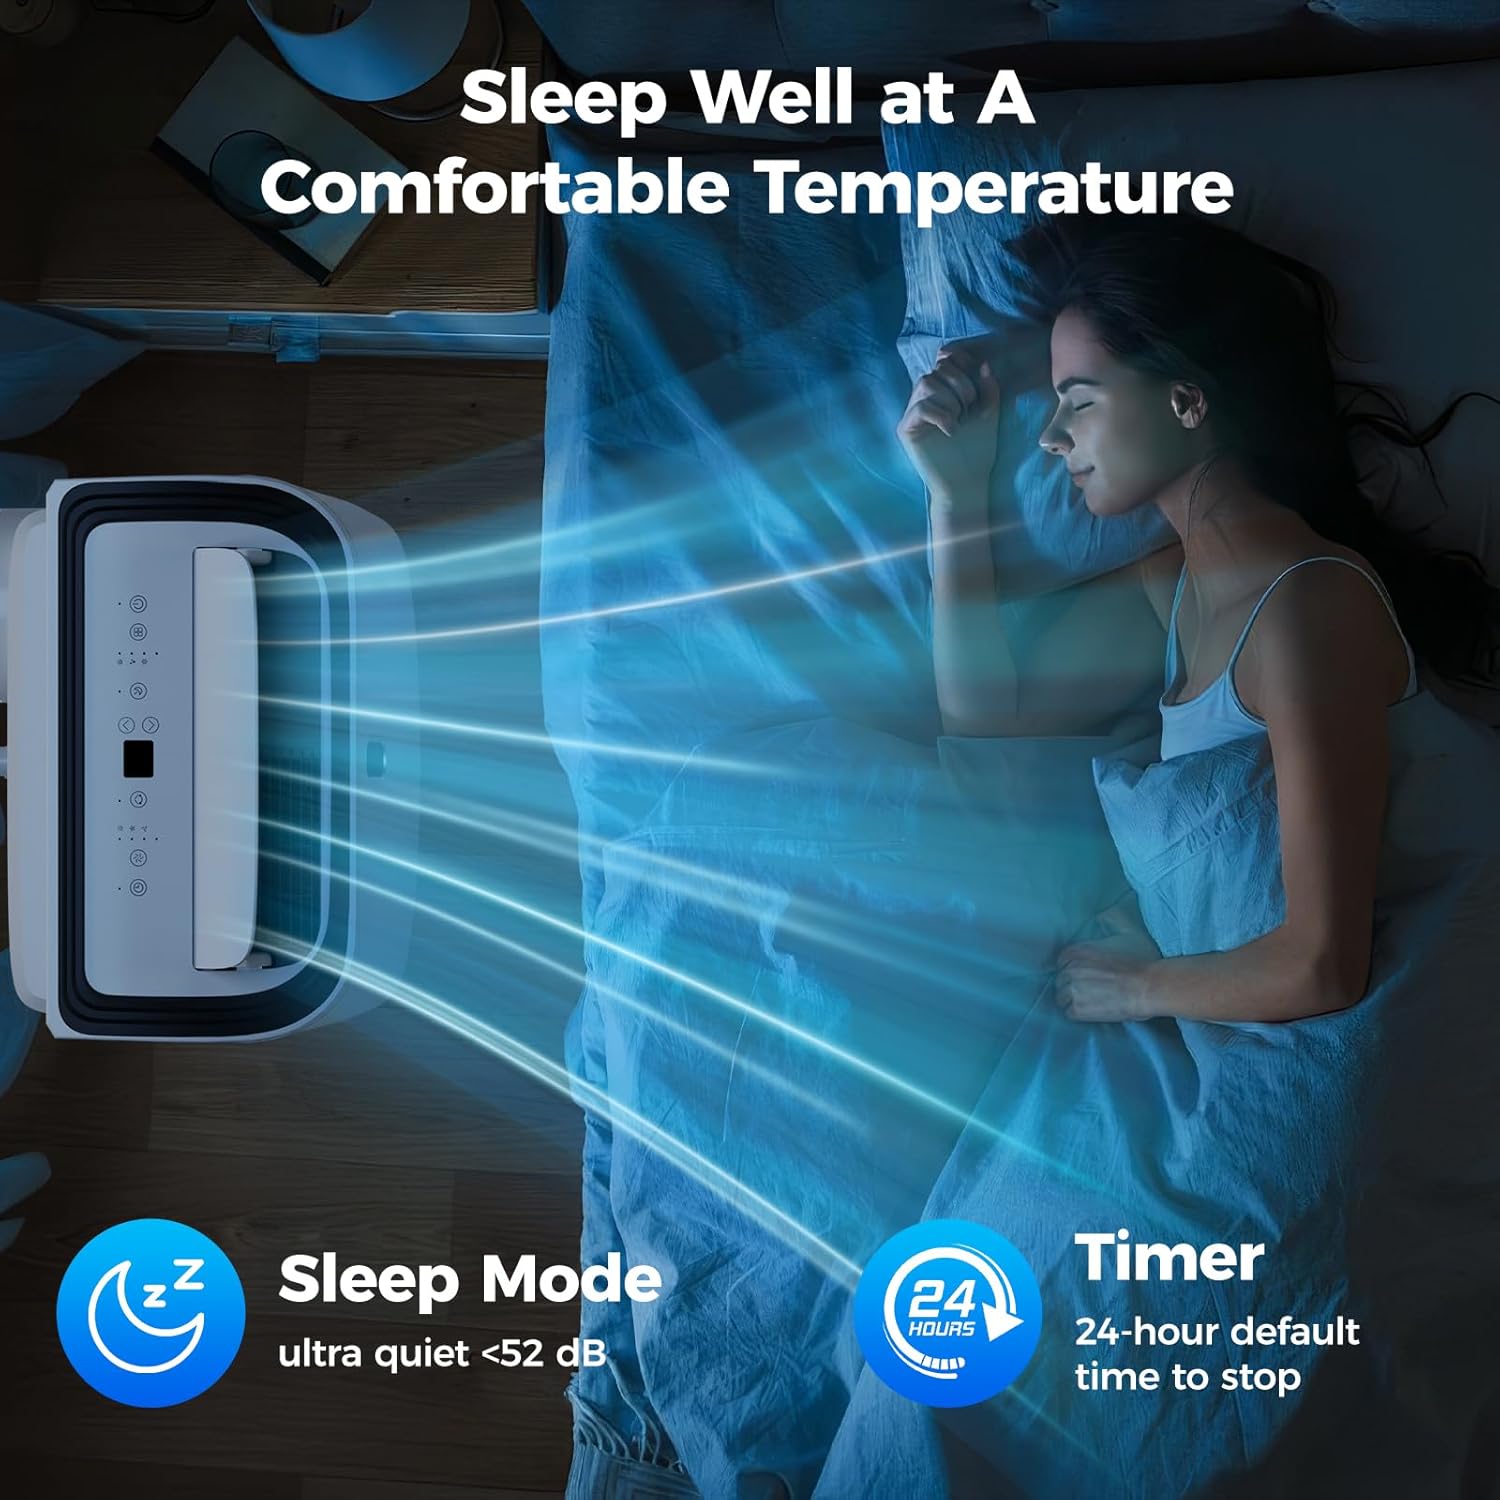
Figure 5.4: Sleep Mode Operation. This image depicts a person sleeping peacefully, emphasizing the ultra-quiet operation of the unit in Sleep Mode (under 52 dB) and the 24-hour timer function for comfortable overnight use.

Figure 5.5: Front LED Display. This image shows a user interacting with the unit via remote control, highlighting the clear front LED display that makes it easy to read the current temperature setting.
6. Maintenance
Regular maintenance ensures optimal performance and longevity of your portable air conditioner.
Cleaning the Air Filter
- The air filter should be cleaned every two weeks or more frequently depending on usage.
- Unplug the unit before cleaning.
- Remove the filter from the back of the unit.
- Wash the filter with warm, soapy water. Rinse thoroughly and allow it to air dry completely before reinserting.
Draining Water
- In dehumidifier mode, water will collect in the internal reservoir.
- When the reservoir is full, the unit will stop operating and display an indicator.
- Connect the drainage hose to the drain port and place the other end into a suitable container or floor drain.
- Allow all water to drain completely.
Storage
- Before storing, drain all water from the unit.
- Clean the air filter.
- Store the unit in a cool, dry place, preferably covered to protect from dust.
- Utilize the cord storage design for neat organization.
7. Troubleshooting
Refer to this section for common issues and their solutions.
| Problem | Possible Cause | Solution |
|---|---|---|
| Unit does not turn on | No power; Power cord unplugged; Circuit breaker tripped | Check power outlet; Plug in power cord securely; Reset circuit breaker |
| Unit not cooling effectively | Air filter dirty; Exhaust hose blocked/disconnected; Room too large; Doors/windows open | Clean air filter; Check hose connection and ensure it's not kinked; Ensure room size is within 700 sq ft; Close all doors and windows |
| Water leakage | Drain plug loose; Unit tilted; Water reservoir full (dehumidifier mode) | Ensure drain plug is secure; Place unit on a level surface; Drain water reservoir |
| Noisy operation | Unit not on a level surface; Obstruction in fan/compressor area | Ensure unit is on a level surface; Check for and remove any obstructions |
8. Specifications
| Feature | Specification |
|---|---|
| Brand Name | OGACFO |
| Model Number | YOLFHM103WH |
| Cooling Capacity | 14000 BTU |
| Coverage Area | Up to 700 sq ft |
| Functions | Cool, Fan, Dehumidifier |
| Noise Level | 56 dB (54 dB typical, below 48 dB in Sleep Mode) |
| Item Weight | 68.3 pounds |
| Product Dimensions (D x W x H) | 13.9 x 18.5 x 30 inches |
| Voltage | 115 Volts |
| Wattage | 1300 watts |
| Efficiency (SEER) | 14 SEER |
| Included Components | Installation Kit (Air exhaust hose, hose adapters, window kit, water drain hose), Product Manual, Full function remote control |
9. Warranty and Support
For warranty information and customer support, please refer to the warranty card included with your product or contact OGACFO customer service directly. Keep your purchase receipt as proof of purchase for any warranty claims.
Ask a question about this manual
Ask about setup, troubleshooting, compatibility, parts, safety, or missing instructions. Manuals+ will review the question and use this page’s manual context to help answer it.