HILAND 26 Inch Mountain Bike (Model BAMC020) User Manual
Your guide to assembly, operation, and maintenance.
1. Introduction
Thank you for choosing the HILAND 26 Inch Mountain Bike. This manual provides essential information for the safe assembly, operation, and maintenance of your new bicycle. Please read it thoroughly before your first ride and keep it for future reference.

Image: The HILAND 26 Inch Mountain Bike, featuring its robust frame and front suspension.
2. Safety Information
Your safety is paramount. Always wear a helmet and appropriate safety gear when riding. Ensure all components are correctly assembled and tightened before each use. Regular inspections and maintenance are crucial for safe operation.
- Always wear a certified helmet.
- Check brakes, tires, and all fasteners before every ride.
- Be aware of your surroundings and obey all traffic laws.
- Avoid riding at night without proper lighting and reflectors.
3. Package Contents
Upon unpacking, verify that all components are present:
- Bicycle Frame with Rear Wheel and Drivetrain
- Front Wheel
- Handlebar Assembly
- Saddle Seat Post Assembly
- Pedals (Left and Right)
- Front and Rear Reflectors
- Assembly Tools (Hex/Allen wrenches, #15 wrench, Cross screwdriver)
4. Assembly Instructions
The HILAND 26 Inch Mountain Bike is 90% pre-assembled. The following steps detail the final assembly process. For visual guidance, please refer to the official assembly video below.
Official Assembly Video: HILAND BAMC020 Mountain Bike
Video: This official HILAND-US video provides a step-by-step guide for assembling the BAMC020 mountain bike, covering handlebar, front wheel, pedals, and saddle installation.
4.1. Handlebar Assembly
- Rotate the stem 180 degrees clockwise to ensure correct orientation. This is crucial to prevent the front wheel from hitting your foot while riding.
- Using the #4 Hex Allen wrench, unscrew the bolts on the stem and remove the stem cover.
- Place the handlebar onto the stem.
- Insert the screws into the four holes and fasten them in the order shown in the video (1, 2, 3, 4). Do not overtighten yet, as further adjustment may be needed after front wheel assembly.

Image: A detailed view of the front fork and handlebar stem, illustrating the assembly area.
4.2. Saddle Seat Assembly
- Insert the saddle seat post into the seat tube on the bike frame.
- Ensure the seat post is inserted past the minimum insertion line for safety.
- Adjust the seat height and position for rider comfort.
- Tighten the quick-release lever or bolt to secure the saddle in place.
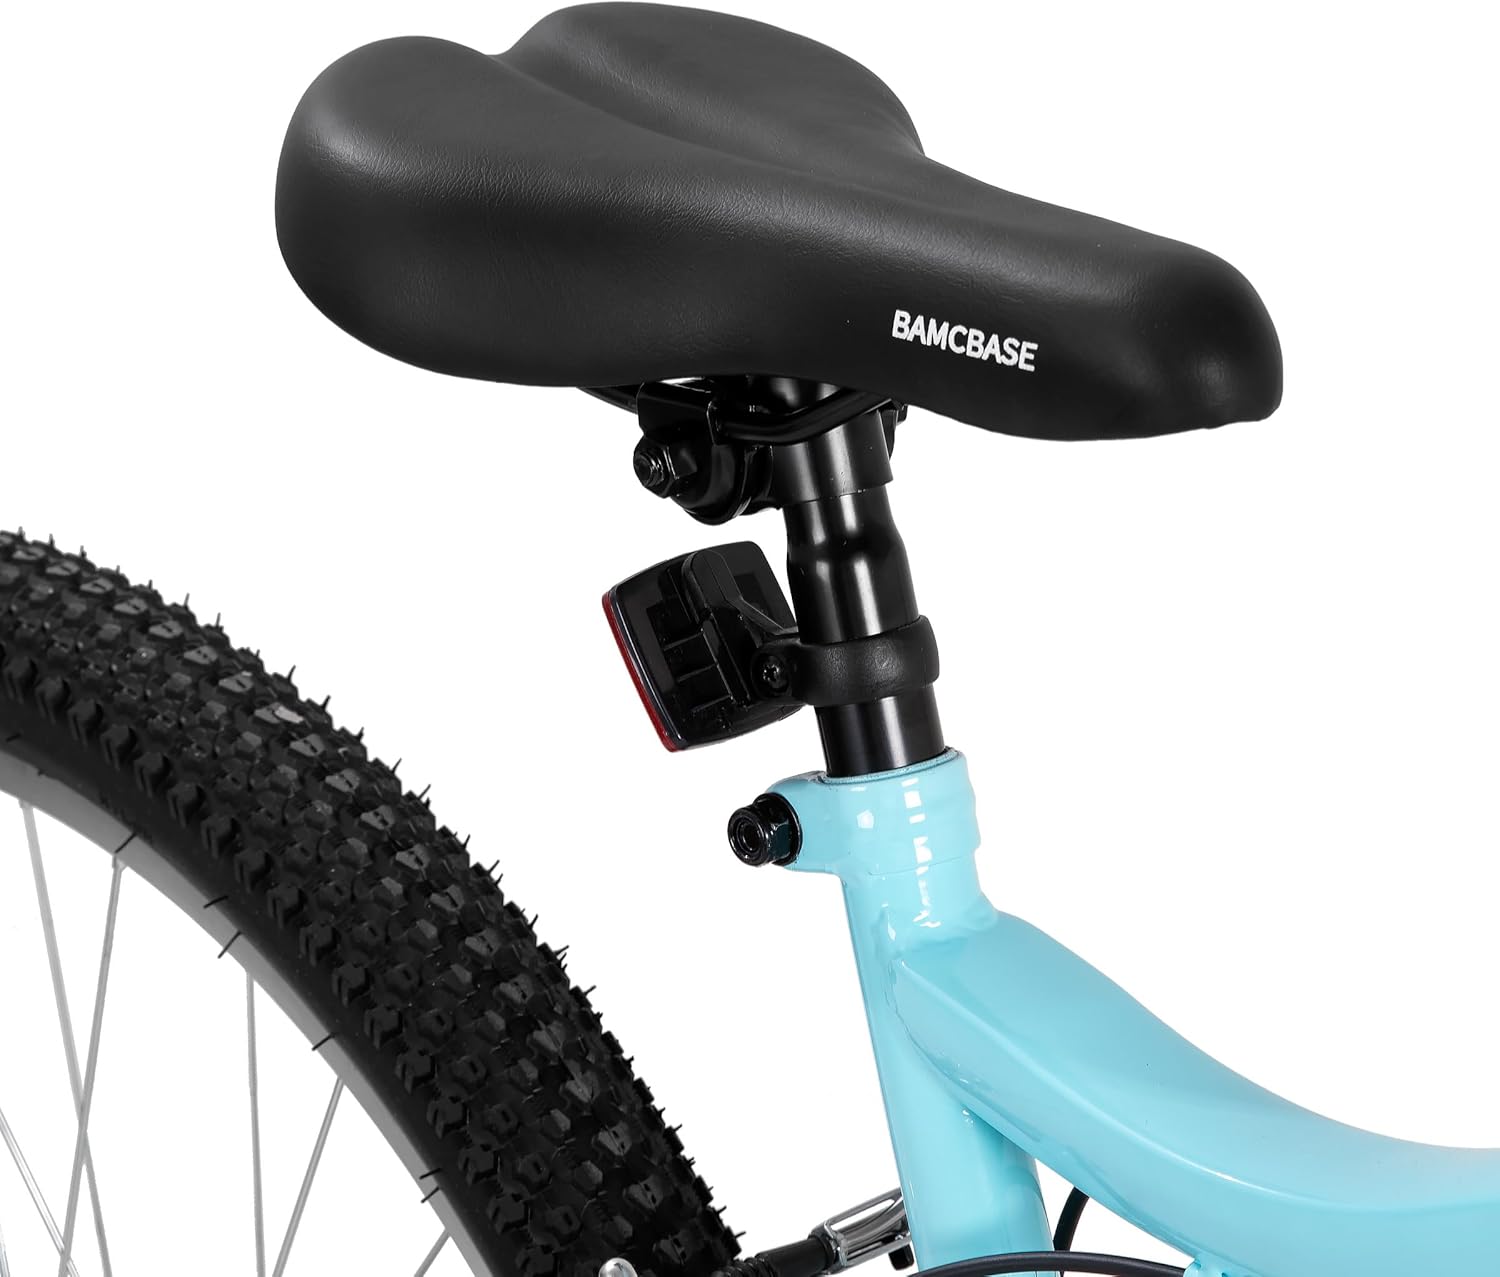
Image: The comfortable foam saddle and seat post, ready for height adjustment.
4.3. Front Wheel Assembly
- Unscrew the nuts from the front wheel axle.
- Remove the brake protection pad from the front fork.
- Insert the front wheel axle into the front fork, ensuring the brake disc aligns with the brake caliper. The brake and disc should be on the same side.
- Tighten the nuts on both sides of the axle using the #15 wrench.
- Test the front wheel for firm installation by attempting to move it side-to-side.
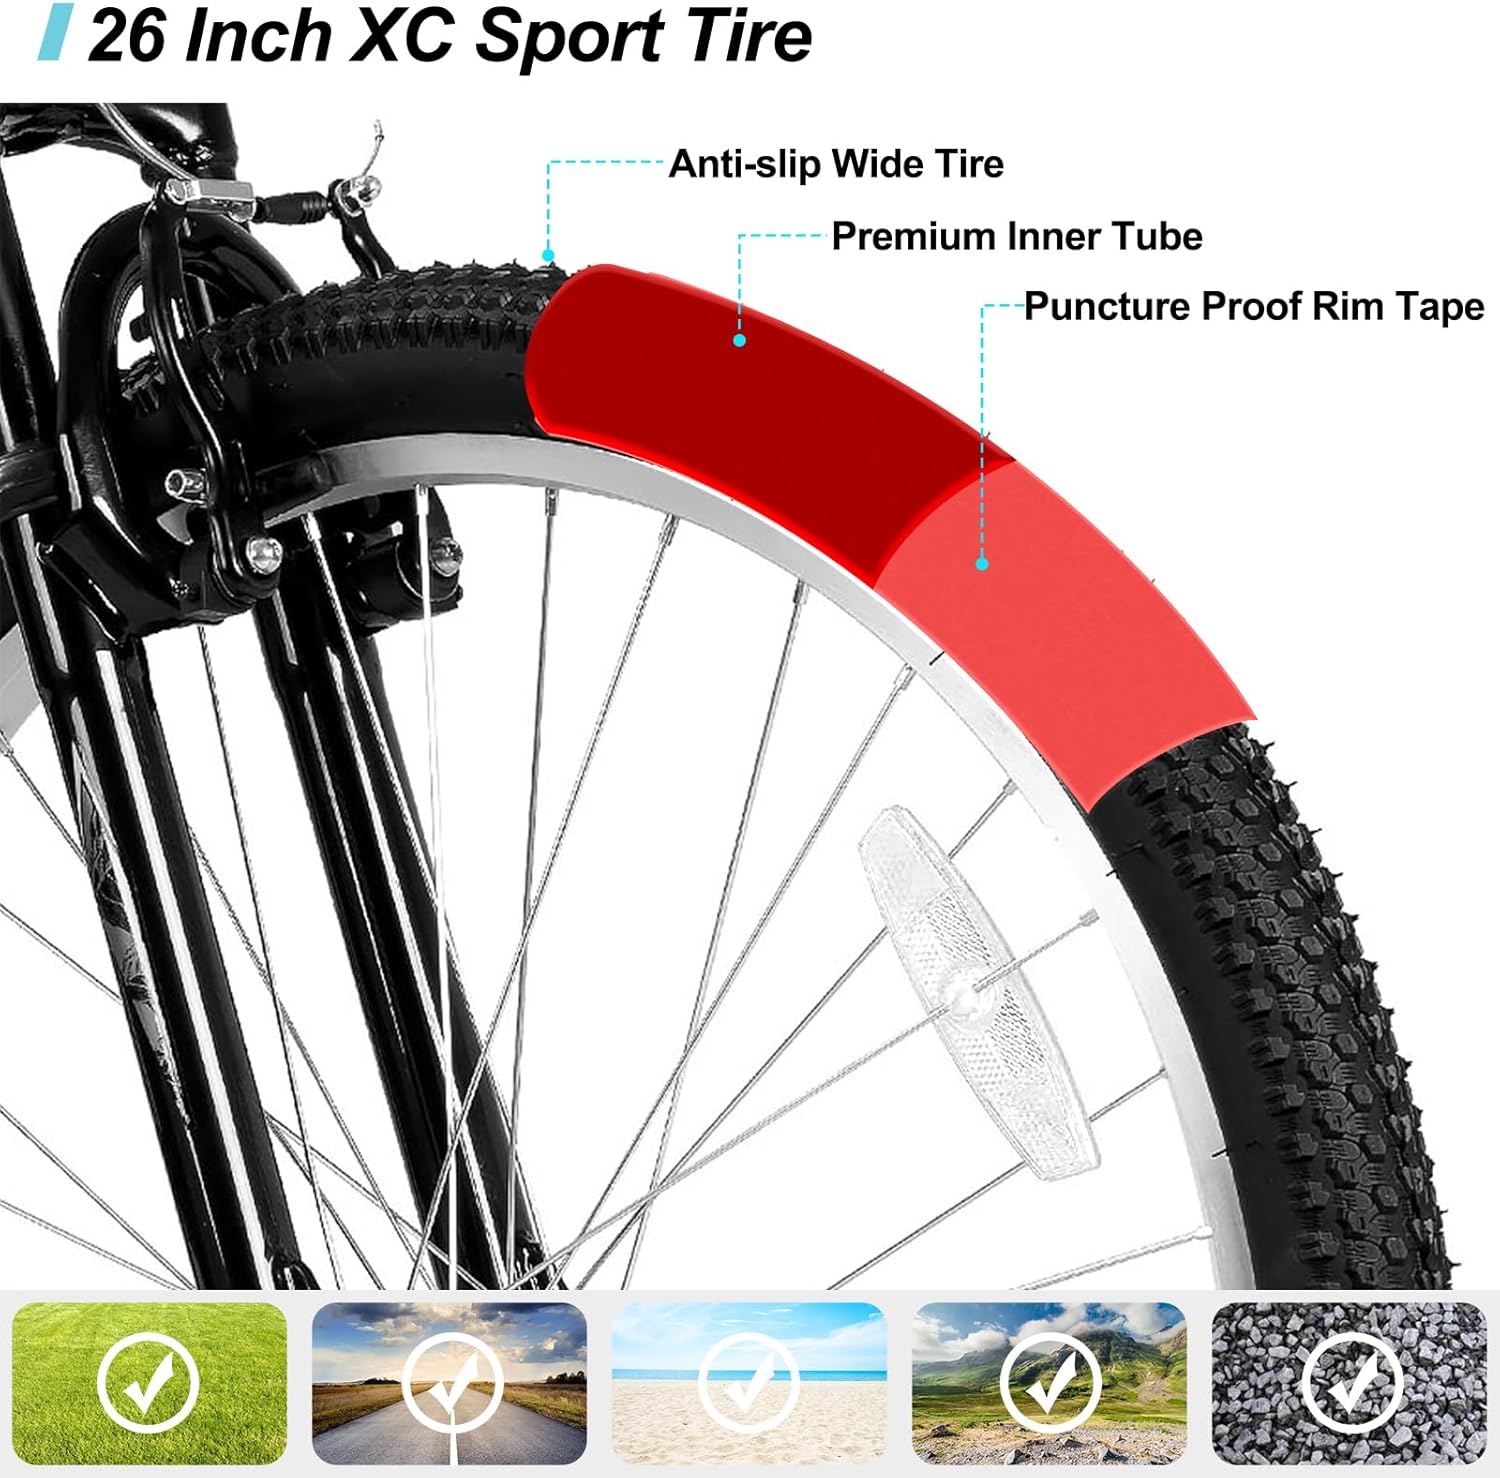
Image: The front wheel with its all-terrain tire and suspension fork, highlighting the brake disc.
4.4. Pedal Assembly
- Identify the left (L) and right (R) pedals. These markings are typically found on the axle or pedal body.
- For the right pedal, rotate clockwise to tighten it onto the crank arm.
- For the left pedal, rotate counter-clockwise to tighten it onto the crank arm.
- Use the #15 open-end wrench to ensure pedals are securely tightened. Loose pedals can be dangerous during riding.

Image: The pedal attached to the crank arm, showing the robust drivetrain components.
4.5. Reflector Installation
- Install the front reflector onto the handlebar using a cross screwdriver.
- Install the rear reflector onto the seat post using a cross screwdriver.
- Ensure both reflectors are securely attached and visible for safety, especially when riding in low light conditions.
5. Operating Your Bicycle
5.1. Gear Shifting
Your HILAND Mountain Bike features an 18-speed drivetrain. Use the trigger shifters on the handlebar to change gears. Shift to lower gears for climbing hills and higher gears for flat terrain or descents. Shift smoothly to avoid chain derailment.
5.2. Braking
The dual V-brakes provide reliable stopping power. The right lever typically controls the rear brake, and the left lever controls the front brake. Apply both brakes simultaneously and gradually for controlled stopping. Avoid sudden, hard braking, especially with the front brake, to prevent skidding or losing control.
5.3. Riding Tips
Adjust your saddle height so that your leg is slightly bent at the knee when the pedal is at its lowest point. Maintain a comfortable posture on the bike. Familiarize yourself with the bike's handling and braking in a safe, open area before riding in traffic or on challenging trails.
6. Maintenance
Regular maintenance extends the life of your bicycle and ensures safe riding.
6.1. Regular Checks
- Tires: Check tire pressure before each ride. Refer to the tire sidewall for recommended PSI.
- Brakes: Ensure brake levers are firm and responsive. Check brake pads for wear.
- Chain: Inspect for rust or stiffness.
- Bolts & Nuts: Periodically check all bolts and nuts for tightness, especially on the handlebars, wheels, and seat post.
6.2. Cleaning & Lubrication
Clean your bike regularly with mild soap and water. Lubricate the chain and moving parts of the drivetrain periodically with bicycle-specific lubricant to ensure smooth operation and prevent rust.
7. Troubleshooting
Here are solutions to common issues:
- Loose Handlebar: Re-tighten the stem bolts using the #4 Hex Allen wrench.
- Squeaky Brakes: Clean brake pads and rims. If the issue persists, adjust brake caliper alignment or replace worn pads.
- Chain Skipping: Check for proper derailleur adjustment. Ensure the chain is clean and lubricated.
- Flat Tire: Inspect the tire for punctures. Repair or replace the inner tube as needed.
8. Specifications
| Feature | Specification |
|---|---|
| Bike Type | Mountain Bike |
| Age Range | Adult |
| Brand | HH HILAND |
| Number of Speeds | 18 |
| Wheel Size | 26 Inches |
| Frame Material | Carbon Steel |
| Suspension Type | Front |
| Brake Style | Linear Pull (V-Brake) |
| Item Weight | 19.23 Kilograms |
| Assembly Required | Yes (90% pre-assembled) |
9. Warranty and Support
Your HILAND Mountain Bike comes with a limited warranty. For specific warranty details, please refer to the documentation included with your purchase or visit the official HH HILAND website. For any questions, technical support, or assistance with parts, please contact HH HILAND customer service directly.