1. Introduction
Thank you for choosing the BSNANCA 36-Egg Automatic Intelligent Incubator. This manual provides detailed instructions for the proper setup, operation, and maintenance of your incubator to ensure successful hatching. Please read this manual thoroughly before use.
This incubator is designed for hatching various poultry eggs, including chicken, duck, goose, pigeons, and game bird eggs, offering an intelligent and automated incubation experience.
2. Safety Information
- Always connect the incubator to a grounded power outlet.
- Do not immerse the incubator or its electrical components in water or any other liquid.
- Keep the incubator away from direct sunlight, drafts, and extreme temperature fluctuations.
- Ensure proper ventilation around the unit.
- Unplug the incubator from the power source before cleaning or performing any maintenance.
- Keep out of reach of children and pets.
3. Product Features
The BSNANCA 36-Egg Automatic Intelligent Incubator is equipped with advanced features to simplify the incubation process:
- Automatic Temperature Control: Maintains optimal temperature for consistent incubation.
- Automatic Egg Turning: Gently turns eggs at regular intervals to promote even development.
- Automatic Alarm System: Notifies users of abnormal temperature or humidity levels.
- Dual Power Supply: Supports both household AC power and 12V battery power, with automatic switching during power outages (for specific models).
- External Water Hole: Allows for convenient water addition without opening the lid, minimizing temperature loss.
- Built-in Egg Candler: Integrated light for easy observation of egg development.
- Universal Egg Tray: Accommodates various egg sizes from different poultry types.
- Air Heating Design: Ensures uniform heat distribution.
- Hidden Brushless Motor: Provides stable and quiet operation.
4. Setup
4.1 Unpacking and Placement
- Carefully remove all components from the packaging.
- Place the incubator on a stable, level surface in a room with a consistent ambient temperature, away from direct sunlight or drafts.
4.2 Power Connection
This incubator features a dual power supply system for enhanced reliability:
- Connect the incubator to a standard household AC power outlet using the provided power cord.
- For models with dual power supply, you can also connect a 12V battery (not included) simultaneously. In case of a power outage, the incubator will automatically switch to battery power. When AC power is restored, it will switch back to household power.
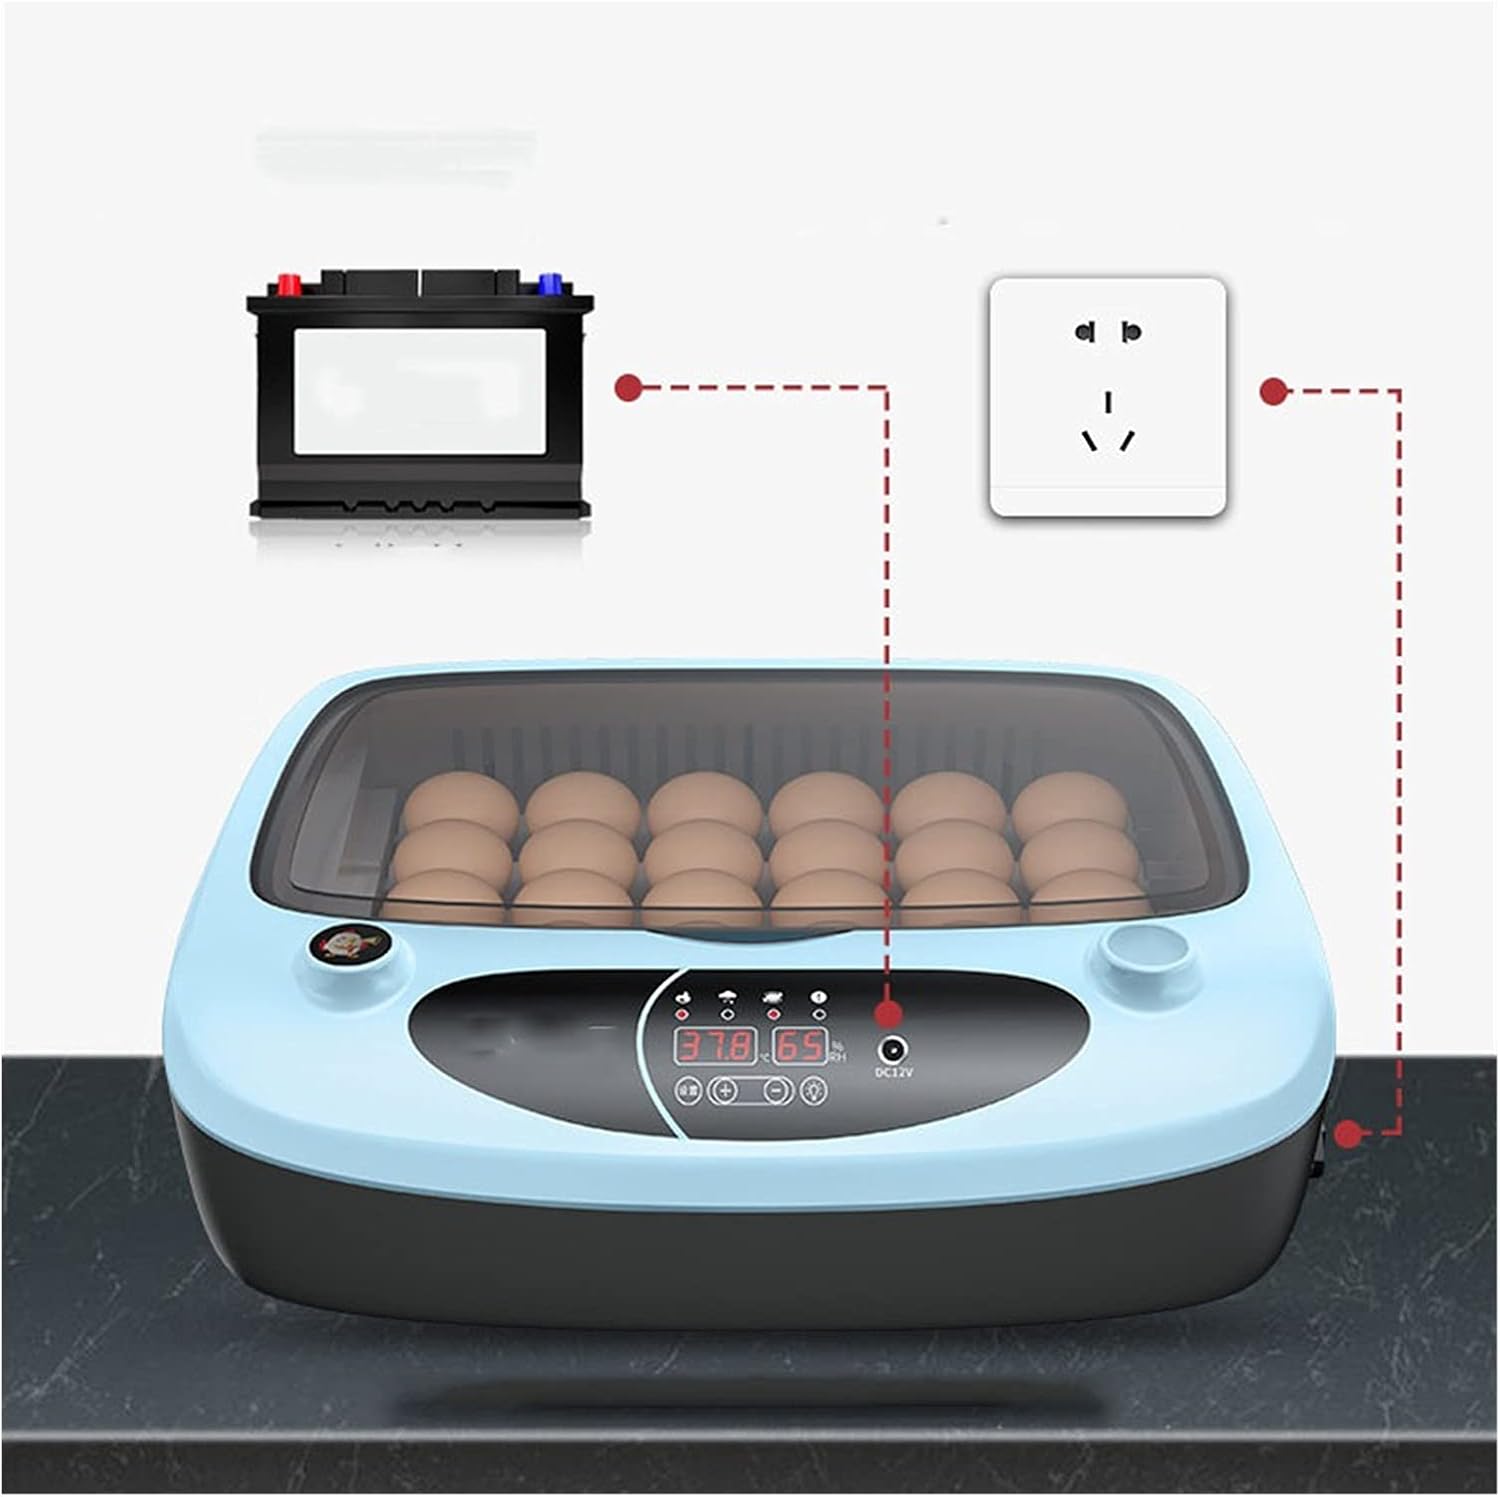
Figure 1: Dual Power Supply Connection Diagram
4.3 Adding Water
Maintain proper humidity levels by adding water to the incubator:
- Locate the external water hole on the side of the incubator.
- Use a water bottle or dropper to carefully add water into the designated channel. Avoid overfilling.
- The external water hole design allows you to add water without opening the incubator lid, preventing temperature and humidity fluctuations.

Figure 2: Adding Water via External Port
5. Egg Selection and Preparation
The quality of breeding eggs significantly impacts hatchability and chick survival rates. Follow these guidelines for optimal results:
- Egg Shape: Select eggs with a normal, uniform shape. Avoid deformed, cracked, or unusually shaped eggs.
- Cleanliness: Use clean eggs for incubation. Do not wash hatched eggs, as this can remove the protective bloom and introduce bacteria.
- Fertilization: To determine if an egg is fertilized, hold it up to a light source (candling). If you observe opaque objects, such as floccules, near the yolk, it is likely a fertilized egg.
- Freshness: Use fresh eggs for incubation. For chickens and ducks, eggs within 7 days of laying are ideal. For geese, eggs within 10 days are suitable. Prolonged storage can reduce hatching success.

Figure 3: Universal Egg Tray with Various Egg Types
6. Operating Instructions
6.1 Initial Power On and Settings
- After connecting the power, the incubator will power on and display the current temperature and humidity.
- The incubator is pre-set with optimal incubation parameters. Refer to the display for real-time temperature and humidity readings.

Figure 4: Control Panel Display
6.2 Automatic Functions
- Automatic Egg Turning: The incubator will automatically turn the eggs at programmed intervals. This eliminates the need for manual turning and ensures even heat distribution and proper embryonic development.
- Automatic Temperature and Humidity Control: The intelligent system continuously monitors and adjusts the internal environment to maintain stable temperature and humidity levels.
6.3 Egg Candling
The incubator includes a built-in egg candler to observe the development of the embryos:
- Activate the egg candler function (refer to specific button on control panel if available, otherwise it might be an integrated light).
- Place an egg over the candling light to observe the internal contents. This allows you to monitor embryo growth and identify infertile or non-viable eggs.

Figure 5: Using the Built-in Egg Candler
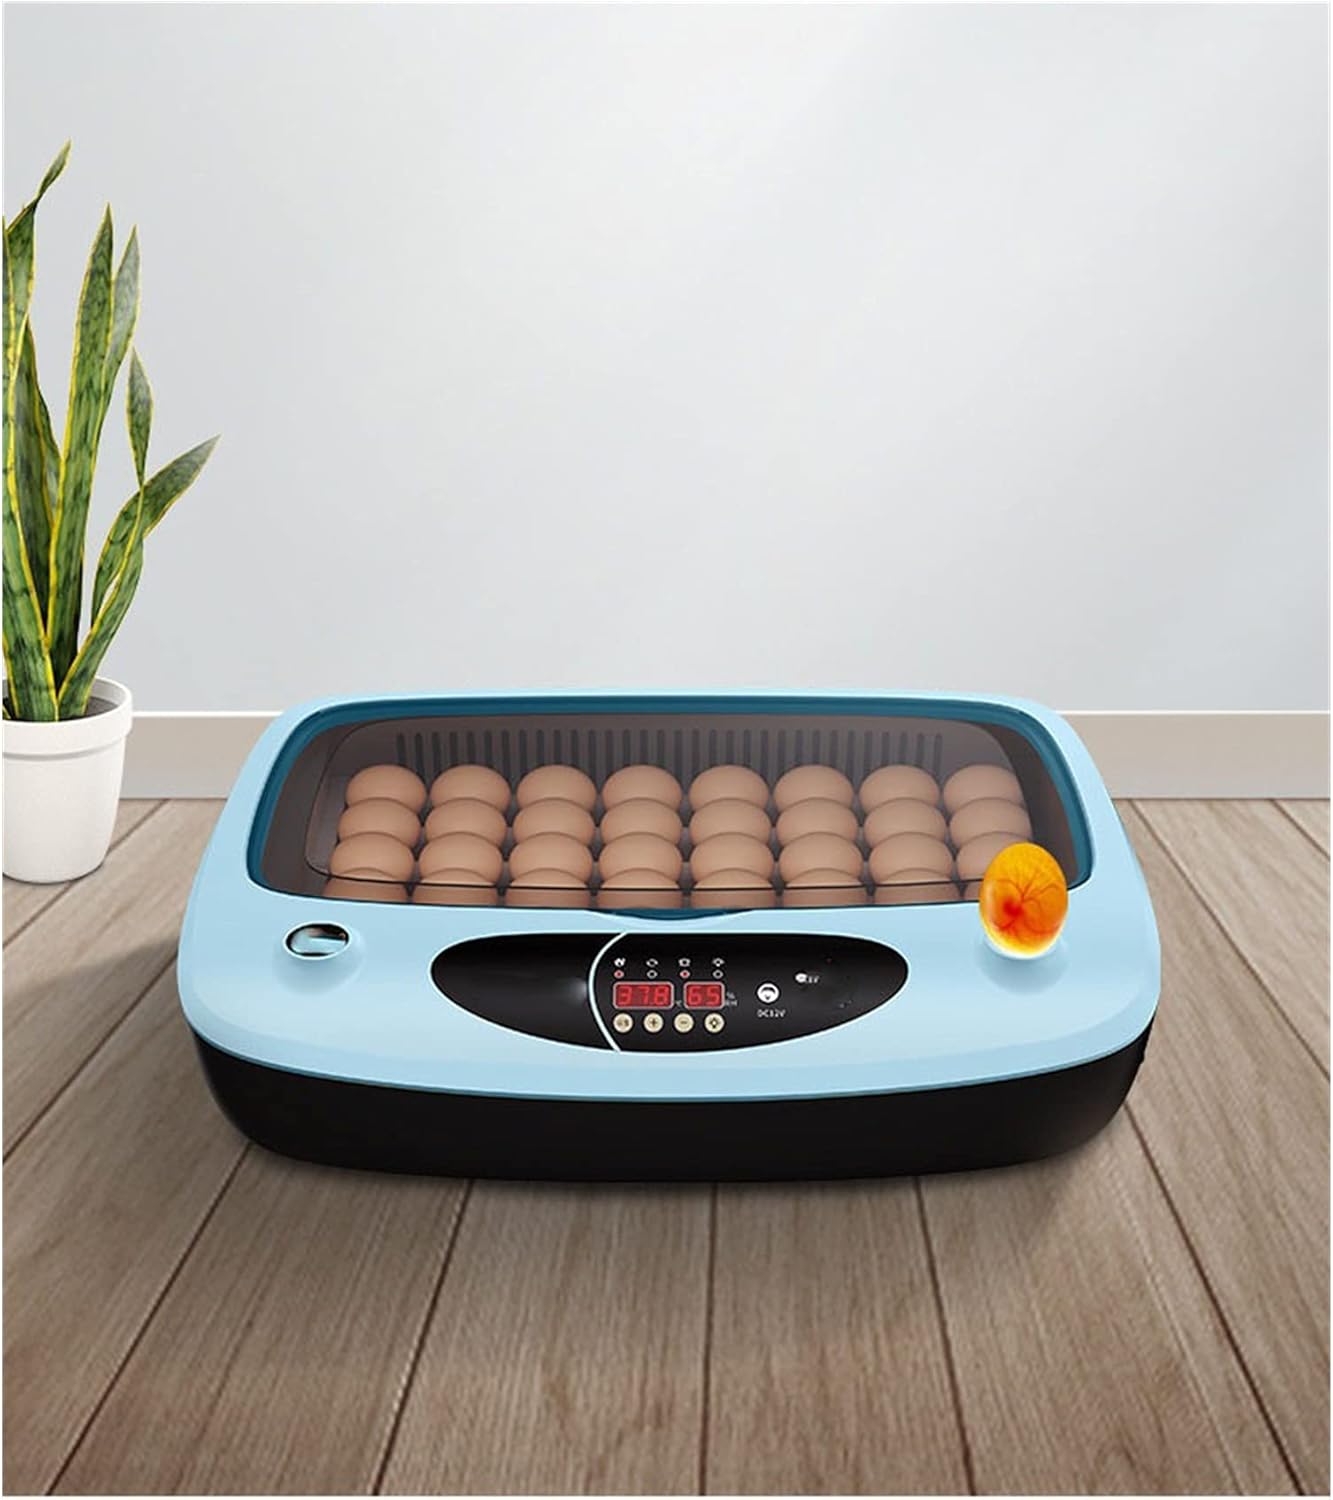
Figure 6: Observing Egg Development with Candler
6.4 Hatching Phase
As the hatching period approaches, ensure the humidity is slightly increased. The incubator provides a suitable environment for chicks to hatch. Once hatched, chicks can remain in the incubator for a short period to dry and fluff up before being moved to a brooder.

Figure 7: Incubator During Hatching
7. Maintenance
7.1 Cleaning the Incubator
- After each hatch, or if the incubator becomes soiled, unplug the unit from the power source.
- Remove the egg tray and any debris.
- Wipe down all internal surfaces with a damp cloth and a mild disinfectant solution. Ensure all surfaces are dry before reassembly or next use.
- Do not use abrasive cleaners or immerse the main unit in water.
7.2 Water Refilling
Regularly check the water level and refill as needed through the external water hole to maintain consistent humidity. The frequency of refilling will depend on ambient humidity and the stage of incubation.
8. Troubleshooting
- Automatic Alarm: If the incubator emits an alarm, check the display for temperature or humidity abnormalities. Adjust water levels or ambient room temperature as necessary.
- No Power: Ensure the power cord is securely plugged into both the incubator and the power outlet. If using dual power, check both AC and battery connections.
- Temperature Fluctuations: Verify that the incubator is placed in a stable environment, away from drafts or direct heat sources. Ensure the lid is securely closed.
- Egg Turning Not Working: Check for any obstructions in the egg turning mechanism. Ensure the incubator is powered on correctly.
If issues persist, please contact customer support.
9. Specifications
| Specification | Detail |
|---|---|
| Model | 36-Egg Automatic Intelligent Incubator |
| Capacity | Up to 36 standard chicken eggs (varies by egg size) |
| Power Supply | AC Household Power, 12V DC Battery (optional, for dual power models) |
| Manufacturer | BSNANCA |
| ASIN | B0F54HLPS7 |
10. Warranty and Support
This product comes with a standard manufacturer's warranty. For warranty claims, technical support, or any questions regarding your BSNANCA incubator, please refer to the contact information provided with your purchase or visit the official BSNANCA website.