Introduction
This manual provides detailed instructions for the safe and efficient operation of your BSNANCA Automatic 320-Egg Poultry Hatching Machine. Please read this manual thoroughly before initial use to ensure optimal performance and successful hatching results. Proper understanding and adherence to these guidelines will help you achieve the best possible incubation environment for various poultry eggs.
Safety Instructions
WARNING:
- Always disconnect the power supply before opening the machine cover for any reason, including cleaning or maintenance.
- Ensure the power voltage matches the specifications of the incubator (100-120V/220V, 50/60 Hz) for your region.
- Keep the incubator away from water sources and ensure hands are dry when handling the power cord or machine.
- Do not operate the incubator if the power cord is damaged or if the machine shows any signs of malfunction.
- Keep out of reach of children and pets.
- Read all safety tips in the user manual carefully to prevent fire and electric shock.
Product Features
The BSNANCA Automatic 320-Egg Poultry Hatching Machine is designed with advanced features to optimize the hatching process:
- New Thermostat Control: Automatically displays current temperature with a circular hot air duct design for constant, even temperature distribution, improving hatching rates.
- Built-in LED Egg Incubator: Clear and intuitive digital temperature display allows monitoring of the entire cultivation process without interruption.
- Automatic Egg Turning: Supports automatic egg turning to ensure even heating and development of embryos.
- Humidity Channels & Regulation: Smart Airflow System maximizes egg comfort and minimizes disruption. The egg tray ensures good air circulation.
- Over-temperature Alarm: Reduces potential losses by alerting users to temperature deviations.
- External Water Tank: Easy to add water without opening the incubator, maintaining stable internal conditions.
- High Capacity: Capable of holding 320 chicken eggs, 312 duck eggs, 160 goose eggs, 480 pigeon eggs, or 800 quail eggs.
- Good Heat Preservation: Designed for energy saving and stable temperature maintenance.
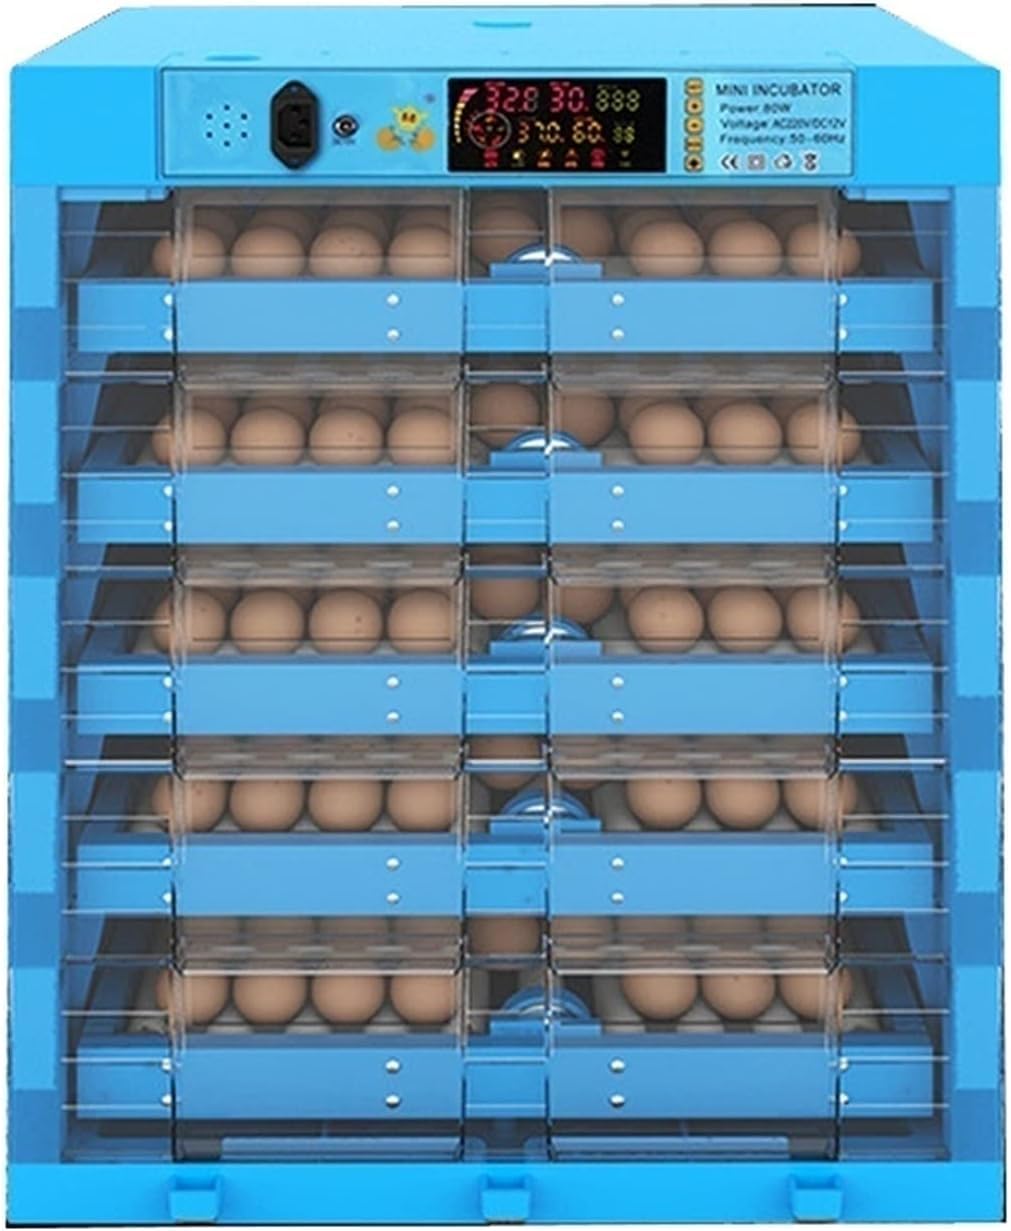
Figure 1: Front view of the BSNANCA Automatic 320-Egg Poultry Hatching Machine.
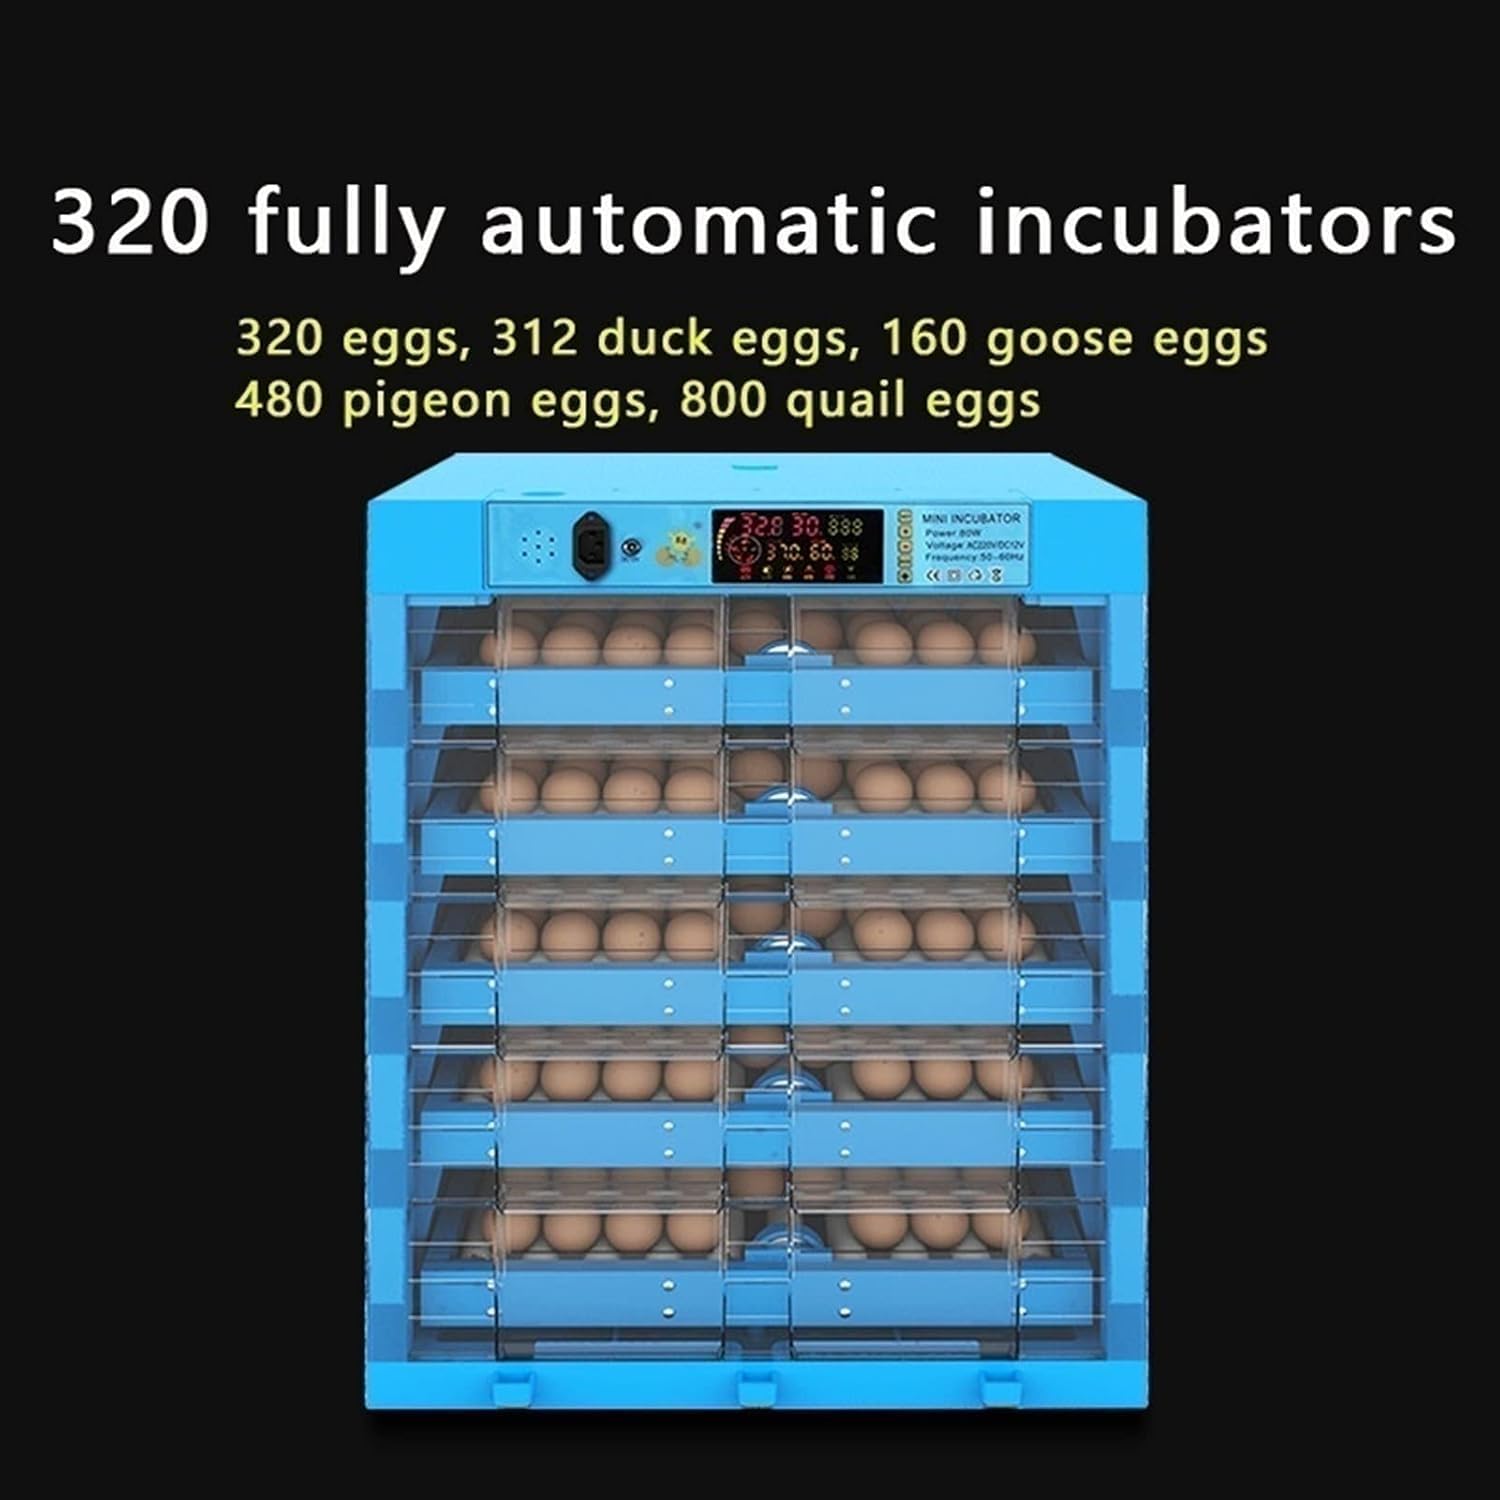
Figure 2: The incubator's display showing its capacity for various egg types. This model can accommodate 320 chicken eggs, 312 duck eggs, 160 goose eggs, 480 pigeon eggs, or 800 quail eggs.

Figure 3: Key features highlighted, including remote monitoring capability, one-key operation for ease of use, power-saving design, and the ability to add layers for increased capacity.

Figure 4: An illustration of the versatile egg tray, designed to accommodate various egg sizes from chickens, quails, ducks, and geese.

Figure 5: Detail of the 360-degree roller system, which ensures eggs are turned evenly for consistent heating and optimal embryo development.

Figure 6: The external water sink feature, demonstrating how water can be easily added to the incubator without disturbing the internal environment.

Figure 7: An internal view illustrating the efficient airflow and heat distribution system within the incubator, ensuring uniform temperature across all egg levels.
Specifications
| Specification | Value |
|---|---|
| Capacity (Chicken Eggs) | 320 eggs |
| Capacity (Duck Eggs) | 312 eggs |
| Capacity (Goose Eggs) | 160 eggs |
| Capacity (Pigeon Eggs) | 480 eggs |
| Capacity (Quail Eggs) | 800 eggs |
| Weight | 17 kg |
| Storage Temperature/Humidity Range | 20℃ ~ 40℃ |
| Voltage | 100-120V / 220V (according to region) |
| Power | 80W-120W |
| Frequency | 50/60 Hz |
Recommended Incubation Parameters:
| Poultry Type | Incubation Days | Temperature |
|---|---|---|
| Chicken | 21 days | 38℃ |
| Duck | 28 days | 37.5℃ |
| Pigeon | 18 days | 38.5℃ |
| Quail | 18 days | 37.5℃ |
Note: For the last 3 days of incubation, the temperature can be reduced by 0.5℃.
Setup
1. Unpacking and Inspection
- Carefully remove the incubator from its packaging. Do not discard the thick foam box packaging; it acts as a "warm jacket" for windproofing and energy saving, helping to maintain temperature balance.
- Inspect all components for any signs of damage during transit. Contact customer support immediately if any parts are missing or damaged.
- Ensure all accessories listed in the packing list (incubator, power cord, user manual) are present.
2. Placement
- Place the incubator on a stable, level surface in a room with a consistent ambient temperature, away from direct sunlight, drafts, or extreme temperature fluctuations.
- Ensure adequate ventilation around the unit.
- Keep the incubator away from water sources.
3. Initial Power-Up
- Connect the power cord to the incubator and then to a suitable electrical outlet.
- The display will light up, showing the current temperature and humidity. Allow the incubator to run for at least 2-3 hours to stabilize its internal temperature before placing eggs.
Operating Instructions
1. Egg Selection
- For best hatching success, use freshly fertilized eggs that are 3-7 days old.
- Select clean, medium-sized eggs with no cracks or deformities.
2. Adding Water for Humidity
- Locate the external water tank/sink.
- Add water to the external tank. The incubator will automatically draw water as needed to maintain humidity.
- Check the water level every one or two days and refill as necessary. Maintaining proper humidity is crucial for successful hatching.
3. Setting Temperature (Pre-set)
- The hatching temperature is factory-set to 100.4℉ (38℃), which is the optimal temperature for most incubation processes.
- DO NOT adjust the temperature at will by yourself unless you are experienced and understand the specific requirements for different species.
- Refer to the "Recommended Incubation Parameters" table in the Specifications section for specific bird types.
4. Egg Placement
- Once the incubator has reached and stabilized at the desired temperature and humidity, carefully place the fertilized eggs into the egg trays.
- Ensure eggs are placed correctly in the rollers for automatic turning.
5. Automatic Egg Turning
- The incubator is equipped with an automatic egg turning function. This feature will periodically turn the eggs to prevent the embryo from sticking to the shell and ensure even heat distribution.
- No manual intervention is required for egg turning.
6. Monitoring
- Regularly check the digital display for temperature and humidity readings.
- Monitor the water level in the external tank and refill as needed.
- Listen for any alarms (e.g., over-temperature alarm) and address them promptly.
Maintenance
1. Cleaning
- After each hatching cycle, disconnect the power supply and thoroughly clean the incubator.
- Remove all egg debris, dust, and any residue.
- Use a mild disinfectant solution suitable for poultry equipment to clean all surfaces, trays, and water channels. Rinse thoroughly and allow to air dry completely before storage or next use.
- Do not immerse the main unit in water.
2. Storage
- Store the incubator in a clean, dry place, away from direct sunlight and extreme temperatures.
- It is recommended to store the incubator in its original foam packaging for added protection and insulation.
Troubleshooting
This section addresses common issues you might encounter. For problems not listed here, please contact customer support.
- Incubator not powering on: Check power cord connection, ensure outlet is functional, and verify power switch is on.
- Temperature fluctuations: Ensure the incubator is placed in a stable environment away from drafts. Check that the lid is securely closed. Verify water levels are adequate for humidity.
- Low humidity: Ensure the external water tank has sufficient water. Check for any blockages in the water channels.
- Eggs not turning: Verify the automatic turning mechanism is engaged and not obstructed. Ensure eggs are correctly seated in the rollers.
- Poor hatching rate: This can be due to many factors including egg quality (fertility, age, storage), incorrect temperature or humidity, or improper ventilation. Review all operating instructions and ensure fresh, fertilized eggs are used.
Warranty and Support
For warranty information, technical support, or replacement parts, please refer to the contact details provided with your purchase documentation or visit the official BSNANCA website. Keep your purchase receipt as proof of purchase.