1. Introduction
Thank you for choosing the Denver RVC-115 Robot Vacuum Cleaner. This manual provides essential information for the safe operation, maintenance, and troubleshooting of your device. Please read it thoroughly before using the product and keep it for future reference. The RVC-115 is designed to efficiently clean various floor types, removing dust, pet hair, pollen, and dirt with its powerful suction and intelligent navigation.
2. Safety Instructions
To reduce the risk of injury or damage, read these safety instructions carefully and keep them accessible for future reference.
- This appliance can be used by children aged 8 years and above and persons with reduced physical, sensory or mental capabilities or lack of experience and knowledge if they have been given supervision or instruction concerning use of the appliance in a safe way and understand the hazards involved.
- Children should be supervised to ensure that they do not play with the appliance.
- Cleaning and user maintenance shall not be made by children without supervision.
- Do not use the robot vacuum in wet environments or on wet surfaces.
- Keep hair, loose clothing, fingers, and all parts of the body away from openings and moving parts.
- Do not pick up anything that is burning or smoking, such as cigarettes, matches, or hot ashes.
- Do not use without dust bin and/or filters in place.
- Ensure the charging station is placed against a wall on a level surface and clear of obstacles.
- Only use the original power adapter and charging station provided with the product.
3. Package Contents
Please check if all the following items are included in your package:
- Denver RVC-115 Robot Vacuum Cleaner
- Charging Station
- Side Brushes (set)
- Power Adapter
- HEPA Filter (pre-installed or spare)
- User Manual
4. Product Overview
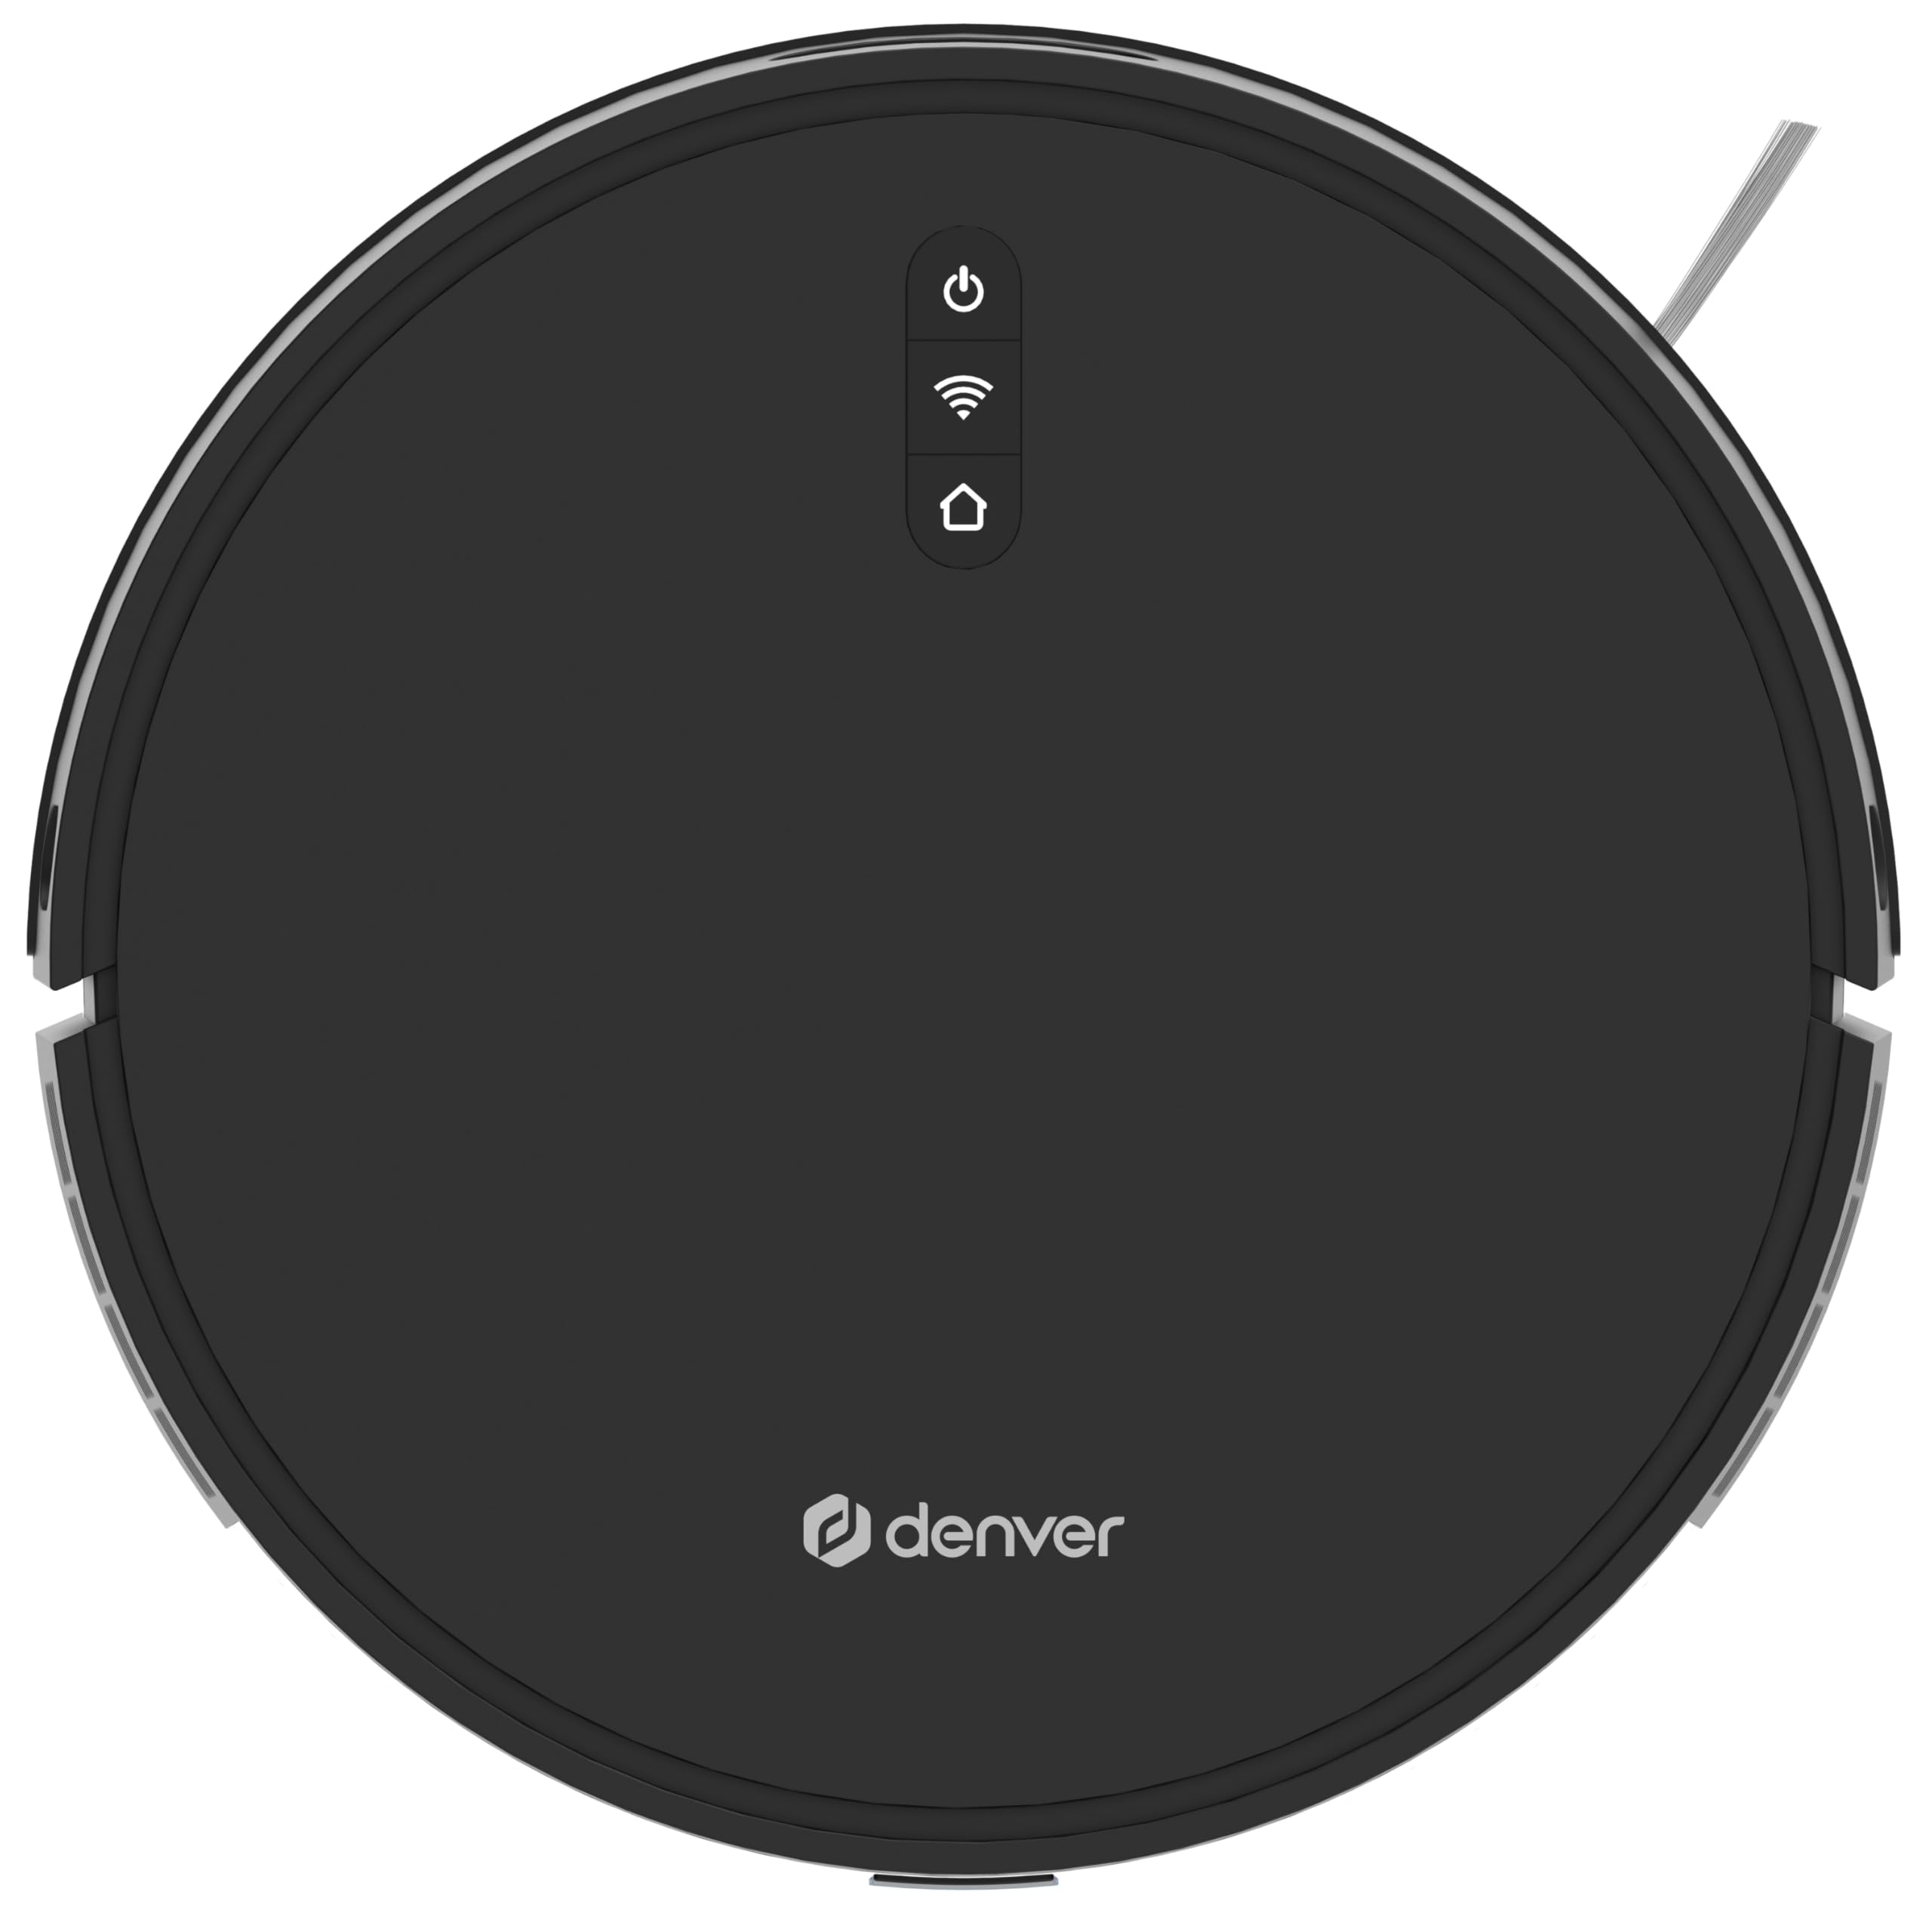
4.1 Robot Vacuum Top View
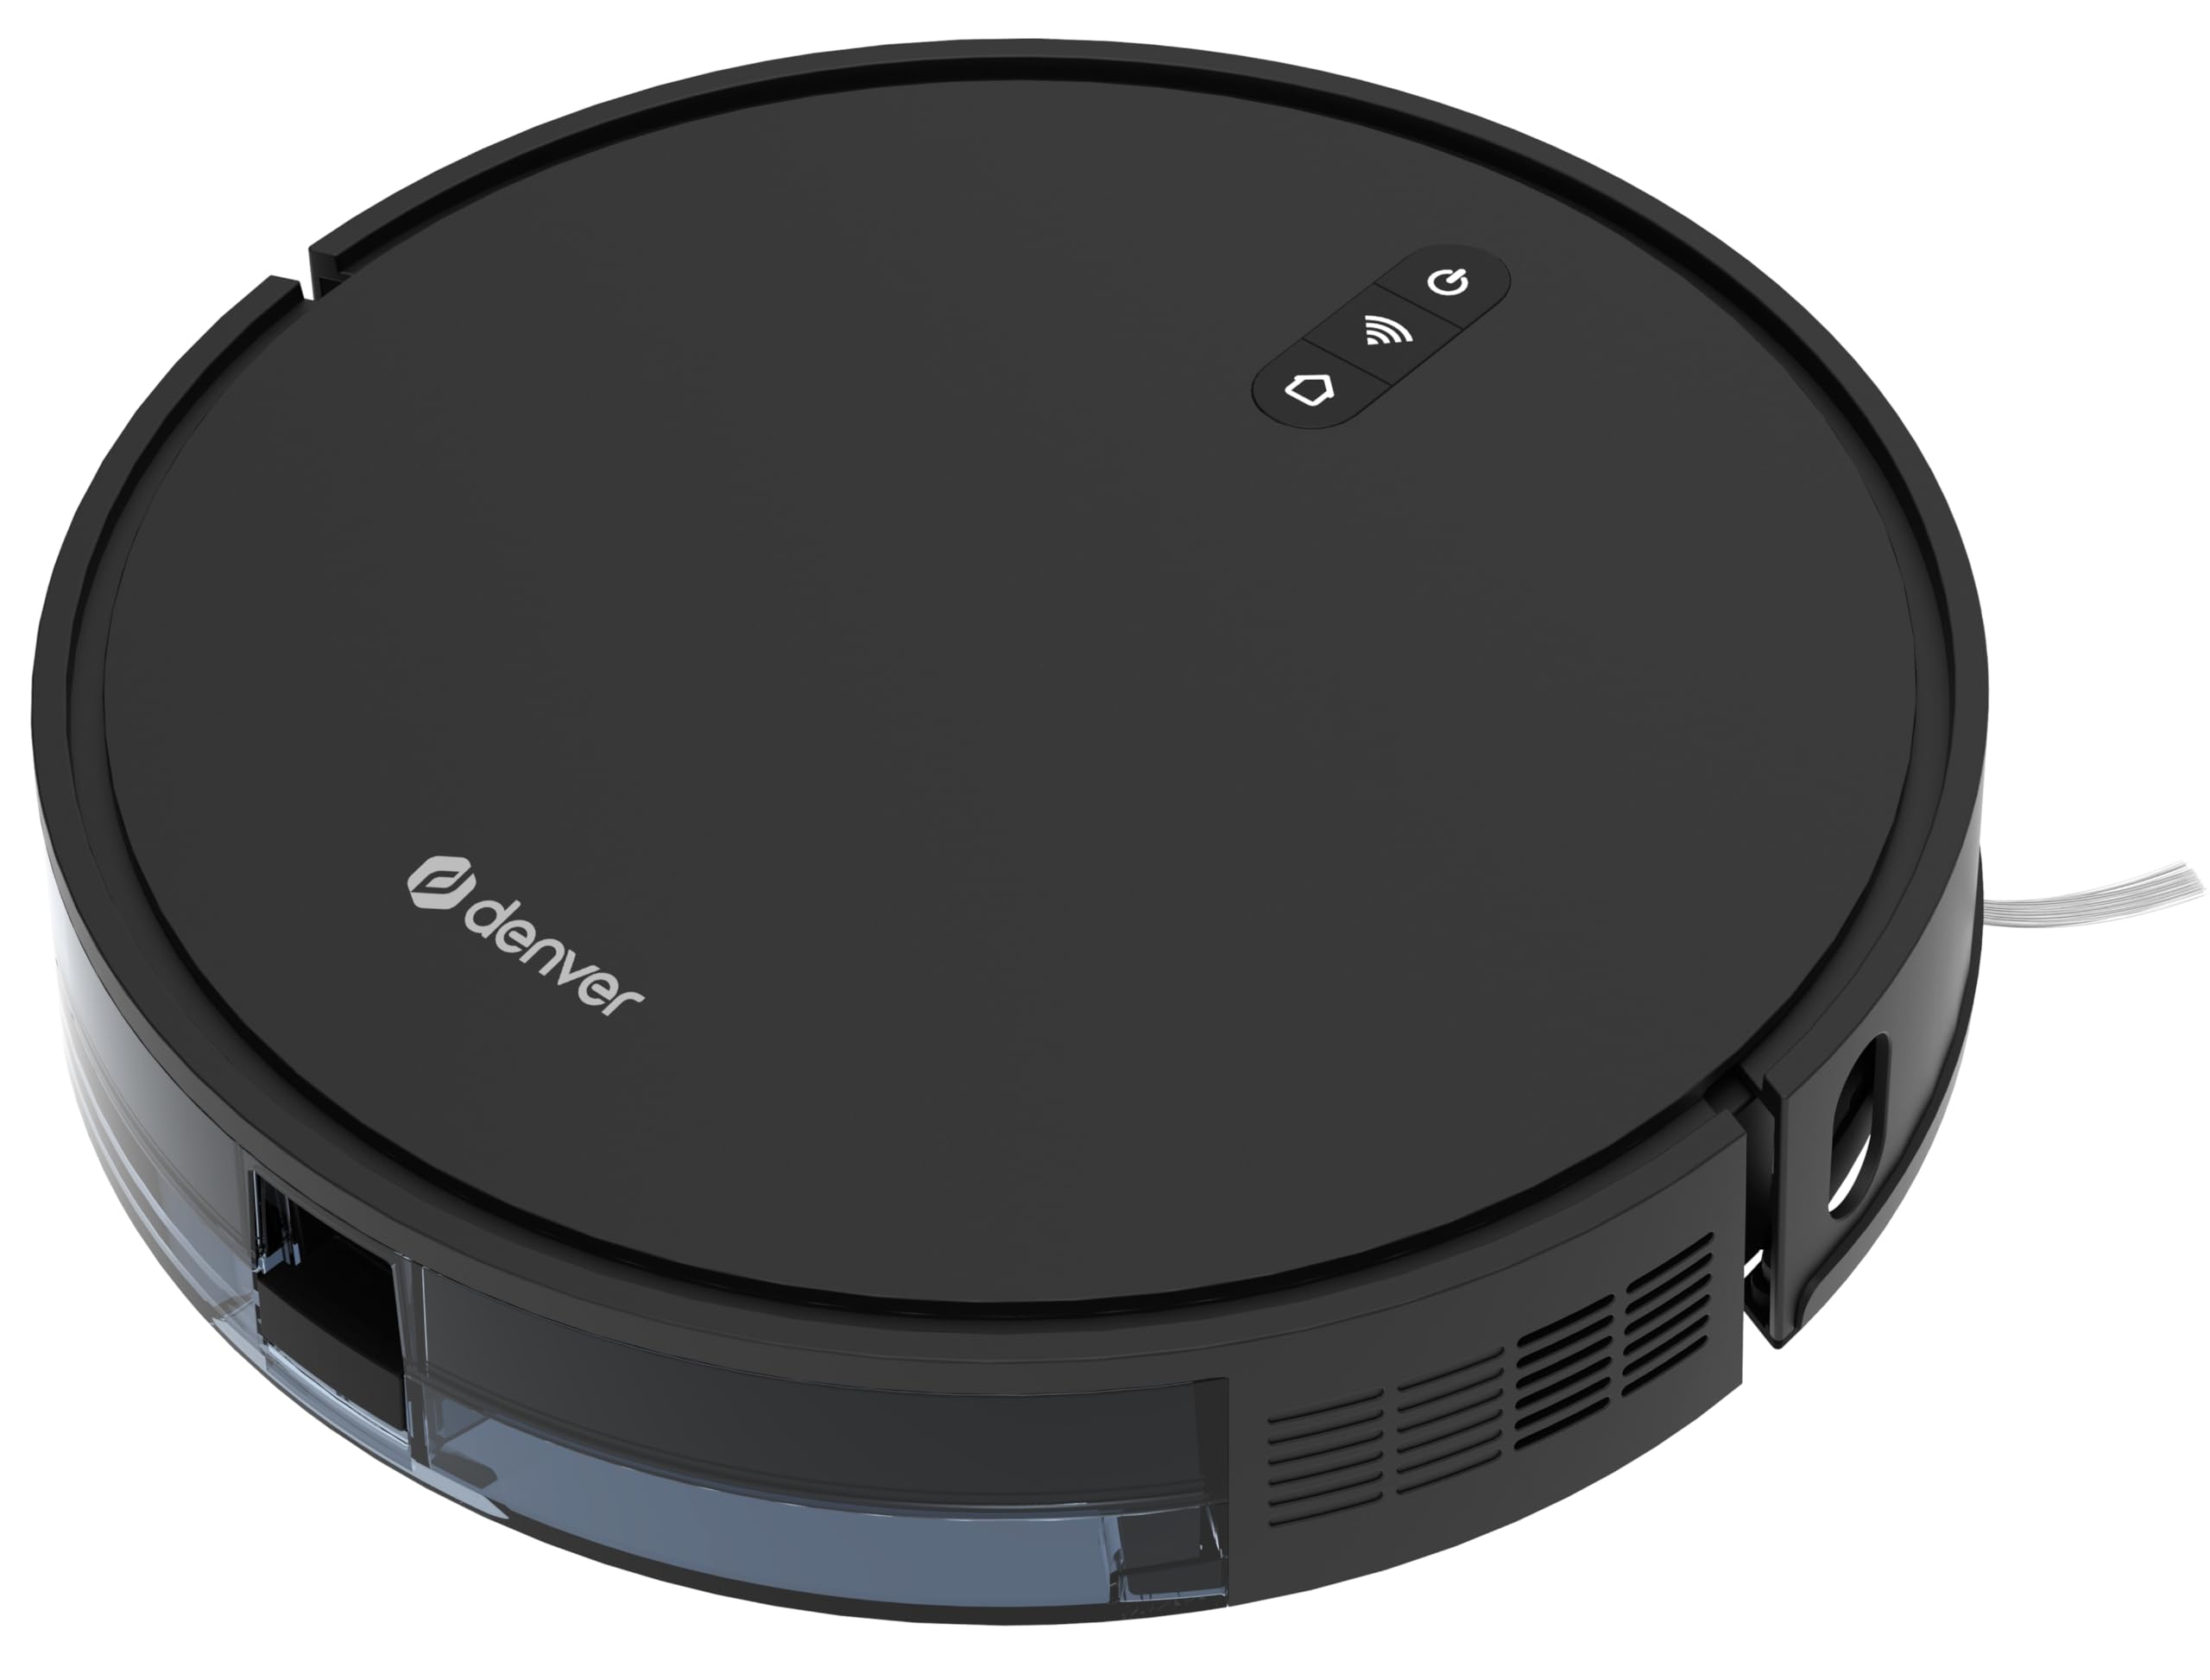
The top panel features the main control buttons and indicators:
- Power Button: Press to start/pause cleaning. Long press to power on/off.
- Wi-Fi Indicator: Shows connection status.
- Home Button: Press to send the robot back to the charging station.
4.2 Robot Vacuum Bottom View

The underside of the robot includes:
- Side Brushes: Collect dust and debris from edges and corners.
- Main Brush: Central brush for deep cleaning.
- Driving Wheels: Allow the robot to move across various surfaces.
- Cliff Sensors: Detect drops and prevent falls.
- Charging Contacts: Connect with the charging station.
4.3 Dustbin and Side View

The dustbin is easily accessible from the side for emptying and filter maintenance.
5. Setup
5.1 Charging Station Placement
Place the charging station against a wall in an open area, ensuring there are no obstacles within 1 meter (3 feet) to the front and 0.5 meters (1.5 feet) to the sides. Connect the power adapter to the charging station and plug it into a wall outlet. Ensure the power indicator on the charging station lights up.
5.2 Initial Charging
Before first use, fully charge the robot vacuum. You can place the robot directly onto the charging station, aligning its charging contacts with those on the station. The robot will automatically begin charging. A full charge takes approximately 420 minutes (7 hours).
5.3 Installing Side Brushes
Attach the side brushes to the corresponding posts on the bottom of the robot by pressing them down until they click into place. Ensure they are securely fastened.
5.4 App Connection (TUYA App)
For advanced control and scheduling, download the "TUYA Smart" app from your smartphone's app store. Follow the in-app instructions to connect your Denver RVC-115 to your home Wi-Fi network. This will enable features like remote control, cleaning mode selection, and scheduling.
6. Operating Instructions
6.1 Powering On/Off
- To Power On: Press and hold the Power button on the robot for a few seconds until the indicator lights up.
- To Power Off: Press and hold the Power button on the robot for a few seconds until the indicator lights turn off.
6.2 Starting/Pausing Cleaning
- To Start Cleaning: Press the Power button once. The robot will begin cleaning in its default mode (random navigation).
- To Pause Cleaning: Press the Power button once during operation. The robot will stop. Press again to resume.
6.3 Cleaning Modes
The RVC-115 offers two primary cleaning modes:
- Random Cleaning: The robot navigates randomly to cover the entire floor area. This is the default mode.
- Spot Cleaning: Ideal for concentrated dirt areas. Place the robot over the desired spot and activate this mode via the TUYA app. The robot will clean in a spiral pattern.
You can switch between modes using the TUYA app.
6.4 Automatic Charging
When the battery level is low, the robot will automatically return to its charging station. You can also manually send it back by pressing the Home button on the robot or through the TUYA app.
6.5 Scheduling Cleaning
Use the TUYA app to set up cleaning schedules. You can program the robot to clean at specific times and days, ensuring your floors are always tidy.
7. Maintenance
Regular maintenance ensures optimal performance and extends the lifespan of your robot vacuum.
7.1 Emptying the Dustbin
Open the dustbin compartment (refer to Figure 4.3 for location), remove the dustbin, and empty its contents into a trash bin. It is recommended to empty the dustbin after each cleaning cycle.
7.2 Cleaning Filters
Remove the HEPA filter and primary filter from the dustbin. Tap the HEPA filter gently to remove dust. The primary filter can be rinsed with water, but ensure it is completely dry before re-installing. HEPA filters should not be washed and should be replaced every 3-6 months depending on usage.
7.3 Cleaning Side Brushes and Main Brush
- Side Brushes: Regularly check for tangled hair or debris. Pull them off their posts and clean them. Replace if damaged.
- Main Brush: Remove the main brush cover and lift out the brush. Use the cleaning tool (if provided) or scissors to cut and remove tangled hair and debris. Reinstall the brush and cover securely.
7.4 Cleaning Sensors and Charging Contacts
Wipe the cliff sensors (on the bottom of the robot) and charging contacts (on both the robot and charging station) with a clean, dry cloth. This prevents dust buildup from affecting their functionality.
8. Troubleshooting
| Problem | Possible Cause | Solution |
|---|---|---|
| Robot does not start or respond. | Low battery; Power switch off; Robot stuck. | Charge the robot; Ensure power switch is on; Clear obstacles. |
| Robot cannot find charging station. | Charging station obstructed; Robot too far from station. | Clear area around charging station; Place robot closer to station. |
| Suction power is weak. | Dustbin full; Filter clogged; Main brush tangled. | Empty dustbin; Clean/replace filter; Clean main brush. |
| Robot falls down stairs. | Cliff sensors dirty or blocked. | Clean cliff sensors with a dry cloth. |
| App connection failed. | Incorrect Wi-Fi password; Router issues; Robot not in pairing mode. | Verify Wi-Fi credentials; Restart router; Follow app instructions for pairing mode. |
9. Specifications
| Model | RVC-115 |
| Brand | Denver |
| Suction Power | 1300 Pa |
| Motor Type | Brushless |
| Noise Level | < 65 dB |
| Battery Type | Li-Ion |
| Battery Capacity | 2600 mAh |
| Battery Voltage | 14.4 V |
| Run Time | Approx. 100 minutes |
| Charging Time | Approx. 420 minutes |
| Dustbin Capacity | 660 ml |
| Filter System | HEPA Level 11 |
| Dimensions (D x H) | 330 x 76 mm |
| Control Method | On-device buttons, TUYA App |
10. Warranty and Support
The Denver RVC-115 Robot Vacuum Cleaner comes with a standard manufacturer's warranty. Please refer to the warranty card included in your package or contact your retailer for specific warranty terms and conditions.
For technical support, troubleshooting assistance beyond this manual, or to inquire about replacement parts, please contact Denver customer service or visit their official website. Contact information can typically be found on the product packaging or the Denver website.