ciciglow ciciglowznrcvbymhi-11
ciciglow 5K Digital Camera User Manual
Model: ciciglowznrcvbymhi-11
Brand: ciciglow
1. Introduction
Thank you for purchasing the ciciglow 5K Digital Camera. This camera is designed to capture high-quality photos and videos with its 75MP sensor and 5K video resolution. It features AF autofocus, 18x digital zoom, a 3.0-inch flip screen, and Wi-Fi connectivity for easy sharing. Please read this manual thoroughly before using the camera to ensure proper operation and to maximize its potential.
2. Package Contents
Please check the package contents to ensure all items are present:
- 1 x High Definition Digital Camera
- 1 x Portable Hand Strap
- 1 x Portable Storage Bag
- 1 x Power Line
- 1 x Cleaning Cloth
- 1 x Instruction Manual
3. Product Overview
Familiarize yourself with the camera's components and controls.

Figure 3.1: Camera Controls and Ports. This diagram shows the camera's rear view with the flip screen open, highlighting the mode dial, photo key, digital zoom controls, charging/working indicator, delete key, playback key, up/fill light key, right key, OK key, down key, left key, DISP key, and Menu key.

Figure 3.2: Front view of the camera, showcasing the lens, flash, and the 3-inch flip screen in an upright position.
4. Setup
4.1 Charging the Battery
The camera comes with a built-in 1150mAh battery. Before first use, ensure the battery is fully charged.
- Connect the provided power line to the camera's charging port.
- Connect the other end of the power line to a USB power adapter (not included) or a computer's USB port.
- The charging/working indicator light will illuminate during charging and turn off when fully charged.
4.2 Inserting a Memory Card
The camera supports up to a 128GB Class 10 memory card (not included).
- Locate the memory card slot on the side of the camera.
- Insert the memory card with the metal contacts facing the correct direction (refer to the diagram near the slot if available) until it clicks into place.
- To remove, gently push the card in until it springs out.
5. Operating Instructions
5.1 Powering On/Off
Press and hold the power button (usually located on the top of the camera) for a few seconds to turn the camera on or off.
5.2 Taking Photos
- Turn on the camera.
- Frame your shot using the 3.0-inch Ultra HD screen. You can flip the screen for selfies.
- Press the photo key (shutter button) halfway down to activate autofocus. The camera will lock focus on your subject.
- Press the photo key fully down to capture the image.

Figure 5.1: Visual comparison demonstrating the superior clarity of 5K Ultra High Definition recording compared to 1080P.

Figure 5.2: Examples showcasing the enhanced image quality and color richness provided by the 75MP sensor.
5.3 Recording Videos
The camera supports 5K video recording.
- Switch the camera to video recording mode using the mode dial.
- Press the video record button (often the same as the photo key, or a dedicated button) to start recording.
- Press the button again to stop recording.

Figure 5.3: The camera's capability for both photography and video recording, designed to capture beautiful life moments.
5.4 Using Autofocus (AF)
The AF autofocus technology allows for precise focusing, especially for macro shots.
- When taking photos, half-press the shutter button to engage autofocus. The camera will automatically adjust focus.
- For macro photography, ensure sufficient lighting and position the camera close to the subject. The AF system will lock onto the subject for clear, detailed images.
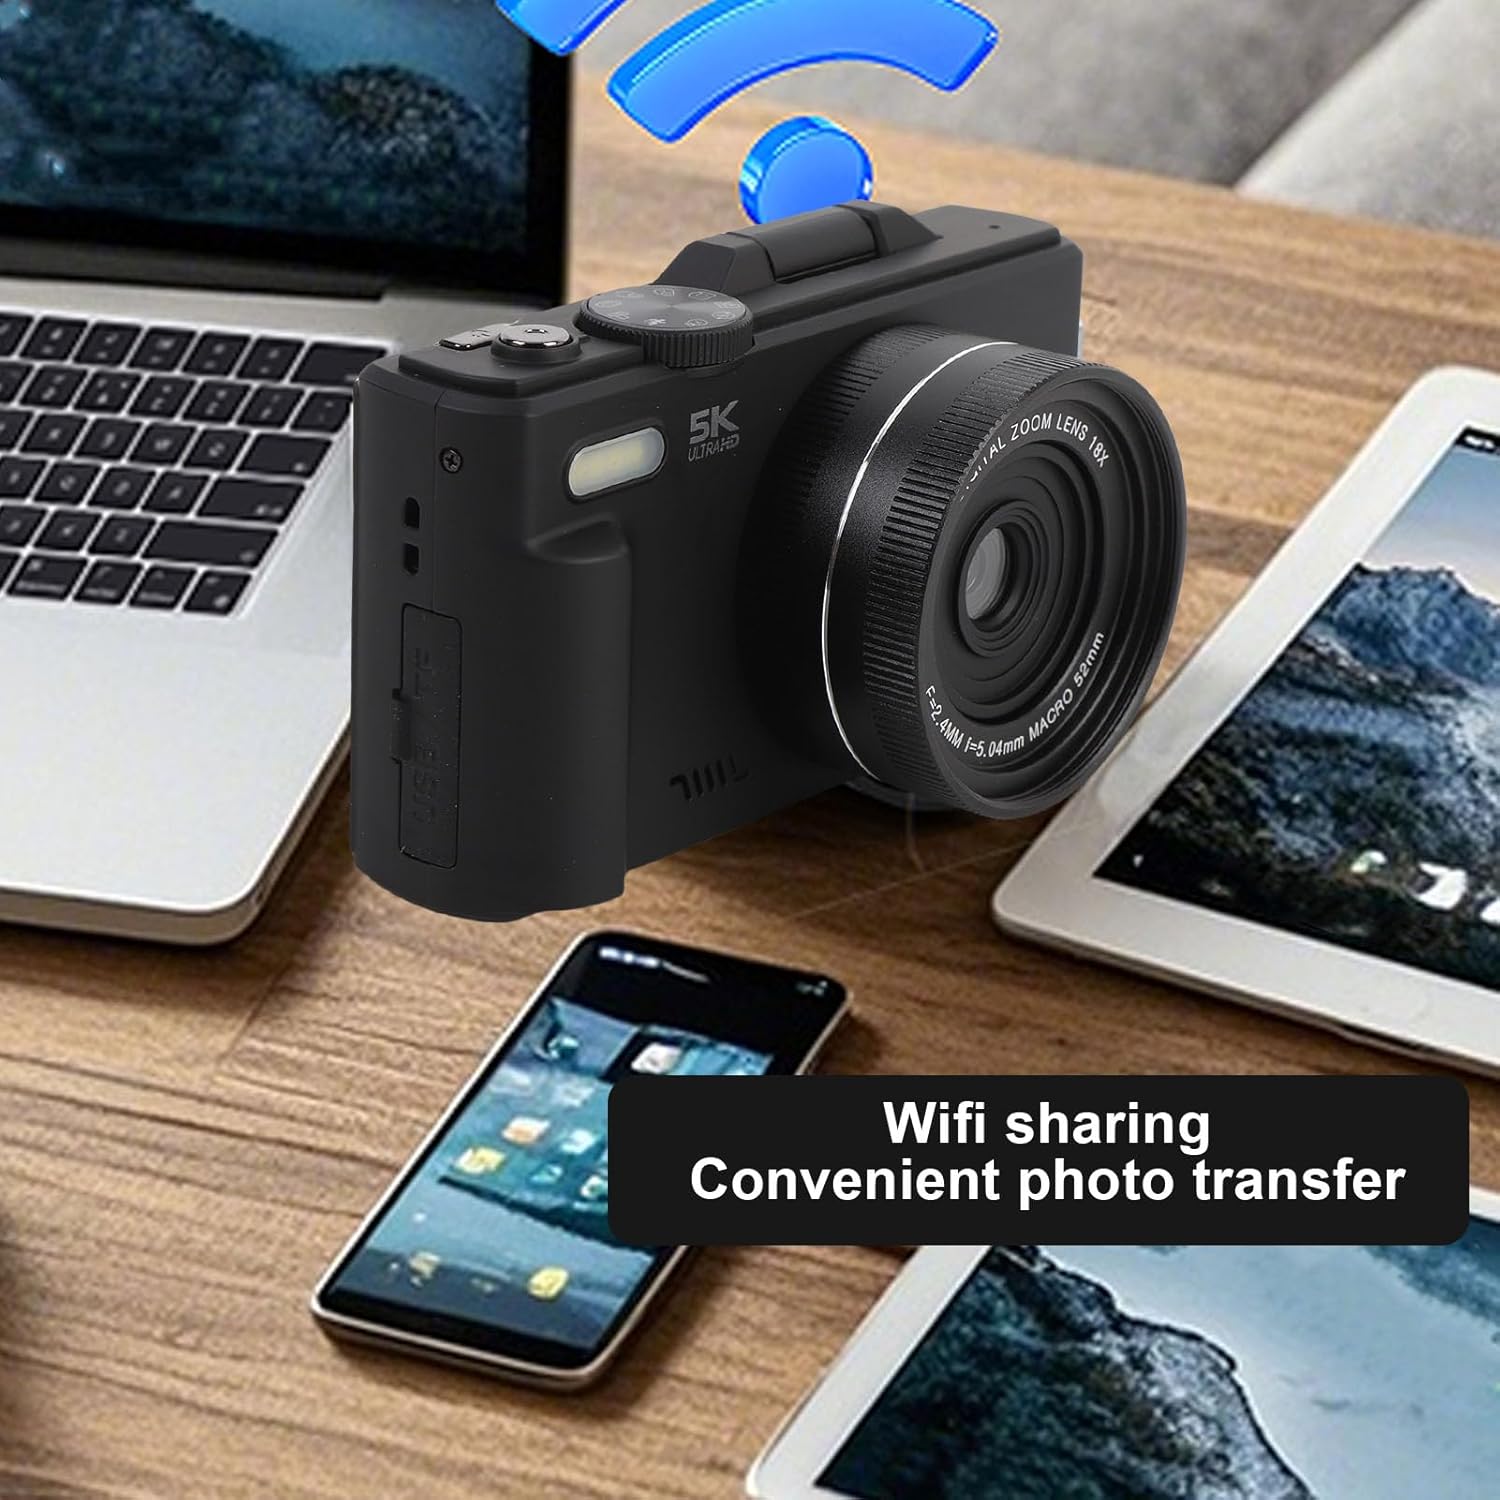
Figure 5.4: Illustration of AF autofocus, highlighting its ability to precisely focus on subjects, creating a clear foreground and pleasing background blur.
5.5 Digital Zoom
The camera features 18x digital zoom. Use the T (Telephoto) and W (Wide) buttons to adjust the zoom level.
- Press the 'T' button to zoom in on distant objects.
- Press the 'W' button to zoom out and widen the field of view.

Figure 5.5: Visual representation of the 18x digital zoom, expanding the field of view to capture distant details.
5.6 Wi-Fi Connectivity
The camera supports instant Wi-Fi transfer for sharing photos and videos.
- Enable Wi-Fi on the camera through the menu settings.
- Download the corresponding application (if specified by the manufacturer, usually mentioned in the product description or a separate quick start guide) on your smartphone or tablet.
- Connect your device to the camera's Wi-Fi network.
- Use the application to browse and transfer files.
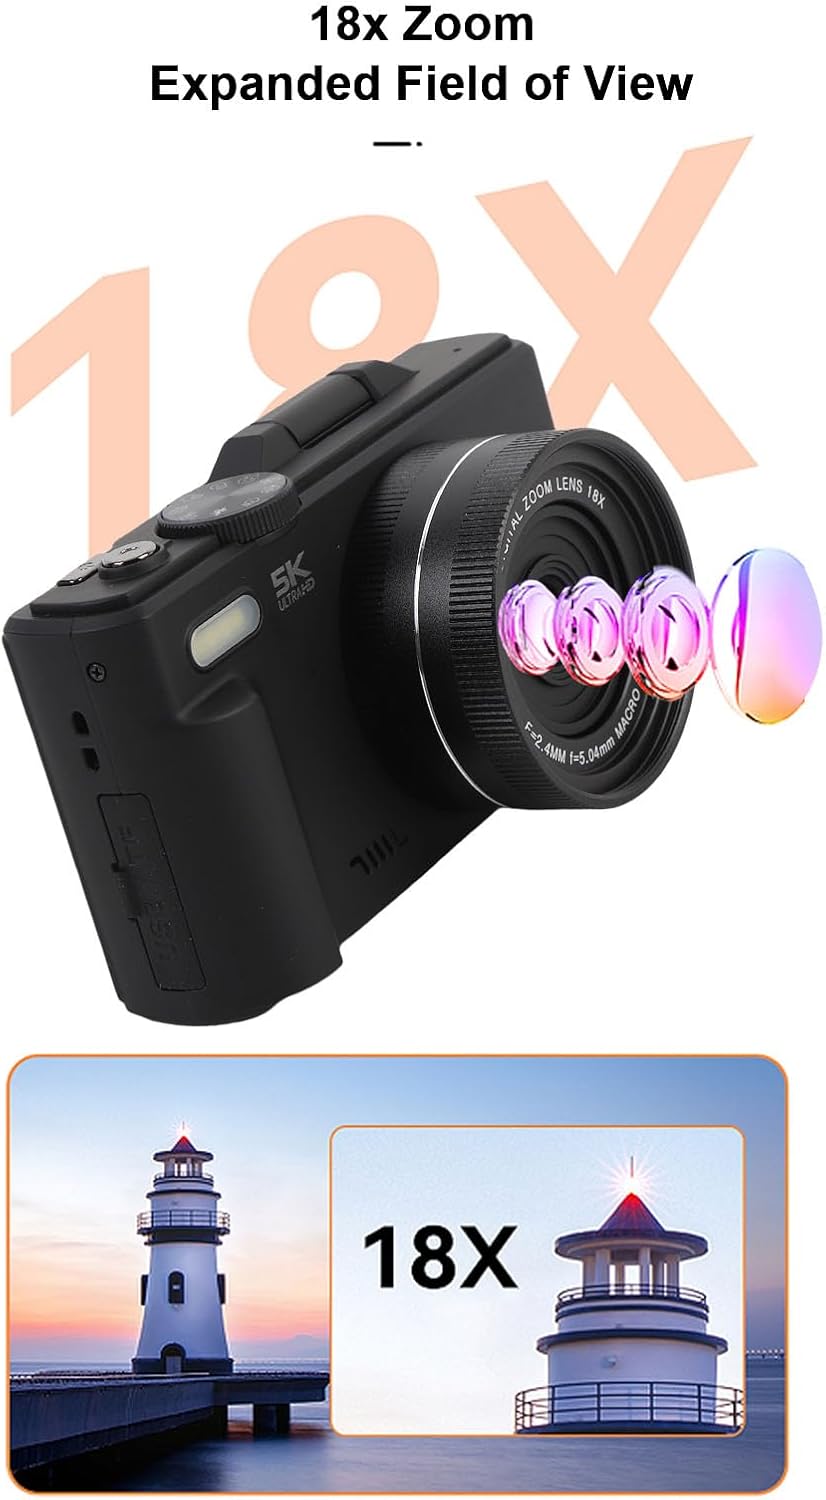
Figure 5.6: Wi-Fi sharing feature for convenient photo and video transfer to other devices.
5.7 Webcam Functionality
The camera can function as a webcam for video calls, online learning, and live streaming.
- Connect the camera to your computer using a USB cable.
- Select "Webcam Mode" or "PC Camera" from the options displayed on the camera screen (if prompted).
- Your computer should recognize the camera as a webcam. Select it as the video input device in your video conferencing software.
6. Maintenance and Care
- Cleaning the Lens: Use the provided cleaning cloth or a soft, lint-free cloth specifically designed for camera lenses. Do not use abrasive materials or harsh chemicals.
- Cleaning the Body: Wipe the camera body with a soft, dry cloth. For stubborn dirt, slightly dampen the cloth with water, then wipe dry.
- Storage: Store the camera in a cool, dry place, away from direct sunlight, extreme temperatures, and high humidity. Use the portable storage bag for protection.
- Battery Care: Avoid fully discharging the battery frequently. If storing for a long period, charge the battery to about 50% and remove it from the camera if possible (though this model has a built-in battery).
- Memory Card: Format the memory card periodically within the camera to maintain optimal performance and prevent data corruption.
7. Troubleshooting
| Problem | Possible Cause | Solution |
|---|---|---|
| Camera does not turn on. | Battery is depleted. | Charge the battery fully. |
| Cannot take photos/record videos. | Memory card is full or not inserted correctly. | Insert memory card correctly or delete unnecessary files/format card. |
| Images are blurry. | Autofocus failed, camera shake, dirty lens. | Ensure proper focus, hold camera steady, clean lens. |
| Wi-Fi connection issues. | Incorrect Wi-Fi settings, app issues. | Restart camera and device, re-establish connection, check app settings. |
8. Specifications
| Feature | Description |
|---|---|
| Item Type | 5K Digital Camera |
| Material | ABS, Electronic |
| WIFI (Application) | Support |
| Digital Zoom | 18x Digital Zoom |
| LCD Screen | 3.0 inch Ultra HD Screen (16:9) |
| LED Fill Light | Flash for Photos, Fill Light for Videos |
| Exposure Compensation | Approx. from -3.0EV to +3.0EV |
| White Balance | Auto/Sunny/Cloudy/Incandescent/Fluorescent |
| Card Slot Type | Supports up to 128GB Memory Card (class 10) (not included) |
| Languages | English (default), Simplified Chinese, Traditional Chinese, Japanese, Korean, Russian, German, French, Italian, Spanish, Portuguese, Thai |
| Battery Type | Built in 1150mAh Battery (included) |
| Package Dimensions | 6.69 x 5.51 x 2.76 inches |
| Item Weight | 1.08 pounds (490 Grams) |
| Model Number | ciciglowznrcvbymhi-11 |
| Manufacturer | ciciglow |
| Color | Black |
9. Warranty and Support
For warranty information and technical support, please refer to the documentation included with your purchase or visit the official ciciglow website. You may also contact the seller directly through the platform where the product was purchased.
Seller: Ciciglow (ID: A34XVXTBCHMT4Z)
Amazon Product Page: https://www.amazon.com/Digital-Cameras-Photography-Autofocus-Vlogging/dp/B0F546P1PP
Ask a question about this manual
Ask about setup, troubleshooting, compatibility, parts, safety, or missing instructions. Manuals+ will review the question and use this page’s manual context to help answer it.