1. Introduction
Thank you for choosing Kaxiida Solar Spot Lights. This manual provides essential information for the safe and efficient installation, operation, and maintenance of your new outdoor solar lights. These lights are designed to illuminate your outdoor spaces with 92 high-efficiency LEDs, offering three brightness modes and IP68 waterproof durability.
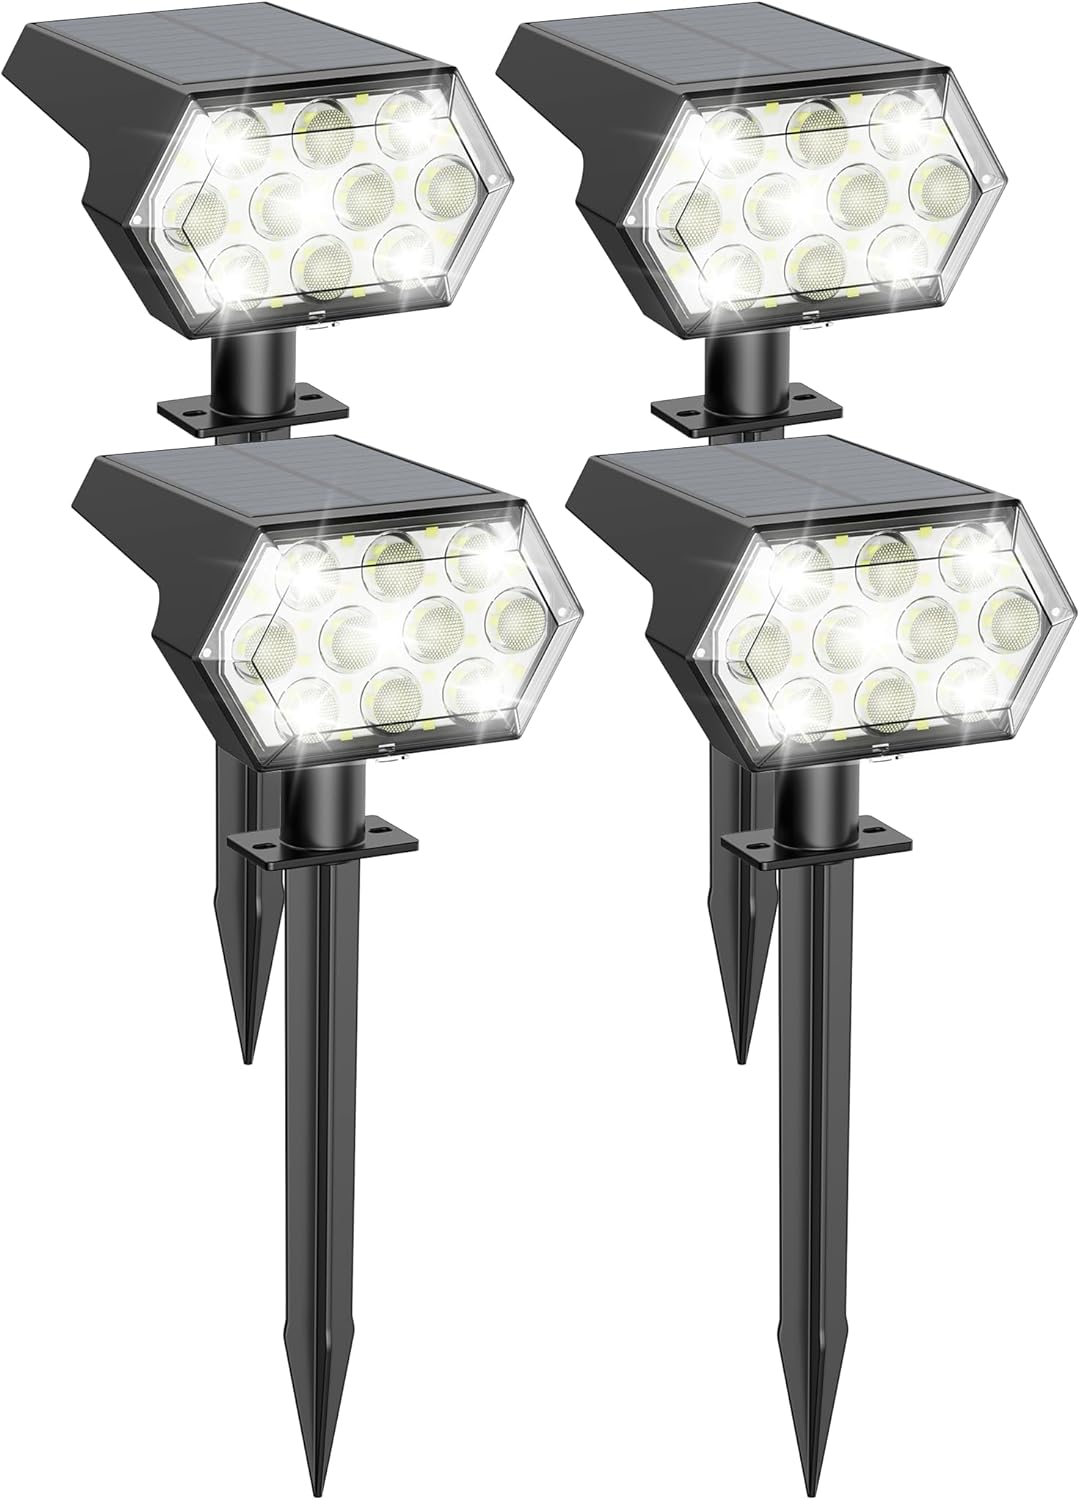
Image 1.1: Kaxiida Solar Spot Lights (4-pack)
The Kaxiida Solar Spot Lights are equipped with upgraded polycrystalline solar panels for faster charging and automatic dusk-to-dawn functionality. They are suitable for various outdoor applications, including gardens, pathways, driveways, and yards.
2. What's in the Box
Please check the package contents to ensure all items are present:
- 4 × Solar Light Units
- 4 × Ground Stakes
- 1 pack Installation Accessories (screws, wall anchors)
- 1 × Instruction Manual
3. Specifications
| Feature | Detail |
|---|---|
| Brand | Kaxiida |
| Model Name | CPD-32 |
| Color | Cool White |
| Material | Acrylonitrile Butadiene Styrene, Polycarbonate |
| Light Source Type | LED (92 LEDs) |
| Brightness | Up to 1000 Lumens |
| Power Source | Solar Powered |
| Water Resistance Level | IP68 Waterproof |
| Special Features | 3 Brightness Modes, Adjustable Angle, Fast Charging, Long Lasting, Weather Resistant |
| Control Method | Push Button |
| Battery | 1 AA battery required (included) |
| Product Dimensions | 4.96"L x 4.72"W x 12.6"H |

Image 3.1: Product Dimensions and Mode Durations
The solar panel is designed for a 25% higher conversion efficiency rate, ensuring faster charging. The robust ABS material and IP68 rating provide durability against rain, snow, and extreme temperatures from -4°F to 140°F.

Image 3.2: IP68 Waterproof and All-Weather Durability
4. Setup and Installation
Your Kaxiida Solar Spot Lights offer flexible installation options: ground stake or wall mount.
4.1 Important Installation Considerations
- Sunlight Exposure: Install the solar lights in a location that receives direct sunlight for at least 6-8 hours daily to ensure optimal charging. Avoid shaded areas.
- Avoid Other Light Sources: Do not install the solar lights directly under or too close to other strong light sources (e.g., streetlights, porch lights). External light can interfere with the built-in dusk-to-dawn sensor, preventing the solar light from turning on automatically at night.

Image 4.1: Optimal Installation Placement
4.2 Ground Installation
- Assemble: Connect the solar light head to the ground stake by twisting them together securely.
- Insert into Ground: Drive the assembled light into soft ground in your desired location, ensuring the solar panel faces upwards towards the sun.
- Turn On and Select Mode: Locate the power button on the back of the solar panel. Press it to turn on the light and cycle through the brightness modes (see Section 5 for details).
- Adjust Light Angle: Adjust the angle of the light head (up to 120°) to direct illumination precisely where needed.

Image 4.2: Ground Installation Steps
4.3 Wall Mounted Installation
- Drill Holes: Mark the desired mounting location on a wall or fence. Drill two holes and insert the provided wall anchors.
- Attach to Wall: Align the mounting bracket of the solar light with the drilled holes and secure it to the wall using the provided screws.
- Turn On and Select Mode: Locate the power button on the back of the solar panel. Press it to turn on the light and cycle through the brightness modes (see Section 5 for details).
- Adjust Light Angle: Adjust the angle of the light head (up to 120°) to direct illumination precisely where needed.

Image 4.3: Wall Mounted Installation Steps
5. Operating Instructions
The Kaxiida Solar Spot Lights feature an automatic dusk-to-dawn sensor and three adjustable brightness modes.
5.1 Automatic Operation
- During the day, the solar panel automatically charges the internal battery when exposed to sunlight. Full charge typically takes 6-8 hours.
- At dusk, the built-in sensor detects low light conditions and automatically turns the light on.
- At dawn, the sensor detects increasing light and automatically turns the light off to begin charging again.
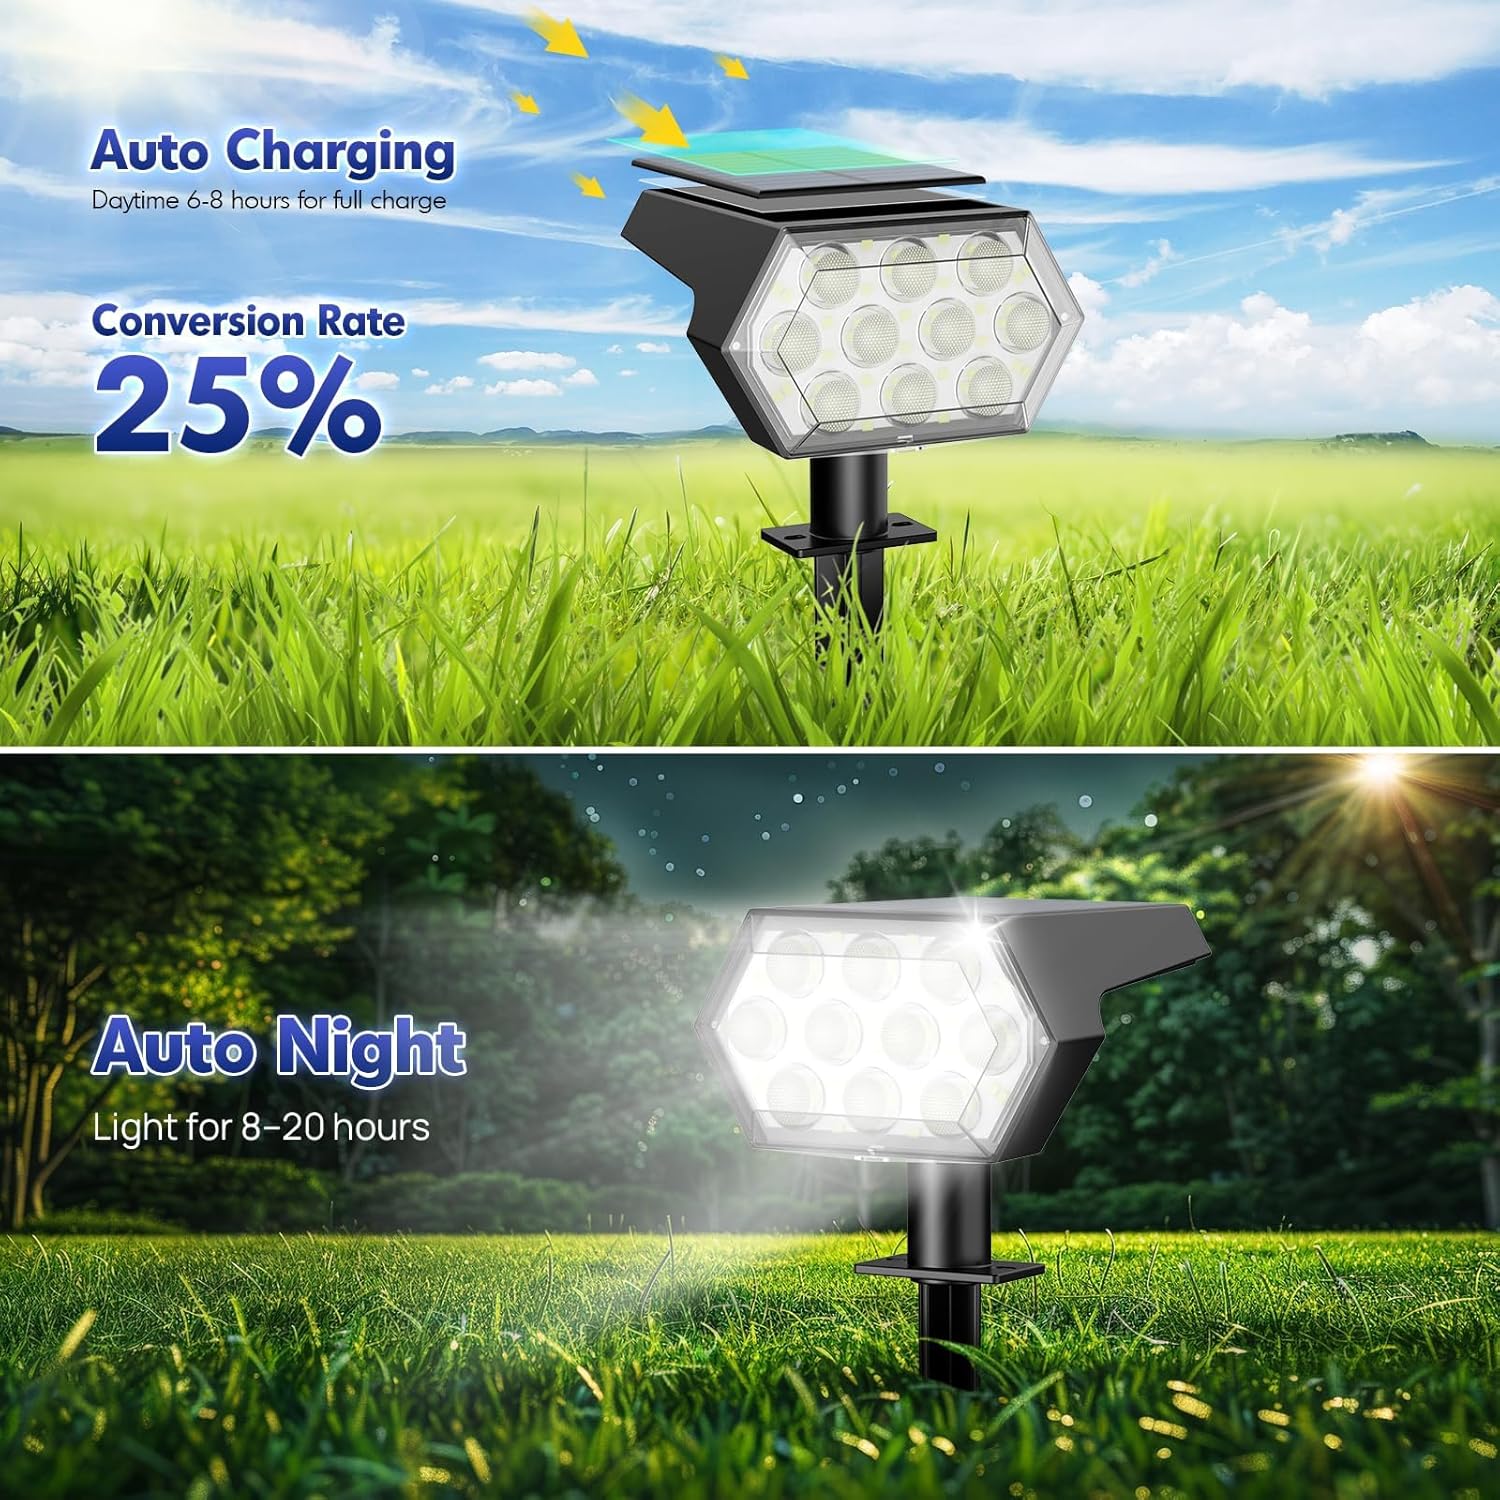
Image 5.1: Auto Charging and Auto Night Function
5.2 Brightness Modes
Press the power button on the back of the solar panel to cycle through the three available brightness modes:
- Mode 1 (Low Light): Provides illumination for approximately 20 hours on a full charge.
- Mode 2 (Medium Light): Provides illumination for approximately 12 hours on a full charge.
- Mode 3 (High Light): Provides illumination for approximately 8 hours on a full charge.
Select the mode that best suits your lighting needs and desired duration.

Image 5.2: Brightness Mode Selection
6. Maintenance
Regular maintenance ensures optimal performance and longevity of your solar lights.
- Clean Solar Panel: Periodically wipe the solar panel with a soft, damp cloth to remove dust, dirt, leaves, or snow. A clean panel ensures maximum sunlight absorption for efficient charging.
- Check Placement: Ensure the solar panel remains unobstructed by new foliage or structures that may grow or be placed in its path.
- Battery Replacement: The included AA battery is rechargeable. If the light duration significantly decreases over time, the battery may need replacement. Use a high-quality rechargeable AA battery.
- Inspect for Damage: Regularly check the light units and wiring for any signs of damage, especially after severe weather conditions.
7. Troubleshooting
If your Kaxiida Solar Spot Light is not functioning as expected, try the following troubleshooting steps:
| Problem | Possible Cause | Solution |
|---|---|---|
| Light does not turn on at night. | Insufficient charging; switch is off; external light interference. | Ensure the solar panel receives 6-8 hours of direct sunlight. Check if the power button is pressed (light should be in one of the modes). Relocate the light away from other strong light sources. |
| Light duration is shorter than expected. | Insufficient charging; battery degradation; selected mode is too high. | Ensure optimal sunlight exposure. Clean the solar panel. Consider replacing the AA battery. Select a lower brightness mode. |
| Light is dim. | Solar panel is dirty; insufficient charge; low battery. | Clean the solar panel. Ensure adequate sunlight exposure. Allow several days for full charge. Replace battery if necessary. |
8. Safety Information
- Do not attempt to disassemble or modify the product. This may void the warranty and pose safety risks.
- Keep the product away from open flames or extreme heat sources.
- Ensure proper installation to prevent tripping hazards or damage to the lights.
- Dispose of batteries according to local regulations.
9. Warranty and Support
Kaxiida is committed to providing quality products and customer satisfaction.
- 2-Year Replacement: Your Kaxiida Solar Spot Lights are covered by a 2-year replacement policy for manufacturing defects.
- 24-Hour Service: For any questions, concerns, or support needs, please contact Kaxiida customer service. Refer to the product packaging or the Kaxiida brand store for contact information.
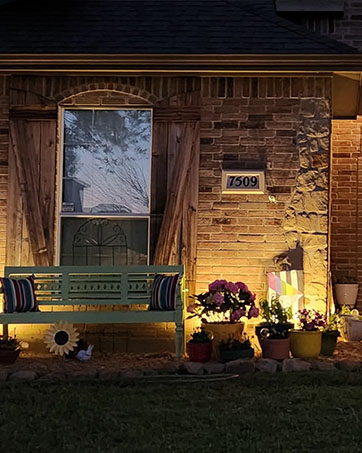
Image 9.1: Kaxiida Customer Support Information