
Introduction
Thank you for choosing Kaxiida Upgrade Solar Lights. These advanced solar spot lights are designed to provide efficient and reliable outdoor illumination for your yard, patio, garden, pathway, and landscape. Featuring 92 high-efficiency LEDs, IP68 waterproof rating, and three lighting modes, these lights offer versatile and durable performance. This manual provides detailed instructions for setup, operation, maintenance, and troubleshooting to ensure optimal performance and longevity of your solar lights.
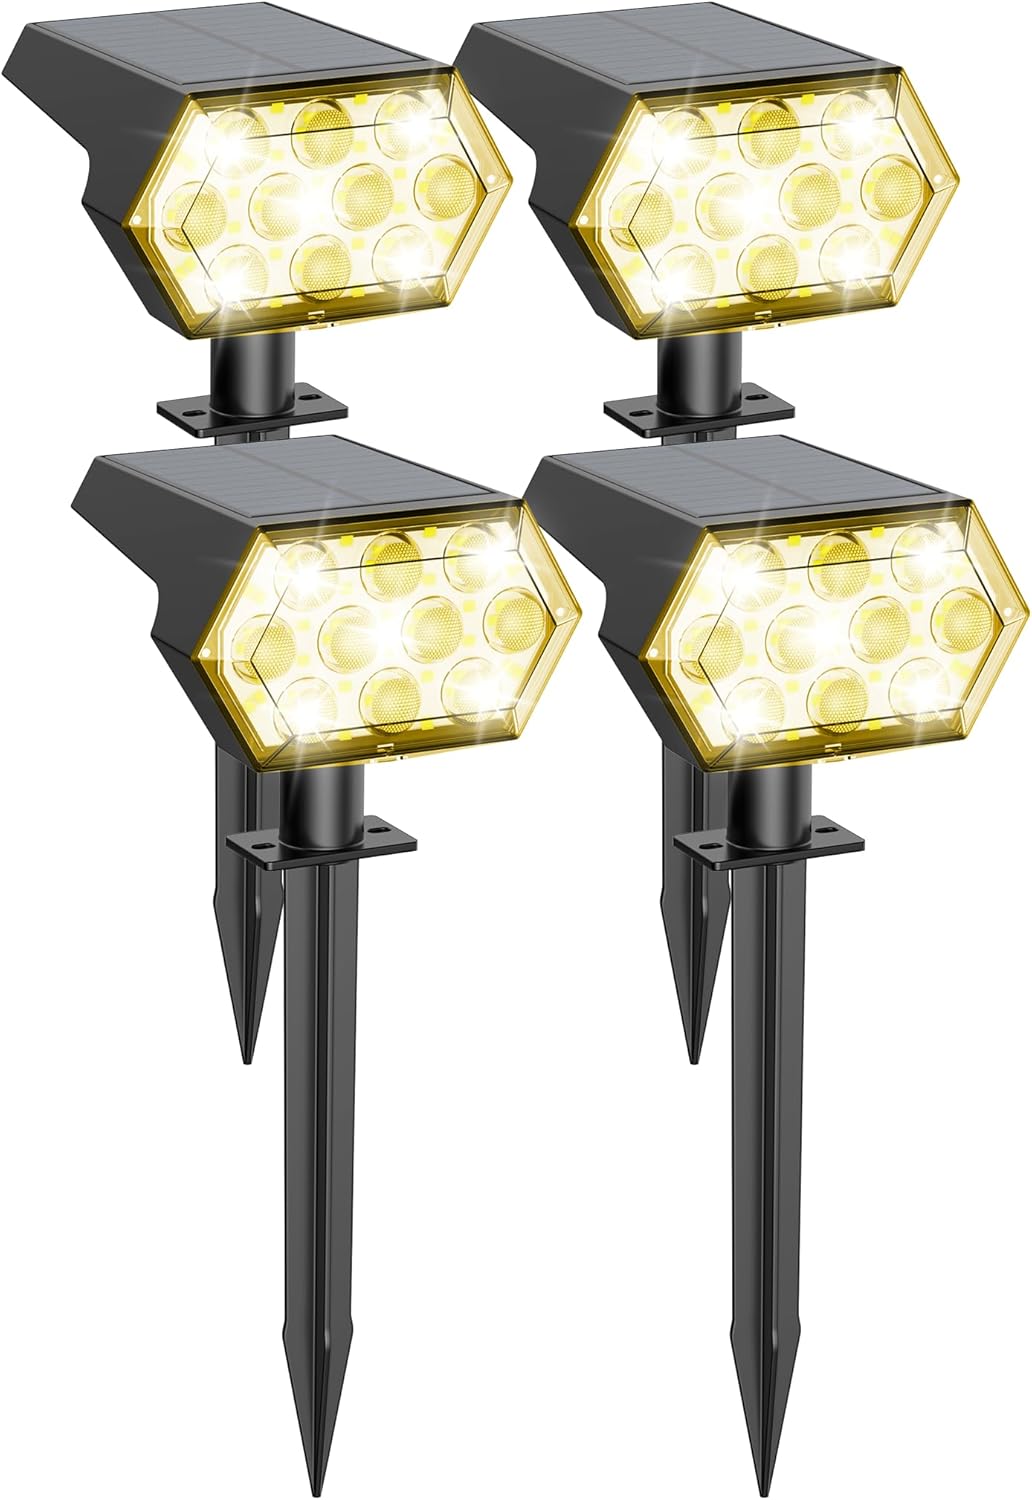
Image: Kaxiida Upgrade Solar Lights (4-pack)
This image displays four Kaxiida solar spot lights, showcasing their design and the warm white light they emit. Each light features a hexagonal head with multiple LED bulbs and an integrated solar panel on top, mounted on a stake for ground installation.
What's in the Box
- 4 × Solar Light Units
- 4 × Ground Stakes
- 1 pack Installation Accessories (screws, wall anchors)
- 1 × Instruction Manual
Setup
Before first use, ensure the solar lights are fully charged. Place the solar panel in direct sunlight for 6-8 hours. The lights feature an automatic dusk-to-dawn sensor, so they will turn on at night and off during the day.
Installation Options:
Option 1: Ground Installation
- Assemble the solar light unit by attaching the ground stake to the main light body.
- Select a location in your garden or pathway that receives ample direct sunlight throughout the day.
- Gently push the assembled light into the ground until it is stable. Ensure the solar panel faces upwards towards the sun.
- Adjust the angle of the light head (up to 120°) to illuminate your desired area.

Image: Ground Installation Steps
This diagram illustrates the four steps for ground installation: 1. Assemble the light and stake, 2. Drive the light into the ground, 3. Turn on the switch and select a mode, 4. Adjust the light angle.
Option 2: Wall Mounted Installation
- Choose a wall or fence location that receives direct sunlight.
- Mark the positions for drilling holes using the provided wall-mount bracket as a template.
- Drill holes and insert the wall anchors.
- Attach the light to the wall using the provided screws.
- Adjust the angle of the light head (up to 120°) to illuminate your desired area.

Image: Wall Mounted Installation Steps
This diagram illustrates the four steps for wall mounted installation: 1. Drill holes and drive in anchors, 2. Attach the light to the wall using screws, 3. Turn on the switch and choose a mode, 4. Adjust the light angle.
Important: Do not install the light in a shady place or under other light sources, as this may interfere with the light sensor and charging efficiency.

Image: Optimal Installation Location Guidelines
This image provides visual guidance on where to install the solar lights. It shows that lights should be installed in sunny places and away from other light sources to ensure proper function and charging.
Operating Instructions
The Kaxiida solar lights are equipped with a built-in light sensor for automatic operation and a control button to select brightness modes.
Automatic On/Off Function
The lights automatically turn on at dusk and turn off at dawn. This feature is controlled by the integrated light sensor on the solar panel. Ensure the solar panel is not obstructed by other light sources at night, as this may prevent the light from activating.

Image: Auto Charging and Auto Night Features
This image illustrates the automatic functions of the solar light: it charges during the day (6-8 hours for full charge) with a 25% conversion rate, and automatically illuminates at night for 8-20 hours depending on the selected mode.
Selecting Lighting Modes
Each light unit has a tactile control button on the back of the light head. Press this button to cycle through the three available brightness modes:
- Mode 1: Low Light Mode - Provides up to 20 hours of illumination on a full charge.
- Mode 2: Medium Light Mode - Provides up to 12 hours of illumination on a full charge.
- Mode 3: High Light Mode - Provides up to 8 hours of illumination on a full charge.

Image: Three Lighting Modes
This image illustrates the three distinct lighting modes: Low Light Mode (20 hours), Medium Light Mode (12 hours), and High Light Mode (8 hours), demonstrating the varying brightness levels and corresponding battery life.
Maintenance
Regular maintenance ensures the longevity and optimal performance of your Kaxiida solar lights.
- Cleaning: Periodically wipe the solar panel with a soft, damp cloth to remove dust, dirt, or debris. A clean solar panel ensures maximum sunlight absorption and charging efficiency.
- Weather Resistance: These lights are constructed with durable ABS plastic housing and have an IP68 waterproof rating, designed to withstand diverse weather conditions including rain, snow, and extreme temperatures (-4°F to 140°F). No special weather-related maintenance is typically required beyond ensuring the solar panel remains clear.
- Battery: The lights include a rechargeable AA battery. While designed for long life, if performance significantly degrades over several years, the battery may need replacement. Refer to the specifications for battery type.

Image: IP68 Waterproof and Weather Resistant Design
This image highlights the IP68 waterproof and extreme weather resistance of the solar lights, showing them functioning effectively in rain, snow (frost resistant), and intense sun (heat resistant), indicating their robust construction for outdoor use.
Troubleshooting
| Problem | Possible Cause | Solution |
|---|---|---|
| Light does not turn on at night. |
|
|
| Light duration is shorter than expected. |
|
|
| Light flickers or is dim. |
|
|
Specifications
| Feature | Detail |
|---|---|
| Brand | Kaxiida |
| Model Name | CPD-32 |
| Light Source Type | LED |
| Number of Light Sources | 92 LEDs |
| Brightness | 1000 Lumens |
| Light Color | Warm White |
| Power Source | Solar Powered |
| Material | Acrylonitrile Butadiene Styrene, Polycarbonate |
| Water Resistance Level | IP68 Waterproof |
| Product Dimensions | 4.96"L x 4.72"W x 12.6"H |
| Item Weight | 2.7 pounds (for the pack of 4) |
| Battery | 1 AA battery required (included) |
| Special Features | 3 brightness lighting modes, Fast Charging, Long Lasting, Adjustable Height, Easy to Assemble |
| Control Method | Push Button |
| Indoor/Outdoor Usage | Outdoor |
Warranty and Support
Kaxiida is committed to providing high-quality products and excellent customer service.
- Warranty: Your Kaxiida solar lights come with a 2-year replacement warranty. Please retain your proof of purchase for warranty claims.
- Customer Service: For any questions, concerns, or support needs, please contact Kaxiida customer service. We offer 24-hour service to assist you.
- Contact Information: Please refer to the product packaging or the official Kaxiida store on Amazon for the most current contact details.

Image: Kaxiida Support Information
This image from the Kaxiida brand story highlights their commitment to customer satisfaction, featuring icons for "24-hour service" and "2-year replacement" warranty.