1. Introduction
This manual provides essential information for the installation, operation, and maintenance of your IHFMPFKJ Vacuum Cleaner Wheel Motor Assembly. This replacement part is designed to restore the mobility and functionality of compatible robot vacuum cleaners. Please read this manual thoroughly before proceeding with installation or use.
Compatibility: This wheel motor assembly is compatible with the following robot vacuum cleaner models:
- Neatsvor X600 Pro
- Neatsvor X500
- Tesvor X500 Pro
- C660
- 680S
- 880
- S6
2. Safety Information
Always observe the following safety precautions when handling or installing the wheel motor assembly:
- Disconnect Power: Before attempting any installation or maintenance, ensure the robot vacuum cleaner is powered off and disconnected from its charging base or power source. Remove the battery if accessible.
- Handle with Care: Electronic components can be sensitive. Avoid dropping the assembly or exposing it to excessive force.
- Static Electricity: Discharge any static electricity from your body before handling electronic parts by touching a grounded metal object.
- Keep Dry: Do not expose the wheel motor assembly to water or other liquids.
- Professional Installation Recommended: If you are unsure about the installation process, consult a qualified technician or refer to the original robot vacuum cleaner's service manual.
- Small Parts: Keep small parts away from children and pets to prevent choking hazards.
3. Package Contents
Verify that all items are present and in good condition upon opening the package:
- One (1) Vacuum Cleaner Wheel Motor Assembly (Left + Right)
Note: The specific configuration (Left, Right, or L+R) depends on the variant purchased. This manual refers to the L+R variant.
4. Setup and Installation
This section outlines the general steps for replacing the wheel motor assembly. Specific disassembly and reassembly procedures may vary by robot vacuum cleaner model. Always refer to your robot vacuum cleaner's original service manual for detailed instructions.
- Prepare the Robot: Power off your robot vacuum cleaner and disconnect it from its charging station. Remove the dustbin and side brushes. If your model has a removable battery, remove it.
- Access the Wheels: Place the robot upside down on a soft, clean surface. Locate the screws that secure the bottom cover or wheel modules. Carefully remove these screws and any panels necessary to access the wheel motor assemblies. Keep track of screw locations.
- Disconnect Old Assembly: Gently disconnect the wiring harness from the old wheel motor assembly. Note the orientation and connection points.
- Remove Old Assembly: Unscrew or unclip the old wheel motor assembly from its housing.
- Install New Assembly: Position the new IHFMPFKJ Wheel Motor Assembly into the housing. Ensure it fits securely and aligns correctly.
- Connect Wiring: Carefully connect the wiring harness to the new wheel motor assembly. Ensure a firm and correct connection.
- Reassemble: Reattach any removed panels and secure them with the screws. Ensure all screws are tightened appropriately, but do not overtighten.
- Test Functionality: Reinstall the battery (if removed), dustbin, and side brushes. Place the robot on its charging station or manually power it on. Observe the wheel movement during a test run or by manually moving the robot to ensure proper function.

Image 1: The IHFMPFKJ Vacuum Cleaner Wheel Motor Assembly (L+R variant) showing the main unit with the wheel and wiring.
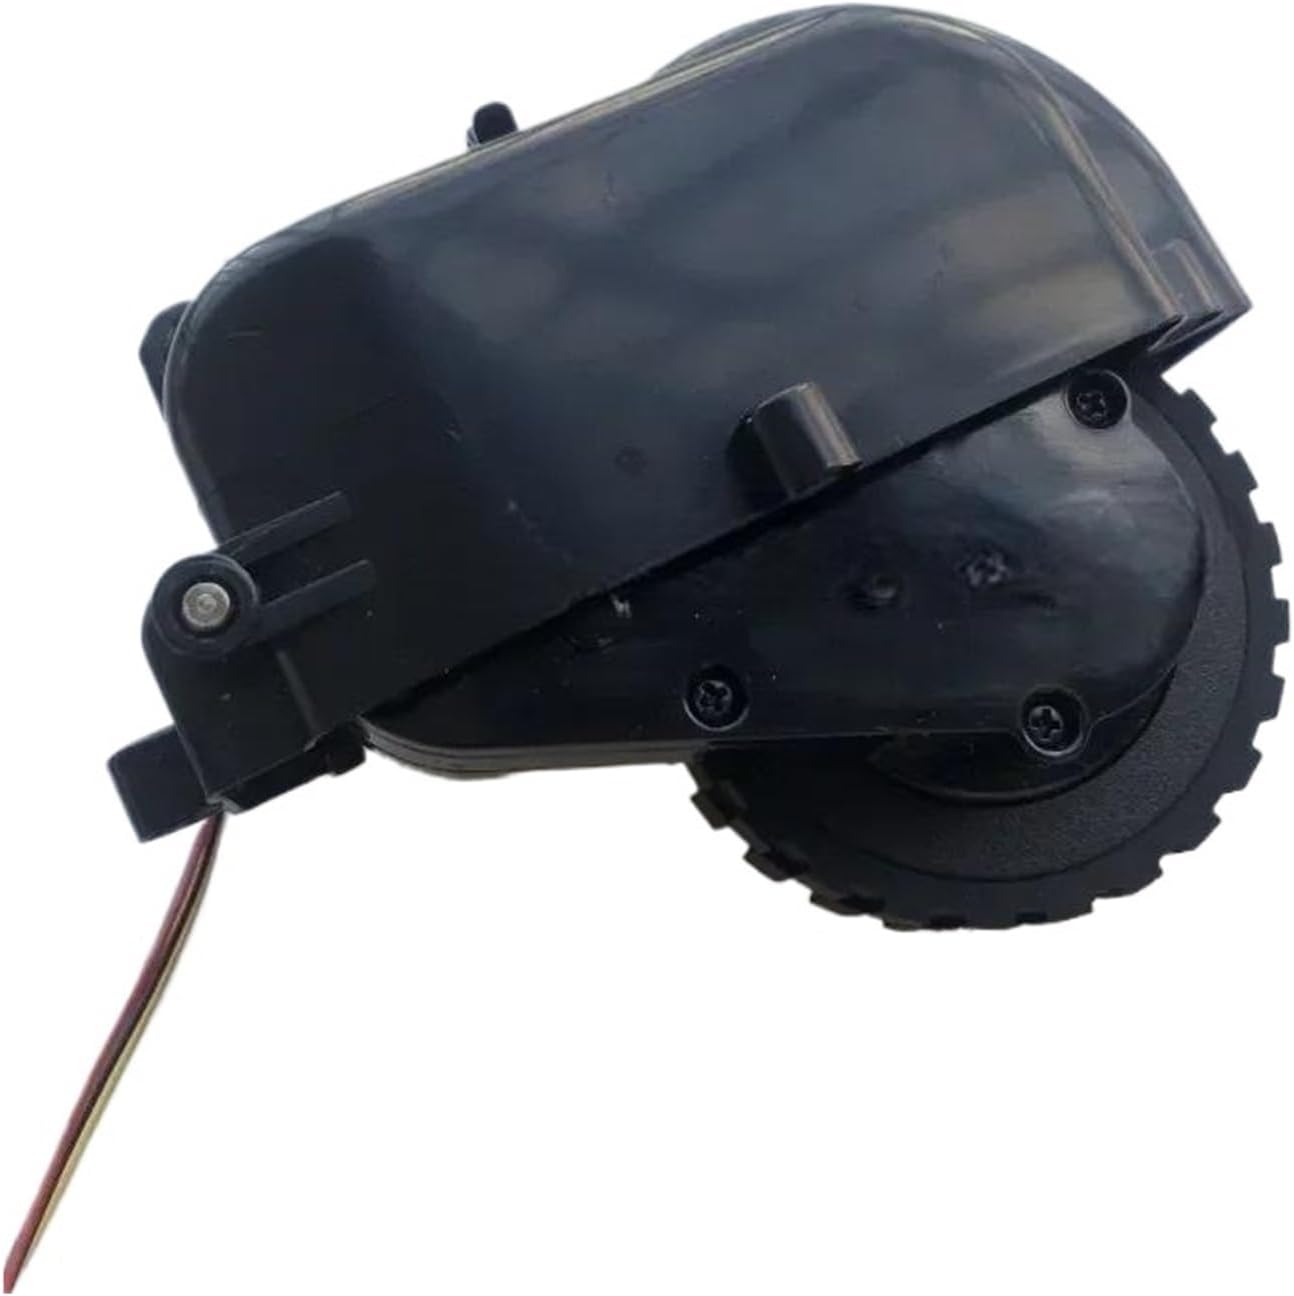
Image 2: Side view of the wheel motor assembly, highlighting its compact design and mounting points.

Image 3: Rear view of the wheel motor assembly, showing the integrated wiring for connection to the robot's mainboard.
5. Operating Principles
The wheel motor assembly is a critical component responsible for the robot vacuum cleaner's movement and navigation. It performs several key functions:
- Drive Function: The motor drives the wheels to rotate at appropriate speeds and directions, enabling the robot to move across various surfaces and transition between rooms during cleaning cycles.
- Balance Function: The assembly is designed to adjust its contact with the ground, compensating for uneven surfaces. This helps prevent the robot from tipping over and ensures stable cleaning operation.
- Steering Function: By allowing the wheels to operate at different speeds, the assembly facilitates differential steering. This enables the robot to change its direction of travel, precisely adjusting angles for cleaning along furniture edges or navigating around obstacles.
- Anti-slip Function: The wheel's design and material provide sufficient grip to prevent the robot from slipping on smooth floors or due to sudden motor torque changes, ensuring it follows its predetermined cleaning path stably.
6. Maintenance
Regular maintenance helps ensure the longevity and optimal performance of your wheel motor assembly:
- Inspect Wheels: Periodically check the wheels for hair, dust, string, or other debris that may become entangled around the axle or within the wheel mechanism.
- Clean Wheels: Use a small brush, tweezers, or a damp cloth to carefully remove any accumulated debris from the wheels and their housing. Ensure no moisture enters the motor unit.
- Check for Damage: Inspect the wheel and motor housing for any signs of physical damage, cracks, or excessive wear.
- Avoid Lubricants: Do not apply oil or lubricants to the wheel motor assembly unless specifically instructed by the robot vacuum manufacturer, as this can attract more dust and cause issues.
7. Troubleshooting
If you encounter issues after installing the wheel motor assembly, consider the following:
- Wheel Not Moving:
- Ensure the wiring harness is securely connected to the motor and the robot's mainboard.
- Check for any debris obstructing the wheel's movement.
- Verify that the wheel is properly seated in its housing and not jammed.
- Unusual Noises:
- Inspect for debris caught in the wheel or motor mechanism.
- Ensure all screws are tightened, and no parts are loose.
- Robot Not Moving Straight:
- Check both wheel motor assemblies for proper function and equal movement. One wheel might be obstructed or faulty.
- Ensure the wheels are clean and free of debris.
If problems persist, consult the original robot vacuum cleaner's troubleshooting guide or contact customer support.
8. Specifications
| Package Dimensions | 1.18 x 0.79 x 0.39 inches |
| Item Weight | 1.76 ounces |
| Number of Pieces | 1 (assembly) |
| Assembly Required | No (for the assembly itself) |
| Compatible Models | Neatsvor X600 Pro, X500; Tesvor X500 Pro; C660/680S/880/S6 |
9. Warranty and Support
For warranty information or technical support regarding your IHFMPFKJ Vacuum Cleaner Wheel Motor Assembly, please refer to the retailer's return policy or contact the seller directly. Keep your purchase receipt as proof of purchase.


