1. Important Safety Information
- Always turn off the power supply before installing or replacing the bulb.
- This bulb is designed for indoor use only. Do not use in wet locations or outdoors.
- Do not use this smart bulb with traditional dimmer switches. It features built-in dimming functionality controlled via the app or voice commands. Using it with an external dimmer may cause damage or malfunction.
- Ensure the voltage of your fixture is compatible with the bulb (AC 120V).
- Do not disassemble or modify the bulb.
- Keep out of reach of children.
2. Product Overview
The I-SHUNFA Wi-Fi RGBCW Smart G9 LED Bulb offers advanced lighting control through your smartphone or voice assistant. It provides a wide range of colors and adjustable white light to suit any mood or activity.

Image: Overview of I-SHUNFA G9 Smart Bulb features.
Key Features:
- 16 Million Colors: Choose from a vast spectrum of colors to create custom lighting scenes.
- Adjustable White Light: Seamlessly transition between warm white (2700K) and cool white (6500K).
- Dimmable Brightness: Adjust brightness from 1% to 100% (40LM-400LM) via the app or voice.
- Energy Efficient: 4W LED bulb equivalent to 40-50W incandescent, saving up to 90% energy.
- Voice Control: Compatible with Amazon Alexa and Google Assistant for hands-free operation.
- App Control: Manage your bulbs from anywhere using the 'Smart Life' app (2.4GHz Wi-Fi required).
- Group Control: Control multiple bulbs simultaneously for unified lighting.
- Timers & Schedules: Set custom schedules for automatic on/off times.
- Music Rhythm Mode: Lights change color with the rhythm of music or sound.
- Long Lifespan: Designed to last approximately 30,000 hours.
3. Specifications
| Model Name | G9-2835B-95LED |
| Bulb Base | G9 |
| Light Type | LED (RGBCW) |
| Wattage | 4 Watts |
| Incandescent Equivalent | 40-50 Watts |
| Brightness | 400 Lumens (adjustable 1%-100%) |
| Color Temperature | 2700K-6500K |
| Voltage | AC 120V (100-120V, 60Hz) |
| Color Rendering Index (CRI) | > 85 |
| Lifespan | Approx. 30,000 hours |
| Dimensions | 19.9mm (0.78") W x 63.5mm (2.5") H |
| Material | Plastic |
| Control Method | App, Voice |
| Indoor/Outdoor Usage | Indoor |

Image: Dimensions of the G9 LED bulb compared to a G9 Halogen bulb. Please verify size before purchase.
4. Installation
- Power Off: Before installation, ensure the power to the light fixture is completely turned off at the main switch or circuit breaker.
- Remove Old Bulb: Carefully remove the existing G9 bulb from its socket.
- Insert Smart Bulb: Gently insert the I-SHUNFA G9 Smart LED Bulb into the G9 socket. Ensure it is seated firmly.
- Power On: Restore power to the light fixture. The bulb should light up, indicating successful installation.
5. Setup and Pairing
5.1. Smart Life App Connection
To control your smart bulb, you need to download the 'Smart Life' app and connect the bulb to your home Wi-Fi network.
- Download App: Scan the QR code on the product packaging or search for 'Smart Life' in your smartphone's app store (iOS or Android) and download the app.
- Register/Login: Open the 'Smart Life' app and register for a new account or log in if you already have one.
- Wi-Fi Requirement: Ensure your home Wi-Fi network is 2.4GHz. The bulb does not support 5GHz Wi-Fi.
- Enter Pairing Mode: Turn the bulb on. Then, turn it off and on three times (on-off-on-off-on) in quick succession. The bulb should start flashing rapidly, indicating it is in pairing mode.
- Add Device: In the 'Smart Life' app, tap the '+' icon (usually in the top right corner) to add a device. Select 'Lighting' > 'Light Source (Wi-Fi)'.
- Connect to Wi-Fi: Follow the on-screen instructions to connect the bulb to your 2.4GHz Wi-Fi network. You will need to enter your Wi-Fi password.
- Device Added: Once connected, the bulb will stop flashing and appear in your device list in the app. You can rename the bulb for easier control.

Image: Smart Life App Connection Steps.
5.2. Voice Assistant Pairing (Alexa/Google Home)
After successfully connecting your bulb to the 'Smart Life' app, you can link it with Amazon Alexa or Google Assistant for voice control.
- Open Voice Assistant App: Open the Amazon Alexa app or Google Home app on your smartphone.
- Enable Skill/Service:
- For Alexa: Go to 'Skills & Games', search for 'Smart Life', and enable the skill.
- For Google Home: Go to 'Set up device' > 'Works with Google', search for 'Smart Life', and link the service.
- Link Accounts: You will be prompted to log in with your 'Smart Life' account credentials to link the accounts.
- Discover Devices: Once linked, ask Alexa to "Discover devices" or use the 'Discover devices' option in the Google Home app. Your I-SHUNFA smart bulb will be detected.
- Assign to Rooms: Assign the bulb to a specific room for easier voice control (e.g., "Living Room Light").
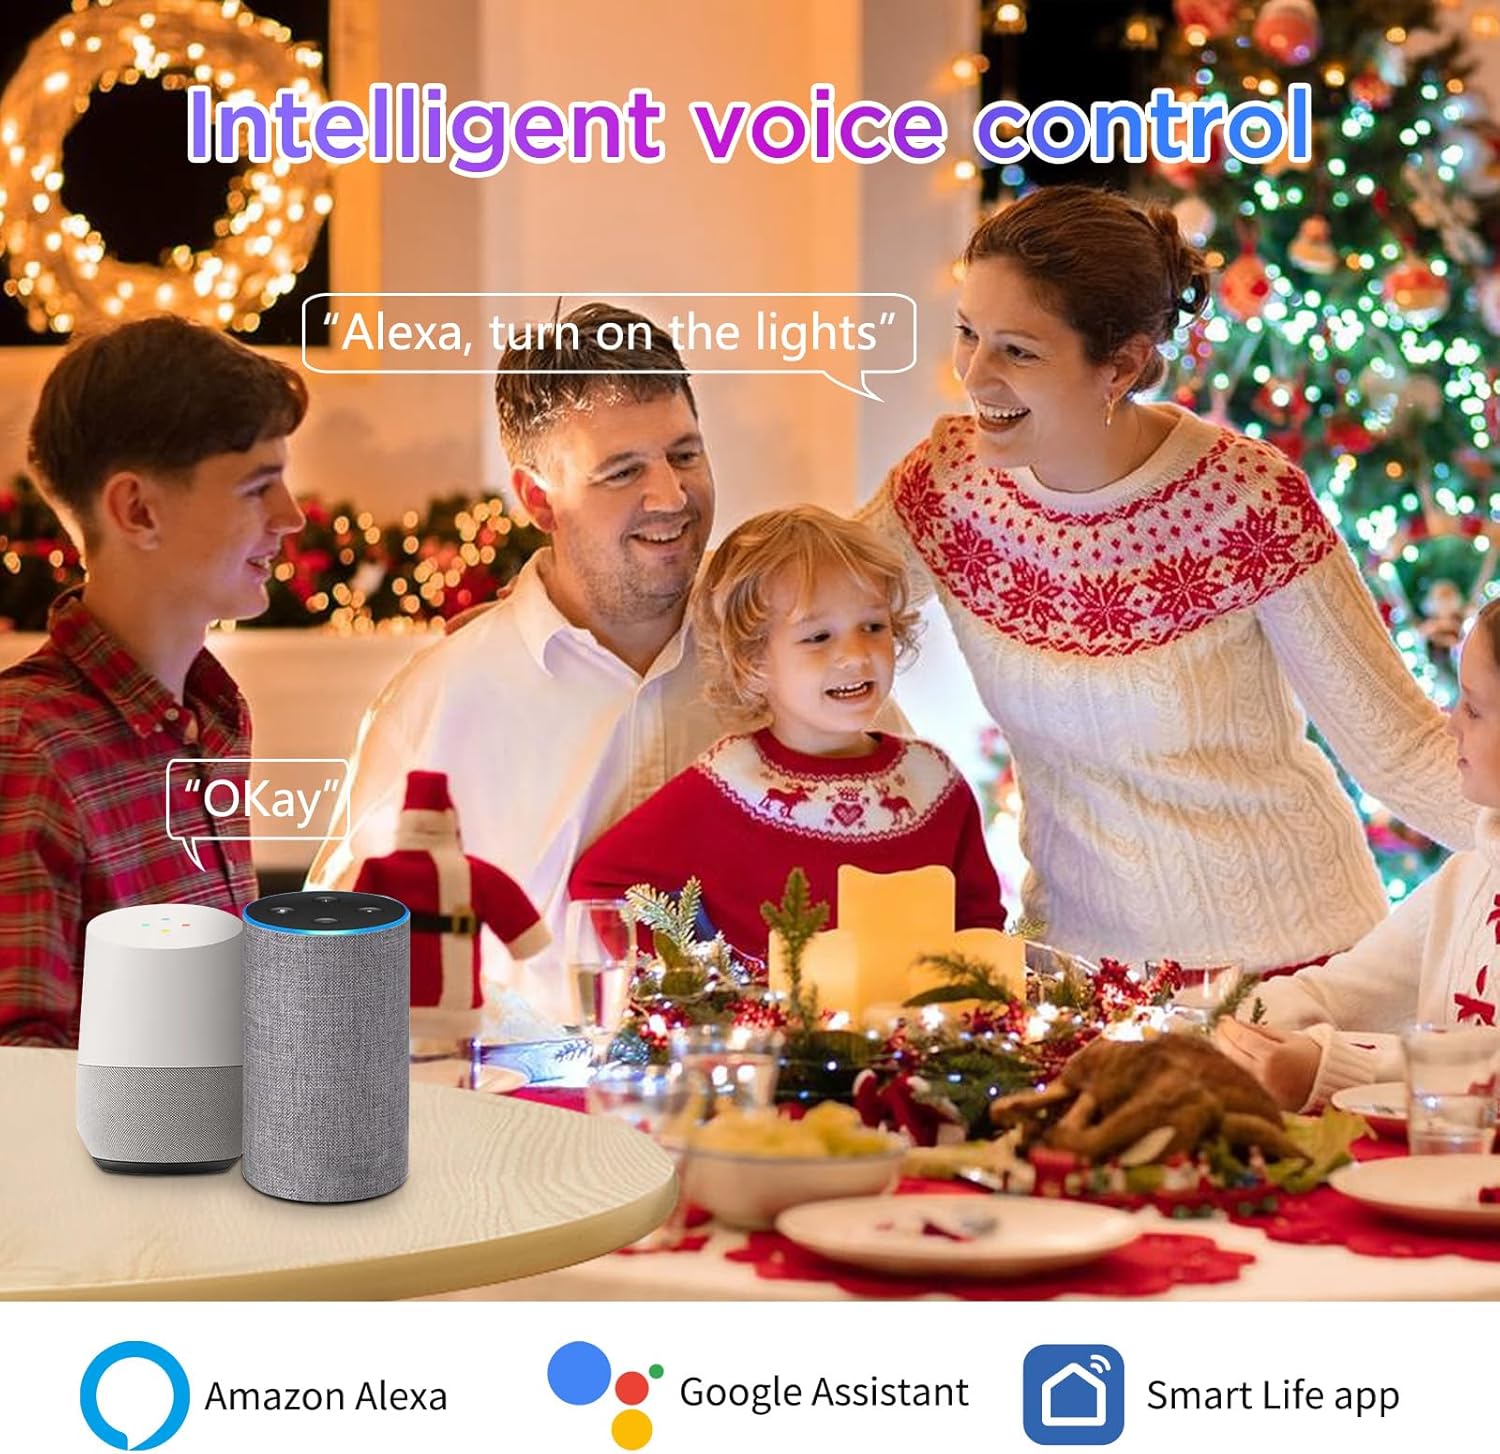
Image: Voice control with Amazon Alexa and Google Assistant.
6. Operating Instructions
Control your I-SHUNFA Smart G9 LED Bulb using the 'Smart Life' app or your preferred voice assistant.
6.1. Color and Brightness Adjustment
- App Control: Open the 'Smart Life' app, select your bulb, and use the color wheel or sliders to choose from 16 million colors, adjust brightness (1%-100%), or change the white light temperature (2700K-6500K).
- Voice Commands:
- "Alexa/Hey Google, turn on [Bulb Name]."
- "Alexa/Hey Google, set [Bulb Name] to blue."
- "Alexa/Hey Google, dim [Bulb Name] to 50%."
- "Alexa/Hey Google, set [Bulb Name] to warm white."

Image: Color Temperature and Brightness Adjustment options.
6.2. Preset Scenes
The 'Smart Life' app offers 12 preset scenes (e.g., Reading, Working, Good Night, Festivals) to instantly create different atmospheres. Select the desired scene within the app.

Image: Examples of diverse scenes for colorful atmosphere.
6.3. Timers and Schedules
Set custom timers and schedules for your bulb to turn on or off automatically, helping to save energy and automate your lighting.
- In the 'Smart Life' app, select your bulb and navigate to the 'Schedule' or 'Timer' section.
- Set desired on/off times and repeat days.

Image: Setting individual timers for multiple bulbs.
6.4. Music Rhythm Mode
Activate the music rhythm mode in the 'Smart Life' app. The bulb's colors will change and sync with the sound detected by your smartphone's microphone, creating a dynamic lighting experience.

Image: Musical Rhythm Mode in action.
6.5. Group Control
Control multiple I-SHUNFA smart bulbs simultaneously by grouping them in the 'Smart Life' app. This allows you to change the color, brightness, or turn on/off all grouped bulbs with a single command.
- In the 'Smart Life' app, select one of your bulbs, then look for the 'Create Group' option.
- Select all bulbs you wish to include in the group and confirm.
- You can then control the entire group as a single device.
7. Maintenance
- Cleaning: Ensure the bulb is off and cool before cleaning. Wipe gently with a soft, dry cloth. Do not use liquid cleaners or abrasive materials.
- Storage: If storing the bulb for an extended period, keep it in a cool, dry place away from direct sunlight and extreme temperatures.
8. Troubleshooting
| Problem | Possible Cause | Solution |
|---|---|---|
| Bulb not connecting to Wi-Fi/App | Incorrect Wi-Fi band (5GHz), incorrect pairing mode, weak Wi-Fi signal. | Ensure your Wi-Fi is 2.4GHz. Confirm the bulb is flashing rapidly (pairing mode) by power cycling it 3 times. Move closer to your Wi-Fi router. |
| Voice control not working | Smart Life skill/service not linked, device not discovered, incorrect commands. | Verify 'Smart Life' skill/service is enabled and linked in your Alexa/Google Home app. Ask the voice assistant to "Discover devices." Use correct voice commands as listed in the app. |
| Bulb is offline in the app | Loss of Wi-Fi connection, power outage. | Check your Wi-Fi router and internet connection. Power cycle the bulb (turn off for 10 seconds, then on). If the issue persists, try re-pairing the bulb. |
| Bulb does not respond to external dimmer switch | Incompatibility with external dimmer. | This smart bulb is not compatible with external dimmer switches. Use the 'Smart Life' app or voice commands for dimming functionality. |
| Bulb is not bright enough | Brightness set too low, lumen output not sufficient for application. | Adjust brightness to 100% in the app. Note that this 400-lumen bulb is equivalent to a 40-50W incandescent bulb; consider if higher lumen output is needed for your specific use case. |
9. Warranty and Support
For warranty information or technical support, please refer to the product packaging or contact the manufacturer directly through their official website or customer service channels. Keep your purchase receipt for warranty claims.