Introduction
Thank you for purchasing the QFX RETRO-1937 Vintage Bluetooth Rechargeable Radio. This device combines classic aesthetics with modern functionality, offering AM/FM/SW radio reception, Bluetooth wireless streaming, and media playback from USB drives and TF/microSD cards. It also features a built-in LED flashlight and a convenient rechargeable battery for portability. This manual provides essential information for the safe and efficient operation of your radio.
Package Contents
Please check the package for the following items:
- QFX RETRO-1937 Radio
- USB Charging Cable
- User Manual (this document)
Product Overview
Familiarize yourself with the various parts and controls of your QFX RETRO-1937 radio.

Figure 1: Front View with Antenna Extended
This image shows the front of the radio, highlighting the speaker grille, frequency display, control buttons, and the fully extended telescoping antenna for optimal reception.

Figure 2: Top Controls
The top panel features the Volume knob on the left and the Tuning knob on the right, both designed for easy adjustment.

Figure 3: Side Panel Connections
This side of the radio includes the AUX input, USB port, TF/microSD card slot, DC 5V charging port, and the main Power ON/OFF switch.

Figure 4: Built-in LED Flashlight
The opposite side of the radio features a powerful LED flashlight for illumination.

Figure 5: Front View with Antenna Retracted
A general front view of the radio with the telescoping antenna in its retracted position.

Figure 6: Angled Side View
This image provides an angled view, showing both the front controls and the side panel connections.
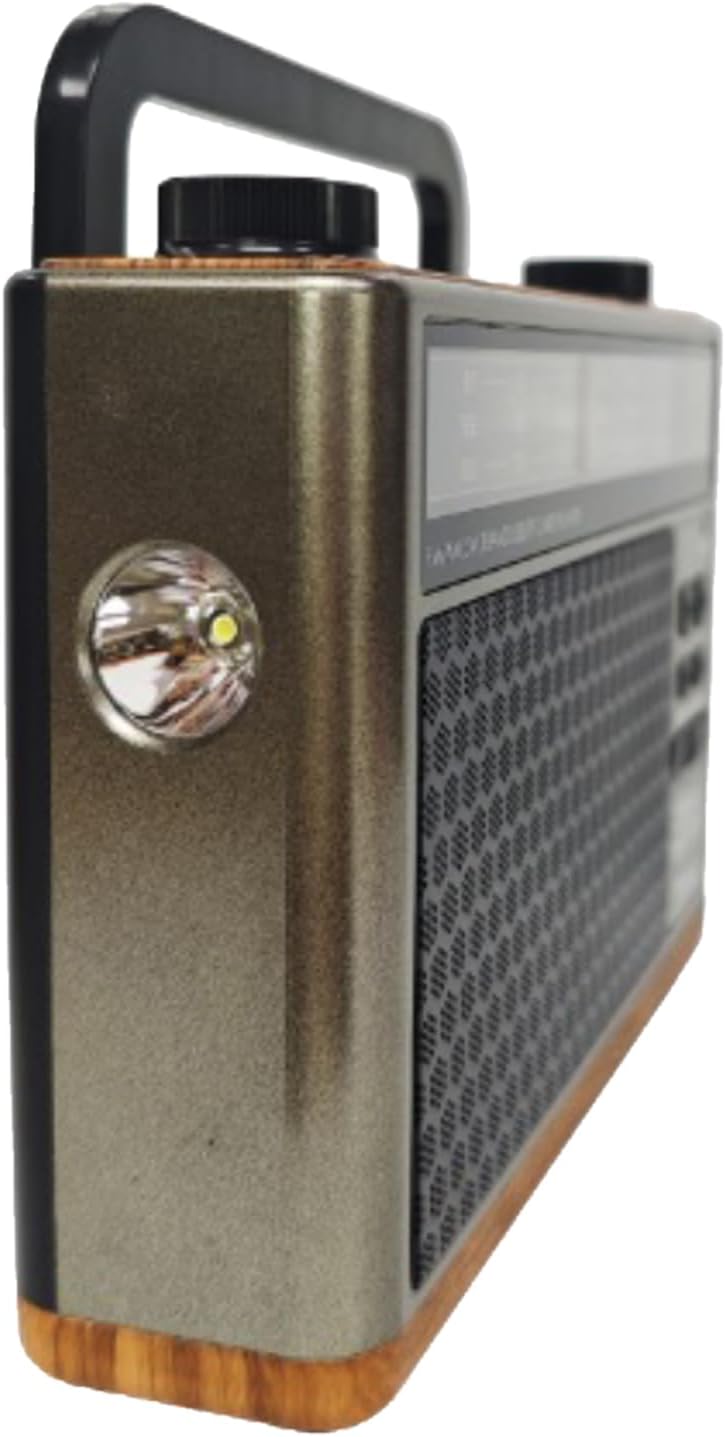
Figure 7: Angled View with Flashlight
An angled view highlighting the built-in LED flashlight on the side of the unit.
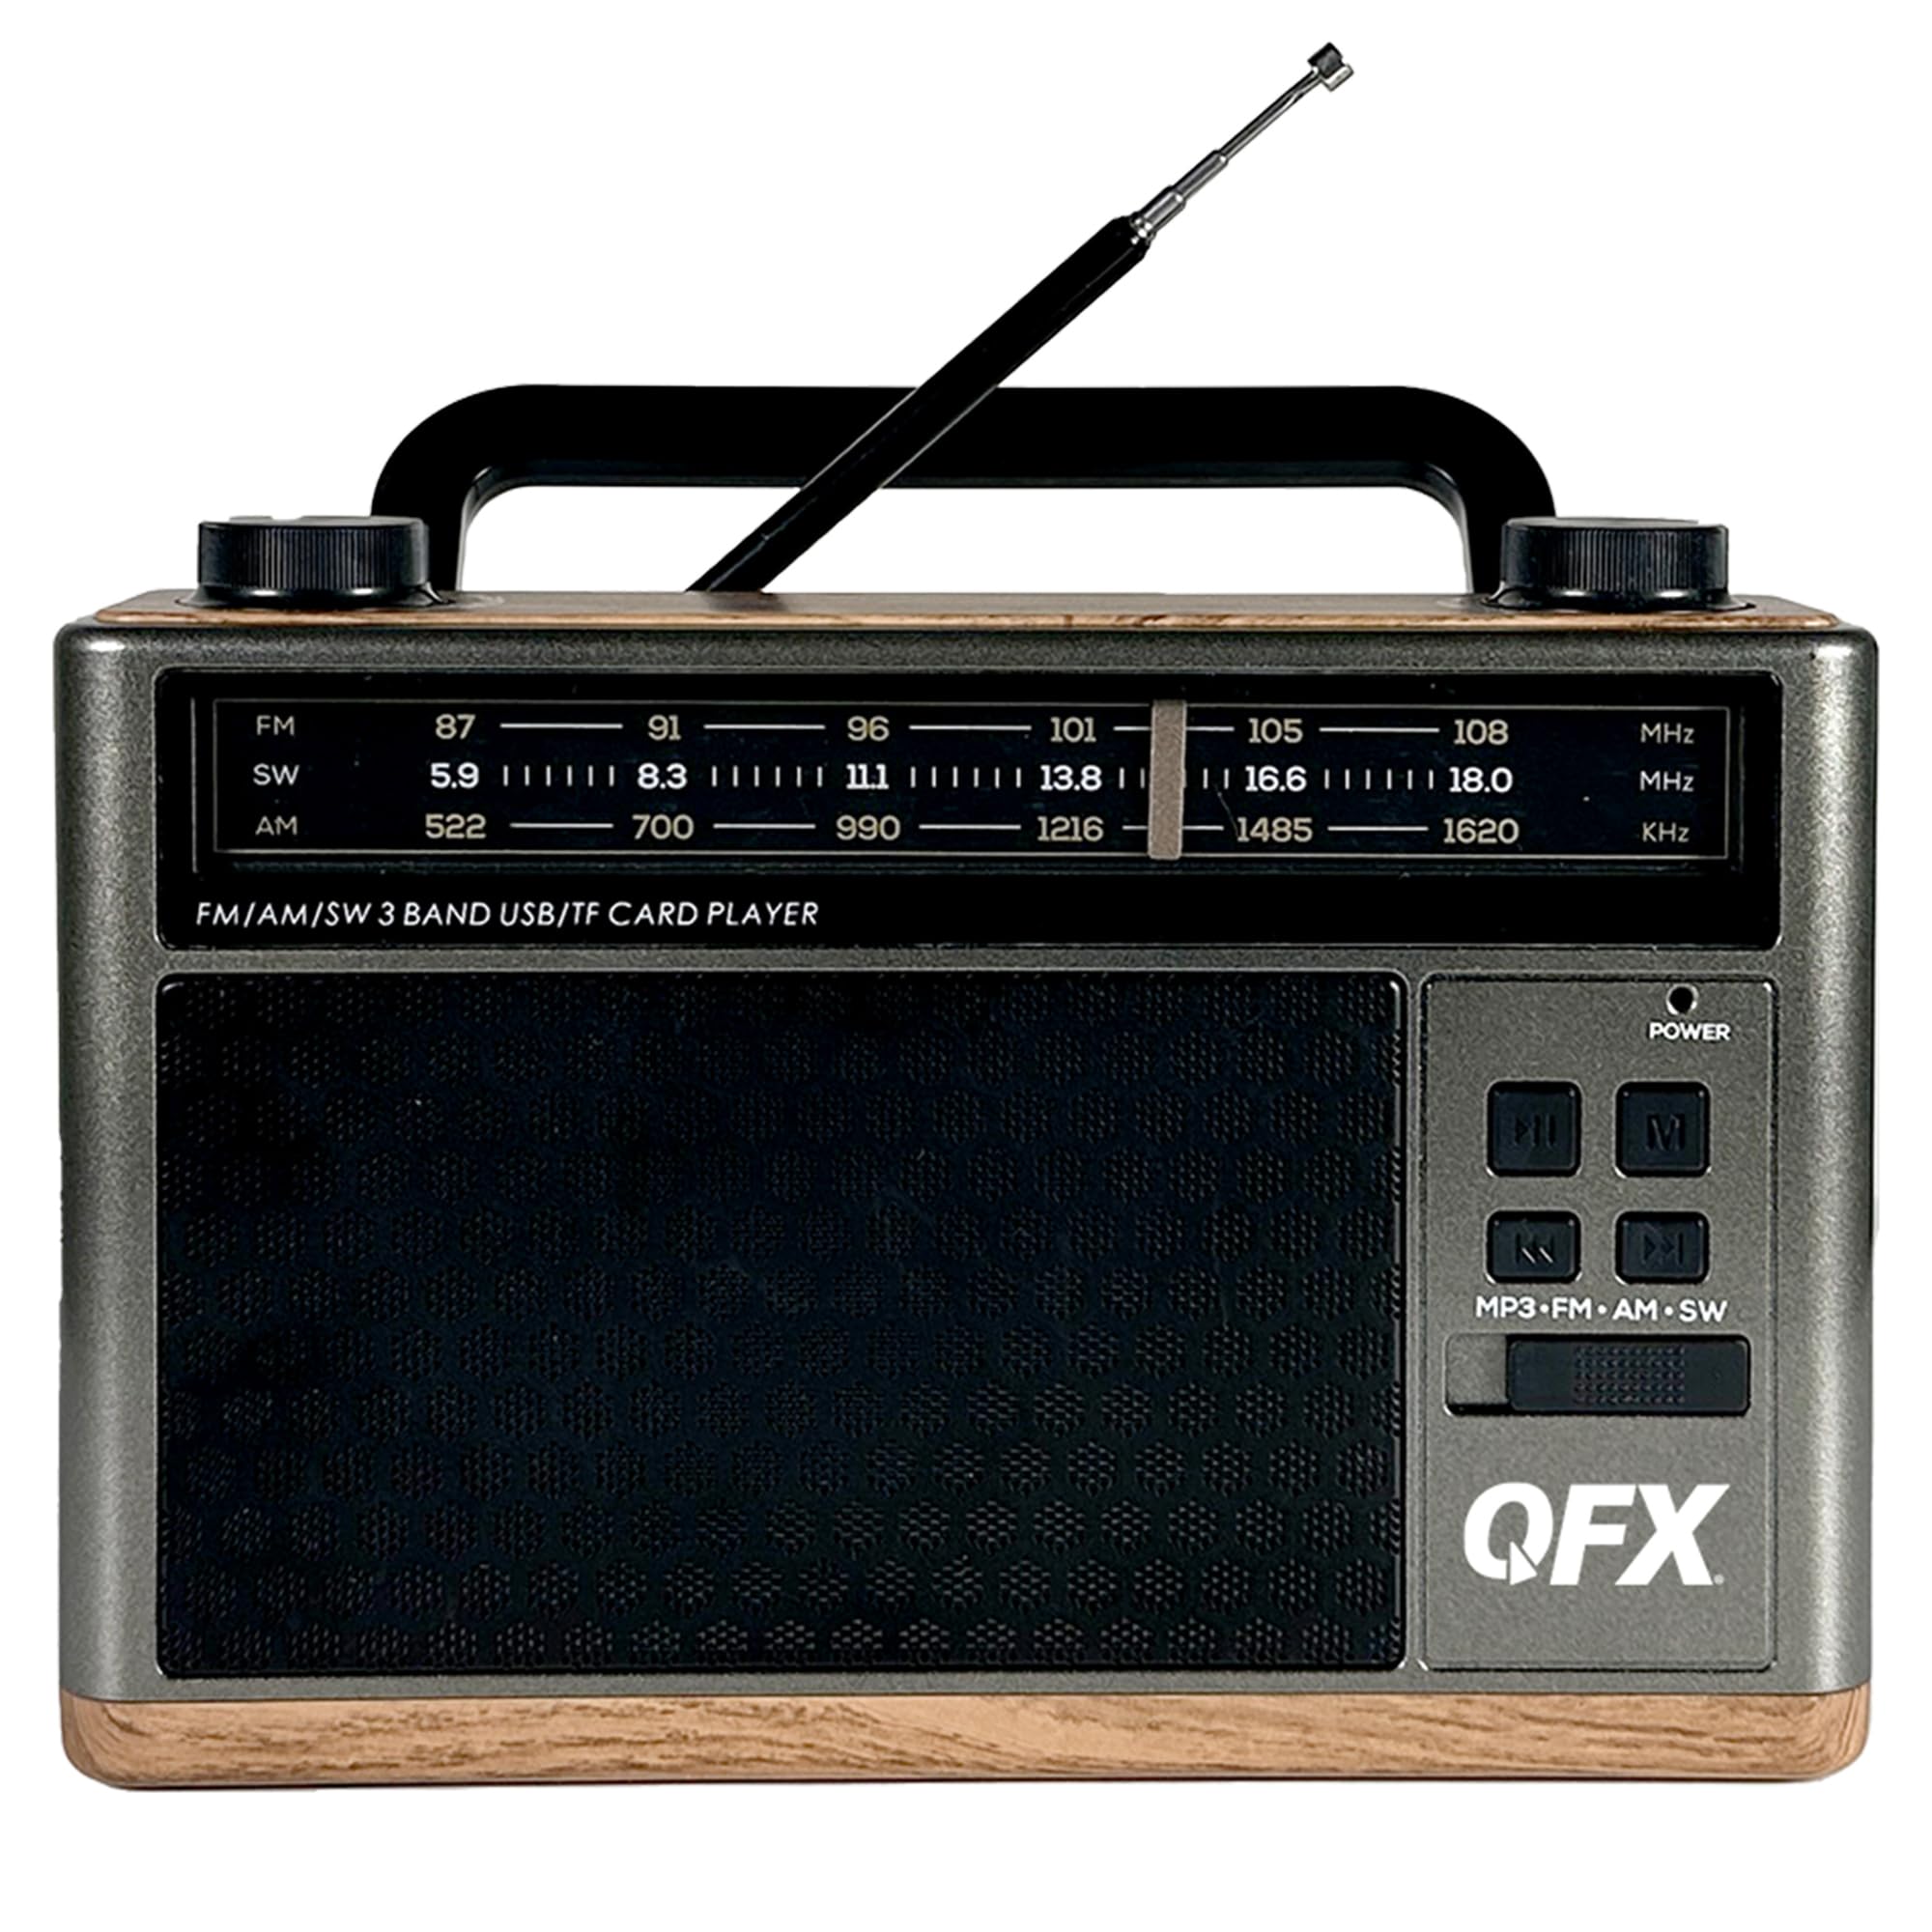
Figure 8: Rear View
The rear panel shows the battery compartment cover and the base of the telescoping antenna.
Controls and Ports:
- Power Switch: Located on the side, slides to turn the unit ON or OFF.
- Volume Knob: Rotates to adjust the audio output level.
- Tuning Knob: Rotates to select radio frequencies.
- Mode Button (MP3-FM-AM-SW): Cycles through different operating modes (MP3/Bluetooth, FM, AM, SW).
- Play/Pause Button: Controls playback for MP3/Bluetooth modes.
- Previous/Next Buttons: Skips tracks in MP3/Bluetooth modes.
- USB Port: For connecting USB flash drives for MP3 playback.
- TF/microSD Card Slot: For inserting TF/microSD cards for MP3 playback.
- AUX Input: 3.5mm jack for connecting external audio devices.
- DC 5V Charging Port: Micro USB port for charging the internal battery.
- Telescoping Antenna: Extends for improved radio reception.
- LED Flashlight: Integrated light on the side of the unit.
- Battery Compartment: Located on the rear for the removable rechargeable battery.
Setup
Battery Installation and Charging
- Initial Charge: Before first use, ensure the radio's internal rechargeable battery is fully charged. Connect the supplied USB charging cable to the DC 5V port on the side of the radio and the other end to a standard USB power adapter (not included) or a computer's USB port.
- The charging indicator light (if present) will illuminate during charging and turn off or change color when fully charged. A full charge typically takes approximately 8 hours.
- Battery Replacement (if applicable): If replacing the battery, open the battery compartment on the rear of the unit. Insert the new nonstandard rechargeable battery, ensuring correct polarity. Close the compartment securely.
Powering On/Off
- To turn the radio ON, slide the Power switch on the side of the unit to the 'ON' position.
- To turn the radio OFF, slide the Power switch to the 'OFF' position.
Operating Instructions
Radio Operation (AM/FM/SW)
- Slide the Power switch to 'ON'.
- Press the Mode button repeatedly until you reach the desired radio band (FM, AM, or SW).
- For FM and SW reception, extend the telescoping antenna fully and adjust its position for the best signal. For AM reception, the internal antenna is generally sufficient, but rotating the unit may improve reception.
- Rotate the Tuning knob to scan for radio stations.
- Adjust the Volume knob to your preferred listening level.
Bluetooth Operation
- Slide the Power switch to 'ON'.
- Press the Mode button repeatedly until the unit enters Bluetooth mode. You will hear an audible prompt indicating it is ready for pairing.
- Enable Bluetooth on your mobile device (smartphone, tablet, etc.) and search for available devices.
- Select "QFX RETRO-1937" (or similar name) from the list of found devices to pair.
- Once paired, you will hear a confirmation tone. You can now stream audio wirelessly from your device to the radio.
- Use the Play/Pause and Previous/Next buttons on the radio or your connected device to control playback.
USB/TF Card Playback
- Slide the Power switch to 'ON'.
- Insert a USB flash drive into the USB port or a TF/microSD card into the TF card slot. Ensure the card is inserted correctly.
- The radio should automatically switch to MP3 playback mode and begin playing audio files. If not, press the Mode button to select MP3 mode.
- Use the Play/Pause and Previous/Next buttons to control playback.
AUX Input Operation
- Slide the Power switch to 'ON'.
- Connect one end of a 3.5mm audio cable (not included) to the AUX input port on the radio and the other end to the headphone jack or audio output of your external audio device (e.g., MP3 player, CD player).
- Press the Mode button to select AUX mode.
- Control playback and volume from your external audio device. Adjust the radio's volume as needed.
Flashlight Operation
- The LED flashlight is typically activated by a separate switch or button, often located near the flashlight itself. Refer to the physical unit for the exact control.
- Ensure the radio is powered on for the flashlight to function.
Maintenance
- Cleaning: Use a soft, dry cloth to clean the exterior of the radio. Do not use abrasive cleaners, waxes, or solvents.
- Storage: When not in use for extended periods, store the radio in a cool, dry place away from direct sunlight and extreme temperatures.
- Battery Care: To prolong battery life, avoid fully discharging the battery frequently. Recharge the battery regularly, even if the unit is not in active use.
- Antenna: Handle the telescoping antenna carefully to prevent bending or breakage. Retract it when not in use.
Troubleshooting
| Problem | Possible Cause | Solution |
|---|---|---|
| No power/Unit does not turn on. | Battery is discharged. Power switch is OFF. | Charge the battery using the USB cable. Ensure the Power switch is in the 'ON' position. |
| Poor radio reception. | Antenna not extended. Weak signal area. Interference. | Extend the telescoping antenna fully and adjust its direction. Try moving the radio to a different location. Avoid sources of electronic interference. |
| Bluetooth device not pairing. | Radio not in Bluetooth mode. Device too far. Bluetooth not enabled on device. | Ensure the radio is in Bluetooth mode. Keep devices within 30 feet (10 meters). Enable Bluetooth on your mobile device and rescan. |
| USB/TF card not playing. | Incorrect mode selected. Incompatible file format. Corrupted media. | Press the Mode button to select MP3 mode. Ensure files are in MP3 format. Try a different USB drive or TF card. |
| No sound from AUX input. | Incorrect mode selected. Cable not fully inserted. Volume too low. | Select AUX mode. Ensure the 3.5mm cable is securely connected. Increase volume on both the radio and the external device. |
Specifications
- Model: RETRO-1937
- Product Dimensions: 8 x 2.28 x 5.43 inches (20.32 x 5.79 x 13.79 cm)
- Item Weight: 1.12 pounds (0.51 kg)
- Radio Bands: AM, FM, SW (Shortwave)
- Connectivity: Bluetooth, USB, TF/microSD, AUX Input
- Power Source: Rechargeable Battery (included), DC 5V via USB cable
- Special Features: Built-in LED Flashlight, Folding Carry Handle, Telescoping Antenna
- Battery Type: 1 Nonstandard Battery (included)
- Recharge Time: Approximately 8 hours
Warranty and Support
QFX products are designed for reliability and performance. For specific warranty information, please refer to the warranty card included with your purchase or visit the official QFX website. If you encounter any issues or require technical assistance, please contact QFX customer support through their official channels.
Online Support: www.qfxusa.com


