1. Introduction
This manual provides detailed instructions for the installation, operation, maintenance, and troubleshooting of your RUSIERMTET 702XL Refillable Ink Cartridges. These cartridges are designed for use with Epson Workforce Pro WF-3720 and WF-3725 series printers.
Please read this manual thoroughly before using the product to ensure proper function and to maximize the lifespan of your cartridges and printer.
2. Package Contents
Verify that your package contains the following items:
- RUSIERMTET 702XL Refillable Ink Cartridges (Black, Cyan, Magenta, Yellow)
- User Manual (this document)
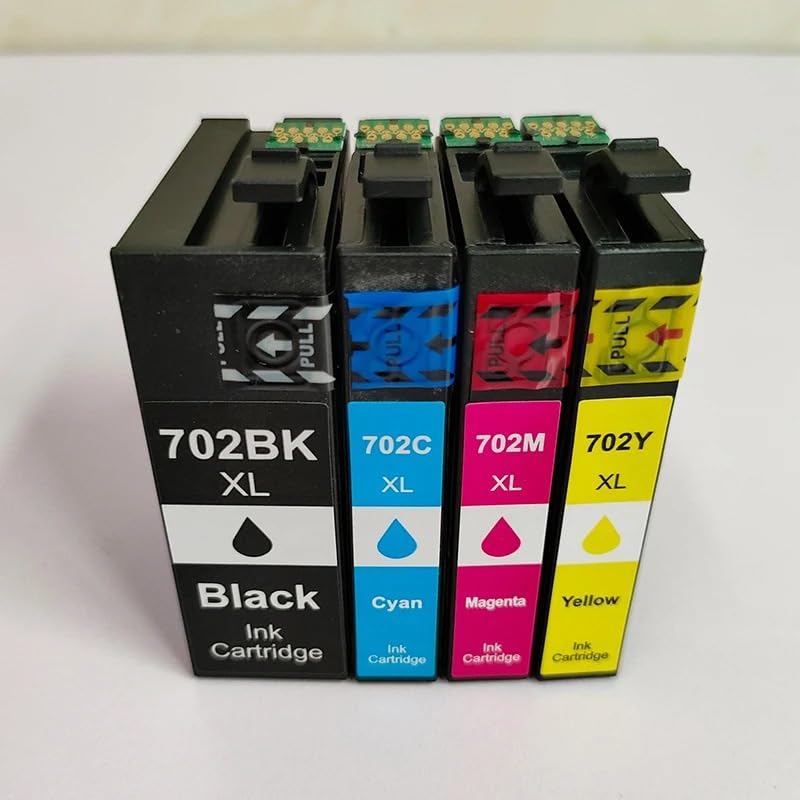
Figure 2.1: A set of RUSIERMTET 702XL refillable ink cartridges, clearly labeled for Black, Cyan, Magenta, and Yellow ink.
3. Setup and Installation
3.1. Before Installation
- Ensure your printer is turned on and connected to your computer.
- Have a clean, flat surface ready for unpacking and handling the cartridges.
- Do not touch the electronic chip or the ink port on the cartridge to avoid damage or clogs.
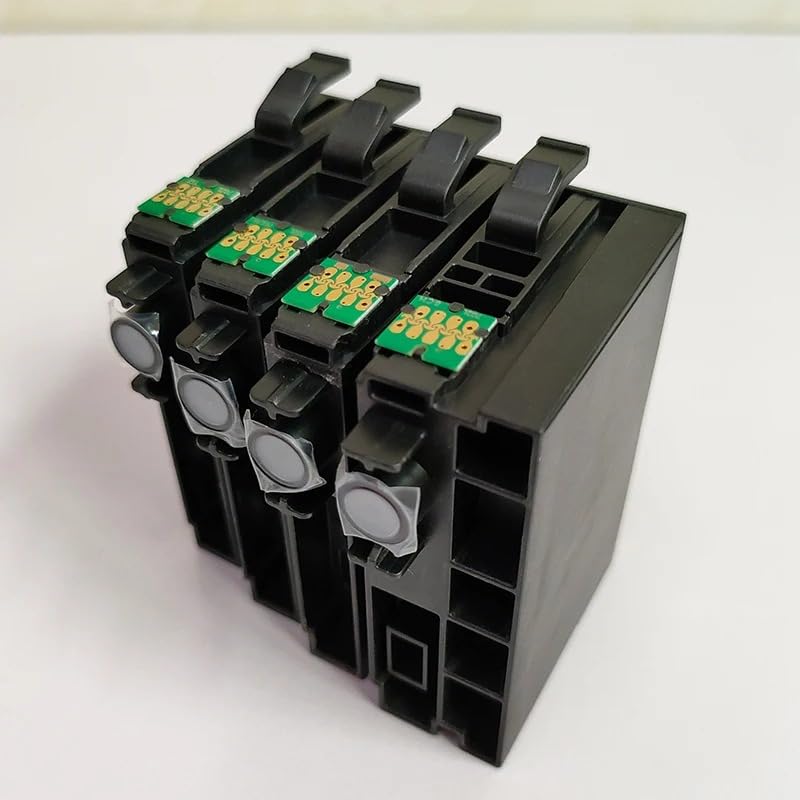
Figure 3.1: Bottom view of the cartridges, highlighting the electronic chips that interface with the printer.
3.2. Installing the Cartridges
- Open the Printer Cover: Lift the scanner unit or ink cartridge cover on your Epson Workforce Pro printer to access the cartridge bay.
- Remove Old Cartridges (if applicable): Press the tab on the old cartridge and lift it straight out. Dispose of old cartridges responsibly.
- Prepare New Cartridge: Carefully remove the new RUSIERMTET 702XL cartridge from its packaging. Do not remove any protective tape or film from the ink port until instructed by the printer. Ensure the air vent is clear.
- Insert New Cartridge: Hold the cartridge with the arrow pointing towards the printer. Insert it firmly into the correct slot until it clicks into place. Match the color of the cartridge to the color label in the printer.
- Close Printer Cover: Lower the scanner unit or ink cartridge cover until it latches securely.
- Printer Initialization: The printer will typically perform an initialization cycle. Wait for this process to complete.
4. Operating and Refilling
4.1. Printing
Once the cartridges are installed and the printer has initialized, you can proceed with normal printing operations. Monitor ink levels through your printer software.
4.2. Refilling the Cartridges
These cartridges are designed to be refilled. It is recommended to refill them before they are completely empty to prevent air from entering the print head.
- Remove Cartridge: Carefully remove the cartridge you wish to refill from the printer.
- Locate Refill Port: Identify the refill port on the top of the cartridge. This is usually covered by a rubber stopper.
- Prepare Ink: Use high-quality, compatible ink specifically designed for Epson printers. Fill a syringe with the appropriate color ink.
- Refill: Slowly inject the ink into the refill port. Do not overfill the cartridge. Leave a small air gap at the top.
- Seal Port: Securely replace the rubber stopper on the refill port.
- Clean: Gently wipe any spilled ink from the cartridge exterior, especially around the chip area.
- Reinstall: Reinstall the refilled cartridge into the printer as described in Section 3.2.
5. Maintenance
5.1. Cartridge Storage
- Store unused cartridges in their original sealed packaging in a cool, dry place away from direct sunlight.
- Once opened, use cartridges within six months for optimal performance.
5.2. Printer Maintenance
- Regularly perform print head cleaning and nozzle checks through your printer's utility software to maintain print quality.
- Avoid leaving the printer unused for extended periods to prevent ink from drying in the print head.
6. Troubleshooting
If you encounter issues, refer to the following common problems and solutions:
| Problem | Possible Cause | Solution |
|---|---|---|
| Printer not recognizing cartridge | Cartridge not seated correctly; dirty or damaged chip; printer firmware issue. |
|
| Poor print quality (streaks, faded colors) | Clogged print nozzles; low ink levels; incorrect printer settings. |
|
| Ink leakage | Overfilled cartridge; damaged cartridge; improper sealing of refill port. |
|
If problems persist, please refer to your printer's official user manual or contact customer support.
7. Specifications
| Feature | Detail |
|---|---|
| Product Type | Refillable Ink Cartridge with Chip |
| Model Number | 702XL (Black, Cyan, Magenta, Yellow) |
| Compatibility | Epson Workforce Pro WF-3720, WF-3725 Printers |
| Material | Electronic components, Metal |
| Feature | Integrated Circuits, Chip |
| Operating Temperature | Standard |
8. Warranty and Support
RUSIERMTET is committed to providing high-quality products and exceptional customer support. Your purchase is backed by a money-back guarantee, reflecting our confidence in product quality.
If you have any questions, concerns, or require assistance with your RUSIERMTET 702XL Refillable Ink Cartridges, please do not hesitate to contact our knowledgeable customer support team. Refer to your purchase documentation or the seller's contact information for support channels.