1. Introduction
Thank you for choosing the Cloudpower REDOT RD106P Digital SWR Meter. This device is designed for accurate measurement of Standing Wave Ratio (SWR) and power across a wide frequency range, including FMB, VHF, and UHF bands. Its compact design, clear display, and Type-C charging interface make it a versatile tool for radio enthusiasts and professionals. This manual provides essential information for safe and effective operation of your RD106P SWR Meter.
2. Safety Information
- Do not exceed the maximum power rating of 120W. Exceeding this limit can damage the device.
- Ensure proper connection of RF cables (IN and OUT) to prevent damage to the meter or connected equipment.
- Avoid exposing the device to extreme temperatures, moisture, or direct sunlight.
- Do not attempt to disassemble or modify the device. This will void the warranty and may cause damage.
- Use only the specified Type-C charging cable and a compatible power source.
3. Package Contents
Verify that all items are present in your package:
- 1 x Cloudpower REDOT RD106P Digital SWR Meter
- 1 x USB Type-C Charging Cable
- 1 x User Manual (this document)
4. Product Overview
The REDOT RD106P is a compact and robust digital SWR meter featuring an aluminum alloy shell and a clear 128x64 LCD display. It provides accurate measurements of forward power (FP), reflected power (RP), and Standing Wave Ratio (SWR).

Figure 4.1: Front view of the RD106P SWR Meter, displaying forward power (FP), reflected power (RP), and SWR. The "IN" and "OUT" ports are visible on the left and right, respectively.
Key Features:
- Wide Frequency Range: Operates across FMB (80-108MHz), VHF (110-299MHz), and UHF (300-999MHz) bands.
- High Resolution Display: 128 x 64 dot matrix LCD screen for clear readings, even in bright outdoor conditions.
- Durable Construction: Aluminum alloy shell for enhanced durability.
- Type-C Charging: Convenient USB Type-C interface for charging and potential data connectivity.
- Accurate Measurements: Maximum power handling of 120W with VSWR display from 1.00 to 99.9.
- Frequency Compensation: Automatic signal frequency measurement and compensation for accurate power conversion.
- Smart Sleep/Wake: Automatically enters sleep mode after 3 minutes of inactivity and can be woken by RF signal or manual input.
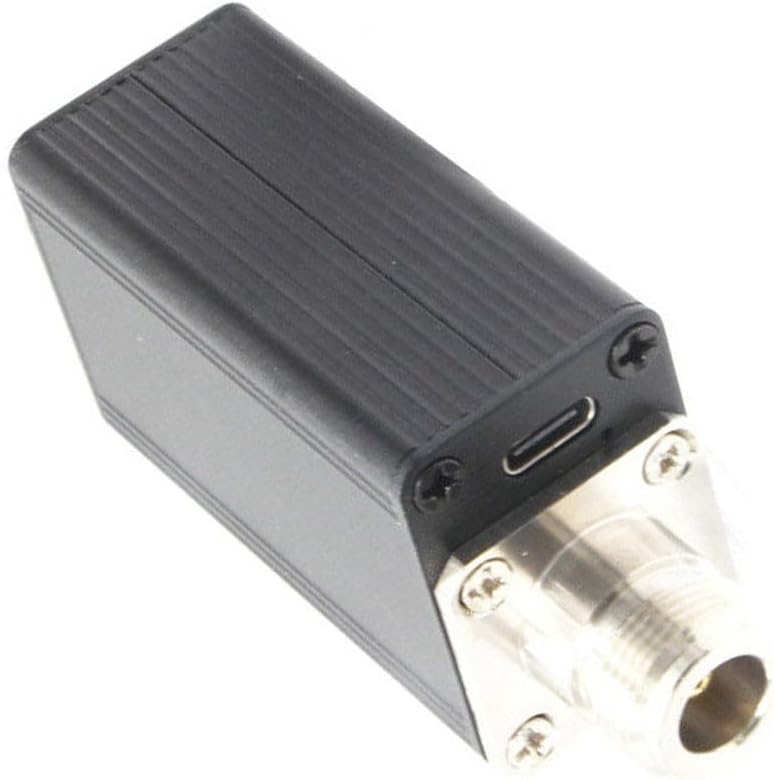
Figure 4.2: Side view of the RD106P, highlighting the USB Type-C charging interface.
5. Setup
Follow these steps to set up your RD106P SWR Meter:
- Charge the Device: Connect the provided USB Type-C cable to the Type-C port on the side of the SWR meter and plug the other end into a compatible USB power adapter (not included) or a computer USB port. The device has a built-in 3.7V/350mAh Li-ion battery.
- Identify Ports: Locate the "IN" and "OUT" RF interfaces on the meter. These are N-KF (50 ohms) connectors.
- Connect to Transmitter: Connect the output of your radio transmitter or amplifier to the "IN" port of the RD106P SWR Meter using an appropriate RF cable.
- Connect to Antenna/Load: Connect your antenna or dummy load to the "OUT" port of the RD106P SWR Meter using an appropriate RF cable.
- Power On: The device will typically power on automatically when an RF signal is detected or can be woken manually by pressing the single key.

Figure 5.1: Angled view showing the "IN" and "OUT" RF ports for connection to your radio system.
6. Operating Instructions
6.1 Powering On and Off
- Automatic Wake-up: The device will automatically wake up from sleep mode when an RF signal is detected.
- Manual Wake-up: Press the single red button on the front panel to manually wake the device from sleep mode.
- Automatic Sleep: The device will enter sleep mode after 3 minutes of no activity (no RF signal detected and no button presses) to conserve battery.
6.2 Understanding the Display
The 128x64 LCD screen provides real-time measurement data:
- FP: Forward Power (in Watts). This indicates the power transmitted from your radio.
- RP: Reflected Power (in Watts). This indicates the power reflected back from the antenna due to impedance mismatch.
- SWR: Standing Wave Ratio. This is a measure of how efficiently radio frequency power is transmitted from a power source, through a transmission line, into a load (e.g., an antenna). A lower SWR (closer to 1.00) indicates a better match.
- F: Frequency. The device automatically measures and displays the operating frequency.
- PP: Peak Power (in Watts). This displays the peak power detected.

Figure 6.1: Detailed view of the LCD display, showing various measurement parameters.
6.3 Frequency Compensation
The RD106P features an automatic frequency compensation function. It measures the signal frequency and applies compensation for accurate power conversion, ensuring reliable readings across its wide operating range.
6.4 Frequency Range Selection
The device automatically switches between three frequency ranges: FMB (80-108MHz), VHF (110-299MHz), and UHF (300-999MHz). Manual input for frequency range selection is also possible, though the automatic mode is generally sufficient for most applications.
7. Specifications
| Parameter | Value |
|---|---|
| Frequency Range | 80MHz ~ 999MHz (FMB: 80-108MHz, VHF: 110-299MHz, UHF: 300-999MHz) |
| VSWR Display Range | 1.00 ~ 99.9 |
| Maximum Power | 120W |
| Power Error | <10% |
| Continuous Sampling | 100 times/second |
| Display | 128 x 64 LCD screen |
| Key | Single button |
| RF Interface | N-KF (50 ohms) |
| Charging Interface | USB Type-C (200mA charging) |
| Battery | 3.7V/350mAh Li-ion battery |
| Dimensions (L x W x H) | 95 x 35 x 26 mm (3.74 x 1.38 x 1.02 inches) |
| Net Weight | Approximately 120g (4.23 oz) |
8. Troubleshooting
If you encounter issues with your RD106P SWR Meter, refer to the following common problems and solutions:
- Device does not power on:
- Ensure the battery is charged. Connect the device to a Type-C charger.
- Press the red button to manually wake the device.
- Verify that an RF signal is being applied if expecting automatic wake-up.
- No readings or incorrect readings:
- Check all RF cable connections. Ensure they are secure and correctly connected to "IN" and "OUT" ports.
- Verify that your radio is transmitting power.
- Ensure the antenna or dummy load is properly connected and functioning.
- Confirm the operating frequency is within the meter's specified range (80-999MHz).
- Display is dim or unreadable:
- The 128x64 LCD is designed for outdoor visibility, but extreme direct sunlight might still affect readability. Try shading the display.
- Ensure the battery is sufficiently charged. Low battery can affect display brightness.
9. Maintenance
- Cleaning: Use a soft, dry cloth to clean the device. Do not use liquid cleaners or solvents.
- Storage: Store the SWR meter in a cool, dry place away from direct sunlight and extreme temperatures when not in use.
- Battery Care: For prolonged storage, ensure the battery is partially charged (around 50%) to maintain its health. Recharge periodically if stored for a long time.
- Connector Care: Keep the N-KF connectors clean and free from dust or debris to ensure good electrical contact.
10. Warranty and Support
Cloudpower products are manufactured to high-quality standards. For warranty information, technical support, or service inquiries, please refer to the documentation provided at the time of purchase or contact your retailer. Please have your product model (RD106P) and purchase date available when contacting support.