KHUKHU 66395668
User Manual: KhUkhu Audio Signal Jammer & Power Bank
Model: 66395668 | Brand: KHUKHU
1. Introduction
This manual provides detailed instructions for the operation, maintenance, and troubleshooting of your KhUkhu Audio Signal Jammer and Power Bank. Please read this manual thoroughly before using the device to ensure proper function and safety.
Product Overview
The KhUkhu Audio Signal Jammer is a dual-function device designed to protect privacy by interfering with recording devices, while also serving as a portable power bank. It utilizes advanced electromagnetic technology to create a shielding barrier against unauthorized audio recording.
- Advanced Anti-Recording Protection: Disables recording functions of voice recorders, smartphones, and wireless listening devices using electromagnetic technology.
- Comprehensive 300° Coverage: Provides wide-area protection suitable for large conference rooms, covering various angles.
- Intelligent Adaptive Optimization: Dynamically adjusts interference intensity and range in real-time for optimal performance and minimal electromagnetic interference.
- Dual Functionality: Combines anti-recording capabilities with a 4000 mAh portable power bank for security and charging convenience.
- Versatile Application Scenarios: Ideal for confidential meetings, courtrooms, negotiation rooms, and administrative offices.

Figure 1.1: Front view of the KhUkhu Audio Signal Jammer and Power Bank.
This image shows the sleek black rectangular device with a digital display and control buttons on the top surface. A hand is shown pressing one of the buttons, indicating user interaction.
2. Package Contents
Please verify that all items are present in the package:
- 1 * Recording Jammer (KhUkhu Audio Signal Jammer and Power Bank)
- 1 * Wireless Remote Control
- 1 * Charging Cable (USB-C to USB-A, assumed based on charging port)
- 1 * User Manual (this document)
3. Specifications
| Feature | Specification |
|---|---|
| Product Name | Recording Jammer / Audio Signal Jammer |
| Battery Capacity | 4000 mAh |
| Charging Voltage | 5 V / 1000 mA |
| Output Voltage | 5 V / 1000 mA |
| Standby Current | 10 mA |
| Shutdown Current | 60 µA |
| Anti-Recording Sound Pressure | 120 dB / 30 cm (max.) |
| Shielding Angle | 300° (max.) |
| Package Dimensions | 150 x 75 x 53 mm |
| Weight | 350 g |
| Remote Control Range | 1 to 50 m (wireless) |
| Model Number | 66395668 |

Figure 3.1: Dimensions of the KhUkhu Audio Signal Jammer.
This image illustrates the physical dimensions of the device, showing its length as 14cm, width as 6.5cm, and thickness as 2.2cm.
4. Product Overview
Familiarize yourself with the components and controls of your device:

Figure 4.1: Labeled components of the KhUkhu Audio Signal Jammer.
This diagram highlights key parts of the device: middle output direction, right output direction, switch/mode button, left output direction, gear adjustment button, power output, charging port, and power/output direction display.
- Switch/Mode Button: Used to power on/off the device and cycle through operating modes.
- Gear Adjustment Button (ADJ): Adjusts the intensity or level of the anti-recording function.
- Power/Output Direction Display: Digital display showing battery level and active output directions.
- Charging Port: Used to charge the device's internal battery.
- Power Output (USB-A): Used to charge external devices (power bank function).
- Left/Middle/Right Output Direction: Indicates the direction of the anti-recording signal emission.
5. Setup
5.1 Initial Charging
Before first use, fully charge the device. Connect the provided charging cable to the charging port on the device and plug the other end into a 5V/1A USB power adapter (not included). The display will indicate charging status. A full charge typically takes several hours.
5.2 Remote Control Pairing (if applicable)
The remote control is typically pre-paired. If the remote control does not respond, ensure its battery is functional. Refer to the remote control's specific instructions if pairing is required.
6. Operating Instructions
6.1 Powering On/Off
To power on the device, press and hold the Switch/Mode Button () for a few seconds until the display illuminates. To power off, press and hold the same button until the display turns off.
6.2 Anti-Recording Function
Once powered on, the device will typically activate its anti-recording function. The display will show the active output directions and possibly the intensity level.
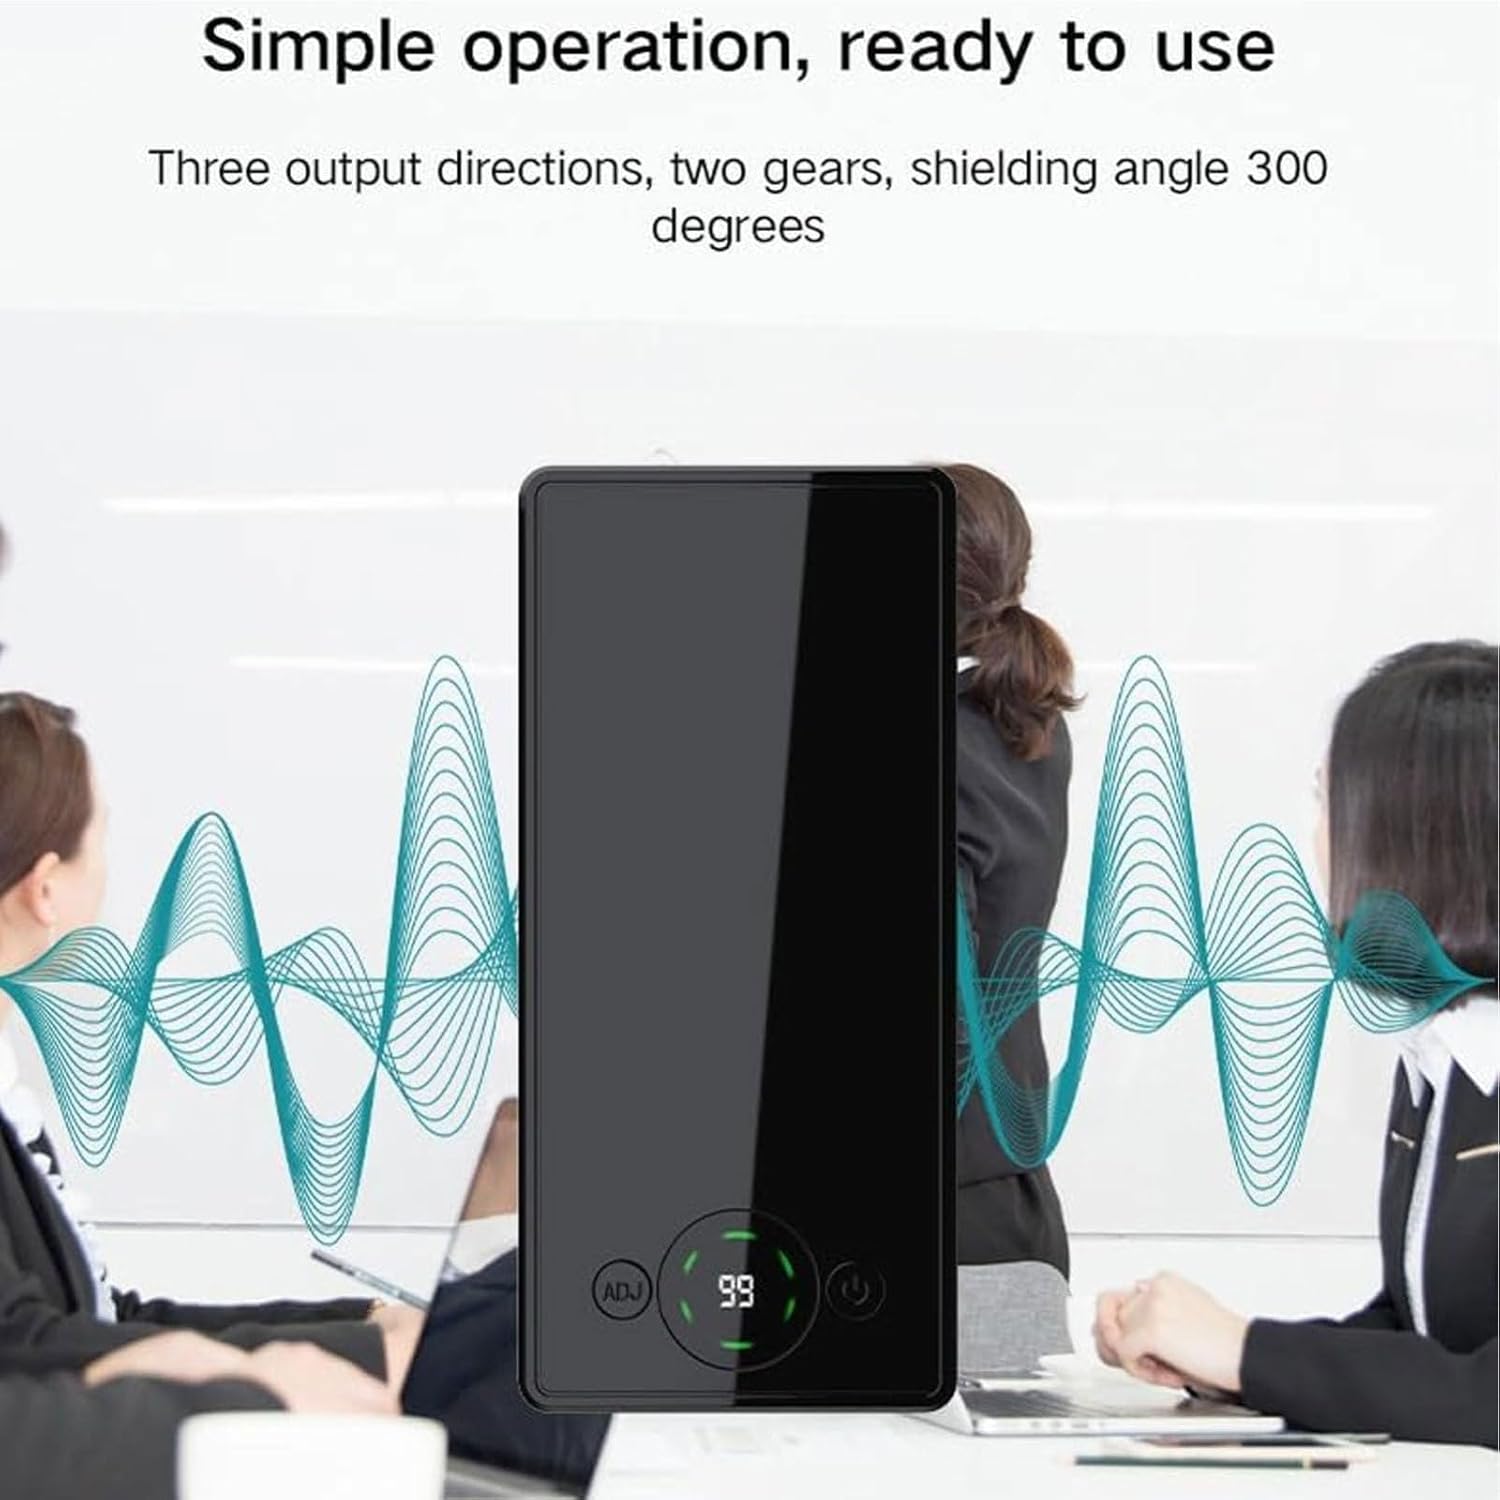
Figure 6.1: Device in operation, demonstrating 300-degree shielding.
This image illustrates the device's simple operation and its ability to provide a 300-degree shielding angle, showing sound waves emanating from the device in a meeting setting.
6.3 Adjusting Output Direction and Intensity
Use the Switch/Mode Button to cycle through different output directions (e.g., left, middle, right, or combinations) to optimize shielding for your environment. The display will indicate the currently active directions.
Press the Gear Adjustment Button (ADJ) to change the intensity or "gear" of the anti-recording signal. Higher settings provide stronger interference. Experiment with settings to find the optimal level for your specific needs.

Figure 6.2: Depiction of Ultrasonic Interference Technology.
This image shows the device on a table next to a smartphone with a recording app open, illustrating how the ultrasonic interference technology prevents voice information from being recorded.
6.4 Using the Remote Control
The wireless remote control allows for convenient operation from a distance of 1 to 50 meters. Use the buttons on the remote to power on/off the device and adjust its settings without direct interaction.

Figure 6.3: Remote control functionality.
This image displays the device and its wireless remote control, emphasizing the ability to control the device's switches and operations remotely within a 1-50 meter range.
6.5 Power Bank Function
To use the device as a power bank, connect your mobile phone or other USB-powered device to the Power Output (USB-A) port using a compatible charging cable. The device will automatically begin charging the connected device.

Figure 6.4: Device functioning as a portable power bank.
This image shows the device connected via a USB cable to a smartphone, demonstrating its capability to charge external devices as a portable power bank.
7. Maintenance
- Cleaning: Use a soft, dry cloth to clean the device. Do not use liquid cleaners or aerosols.
- Storage: Store the device in a cool, dry place away from direct sunlight and extreme temperatures.
- Battery Care: To prolong battery life, avoid fully discharging the device frequently. Charge it regularly, even if not in use for extended periods.
- Avoid Impact: Do not drop or subject the device to strong impacts, as this may damage internal components.
8. Troubleshooting
| Problem | Possible Cause | Solution |
|---|---|---|
| Device does not power on. | Battery is depleted. | Charge the device fully. |
| Anti-recording function seems ineffective. | Incorrect intensity setting or device placement. | Adjust the gear setting (ADJ button) to a higher level. Ensure the device is positioned correctly to cover the desired area, considering the 300° shielding angle. |
| Remote control not responding. | Remote control battery low or out of range. | Replace the remote control battery. Ensure you are within the 1-50 meter operating range. |
| Device not charging external devices. | Device battery low or incorrect cable/port. | Ensure the device is sufficiently charged. Use the correct USB-A port and a functional charging cable for your external device. |
9. Warranty and Support
9.1 Manufacturer's Warranty
The manufacturer offers a warranty during the warranty period. Please refer to the product description or contact the seller for specific warranty terms and duration. Keep your proof of purchase for warranty claims.
9.2 Customer Support
For any questions, technical assistance, or issues not covered in this manual, please contact your retailer or the manufacturer's customer support. Contact information can typically be found on the product packaging or the seller's online store page.
For Amazon.fr purchases, you can contact the seller "liulishangmaohang" via their seller page on Amazon: Seller Profile
Ask a question about this manual
Ask about setup, troubleshooting, compatibility, parts, safety, or missing instructions. Manuals+ will review the question and use this page’s manual context to help answer it.