1. Introduction
This manual provides essential information for the proper installation, operation, and maintenance of your new Generic Front Brake Pads, model Mod-BP8-4021, designed for the Suzuki UC150 Epicuro motorcycle. Adhering to these instructions will help ensure optimal performance and safety.
These semi-metallic brake pads are engineered for reliable stopping power and durability, suitable for leisure use. They are made from resin materials blended with up to 30%-50% metal fibers.
2. Product Overview and Components
Your purchase includes a set of two front brake pads (one pair) for your Suzuki UC150 Epicuro. These pads are designed to meet OEM specifications for a precise fit.
- Reliable Stopping Power: Consistent and responsive braking performance.
- Durable Materials: High-quality friction materials for extended service life.
- Low Dust & Quiet Operation: Engineered to minimize brake dust and reduce noise.
- Precision Fit: Manufactured to OEM specifications for hassle-free installation.

Image 2.1: Front view of the two semi-metallic brake pads included in the set.
3. Specifications
Key specifications for the Mod-BP8-4021 Front Brake Pads:
| Specification | Detail |
|---|---|
| Brand | Generic |
| Model Number | Mod-BP8-4021 |
| Compatible Vehicle Service Type | ATV (Suzuki UC150 Epicuro) |
| Auto Part Position | Front, Left Lower |
| Material Type | Semi-Metallic (Resin with 30-50% metal fibers) |
| Exterior Finish | Metallic Finish |
| Number of Items | 1 (Set of 2 pads) |

Image 3.1: Dimensional diagram of the brake pads, showing length, width, and thickness in both inches and millimeters.
4. Safety Information
Working with brake systems requires mechanical knowledge and proper tools. Incorrect installation can lead to brake failure, serious injury, or death. If you are not confident in your ability to perform this installation, seek assistance from a qualified mechanic.
- Always wear appropriate personal protective equipment (PPE), including safety glasses and gloves.
- Ensure the motorcycle is securely supported on a stable stand before beginning work.
- Never work under a vehicle supported only by a jack.
- Keep brake fluid away from painted surfaces, as it can damage paint.
- Do not reuse old brake fluid.
- Dispose of old brake pads and fluid responsibly according to local regulations.
5. Installation Guide
This section provides a general guide for brake pad replacement. Specific steps may vary depending on your motorcycle's exact configuration. Refer to your Suzuki UC150 Epicuro service manual for detailed, model-specific instructions.
Required Tools:
- Socket/Wrench Set
- Brake Caliper Piston Compressor Tool
- Brake Cleaner
- High-Temperature Brake Grease (for caliper pins)
- Torque Wrench
Installation Steps:
- Prepare the Motorcycle: Park the motorcycle on a level surface and secure it on a center stand or appropriate lift. Ensure the front wheel is off the ground.
- Remove Caliper: Loosen and remove the caliper mounting bolts. Carefully slide the caliper off the brake disc. Do not let the caliper hang by the brake hose; support it to prevent damage.
- Remove Old Pads: Remove the retaining pins or clips that hold the brake pads in place. Slide out the old brake pads. Note their orientation.
- Clean Caliper: Use brake cleaner to thoroughly clean the caliper, removing any brake dust or debris. Inspect the caliper pistons and seals for any damage.
- Compress Pistons: Using a brake caliper piston compressor tool, gently push the caliper pistons back into their bores. This creates space for the new, thicker pads. Be mindful of the brake fluid reservoir level.
- Lubricate (if applicable): Apply a thin layer of high-temperature brake grease to the caliper slide pins (if your caliper design uses them) and any metal-to-metal contact points, avoiding the friction material of the pads.
- Install New Pads: Insert the new Generic brake pads into the caliper, ensuring they are correctly seated and oriented. Reinstall the retaining pins or clips.
- Reinstall Caliper: Carefully slide the caliper back over the brake disc. Reinstall and tighten the caliper mounting bolts to the manufacturer's specified torque.
- Check Brake Fluid: Check the brake fluid reservoir level. Top up with the recommended brake fluid if necessary.
- Pump Brakes: Before riding, slowly pump the brake lever several times until firm pressure is felt. This seats the pads against the rotor and restores proper brake feel.
- Test Ride: Perform a low-speed test ride in a safe area to confirm proper brake function.
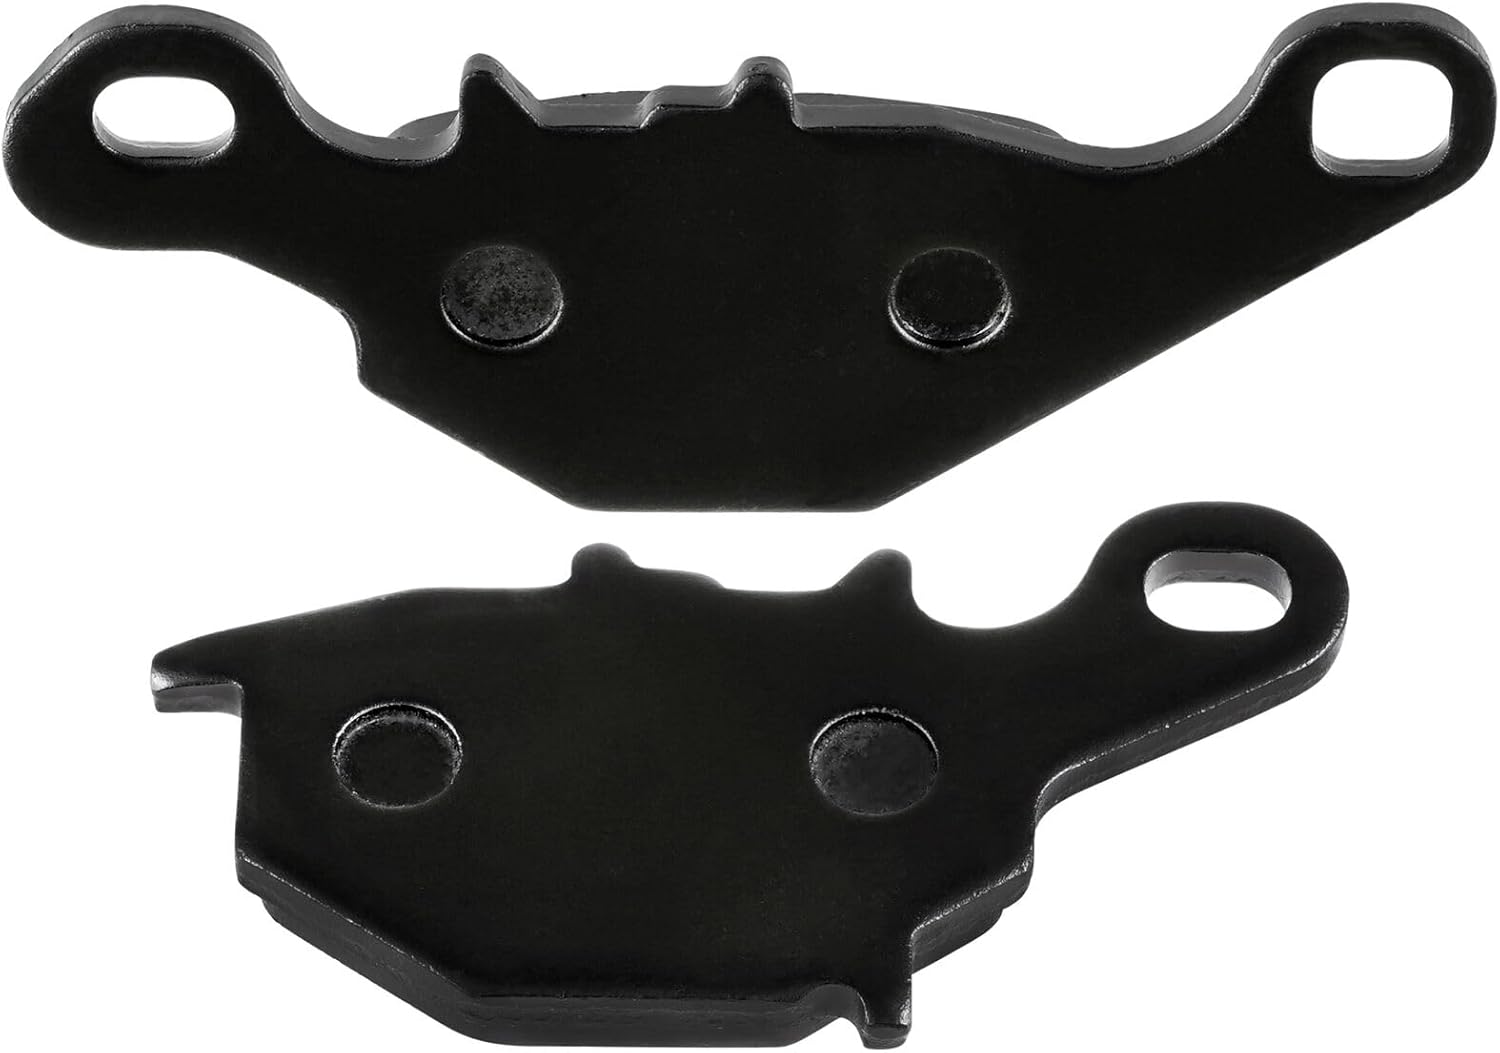

Image 5.1: Back view (left) and side view (right) of the brake pads, illustrating their construction and thickness for installation reference.
6. Operation and Break-in
After installing new brake pads, a proper break-in procedure is crucial for optimal performance and longevity. This process allows the pad material to conform to the brake rotor surface.
Break-in Procedure:
- Perform 10-15 moderate stops from approximately 30 mph (50 km/h) down to 5 mph (8 km/h).
- Allow a short cooling period between each stop to prevent overheating.
- Avoid hard braking or prolonged braking during the break-in period.
- After the initial stops, allow the brakes to cool completely for at least 15-20 minutes.
Following this procedure will ensure the pads are properly bedded, providing consistent and effective braking.
7. Maintenance
Regular inspection and maintenance of your brake system are vital for safety and performance.
- Regular Inspection: Check brake pads for wear at recommended service intervals (refer to your motorcycle's service manual). Replace pads when the friction material is worn down to the minimum thickness indicator or approximately 2mm.
- Brake Fluid Level: Monitor the brake fluid level in the reservoir. A low level can indicate worn pads or a leak.
- Brake Fluid Condition: Brake fluid should be replaced periodically as it absorbs moisture over time, which can reduce braking efficiency.
- Rotor Condition: Inspect brake rotors for excessive wear, scoring, or warping. Replace rotors if they are below minimum thickness or severely damaged.
- Caliper Function: Ensure caliper pistons move freely and caliper slide pins are lubricated (if applicable) to prevent uneven pad wear.
8. Troubleshooting
This section addresses common issues you might encounter with your brake pads.
| Issue | Possible Cause | Solution |
|---|---|---|
| Squealing/Noise | Improper break-in, worn pads, caliper issues, foreign material, lack of anti-squeal shims. | Ensure proper break-in. Inspect pads for wear. Clean caliper and rotor. Apply anti-squeal compound or shims. |
| Reduced Braking Performance | Worn pads, air in brake lines, contaminated pads/rotor, brake fluid issues, caliper malfunction. | Inspect pads and fluid. Bleed brake lines. Clean or replace contaminated components. Inspect caliper. |
| Vibration/Pulsation | Warped brake rotor, uneven pad wear, loose caliper. | Inspect and measure rotor for runout. Check caliper mounting. Replace warped rotors. |
| Excessive Brake Dust | Normal for some pad types, but excessive dust can indicate wear. | Regular cleaning. Ensure proper break-in. Monitor pad wear. |
If you experience persistent brake issues, consult a qualified mechanic immediately.
9. Warranty and Support
For information regarding warranty coverage or technical support for your Generic brake pads, please refer to the retailer where the product was purchased or contact the manufacturer directly. Keep your proof of purchase for any warranty claims.
Always ensure that any replacement parts are compatible with your specific motorcycle model and year.