1. Introduction
The PGST A105F Wireless Home Security System is designed to provide comprehensive protection for your home, villa, or apartment. This system features real-time alerts via a dedicated smartphone application, 4G calling, and SMS notifications, ensuring you are always informed of your property's status. It offers multiple alarm modes, supports integration with smart home platforms like Alexa and Google Assistant, and is expandable with additional PGST accessories. This manual provides detailed instructions for the installation, operation, and maintenance of your security system.

Image: Overview of the PGST Home Security System components and key features.
2. Package Contents
Please verify that all items are present in your package. If any components are missing or damaged, please contact customer support.
- 1 x PGST A105F Control Panel (Main Host)
- 2 x Wireless Motion Detectors
- 4 x Wireless Door/Window Sensors
- 2 x Remote Controls
- 2 x RFID Tags
- 1 x Power Adapter
- Mounting Hardware (screws, adhesive pads)
- User Manual (this document)

Image: Contents of the PGST 12-piece Home Security System kit.
3. System Components
3.1. Control Panel (Main Host)
The control panel is the central unit of your security system. It features a 2.4-inch TFT colorful display screen, a numeric keypad, and an SOS button. It processes signals from all connected sensors, manages alarm states, and communicates alerts via Wi-Fi, 4G GSM, and the mobile application.
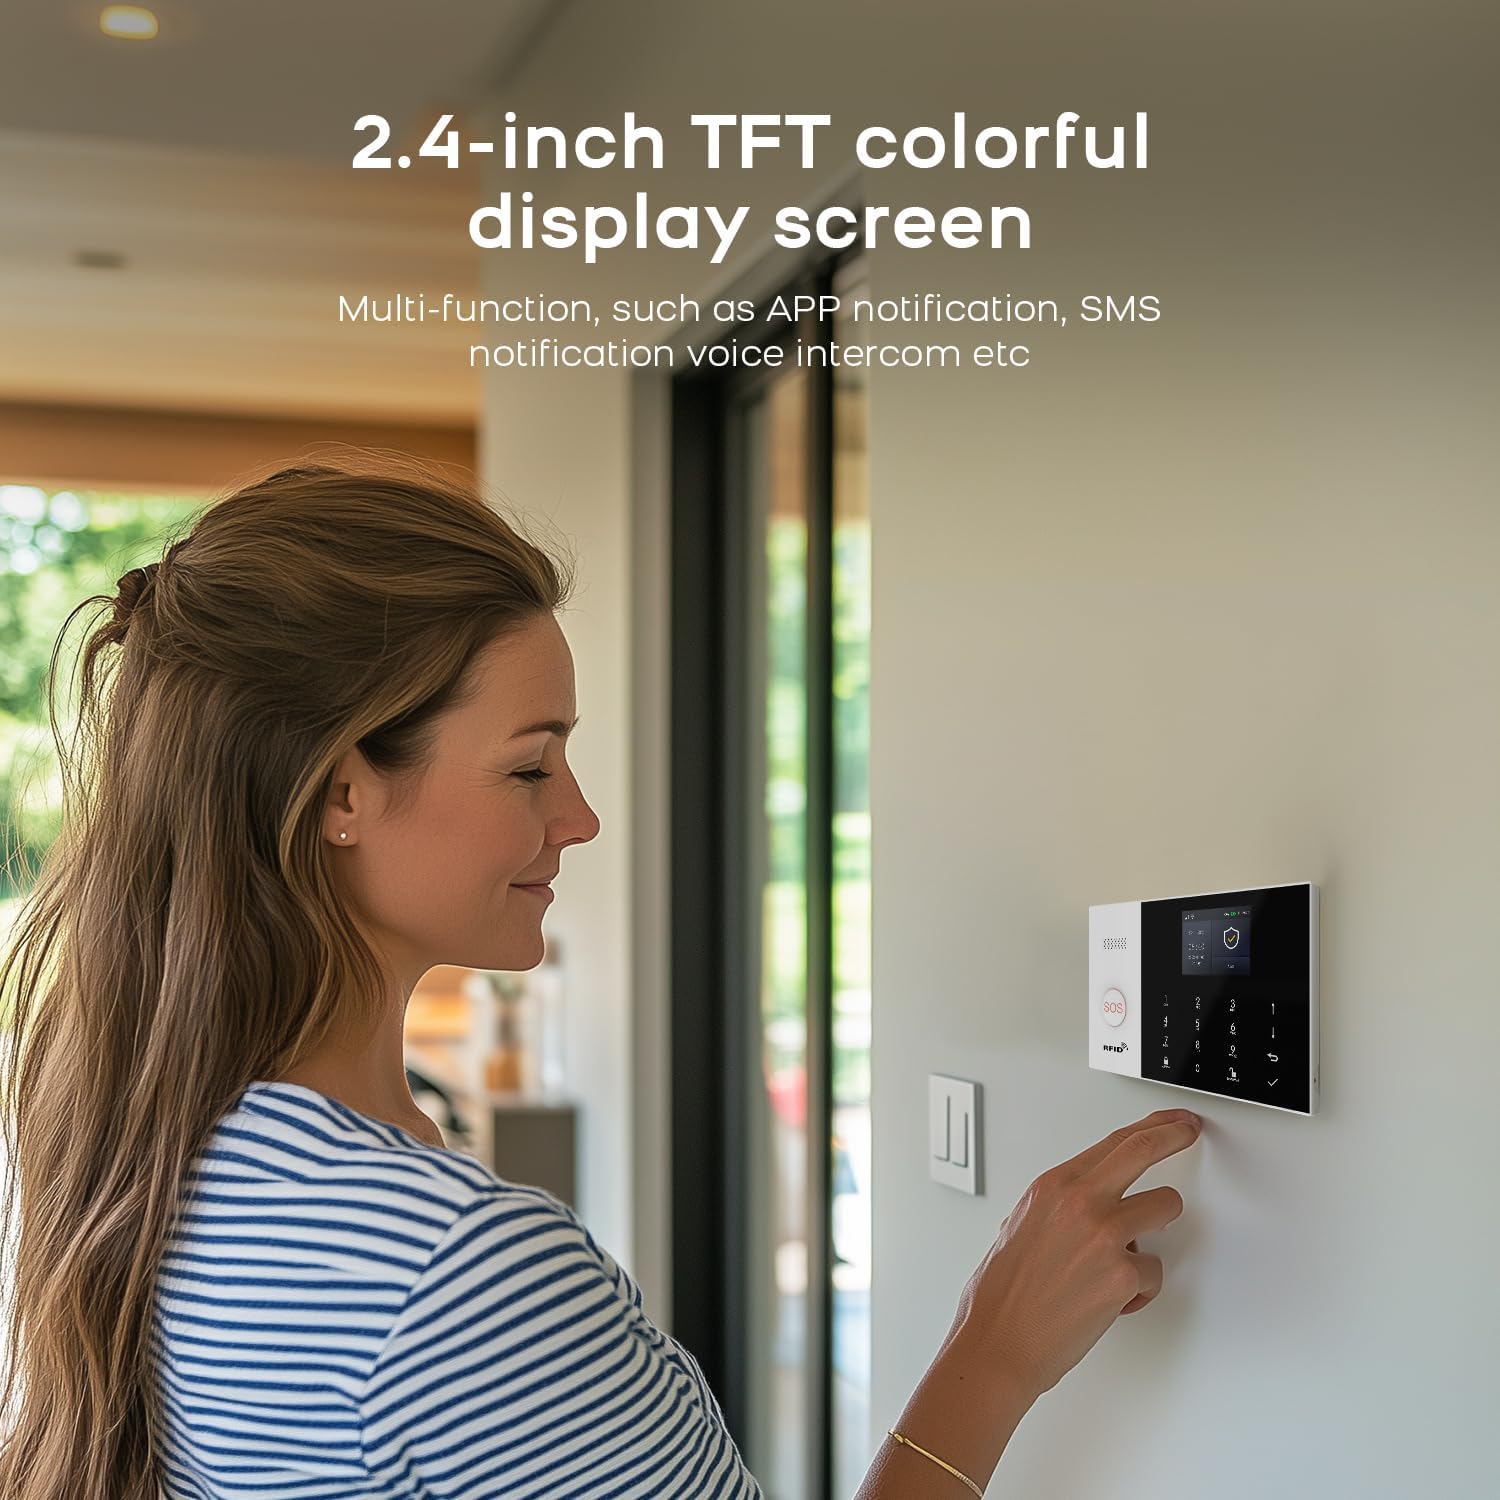
Image: User interacting with the PGST Control Panel's 2.4-inch TFT display.
3.2. Wireless Door/Window Sensors
These two-part sensors detect the opening and closing of doors and windows. When the two parts separate, an alert signal is sent to the control panel.
3.3. Wireless Motion Detectors (PIR Sensors)
Motion detectors use passive infrared (PIR) technology to sense movement within their detection range. They are typically installed in areas where intruders might pass.
3.4. Remote Controls
Compact remote controls allow for convenient arming, disarming, and activating the SOS function from a distance.
3.5. RFID Tags
RFID tags provide a quick and easy way to disarm the system by tapping them on the control panel's RFID reader.

Image: Examples of door/window and motion sensor installation.
4. Setup
4.1. Powering the Control Panel
- Connect the provided power adapter to the DC input port on the back of the control panel.
- Plug the power adapter into a standard wall outlet.
- The control panel will power on automatically.
4.2. App Installation and Account Creation
- Download the Smart Life or Tuya Smart app from your smartphone's app store (iOS or Android).
- Open the app and register a new account if you don't already have one.
- Log in to your account.
4.3. Connecting to Wi-Fi (Network Configuration)
The control panel needs to be connected to your home Wi-Fi network (2.4GHz only) for app control and notifications.

Image: Network configuration steps for the PGST A105F system.
Method 1: Soft AP Configure
- On the control panel, navigate to Menu > Wi-Fi > Soft AP Configure.
- On your smartphone, ensure Wi-Fi is enabled and connected to a 2.4GHz network. Enable Bluetooth.
- Open the Smart Life app, tap Add Device, and follow the on-screen instructions to search for and add the alarm system.
Method 2: Airlink Configure
- On the control panel, navigate to Menu > Wi-Fi > Airlink Configure.
- On your smartphone, ensure Wi-Fi is enabled and connected to a 2.4GHz network.
- Open the Smart Life app, tap Add Device, then select Sensors > Alarm > Wi-Fi.
- Follow the app's instructions, ensuring the control panel's Wi-Fi indicator is blinking quickly as prompted.
4.4. Pairing Sensors and Accessories
All included sensors and accessories are typically pre-paired. If you need to add new accessories or re-pair existing ones:
- On the control panel, enter the pairing mode (refer to the panel's menu for 'Add Sensor' or 'Pair Device').
- Activate the sensor (e.g., separate the door/window sensor, trigger the motion detector, press a button on the remote).
- The control panel will confirm successful pairing. Assign a zone and name to the sensor for easy identification.
4.5. Sensor Placement Guidelines
- Door/Window Sensors: Install on the main entry points, ensuring the two parts are aligned and within 1 cm of each other when the door/window is closed.
- Motion Detectors: Place in corners of rooms, hallways, or near staircases, ensuring a clear line of sight to the area you wish to monitor. Avoid placing near heat sources, direct sunlight, or areas with significant air currents to prevent false alarms. Mount at a height of approximately 2-2.5 meters.
5. Operating the System
5.1. Arming and Disarming
The system supports three main modes: Arm, Disarm, and Stay at Home (Partial Arm).
- Arm: All sensors are active. Any triggered sensor will activate the alarm. Use when leaving the property.
- Disarm: All sensors are inactive. The alarm will not trigger.
- Stay at Home: Typically activates perimeter sensors (e.g., door/window sensors) while allowing movement within the property (e.g., motion detectors are inactive). Use when someone is home.
You can change the system status using the control panel, remote controls, or the Smart Life/Tuya Smart app.
5.2. SOS Function
In an emergency, press the SOS button on the control panel or remote control. This will immediately trigger the alarm and send emergency notifications to preset contacts.

Image: The SOS function provides immediate alert capabilities, beneficial for elderly users.
5.3. Receiving Alerts
When an alarm is triggered, the system will:
- Activate the loud siren.
- Send push notifications to your smartphone via the Smart Life/Tuya Smart app.
- Initiate a phone call to the preset emergency contact numbers (if a 4G GSM card is installed).
- Send SMS messages to the preset emergency contact numbers.

Image: Smartphone displaying app alert messages and calls from the security system.
5.4. Setting Up Alarm Calls
You can preset up to five family numbers to receive alarm calls and SMS alerts.
- Access the settings menu on the control panel or through the Smart Life/Tuya Smart app.
- Locate the 'Emergency Contacts' or 'Alarm Numbers' section.
- Enter the desired phone numbers. The system will cycle through these numbers until an alarm call is answered.

Image: The system can preset up to five alarm call numbers for comprehensive notification.
5.5. Voice Control (Alexa & Google Assistant)
The PGST A105F system is compatible with Amazon Alexa and Google Assistant, allowing you to arm or disarm your system using voice commands.
- Ensure your Smart Life/Tuya Smart account is linked to your Alexa or Google Home app.
- Use commands such as: "Alexa, arm my home" or "Hey Google, disarm the security system."

Image: Voice control functionality with Alexa and Google Assistant.
5.6. Monitoring Schedule
You can set up a schedule for automatic arming and disarming of the system based on your daily routine.
- Access the 'Schedule' or 'Timing Arm/Disarm' settings in the Smart Life/Tuya Smart app.
- Set desired times for the system to arm (e.g., when you leave for work) and disarm (e.g., when you return).

Image: Example of a customizable monitoring schedule for automatic arming and disarming.
6. Maintenance
6.1. Battery Replacement for Wireless Sensors
The control panel and app will notify you when a sensor's battery is low. Replace batteries promptly to ensure continuous protection.

Image: Illustration of the low battery alert system for wireless sensors.
- Identify the sensor with the low battery alert.
- Carefully open the sensor casing (refer to the sensor's specific instructions if needed).
- Remove the old battery and insert a new one of the correct type and polarity.
- Close the sensor casing securely.
6.2. Cleaning
Wipe the control panel and sensors with a soft, dry cloth. Avoid using abrasive cleaners or solvents, as these can damage the devices.
7. Troubleshooting
- System not powering on: Ensure the power adapter is securely connected to both the control panel and a working power outlet.
- Sensors not triggering alarm: Check sensor battery levels. Ensure sensors are properly paired and within range of the control panel. Verify the system is in an 'Armed' state.
- False alarms: Review motion detector placement to avoid heat sources or drafts. Ensure door/window sensors are securely mounted and not accidentally triggered by vibrations.
- No app notifications: Check your smartphone's notification settings for the Smart Life/Tuya Smart app. Ensure the control panel is connected to Wi-Fi and has internet access.
- 4G calling/SMS not working: Verify that a valid 4G GSM SIM card is inserted correctly into the control panel and has an active plan with sufficient credit. Check signal strength.
- Difficulty with Wi-Fi connection: Ensure your Wi-Fi network is 2.4GHz. Double-check your Wi-Fi password. Try both Soft AP and Airlink configuration methods.
8. Specifications
| Feature | Detail |
|---|---|
| Brand | PGST |
| Model Number | PGST A105F |
| Power Source | Battery Powered (sensors), AC Powered (control panel) |
| Connectivity Technology | Wireless (Wi-Fi, 4G GSM) |
| Compatible Devices | Smartphone (iOS/Android), Alexa, Google Assistant |
| Control Method | App, Control Panel, Remote Control |
| Display | 2.4-inch TFT Colorful Screen |
| Item Dimensions (L x W x H) | 8 x 6 x 4 inches |
| Item Weight | 1.7 pounds |
| Included Components | 1 x PGST A105F Alarm System (main unit), 12.0 Count (total pieces in kit) |
9. Warranty and Support
The PGST A105F Home Security System comes with a 1-year warranty from the date of purchase. This warranty covers manufacturing defects and malfunctions under normal use.
If you encounter any issues or have questions regarding your PGST security system, please refer to the troubleshooting section of this manual. For further assistance, contact PGST customer support through the contact information provided with your purchase or on the official PGST website. Please have your model number (PGST A105F) and purchase details ready when contacting support.


