1. Introduction
This manual provides detailed instructions for the assembly, operation, and maintenance of your YOPTO 11x13 FT Outdoor Storage Shed. Designed for durability and versatility, this metal shed offers a dual-purpose solution for storing tools and firewood, featuring integrated ventilation for optimal air circulation. Please read all instructions carefully before beginning assembly and retain this manual for future reference.
2. Safety Information
Always follow the assembly instructions carefully. Wear appropriate safety gear when handling heavy components. Ensure the shed is properly anchored to the ground to prevent it from tipping over in strong winds or during heavy snow loads. Keep the shed away from heat sources and open flames to prevent fire hazards.
3. Product Features
- Dual-Purpose Design: This 11x13 FT outdoor storage shed offers a smart layout with an enclosed area for tools and an open side section for firewood, making it ideal for storage and home organization.
- Durable Integrated Ventilation System: Unlike typical plastic vents, this storage shed includes two integrated punched vents that resist sun damage, improving airflow for long-lasting use.
- Classic Apex Roof Style: The apex roof design is a popular and economical option for outdoor storage sheds, helping rain and debris slide off easily while offering reliable functionality.
- Sturdy Steel Structure: Built from galvanized steel panels, this outdoor storage box provides a strong and stable structure for everyday use, suitable for all-weather conditions.
- Easy Assembly: Includes detailed instructions for smooth, step-by-step installation, making this storage shed a convenient and efficient outdoor storage solution.
4. Specifications
| Attribute | Value |
|---|---|
| Brand | YOPTO |
| Color | Grey |
| Material | Alloy Steel |
| Product Dimensions | 153.1"D x 70"W x 129.1"H |
| Style | Classic |
| Base Material | Alloy Steel |
| Top Material Type | Metal |
| Water Resistance Level | Waterproof |
| Frame Material | Metal |
| Door Style | Single Hinged Door |
| Assembly Required | Yes |
| Item Weight | 120 pounds |
5. Setup Instructions
Follow these steps carefully for proper assembly. It is recommended to have at least 2-3 people for assembly.
5.1 Pre-Assembly Checklist
- Prepare a solid and level foundation (concrete slab, asphalt, level ground, floating slab, or trench footing).
- Gather necessary tools: power screwdriver set, ladder, tape measure, gloves.
5.2 Floor Frame Assembly
Assemble the base frame components (1R, 1L, 2R, 2L, 3R, 3L, 5, J8) as shown in the diagram. Ensure all connections are secure before proceeding.

Image: Overhead view of the shed's floor frame components laid out for assembly.
Measure the diagonals (A and B) of the assembled floor frame to ensure it is perfectly square. Adjust as needed until A=B.
5.3 Wall Panel Installation
Attach the wall panels (P9, P2) to the base frame using screws (F1) and washers (S3). Ensure panels are correctly oriented and aligned.

Image: Workers installing the side wall panels onto the shed's base frame.
5.4 Roof Frame Assembly
Assemble the roof support frame components (A1, A3, A7, A8, A9) as per the instructions, securing them with bolts (F8).
5.5 Roof Panel Installation
Carefully lift and secure the triangular roof panels (21R, 21L) to the top of the wall structure. Attach the roof panels (P7, P10, P11) using screws (F1) and washers (S3). Ensure proper overlap and sealing for weather resistance.

Image: Workers installing the roof panels onto the shed structure.
5.6 Door Assembly and Installation
Assemble the door panels (D1, D2, D3, D4) and attach the door frame components (18, C). Install the door latch (G6) and hinges (B6) using appropriate screws (F1, F3). Mount the assembled doors to the shed frame.

Image: Workers installing the double doors of the shed.
5.7 Window Assembly and Installation
Assemble the window frame (C2) and insert the clear panels (P01). Ensure the side with the white film faces outwards. Secure the window frame with screws (F1). Install the assembled window into the designated opening in the shed wall.
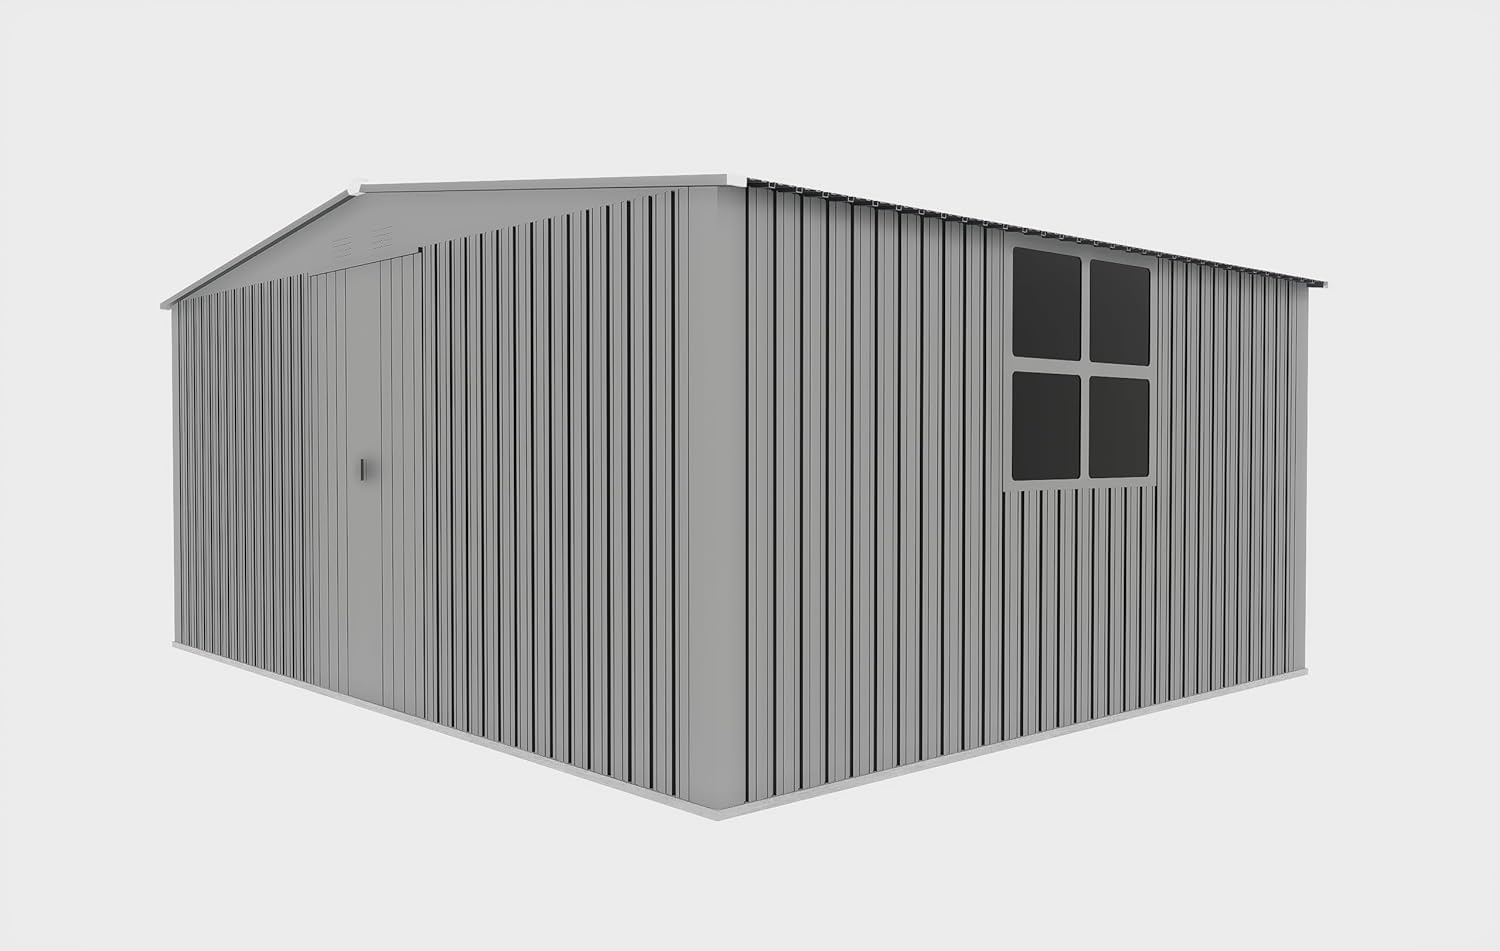
Image: Worker installing the window into the shed wall.
5.8 Video Guides
Assembly Video for Metal Shed
Video: A detailed assembly guide for a metal shed, demonstrating step-by-step construction from base to roof. This video is provided by WEIXI USA STORE.
Breezz Shed Install Guide
Video: An installation guide for a Breezz shed, showing the process of setting up the structure. This video is provided by BreezZ.
6. Operating Instructions
Your YOPTO storage shed is designed for easy access and secure storage. The double hinged doors allow for wide entry, making it convenient to move large items such as lawnmowers or bicycles in and out. Ensure the doors are properly latched and locked when not in use to protect your belongings.
7. Maintenance
- Cleaning: Periodically clean the exterior of the shed with mild soap and water to remove dirt and debris. Avoid abrasive cleaners that could damage the finish.
- Ventilation: Ensure the integrated punched vents remain clear of obstructions to maintain proper airflow and prevent moisture buildup inside the shed.
- Anchoring: Regularly check the ground anchors to ensure they are secure, especially after strong winds or heavy rainfall.
- Door Hinges & Latches: Lubricate door hinges and latches annually to ensure smooth operation.
8. Troubleshooting
- Water Leakage: If water leaks into the shed, check the base plate where it meets the foundation. Apply silicone sealant to any gaps. Ensure all roof panels are properly overlapped and screwed down.
- Door Misalignment: If doors are misaligned, a slight lift on each side can help adjust them to flush. Check that all screws on hinges and frame are tightened.
- Difficulty Opening/Closing Doors: Check for obstructions in the door tracks or hinges. Lubricate hinges if necessary.
9. Warranty & Support
For warranty information or technical support, please refer to the contact details provided at the point of purchase or visit the YOPTO official website. Keep your purchase receipt as proof of purchase.