1. Safety Instructions
Please read these safety instructions carefully before installing and using the appliance. Keep this manual for future reference.
- Ensure the washing machine is properly grounded to prevent electric shock.
- Do not allow children to play with or operate the appliance. Use the child safety lock feature.
- Do not install the washing machine in a damp environment or where it may be exposed to water.
- Always unplug the appliance before cleaning or performing any maintenance.
- Do not overload the washing machine. Refer to the maximum load capacity.
- Only use detergents suitable for automatic washing machines.
- In case of malfunction, do not attempt to repair the appliance yourself. Contact qualified service personnel.
2. Product Overview
The Kooper 10 Kg Slim Washing Machine is a front-load appliance designed for efficient and convenient laundry care. It features a galvanized iron body, an ABS control panel, and a 430 stainless steel drum.
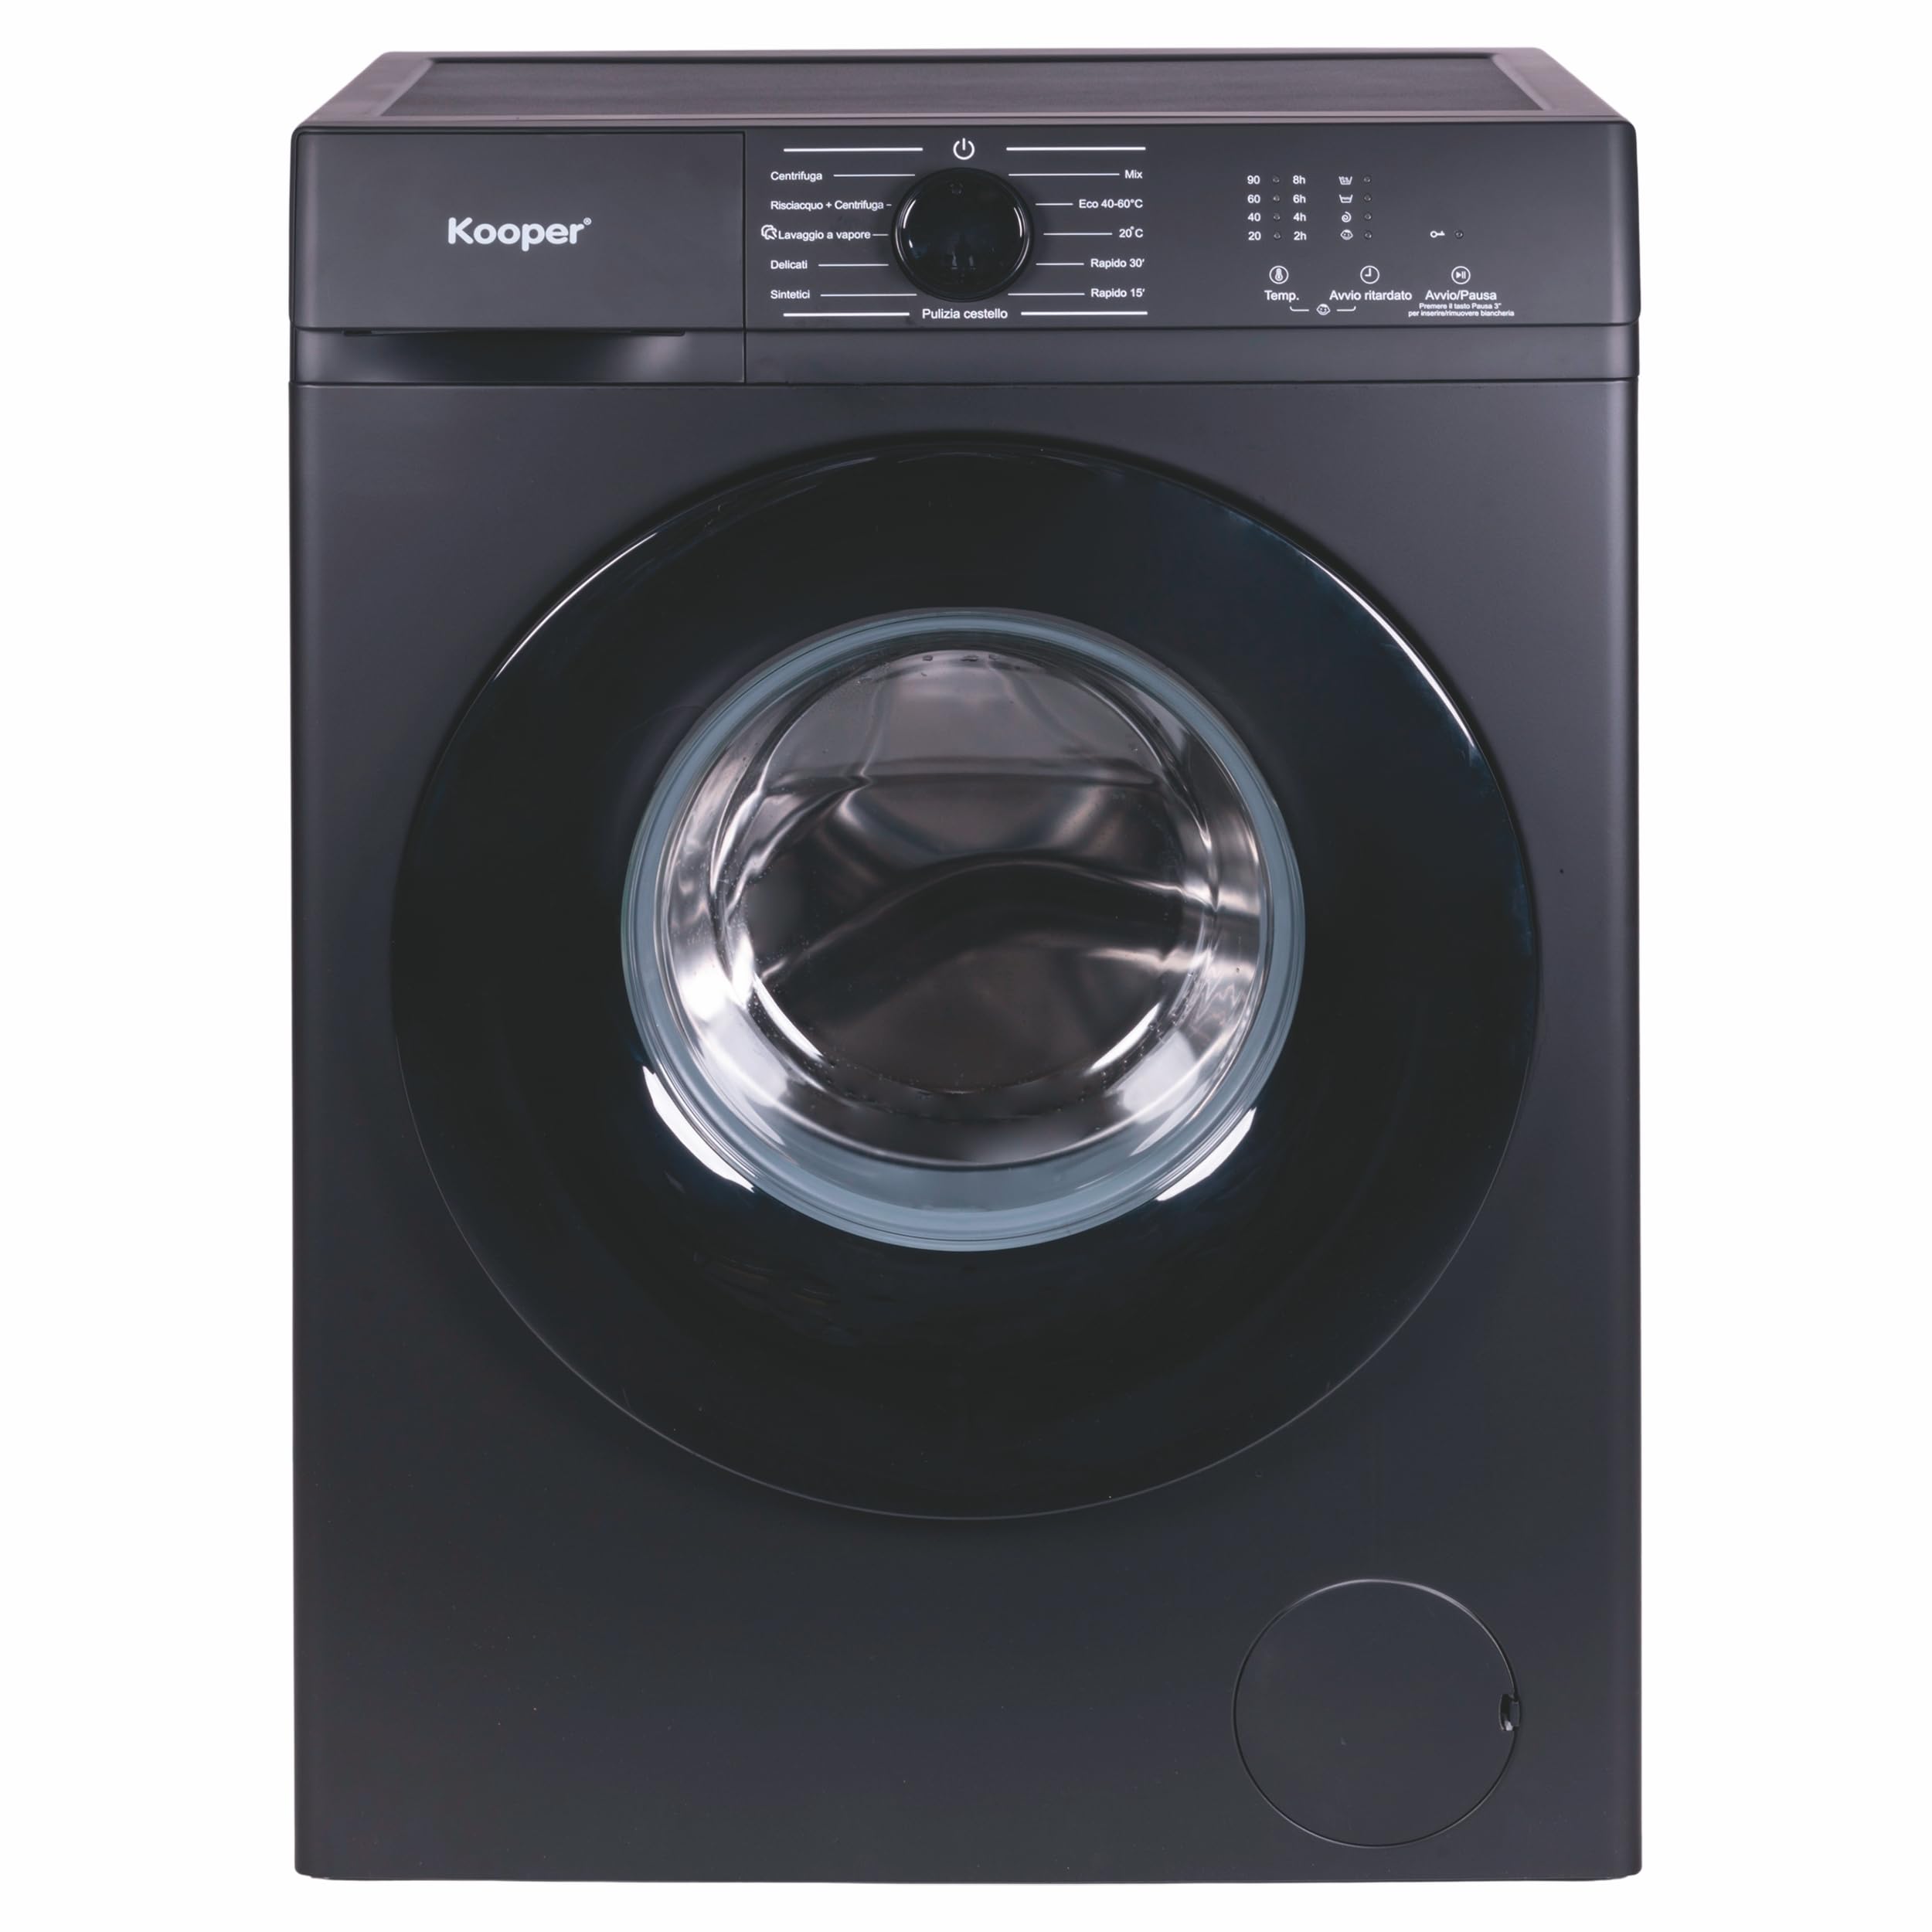
Figure 2.1: Front view of the Kooper 10 Kg Slim Washing Machine.
Key Features:
- Capacity: 10 Kg front load
- Spin Speed: Up to 1400 RPM (revolutions per minute)
- Programs: 11 automatic washing programs
- Special Functions: Quick wash, Steam wash, Drum clean, Delayed start, Child safety lock
- Construction: Galvanized iron body, ABS control panel, 430 stainless steel drum
- Energy Efficiency: Class A
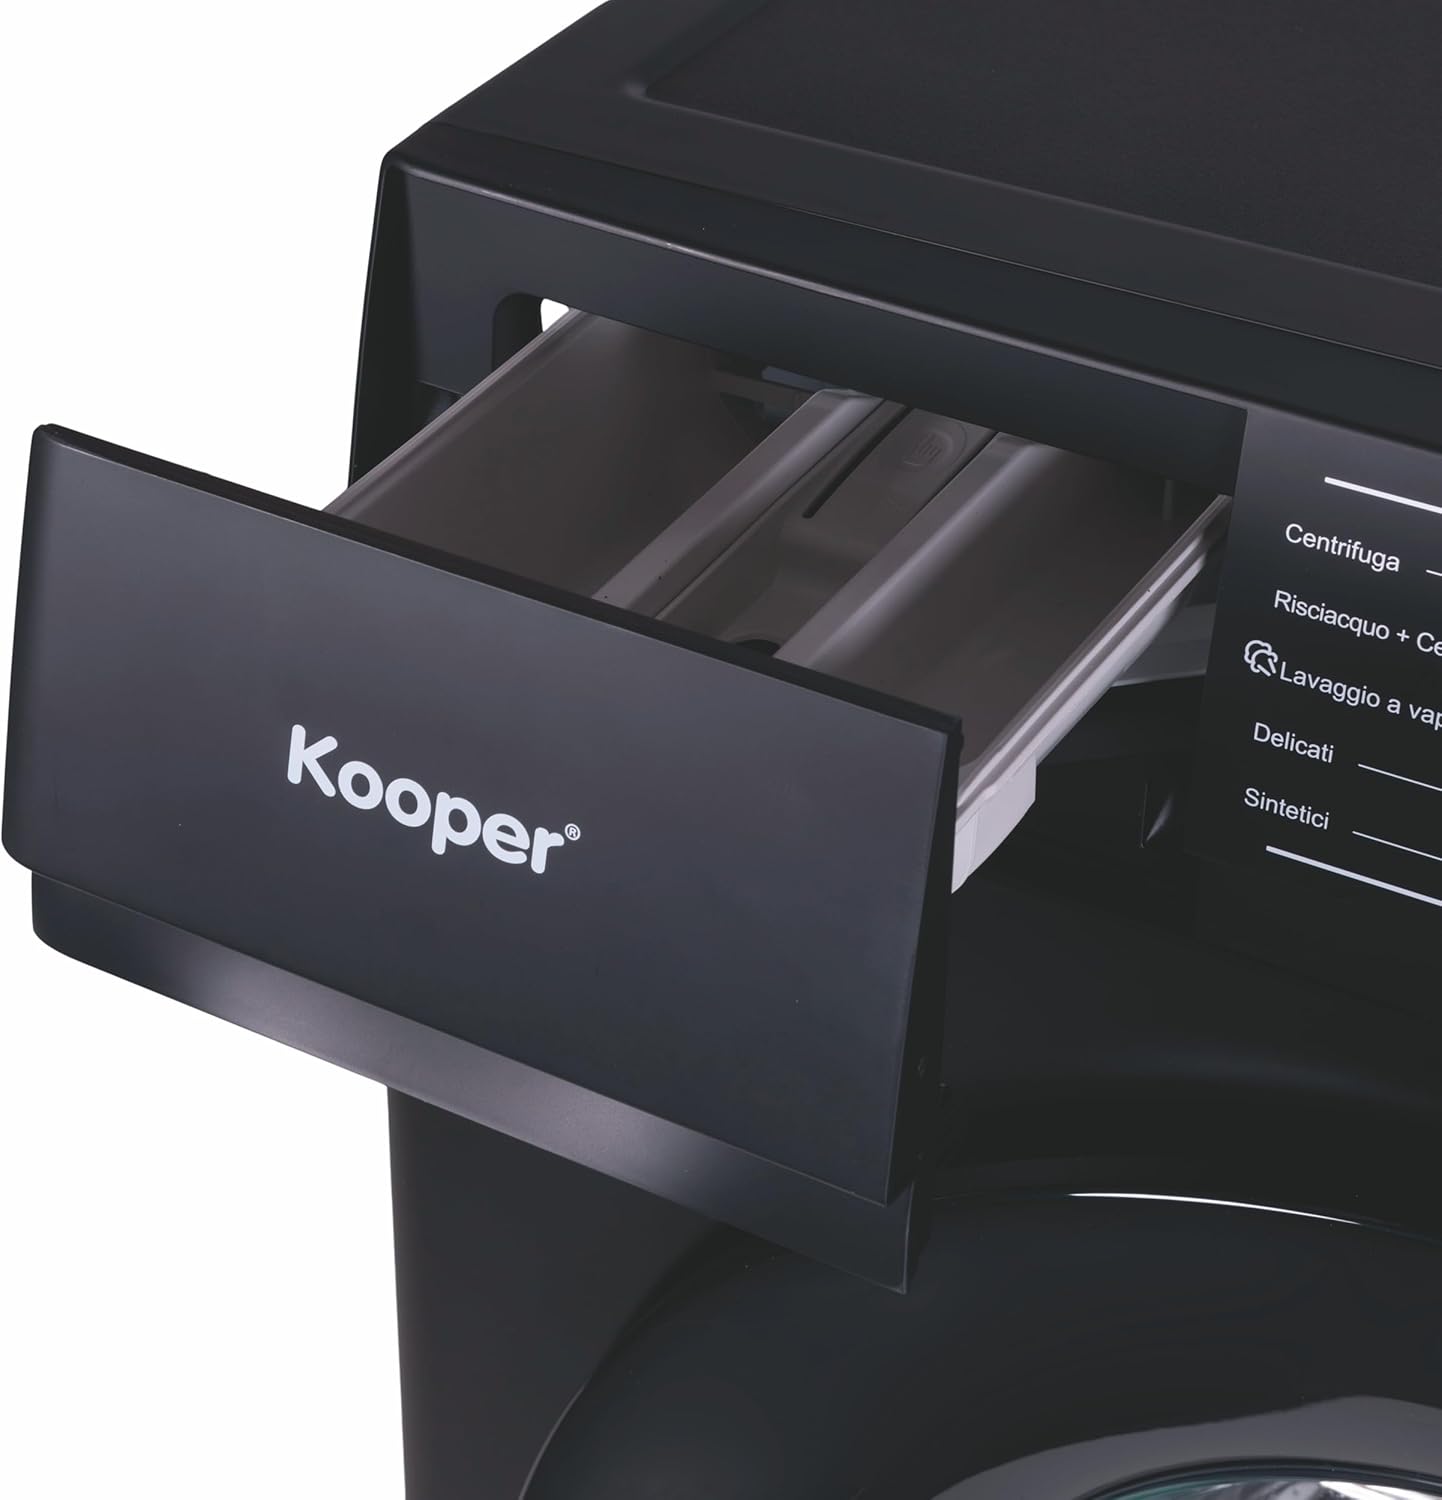
Figure 2.2: Open detergent drawer for adding detergent and fabric softener.
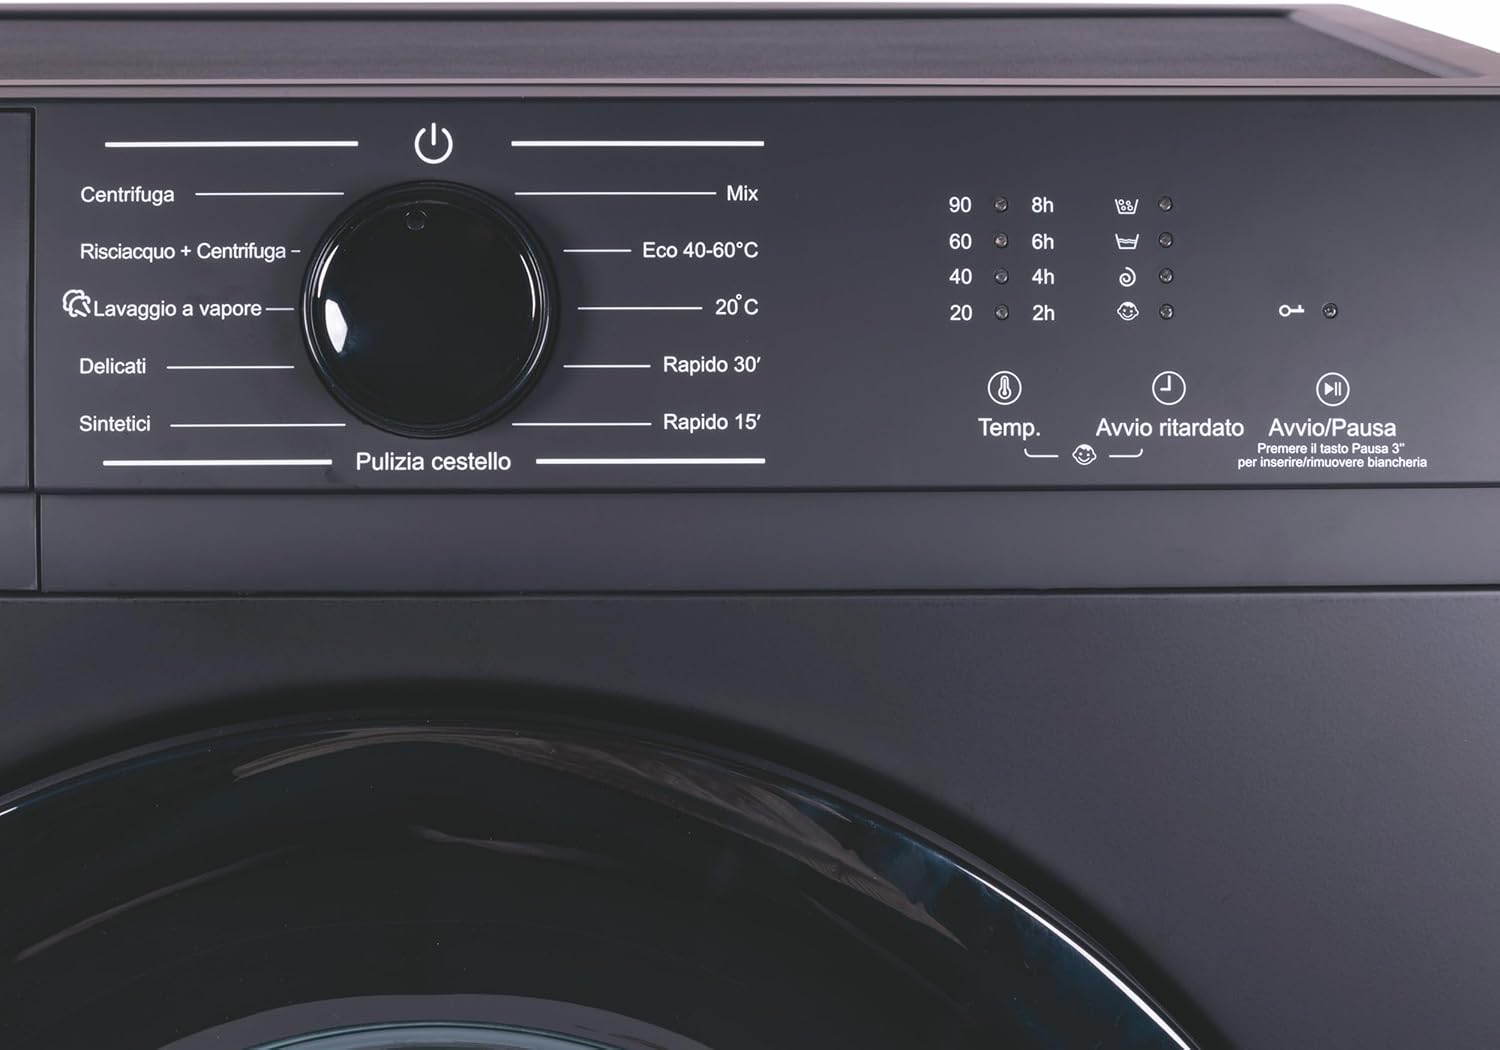
Figure 2.3: Control panel with program selector dial and function buttons.
3. Setup
3.1 Unpacking
- Remove all packaging materials, including the polystyrene base and any protective films.
- Remove the transport bolts located at the rear of the machine. These bolts secure the drum during transit and must be removed before use to prevent damage. Keep them for future transport.
3.2 Placement
- Place the washing machine on a firm, level surface.
- Ensure there is adequate space around the machine for ventilation and maintenance.
- The dimensions of the product are approximately 60 cm (width) x 52 cm (depth) x 85 cm (height).
3.3 Water Connection
- Connect the inlet hose to a cold water tap with a 3/4 inch thread.
- Ensure all connections are tight to prevent leaks.
3.4 Drainage Connection
- Position the drain hose into a standpipe or over the edge of a sink, ensuring it is securely fixed to prevent displacement during operation.
- The drain hose should be at a height between 60 cm and 100 cm from the floor.
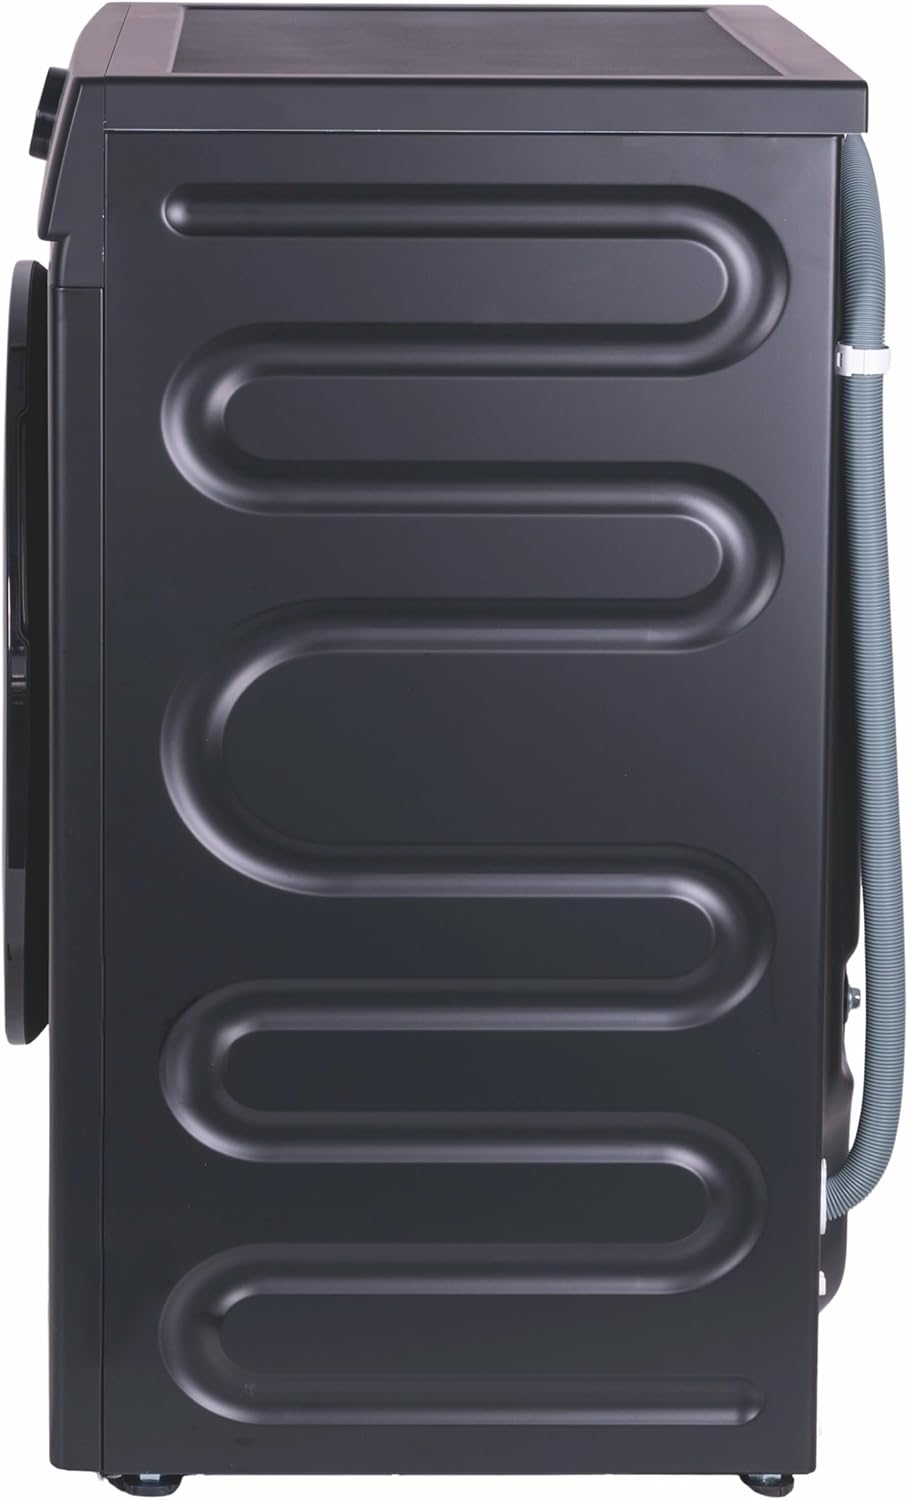
Figure 3.1: Side view illustrating the water inlet and drain hose connections.
3.5 Power Connection
- Plug the power cord into a grounded electrical outlet (220-240 V~50 Hz).
- Do not use extension cords or adapters.
3.6 Leveling
- Adjust the leveling feet at the bottom of the washing machine until the appliance is stable and level. Use a spirit level to verify.
- Proper leveling reduces vibration and noise during operation.
4. Operating Instructions
4.1 Loading Laundry
- Open the porthole door.
- Load laundry into the drum, ensuring not to overload. Leave enough space for clothes to tumble freely.
- Close the porthole door firmly until it clicks.
4.2 Adding Detergent and Softener
- Pull out the detergent drawer (refer to Figure 2.2).
- Add the appropriate amount of detergent to the main wash compartment.
- Add fabric softener to the designated compartment (if desired).
- Close the detergent drawer gently.
4.3 Selecting a Program
- Turn the program selector dial (refer to Figure 2.3 and Figure 4.1) to choose one of the 11 automatic programs.
- The spin speed is pre-selected based on the chosen program.

Figure 4.1: Close-up of the program selector dial.
4.4 Adjusting Temperature and Options
- Press the 'Temp.' button (refer to Figure 4.2) to cycle through available temperature settings for the selected program.
- Additional options like 'Quick Wash' or 'Steam Wash' may be available depending on the program.

Figure 4.2: Close-up of the function buttons.
4.5 Delayed Start Function
- Press the 'Delayed Start' button (refer to Figure 4.2) repeatedly to set a delay time (e.g., 2h, 4h, 6h, 8h) before the program begins.
4.6 Starting a Wash Program
- Press the 'Start/Pause' button (refer to Figure 4.2) to begin the selected wash program.
- To add or remove laundry during a cycle, press the 'Start/Pause' button for 3 seconds. The machine will pause, and the door will unlock if safe to open.
4.7 Child Safety Lock
- Activate the child safety lock to prevent accidental changes to settings or program interruption. Refer to the control panel for the specific button combination (often a long press of two buttons simultaneously).
5. Washing Programs
The Kooper washing machine offers 11 automatic programs designed for various fabric types and washing needs. Select the most suitable program using the selector dial.

Figure 5.1: Front view with labels indicating available washing programs.
Program List:
- Spin: For draining water and spinning laundry.
- Rinse + Spin: For rinsing and spinning laundry.
- Steam Wash: Utilizes steam for enhanced cleaning and sanitization.
- Delicates: Gentle wash for delicate fabrics.
- Synthetics: For synthetic items like polyester, nylon, etc.
- Drum Clean: A self-cleaning program for maintaining the drum.
- Quick 15': A very short wash cycle for lightly soiled items.
- Quick 30': A short wash cycle for lightly soiled items.
- 20°C: Low-temperature wash for energy saving.
- Eco 40-60°C: Energy-efficient program for normally soiled cotton items washable at 40°C or 60°C.
- Mix: For mixed loads of different fabric types.
6. Maintenance
Regular maintenance ensures optimal performance and extends the lifespan of your washing machine.
6.1 Cleaning the Detergent Drawer
- Pull out the detergent drawer completely.
- Remove any residue from the compartments using warm water and a brush.
- Rinse thoroughly and reinsert the drawer.
6.2 Cleaning the Drum
- Use the dedicated 'Drum Clean' program periodically to remove detergent residue and odors from the drum.
- Run this program without any laundry in the machine.
6.3 Cleaning the Drain Filter
- Locate the drain filter, usually at the bottom front of the machine.
- Place a shallow container underneath to catch any residual water.
- Carefully unscrew and remove the filter.
- Clean the filter of any lint, coins, or debris.
- Screw the filter back in securely.
6.4 Exterior Cleaning
- Wipe the exterior surfaces with a soft, damp cloth.
- Do not use abrasive cleaners or solvents.
7. Troubleshooting
The washing machine is equipped with automatic error diagnosis. If an issue occurs, check the following common problems before contacting service.
| Problem | Possible Cause | Solution |
|---|---|---|
| Machine does not start | Power cord not plugged in; Door not closed properly; Program not selected; Start/Pause button not pressed. | Check power connection; Ensure door is latched; Select a program; Press Start/Pause. |
| No water intake | Water tap closed; Water inlet hose kinked or blocked; Water pressure too low. | Open water tap; Straighten hose; Check water supply. |
| Water not draining | Drain hose kinked or blocked; Drain filter clogged. | Straighten hose; Clean drain filter (Section 6.3). |
| Excessive vibration/noise | Transport bolts not removed; Machine not level; Overloaded drum. | Remove transport bolts (Section 3.1); Adjust leveling feet (Section 3.6); Reduce laundry load. |
| Child lock activated | Child lock engaged. | Deactivate child lock (refer to control panel instructions). |
8. Specifications
| Specification | Value |
|---|---|
| Brand | Kooper |
| Model Number | 5922341 |
| Product Dimensions (W x D x H) | 60 x 52 x 85 cm |
| Product Weight | 63 kg |
| Capacity | 10 Kg |
| Max Spin Speed | 1400 RPM |
| Energy Efficiency Class | A |
| Noise Level | 76 dB |
| Max Power Consumption | 1600 W |
| Input Voltage/Frequency | 220-240 V~50 Hz |
| Included Components | Washing machine |

Figure 8.1: Energy Label for Kooper Washing Machine Model 5922341.
For detailed energy information, visit: eprel.ec.europa.eu/qr/2178763
9. Warranty and Support
This Kooper washing machine is covered by a manufacturer's warranty. Please refer to the warranty card included with your purchase for specific terms and conditions, including the warranty period and coverage details.
For technical assistance, spare parts, or to report a fault, please contact Kooper customer support. Have your model number (5922341) and purchase date ready when contacting support.
Contact information for customer support can typically be found on the manufacturer's website or on the warranty documentation.