1. Product Overview
The CAMPROS CP 12-Person Family Camping Tent (Model CP-200972-GRN) is designed for large families or group camping, offering a spacious and comfortable outdoor shelter. This tent features a waterproof and windproof design, a top rainfly, and multiple mesh windows for ventilation. It includes three rooms with removable dividers for privacy and organization.
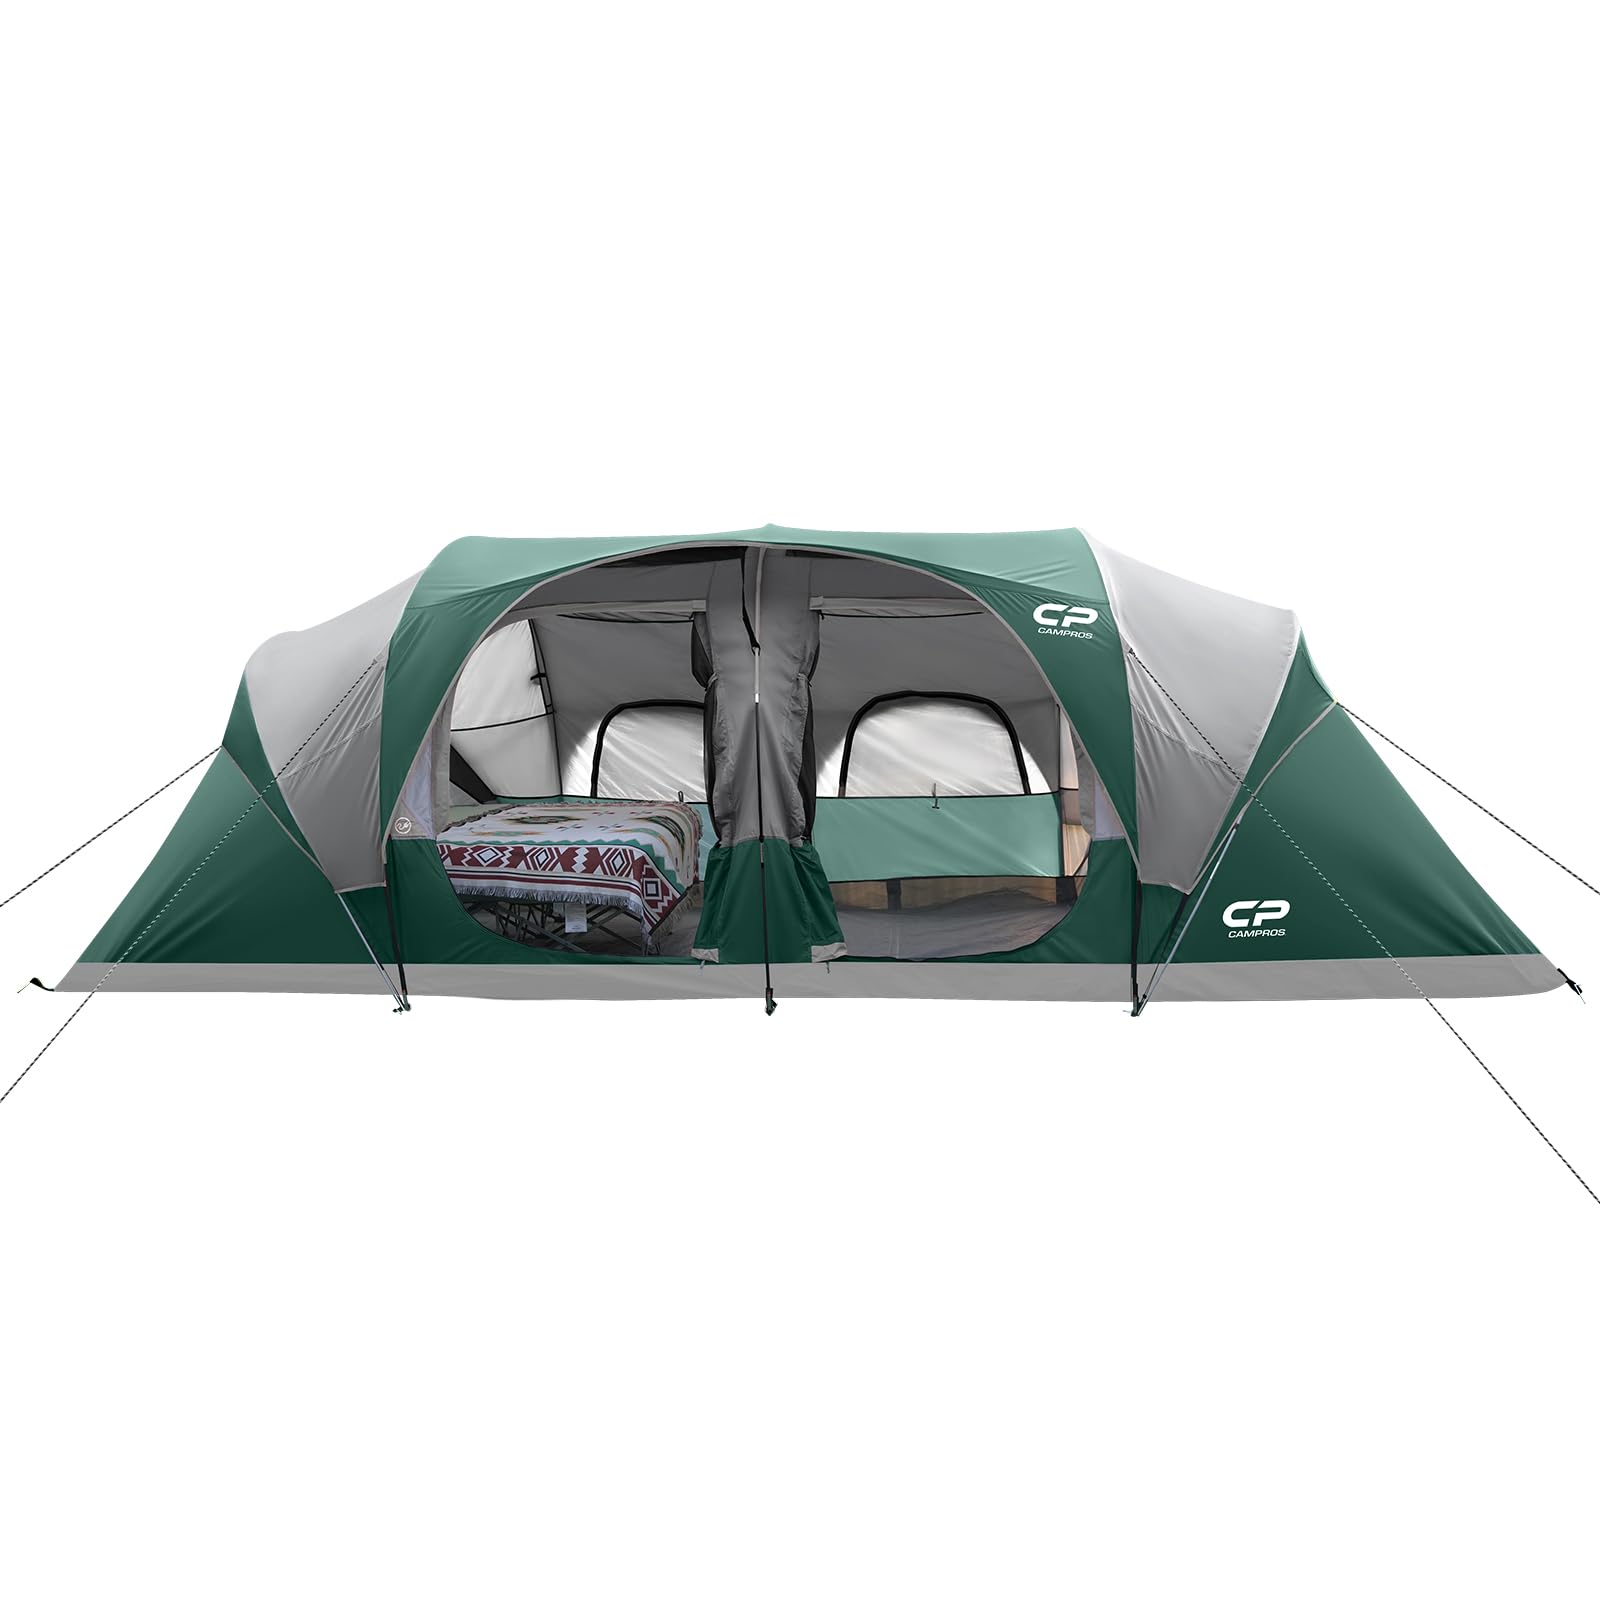
Image: The CAMPROS CP 12-Person Family Camping Tent in Dark Green, fully set up in an outdoor environment.
Key Features:
- Spacious Interior: 180 sq. ft. (20' x 9') with a 72" center height, accommodating up to 3 queen or 5 full air mattresses.
- Quick Setup: Designed for assembly in under 10 minutes with color-coded poles.
- Weather Protection: Constructed from waterproof 185T polyester (PU1000mm) with sealed seams and rain strips for protection against rain and wind.
- Excellent Ventilation: Features a large mesh roof, mesh door, and multiple mesh windows to ensure airflow and reduce condensation.
- 3-Room Design: Two removable curtains create three private spaces or group areas, also usable as projector screens.
2. What's in the Box
Verify that all components are present before beginning assembly.
- Tent Body
- Rainfly
- Tent Poles (color-coded)
- Stakes
- Carry Bag
- Removable Room Dividers (Curtains)
3. Setup Instructions
The CAMPROS CP 12-Person Camping Tent is designed for quick and easy setup. Two people can typically pitch this tent in under 10 minutes. No special tools or prior experience are required.
Step-by-Step Assembly:
- Prepare the Area: Unpack the tent and all components. Lay out the tent body on a flat, level surface, free from sharp objects.
- Assemble Poles: Connect the color-coded tent poles.
- Insert Poles: Insert the assembled poles into their corresponding sleeves on the tent body. Match pole colors to sleeve colors for correct placement.
- Raise the Tent: Lift the tent structure by securing the poles.
- Secure the Tent: Stake down the tent corners and guy lines to ensure stability.
- Attach Rainfly: Place the rainfly over the tent, ensuring it is correctly oriented. Secure the rainfly to the tent body using the attached buckles or ties.
- Install Dividers: If desired, attach the removable curtains inside the tent to create separate rooms.

Image: Visual guide demonstrating the three main steps for setting up the tent: laying out the tent, inserting poles, and raising the tent structure.

Image: Detailed diagram illustrating the process of inserting tent poles into sleeves and securing the rainfly.
4. Features and Design Details
Spacious Interior and Room Dividers:
The tent's generous dimensions provide ample space for multiple occupants and gear. The two included removable curtains allow for flexible configuration, creating up to three distinct living or sleeping areas. These dividers can also serve as projection screens for entertainment.

Image: The spacious interior of the tent, furnished with camping chairs, a small table, and an air mattress, highlighting its capacity for family and friends.

Image: An interior view of the tent demonstrating a movie being projected onto one of the removable divider curtains, showcasing its versatility.
Ventilation System:
The tent incorporates a large mesh roof and six large mesh windows, along with a mesh door, to maximize airflow and minimize condensation. This design helps maintain a comfortable internal temperature and reduces humidity.

Image: A diagram illustrating the ventilation system of the tent, with arrows indicating air circulation through the mesh roof and windows.
Waterproof and Windproof Construction:
The tent is made from 185T polyester with a PU1000mm waterproof rating. All seams are sealed, and rain strips are integrated to prevent water intrusion, ensuring a dry interior during rainy or windy conditions.
Video: A demonstration of the tent's waterproof capabilities during a rain test, showing water beading and running off the tent fabric.

Image: A close-up view of the tent's fabric showing water droplets beading on the surface, indicating its water-resistant properties.
Convenience Features:
The tent includes an electrical access port for running power cords inside, easy-pull zippers for smooth operation, and internal storage pockets to keep small items organized and accessible.

Image: A composite image detailing the tent's convenience features: an electrical access port, an easy-pull zipper, and internal storage pockets.
5. Usage and Care
General Usage Tips:
- Always set up the tent on level ground, clear of sharp objects.
- Ensure all stakes and guy lines are properly secured for maximum stability, especially in windy conditions.
- Utilize the mesh windows and roof for optimal ventilation to prevent condensation buildup.
- Avoid touching the tent walls during rain to prevent water from seeping through.
Product Care Instructions:
- Cleaning: Hand wash only. Do not machine wash or use harsh detergents. Use mild soap and water for spot cleaning.
- Drying: Ensure the tent is completely dry before packing it away to prevent mildew and odor.
- Storage: Store the tent in its carry bag in a cool, dry place, away from direct sunlight and extreme temperatures.
- Maintenance: Regularly inspect poles, zippers, and fabric for any damage. Repair minor tears promptly to maintain tent integrity.
6. Specifications
| Feature | Detail |
|---|---|
| Model Name | CP-200972-GRN |
| Occupancy | 12 Person |
| Product Dimensions (L x W x H) | 240" x 108" x 72" (20' x 9' x 6') |
| Floor Area | 169 Square Feet |
| Center Height | 72 Inches |
| Item Weight | 12.47 Kilograms |
| Material | 185T Polyester |
| Water Resistance Technology | PU1000mm coating, sealed seams, rain strips |
| Seasons | 3 Season |
| Number of Rooms | 3 (with removable dividers) |
| Number of Doors | 2 |
| Pole Material Type | Aluminum |
| Color | Dark Green |
7. Troubleshooting
This section provides general guidance for common issues. For specific problems not listed, please contact customer support.
Condensation Inside the Tent:
- Ensure all mesh windows and the mesh roof are open to allow for maximum airflow.
- Avoid cooking or bringing wet items inside the tent.
- If possible, choose a campsite with good air circulation.
Difficulty with Zippers:
- Ensure the tent fabric is not caught in the zipper. Gently pull the fabric away from the zipper path.
- Apply a silicone-based zipper lubricant if zippers are consistently stiff.
Water Leakage:
- Verify that the rainfly is correctly installed and fully covers the tent, with all attachment points secured.
- Check for any tears or punctures in the fabric or seams. Small holes can be repaired with a tent repair kit.
- Ensure the tent is pitched on ground that allows for proper water drainage away from the tent base.
8. Warranty and Support
CAMPROS CP offers a 12-month warranty for this product. For warranty claims, technical support, or any questions regarding your tent, please contact CAMPROS CP customer service.
Contact information can typically be found on the product packaging or the official CAMPROS CP website. Please have your model number (CP-200972-GRN) and purchase details ready when contacting support.


