1. Product Overview
This LED taillight assembly is designed as a direct replacement for the right-side rear lamp on Audi Q5 models manufactured between 2010 and 2013. It integrates multiple lighting functions including turn signal, stop light, brake light, fog light, and daytime running light. The unit is engineered for durability and improved visibility, contributing to enhanced road safety.
The taillight features a robust construction resistant to impacts, ensuring longevity. Its design enhances visibility for other drivers, particularly during braking or signaling, thereby improving overall road safety. The unit is designed for straightforward installation without requiring complex modifications or specialized tools.
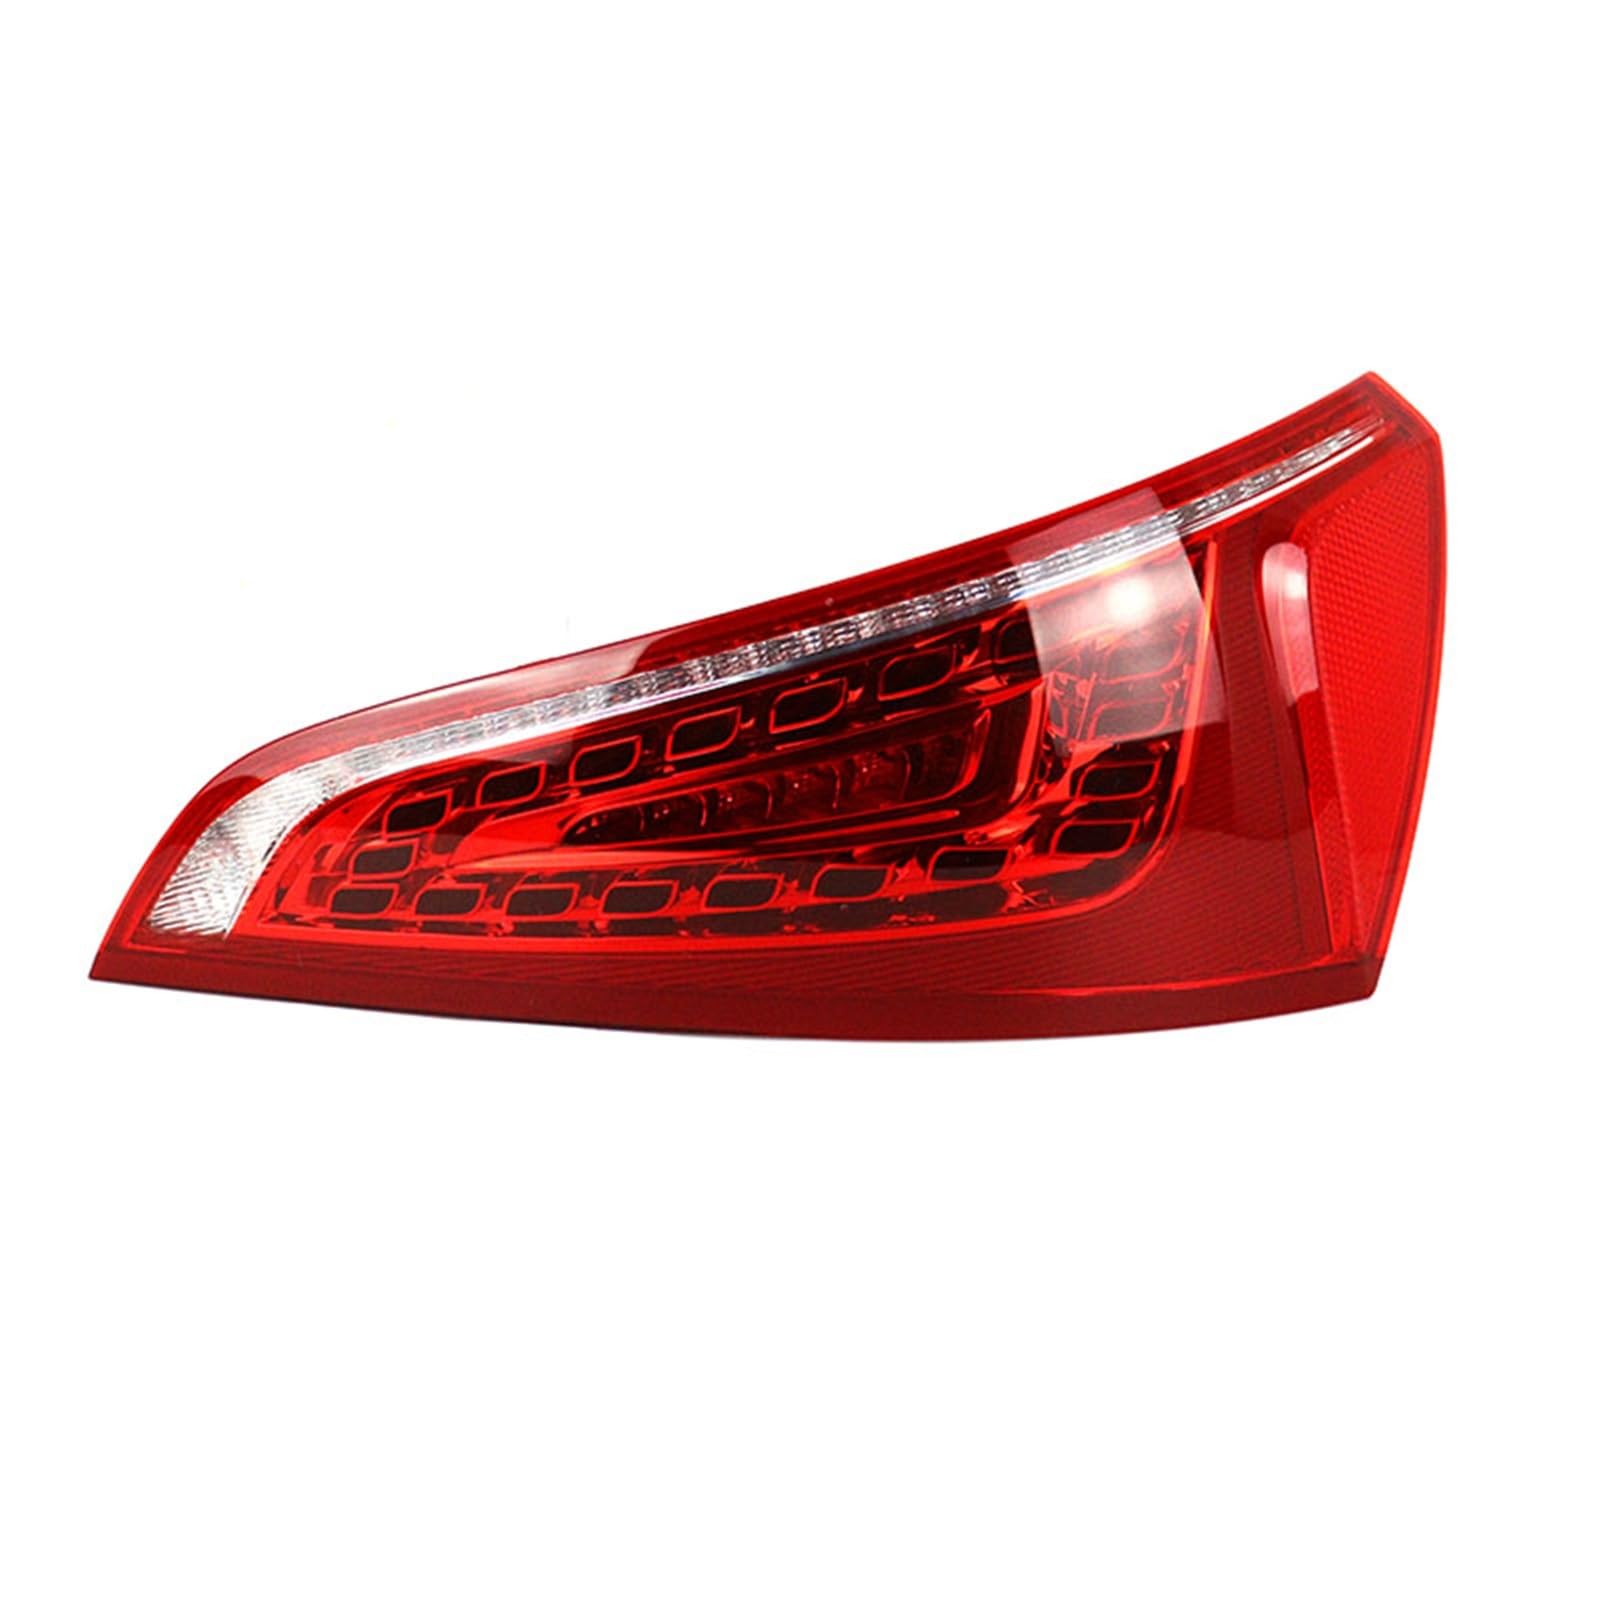
Image: Front view of the Generico LED taillight assembly.
2. Specifications
| Feature | Detail |
|---|---|
| Brand | Generico |
| Model | OUABLALAX-ONLYRIGHT |
| Compatibility | Audi Q5 (2010-2013) |
| Placement on Vehicle | Rear, Right Side |
| Material | ABS |
| Color | Red |
| Voltage | 12V |
| Weight | 500 g |
| Dimensions | 2.54 x 2.54 x 2.54 cm |
| OEM Part Numbers | 8R0945093A, 8R0945094A |
3. Safety Information
Read all instructions carefully before installation. Failure to follow these instructions may result in damage to the product, vehicle, or personal injury.
- Always disconnect the vehicle's battery (negative terminal first) before performing any electrical work to prevent electrical shock or short circuits.
- Ensure the vehicle is parked on a level surface with the parking brake engaged and the engine off.
- Wear appropriate personal protective equipment, such as gloves and eye protection, during installation.
- Do not modify the product or vehicle wiring. Any modifications may void the warranty and could lead to malfunction.
- If you are unsure about any installation steps or lack the necessary tools, consult a qualified automotive technician.
4. Package Contents
Verify that all components are present and undamaged before beginning installation.
- 1 x Generico LED Taillight Assembly (Right Side)
5. Setup and Installation
5.1 Pre-Installation Checks
- Verify that the received taillight matches the vehicle's model (Audi Q5 2010-2013) and the correct side (right).
- Inspect the new taillight unit for any visible damage or defects before installation.
5.2 Installation Steps
The following steps outline a general procedure for taillight replacement. Specific vehicle models may have slight variations.
- Park the vehicle safely on a level surface, engage the parking brake, and turn off the ignition. Disconnect the negative terminal of the vehicle's battery using an appropriate wrench.
- Access the existing taillight assembly. This typically involves opening the trunk or tailgate and removing any trim panels or access covers that obstruct the taillight mounting bolts or clips. Consult your vehicle's owner's manual for specific access instructions.
- Unscrew the mounting bolts or release the clips securing the old taillight assembly to the vehicle body. Carefully pull the old taillight assembly away from the vehicle.
- Disconnect the electrical connector(s) from the old taillight. If applicable, transfer any reusable components (e.g., bulb holders, gaskets) to the new taillight, though this LED unit is typically a complete, sealed assembly.
- Connect the electrical connector(s) from the vehicle's wiring harness to the new Generico LED taillight assembly. Ensure a secure and snug connection.
- Position the new taillight assembly into the vehicle's body opening. Ensure it sits flush and is correctly aligned with the body panels.
- Secure the new taillight with the mounting bolts or clips removed in step 3. Do not overtighten to avoid damaging the plastic housing.
- Reinstall any trim panels or access covers removed in step 2.
- Reconnect the negative terminal of the vehicle's battery.
- Test all lighting functions (turn signal, brake, running, fog) to ensure proper operation before driving the vehicle.

Image: Rear view of an Audi Q5 indicating the location for taillight installation.

Image: Rear view of the taillight assembly, showing the electrical connector for installation.
6. Operating Instructions
The Generico LED taillight functions automatically with your vehicle's existing lighting system. When the vehicle's lights are activated, the taillight will illuminate accordingly.
- Running Lights: Activated when the vehicle's headlights or parking lights are switched on.
- Brake Lights: Illuminate brightly when the brake pedal is pressed.
- Turn Signals: Flash when the turn signal lever is engaged, indicating a turn or lane change.
- Fog Lights: Activate when the vehicle's rear fog light switch is engaged (if the vehicle is equipped with this feature).
- Daytime Running Lights (DRL): May integrate with the vehicle's DRL system if the taillight assembly supports this function through the vehicle's wiring.

Image: The LED taillight demonstrating its various lighting functions: turn signal (amber), running light (red), and brake light (brighter red).
7. Maintenance
Proper maintenance ensures the longevity and optimal performance of your LED taillight.
- Cleaning: Clean the taillight lens periodically with a soft cloth and a mild automotive cleaning solution. Avoid abrasive cleaners, solvents, or harsh chemicals that could scratch or damage the lens material.
- Inspection: Regularly inspect the taillight for any signs of cracks, moisture intrusion, or loose connections. Ensure all lighting functions are operating correctly.
- No User-Serviceable Parts: The LED assembly is a sealed unit and contains no user-serviceable parts. Do not attempt to open or disassemble the unit, as this will void the warranty and may cause damage.
8. Troubleshooting
If you encounter issues with your Generico LED taillight, refer to the following troubleshooting guide:
| Problem | Possible Cause | Solution |
|---|---|---|
| Light not functioning | Loose or disconnected electrical connector Blown fuse Vehicle battery issue | Check and secure all electrical connections. Inspect the vehicle's fuse box for a blown fuse related to the taillights and replace if necessary. Ensure the vehicle's battery is properly connected and charged. |
| Intermittent operation | Damaged or frayed wiring Loose mounting of the taillight assembly | Inspect the vehicle's wiring harness for any damage and repair as needed. Ensure the taillight assembly is securely mounted and all bolts are tightened. |
| Moisture inside the lens | Improper seal or damage to the housing | Inspect the taillight for cracks or gaps in the seal. If damage is present, the unit may need replacement. |
If issues persist after performing these troubleshooting steps, it is recommended to consult a qualified automotive technician for further diagnosis and repair.
9. Warranty and Support
For specific warranty details, terms, and conditions, please refer to the documentation provided at the time of purchase or contact the retailer from whom this product was acquired. Keep your proof of purchase (receipt or invoice) as it may be required for any warranty claims.
For technical support or assistance with installation and troubleshooting beyond the scope of this manual, please reach out to the retailer or manufacturer's customer service department.


