1. Introduction
Thank you for choosing the DEDRA MC0932 Mini Laser Distance Meter. This compact and precise device is designed for quick and accurate distance measurements in various indoor applications. Please read this manual carefully before using the device to ensure safe and proper operation.
1.1 Safety Information
WARNING: Laser Radiation
- This device emits Class II laser radiation. Do not stare directly into the laser beam or direct it towards other people's eyes.
- Do not disassemble or modify the device. Unauthorized modifications may result in hazardous laser radiation exposure.
- Keep the device out of reach of children.
- Use only specified batteries. Do not mix old and new batteries or different types of batteries.
- Remove batteries if the device will not be used for an extended period to prevent leakage.
2. Package Contents
Carefully unpack the box and ensure all items listed below are present and in good condition:
- DEDRA MC0932 Mini Laser Distance Meter
- Protective Pouch
- Wrist Strap
- AAA Batteries (2x)

Image: The DEDRA MC0932 Mini Laser Distance Meter, its protective pouch, wrist strap, and two AAA batteries.
3. Product Overview
3.1 Device Layout
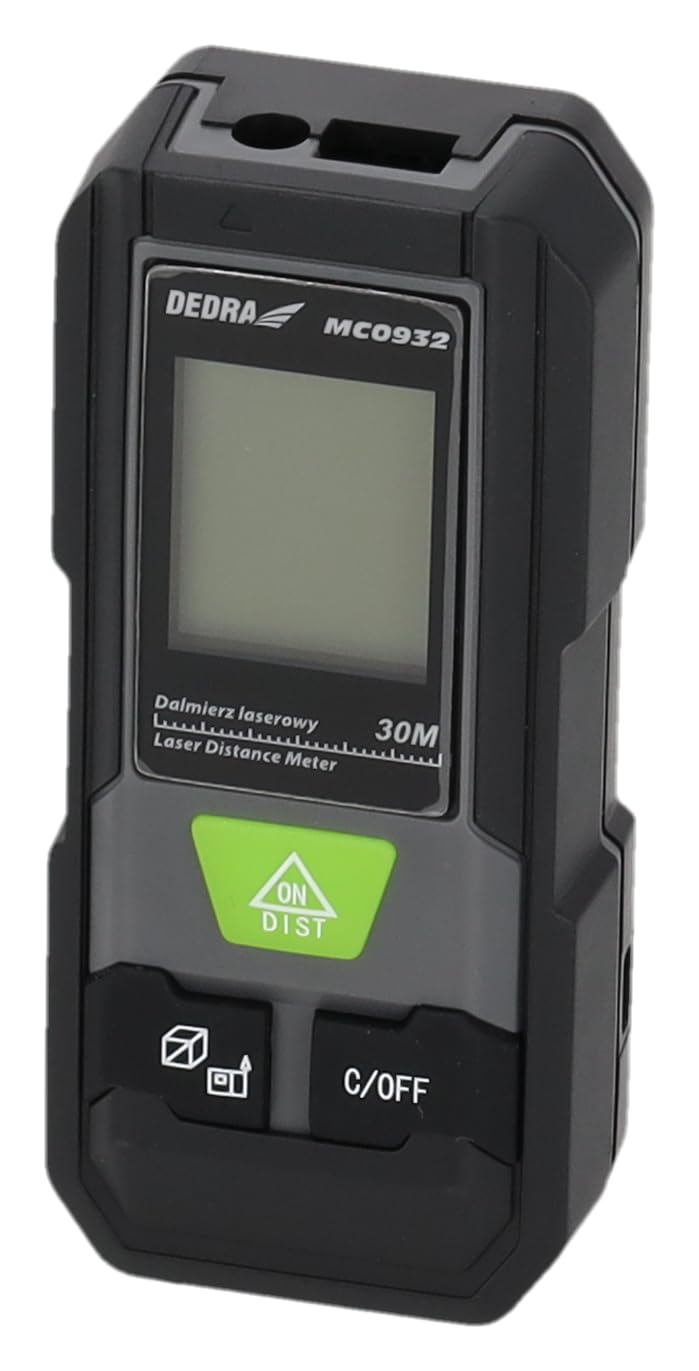
Image: Front view of the DEDRA MC0932 showing the display and control buttons.
- Laser Emission Lens
- Laser Reception Lens
- Display Screen
- ON / DIST Button (Power On / Single Measurement / Continuous Measurement)
- C / OFF Button (Clear / Power Off)
- Function / Unit Button (Mode Selection / Unit Switching)
- Reference Point Button (Front/Rear Edge Measurement)

Image: Back view of the DEDRA MC0932, highlighting the battery compartment.
- Battery Compartment
4. Setup
4.1 Battery Installation
- Locate the battery compartment cover on the back of the device.
- Slide the cover downwards to open the compartment.
- Insert two (2) AAA batteries, ensuring correct polarity (+/-) as indicated inside the compartment.
- Close the battery compartment cover by sliding it back into place until it clicks securely.
5. Operating Instructions
5.1 Power On/Off
- To Power On: Press the ON/DIST button once. The laser will activate, and the display will light up.
- To Power Off: Press and hold the C/OFF button for approximately 2 seconds. The device will also automatically power off after 180 seconds of inactivity.
5.2 Single Distance Measurement
- Turn on the device by pressing ON/DIST. The laser will activate.
- Aim the laser beam at the target point.
- Press the ON/DIST button again. The measurement will be taken and displayed on the screen.
5.3 Continuous Measurement (Tracking)
- Turn on the device.
- Press and hold the ON/DIST button for approximately 2 seconds. The device will enter continuous measurement mode, displaying real-time distance as you move the device.
- To stop continuous measurement, press the C/OFF button once. The last measured value will remain on the display.
5.4 Area Measurement
- Turn on the device.
- Press the Function / Unit button repeatedly until the area icon (a square with 'm²' or 'ft²') appears on the display.
- Measure the first side (e.g., length) by pressing ON/DIST.
- Measure the second side (e.g., width) by pressing ON/DIST again.
- The device will automatically calculate and display the area.
5.5 Volume Measurement
- Turn on the device.
- Press the Function / Unit button repeatedly until the volume icon (a cube with 'm³' or 'ft³') appears on the display.
- Measure the first side (e.g., length) by pressing ON/DIST.
- Measure the second side (e.g., width) by pressing ON/DIST again.
- Measure the third side (e.g., height) by pressing ON/DIST a third time.
- The device will automatically calculate and display the volume.
5.6 Unit Switching
To change the measurement unit (meters, feet, inches), press and hold the Function / Unit button for approximately 2 seconds. The unit will cycle through m, ft, and in.
5.7 Reference Point Setting
The device can measure from its front edge or its rear edge. To switch the reference point, press the Reference Point button. An icon on the display will indicate whether the measurement is taken from the front or rear of the device.
6. Maintenance
6.1 Cleaning
- Use a soft, damp cloth to clean the device casing. Do not use abrasive cleaners or solvents.
- Gently wipe the laser lenses with a clean, lint-free cloth. Avoid touching the lenses with your fingers.
6.2 Storage
- Store the device in its protective pouch in a cool, dry place, away from direct sunlight and extreme temperatures.
- Remove the batteries if the device will not be used for an extended period (e.g., more than one month) to prevent battery leakage and damage.
6.3 Battery Replacement
When the low battery indicator appears on the display, replace both AAA batteries with new ones following the instructions in Section 4.1.
7. Troubleshooting
| Problem | Possible Cause | Solution |
|---|---|---|
| Device does not power on | Batteries are dead or incorrectly inserted. | Replace batteries or check polarity. |
| "Error" message on display | Laser path is obstructed, target surface is too reflective/absorbent, or measurement range exceeded. | Ensure clear laser path, use a target plate if necessary, ensure target is within 0.03m-30m range. |
| Inaccurate measurements | Lenses are dirty, device is unstable, or environmental interference. | Clean lenses, ensure device is stable during measurement, avoid strong light sources. |
| Display is dim or flickering | Low battery power. | Replace batteries. |
8. Specifications
| Measurement Range | 0.03m - 30m |
| Measurement Accuracy | ±2mm |
| Measurement Units | m / ft / in |
| Laser Class | Class II |
| Laser Type | 635nm, <1mW |
| Automatic Laser Off | 30 seconds |
| Automatic Device Off | 180 seconds |
| Battery Type | 2 x AAA (Alkaline recommended) |
| Operating Temperature | 0°C to 40°C (32°F to 104°F) |
| Storage Temperature | -20°C to 60°C (-4°F to 140°F) |
| Dimensions (Approx.) | 100 x 35 x 20 mm (3.9 x 1.4 x 0.8 inches) |
| Weight (with batteries) | 200g (7.05 oz) |
| IP Rating | IP54 (Dust and splash protected) |
9. Warranty and Support
DEDRA products are manufactured to high-quality standards. For warranty information, please refer to the warranty card included with your purchase or contact your local DEDRA dealer or the seller directly. For technical support or service inquiries, please reach out to the point of purchase or the official DEDRA customer service channels.