
1. Introduction
The KEYSME GT60 Pro is a high-quality aluminum barebones keyboard case designed for custom mechanical keyboard builds. This kit provides the essential housing and internal components, allowing users to select their preferred PCB, switches, and keycaps for a personalized typing experience. It features a 60% compact layout, a gasket-mounted structure for enhanced typing feel, and a durable CNC-machined aluminum alloy construction.

Image 1.1: Overview of the KEYSME GT60 Pro Aluminum Barebones Keyboard Case, showing its top and bottom views along with the detachable strap.
2. What's in the Box
Please verify that all components are present before beginning assembly:
- Aluminum alloy CNC shell (1)
- PIC fixture (1)
- Ribbon buckle and ribbon (1 set)
- Silicone gasket mat (1 set)
- Screws (6)
- Screwdriver (1)
- Strap buckle wrench (1)
- 1.5mm gold-plated FR4 positioning plate (1)
- 3.5mm latex sandwich pad (1)
- 3.0mm latex cushion (1)
- Nuts (8)

Image 2.1: The PIC60 Magnetic Barebones Keyboard DIY Kit, showcasing three available color variants (Desert Storm DS, Dark Storm MS, Jungle Storm JS) and key features like 60% layout, full aluminum body, wired connection, CNC machining, ribbon design, and Flex-Cut FR4 PCB.
3. Setup and Assembly
This section outlines the steps to assemble your KEYSME GT60 Pro barebones keyboard case. Please ensure you have your chosen 60% PCB, switches, and keycaps ready.
3.1 Gasket-Mounted Structure Overview
The GT60 Pro utilizes a gasket-mounted design to optimize sound performance and enhance the tactile typing experience. This involves several layers of materials to isolate the PCB and plate from the case.

Image 3.1: An exploded diagram illustrating the components of the gasket-mounted structure, including the FR4 Gold-Plated Plate, Air Layer Latex Composite PET Sandwich Sound Pad, Bottom Sound Absorbing Foam, Silicone Gasket, CNC Anodized Aluminum Case, and Picatinny Rail Clamp with Quick Release Strap.
3.2 Assembly Steps
- Prepare PCB and Plate: Install your chosen mechanical switches onto the 1.5mm gold-plated FR4 positioning plate. Ensure all switches are securely seated. Then, carefully attach your 60% PCB to the switch-mounted plate.
- Layer Sound Dampening: Place the 3.5mm latex sandwich pad and the 3.0mm latex cushion onto the bottom of the PCB assembly. These pads help absorb sound and provide a softer typing feel.
- Position Gasket Mat: Carefully place the silicone gasket mat around the edges of the assembled PCB and plate. The gaskets should align with the mounting points inside the aluminum case.
- Insert Assembly into Case: Gently lower the entire PCB, plate, and gasket assembly into the aluminum CNC shell. Ensure proper alignment and that the gaskets are compressed evenly.
- Secure the Assembly: Use the provided screws and nuts to secure the PCB assembly within the aluminum case. Do not overtighten.
- Attach PIC Fixture and Strap: Install the PIC fixture onto the side rail of the aluminum case using the provided screws. Then, attach the ribbon buckle and ribbon (strap) to the PIC fixture. Use the strap buckle wrench for secure fastening.

Image 3.2: Detailed view of the magnetic stand assembly, showing how the magnetic aluminum rocket mount attaches to the keyboard case.
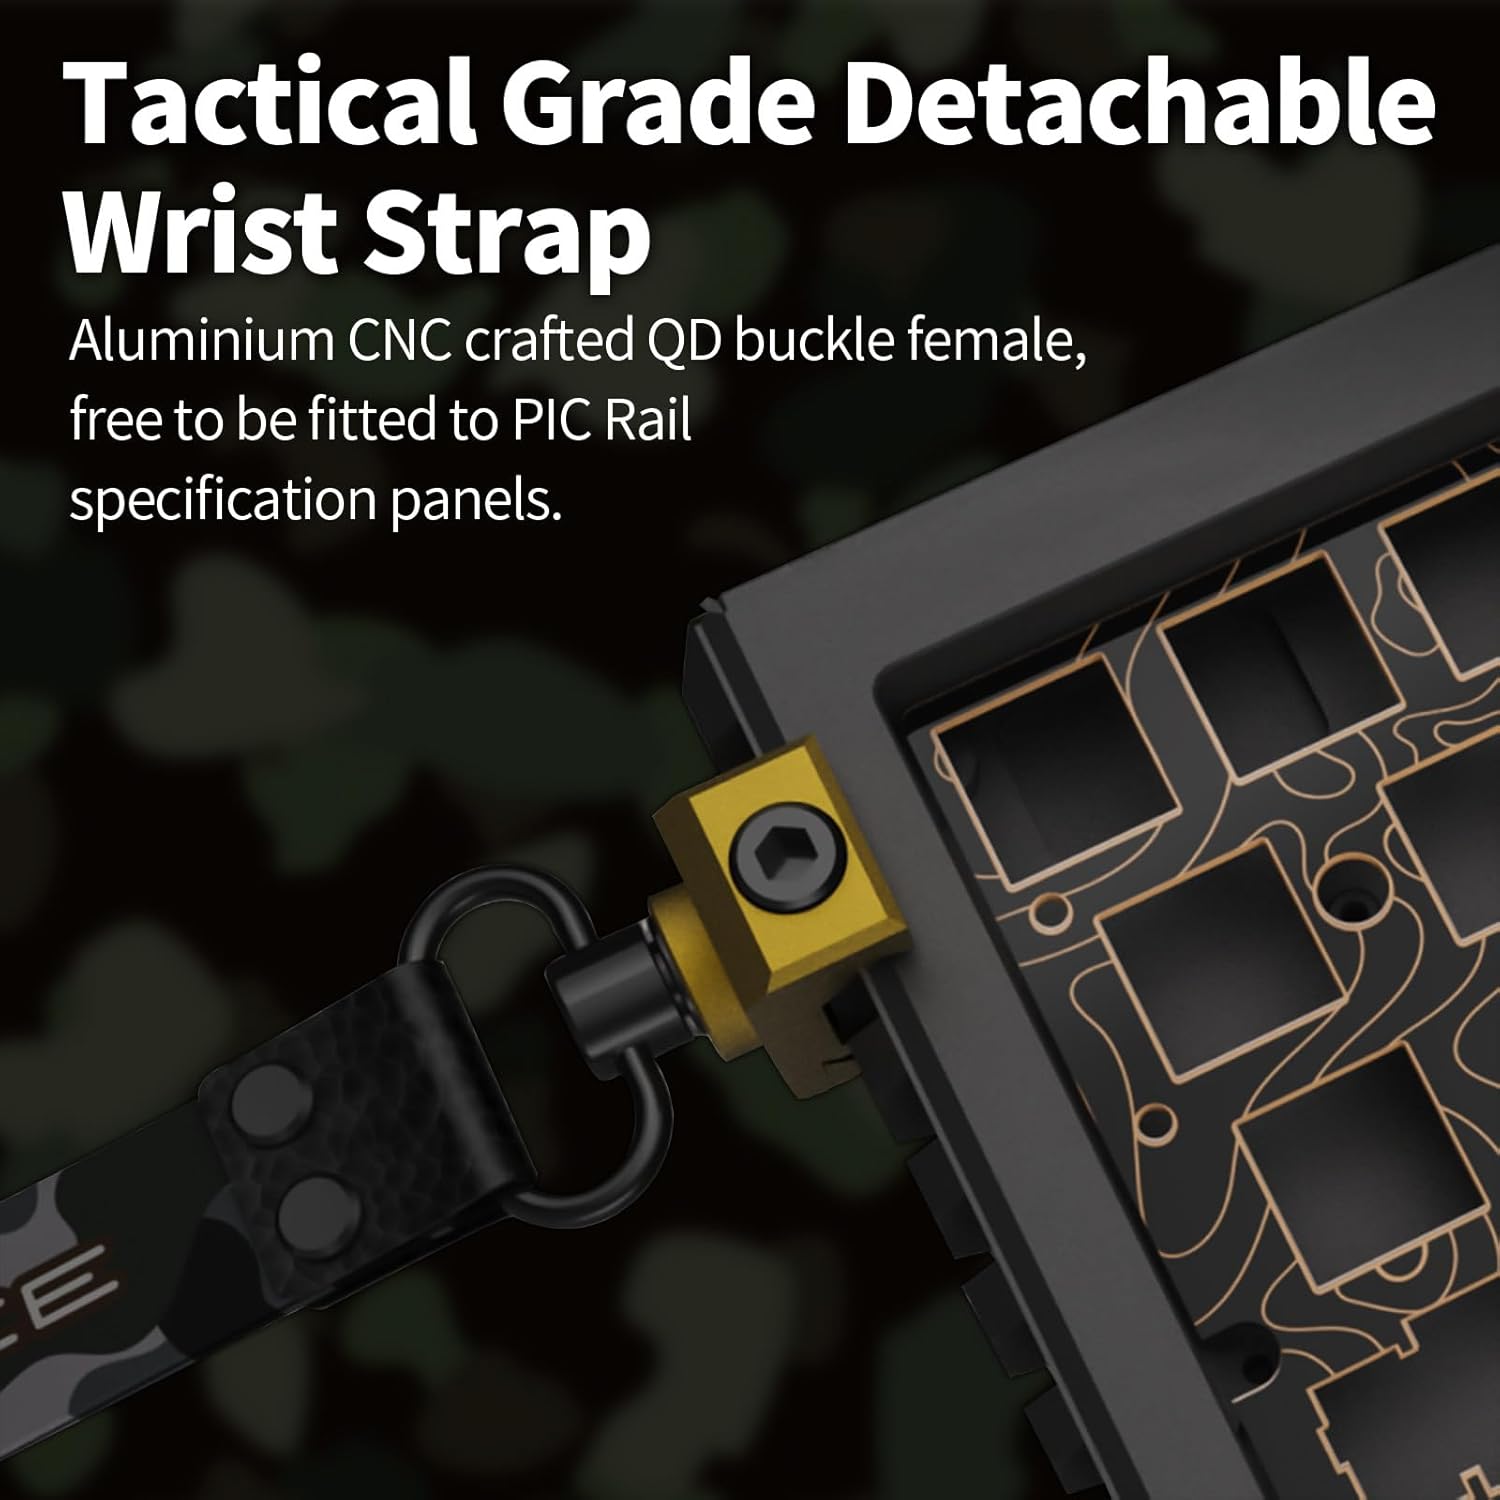
Image 3.3: Close-up of the tactical grade detachable wrist strap, featuring an aluminum CNC crafted QD buckle female, designed to fit PIC Rail specification panels.
4. Operating Your Keyboard
Once assembled, your custom mechanical keyboard is ready for use.
4.1 Connection
Connect your assembled keyboard to your computer using a USB-C cable. The GT60 Pro case supports wired connectivity via the PCB you install.
4.2 Backlighting
If your installed PCB and switches support RGB backlighting, the aluminum case is designed to accommodate this feature, allowing for customizable lighting effects.
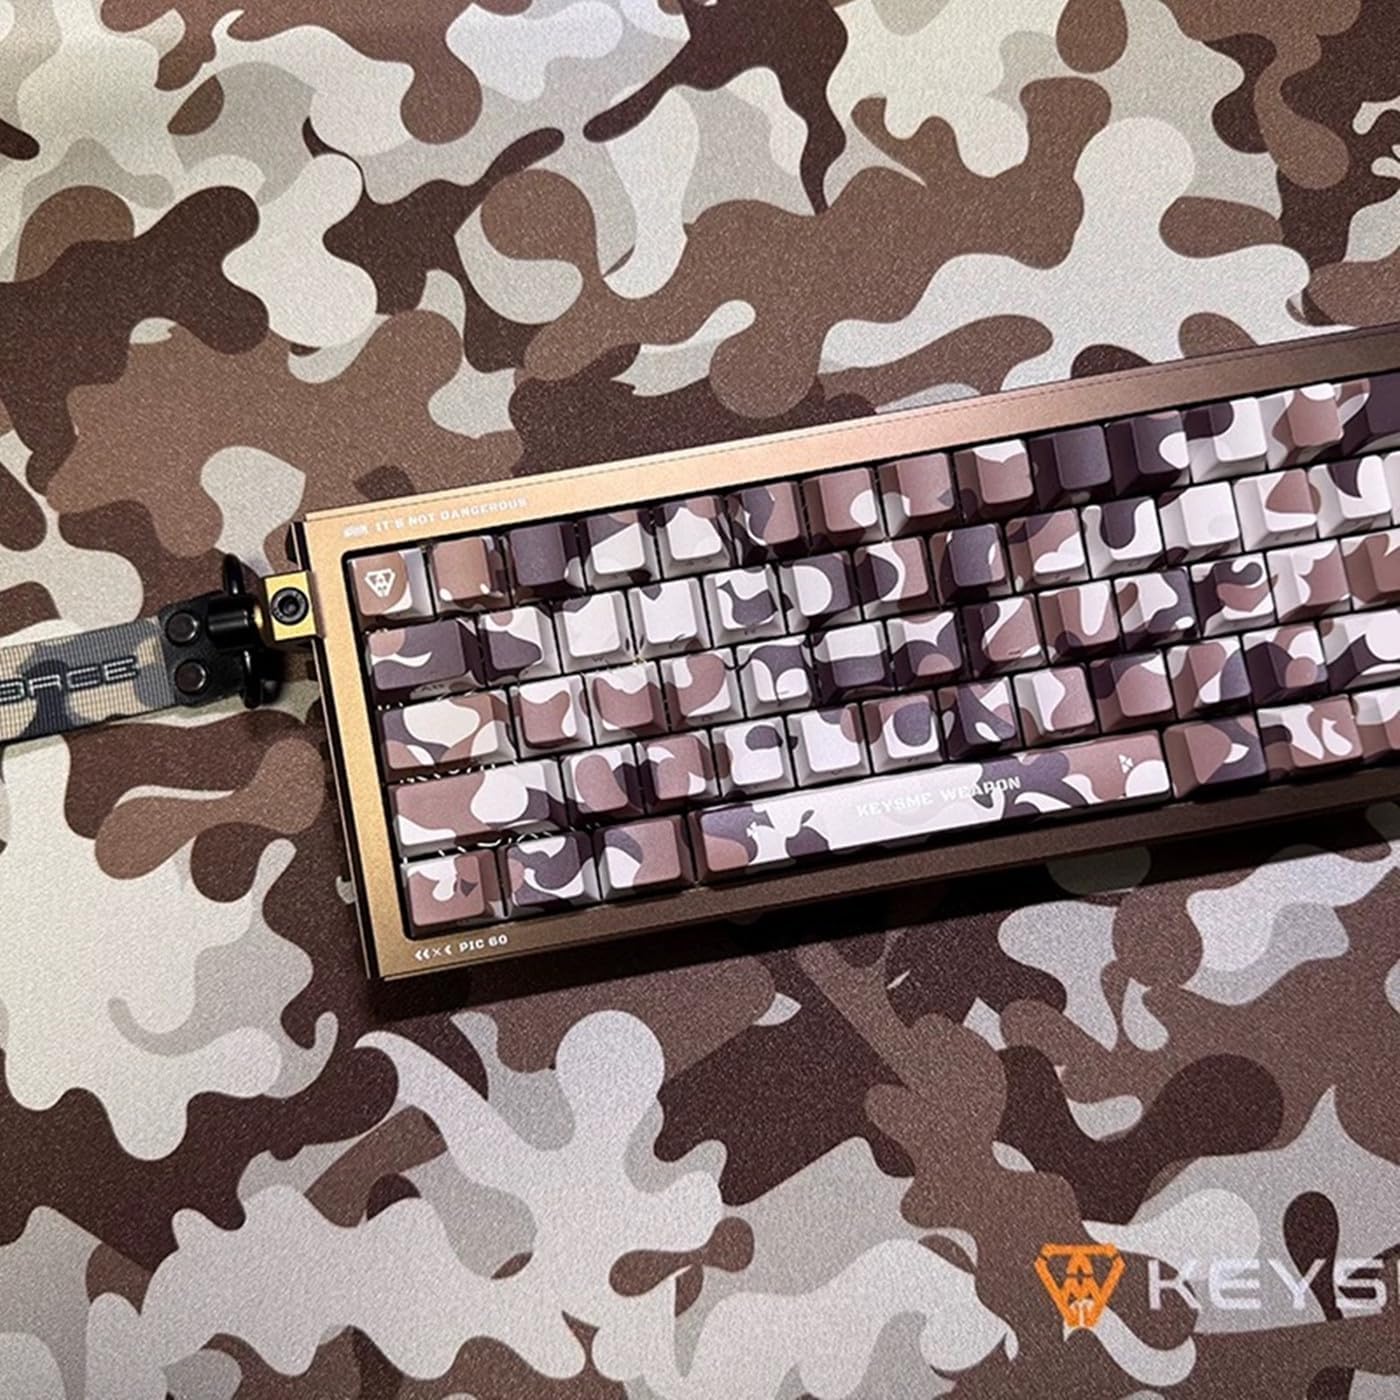
Image 4.1: An assembled KEYSME GT60 Pro keyboard with keycaps, demonstrating the final appearance of a completed build.
5. Maintenance
Proper maintenance ensures the longevity and performance of your keyboard case.
5.1 Cleaning the Aluminum Case
- Use a soft, dry, lint-free cloth to wipe down the exterior of the aluminum case.
- For stubborn smudges, lightly dampen the cloth with water or a mild, non-abrasive cleaner. Avoid harsh chemicals that could damage the anodized finish.
- Ensure no liquid enters the internal components of the keyboard.
5.2 Internal Components
The silicone gasket mat and latex pads generally require minimal maintenance. If disassembly is necessary for cleaning or modification, handle these components carefully to avoid tearing or damage.
6. Troubleshooting
If you encounter issues during assembly or operation, refer to the following common solutions.
6.1 Assembly Issues
- Components not fitting: Double-check that you are using a 60% PCB and plate compatible with the GT60 Pro case. Ensure all internal layers (pads, gaskets) are correctly aligned before attempting to close the case.
- Screws not tightening: Verify that you are using the correct screws for each part and that they are aligned with the threaded holes. Do not force screws.
6.2 Operational Issues
- Keyboard not recognized by computer:
- Ensure the USB-C cable is securely connected to both the keyboard and the computer.
- Test with a different USB-C cable or USB port on your computer.
- Verify that your installed PCB is functioning correctly and has the necessary firmware.
- Keys not responding:
- Check that all switches are fully seated on the plate and making proper contact with the PCB.
- If using hot-swappable switches, ensure pins are not bent.
7. Specifications
| Model | GT60 Pro |
| Manufacturer | KEYSME |
| Product Dimensions | 12.32"L x 4.62"W x 1.45"H (313 x 117.5 x 37 mm) |
| Item Weight | 3 pounds |
| Material | CNC Aluminum Alloy |
| Layout | 60% Compact |
| Mounting Style | Gasket Mount (PIC60 Gasket Structure) |
| Plate Material | 1.5mm Gold-Plated FR4 |
| Compatible Devices | 60% PCBs (e.g., Wooting 60HE+, GT60 PCB, HE60, Win60, Rakka 60) |
| Connectivity | USB-C (via installed PCB) |
| Backlighting Support | RGB (if PCB supports) |
8. Warranty and Support
For product support, warranty inquiries, or technical assistance, please contact the seller directly.
- Seller Store: Visit the BOYI Store on Amazon.
- Email Support: You may also reach out via email at boyiservice2020@163.com.
When contacting support, please provide your product model (GT60 Pro) and a detailed description of your issue.