Introduction
Welcome to the user manual for your Ugonetend r36s plus Handheld Retro Game Console. This portable device is designed to provide an immersive retro gaming experience with its 4.0-inch IPS screen and powerful RK3326 processor. This manual will guide you through the setup, operation, maintenance, and troubleshooting of your new console.
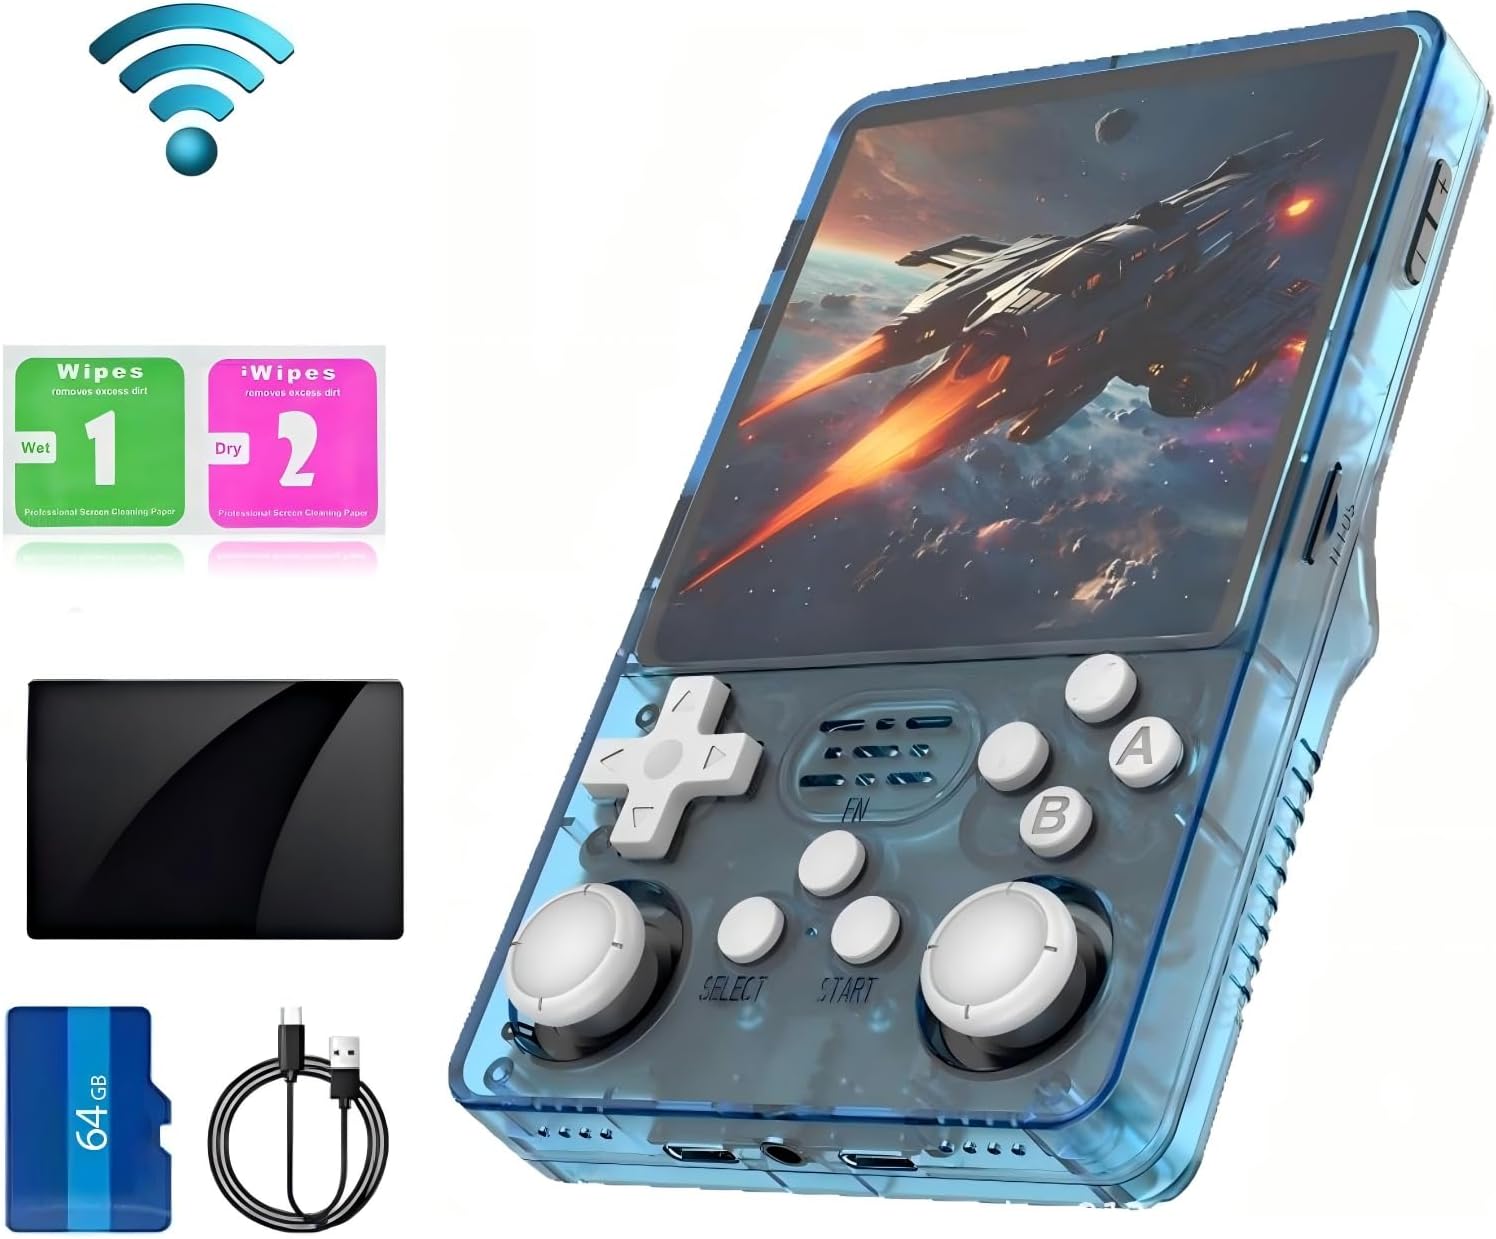
Figure 1: Ugonetend r36s plus Handheld Retro Game Console with included accessories.
This image displays the Ugonetend r36s plus console in transparent blue, alongside its accessories: a 64GB TF card, a USB-C charging cable, and screen cleaning wipes. The console features a large screen and visible control buttons.
Product Overview
What's in the Box
- Ugonetend r36s plus Handheld Retro Game Console body
- 64GB TF Card (pre-installed with 5000+ games)
- USB-C Charging Cable
- Screen Cleaning Wipes
Console Components and Controls
The r36s plus console features a user-friendly layout designed for comfortable retro gaming.

Figure 2: Detailed view of the console's optimized key layout.
This image highlights the various buttons and ports on the Ugonetend r36s plus. Key features include: Power button, Reset button, TF2 (game) card slot, TF1 (OS) card slot, DC Headset/OTG port, Directional Pad, Left Rocker, Select button, FN (Function) button, Start button, Right Rocker, A/B/X/Y action buttons, Volume Keys (+/-), and L1/L2/R1/R2 shoulder buttons.
The console is equipped with a 4.0-inch IPS HD screen, offering a resolution of 720 x 720 pixels for clear and vibrant visuals.

Figure 3: Close-up of the 4.0-inch IPS HD screen.
This image emphasizes the console's 4.0-inch IPS HD screen with a 720x720 pixel resolution, highlighting its clarity and color reproduction. Text overlays mention the professional gaming chip ARM 64bit and Quad-core Cortex-A35 CPU, capable of running 2D and some 3D games.
Setup
Initial Charging
Before first use, fully charge the console using the provided USB-C charging cable. Connect the cable to the Type-C charging port on the console and plug the other end into a compatible USB power adapter (not included). The 3500mAh Li-Polymer battery provides approximately 4-5 hours of operation on a full charge.
Inserting the TF Card
The console comes with a 64GB TF card pre-installed with over 5000 classic games. Ensure the TF card is securely inserted into the designated TF2 (game) slot before powering on the device.
Operating Instructions
Basic Operation
- Power On/Off: Press and hold the Power button located on the top of the console to turn it on or off.
- Navigation: Use the Directional Pad or the Left/Right Rockers to navigate through menus and game lists.
- Selection: Press the 'A' button to confirm a selection.
- Back/Exit: Press the 'B' button to go back or exit a menu.
Game Management
The console supports dozens of classic emulator games and comes with a 64GB TF card pre-loaded with over 5000 games. You can also add your own game files to the TF card. The console runs on the ArkOS 2.0 system, which is an open-source community system.

Figure 4: Console displaying support for various emulators.
This image illustrates the Ugonetend r36s plus console's compatibility with numerous mainstream simulator games, including MAME, N64, PS1, NEOGEO, GBA, FC, SFC, MD, CPS1, CPS2, CPS3, and PSP, indicating a wide range of playable titles.
Wi-Fi Connectivity
The r36s plus features built-in Wi-Fi connectivity, which is initially disabled for security. To enable and connect to Wi-Fi:
- From the main menu, navigate to the OPTIONS section.
- Within OPTIONS, select TOOLS.
- Locate and select ENABLE WIFI. Confirm the action. A message "Wifi has been enable." will appear.
- Return to the OPTIONS menu.
- Select WIFI to open the Wi-Fi Manager.
- Choose Connect to new Wifi connection. The console will scan for available networks.
- Select your desired Wi-Fi network from the list.
- Enter the Wi-Fi password using the on-screen keyboard and confirm.
- Once connected, you can utilize Wi-Fi for features like online updates, screen scraping for game artwork, and potentially online multiplayer (if supported by specific emulators/games).
Important: For security and battery saving, it is recommended to disable Wi-Fi when not in use. To do this, follow steps 1-2 and select DISABLE WIFI.
Video 1: How to connect the r36s plus handheld directly to Wi-Fi.
This video demonstrates the step-by-step process of enabling Wi-Fi on the Ugonetend r36s plus console and connecting to an available network. It shows navigation through the 'Options' and 'Tools' menus to activate Wi-Fi, scan for networks, and input the password.

Figure 5: Visual guide for enabling Wi-Fi on the console.
This image provides a visual representation of the menu options for enabling Wi-Fi on the r36s plus. It shows the 'OPTIONS' menu, navigating to 'TOOLS', and then selecting 'ENABLE WIFI'. It also highlights the subsequent steps to find and connect to a Wi-Fi network.
External Display and Controller Connectivity
The console supports OTG (On-The-Go) transfer, allowing you to connect to a large screen display or an external controller for an enhanced gaming experience.
- Connecting to a Large Screen: Use an appropriate OTG adapter cable (not included) to connect the console's Type-C-OTG data port to an HDMI cable (not included) and then to a monitor or TV.
- Connecting an External Controller: Use an OTG adapter cable to connect a compatible USB game controller (not included) to the console. This allows for two-player games or a more traditional console feel.

Figure 6: Diagram illustrating OTG transfer interface functionality.
This diagram shows how the Ugonetend r36s plus can connect to an external display or controller via its OTG transfer interface. It depicts an OTG adapter cable connecting the console to a large screen output or a connection handle (game controller), enabling synchronous output and two-player gaming.
Maintenance
- Cleaning: Use a soft, dry cloth to clean the console's exterior. For the screen, use the provided screen cleaning wipes or a microfiber cloth. Avoid using abrasive cleaners or solvents.
- Storage: Store the console in a cool, dry place away from direct sunlight and extreme temperatures.
- Battery Care: To prolong battery life, avoid fully discharging the battery frequently. Charge the console regularly, even if not in use for extended periods.
Troubleshooting
| Problem | Possible Cause / Solution |
|---|---|
| Console does not turn on. |
|
| Screen flickering or display issues. |
|
| Cannot connect to Wi-Fi. |
|
| Games are not loading or performing poorly. |
|
Specifications
| Feature | Detail |
|---|---|
| Model Name | r36s plus |
| Screen | 4.0-inch IPS HD Screen |
| Resolution | 720 x 720 pixels |
| Processor | RK3326 (ARM 64bit, Quad-core Cortex-A35 CPU up to 1.5GHz) |
| Operating System | Linux (ArkOS 2.0) |
| Storage | 64GB TF Card (included) |
| Battery | 3500mAh Li-Polymer (approx. 4-5 hours playtime) |
| Connectivity | Built-in Wi-Fi, Type-C Charging Port, Type-C-OTG Data Port |
| Dimensions | 5.6 x 3.4 x 1.2 inches |
| Weight | 12 ounces |
Safety Information
Choking hazard: All packaging materials (such as tape, labels, plastic sheets, binding wires) and small accessories inside the machine should not be in contact with children under three years old to avoid choking hazards, and should be used under adult supervision.
Warranty and Support
For warranty information and technical support, please refer to the product packaging or contact the seller/manufacturer directly. Keep your purchase receipt for any warranty claims.