1. Introduction
The AdaLov CPE661 Gigabit Wireless Bridge is designed to extend network connectivity over long distances outdoors. This device operates on the 5.8GHz frequency band, providing stable and high-speed wireless communication. It supports both Point-to-Point (PtP) and Point-to-Multipoint (PtMP) configurations, and features dual WiFi broadcasting capabilities, allowing both units to act as WiFi hotspots. This manual provides instructions for installation, operation, and maintenance of the CPE661 wireless bridge system.
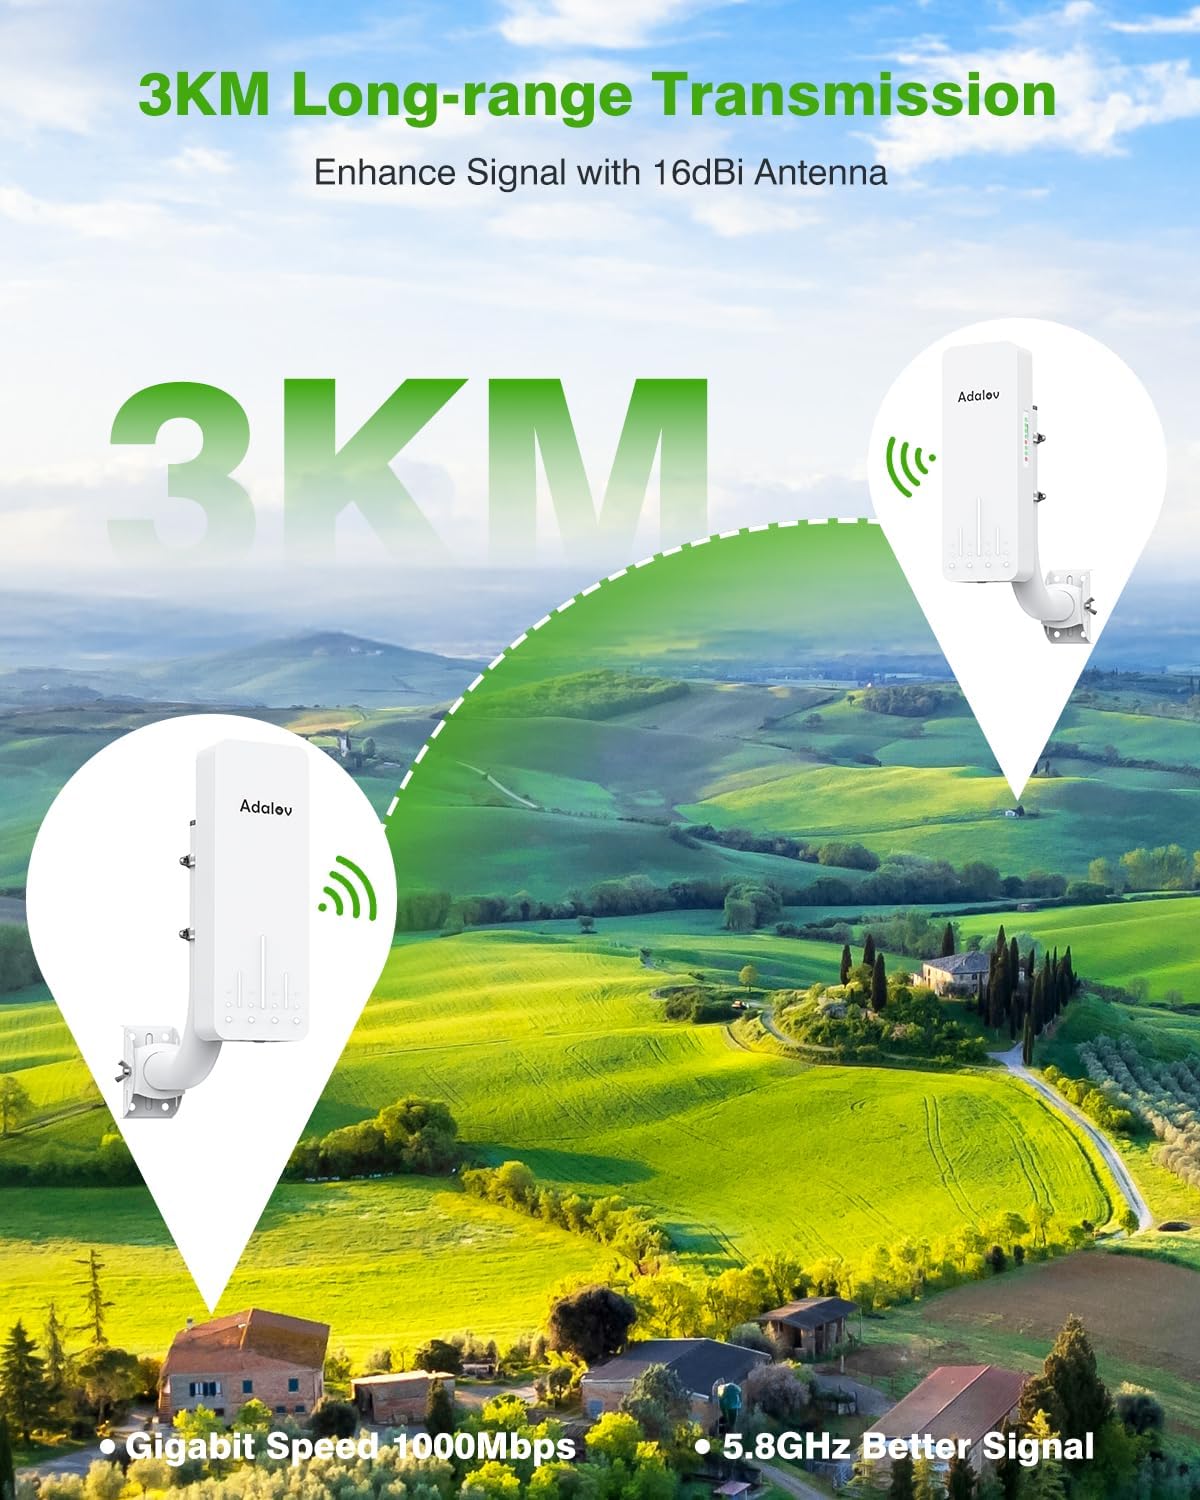
Image 1.1: AdaLov CPE661 Wireless Bridge units demonstrating long-range transmission.
2. What's Included
The AdaLov CPE661 wireless bridge kit includes the following components:
- 2 x CPE661 Wireless Bridge Units
- 2 x PoE Adapters (24V)
- 2 x Mounting Brackets
- 2 x Small Hose Clamps
- 4 x Large Hose Clamps
- 2 x Network Cables (for testing)
- 2 x Wall Grommets
- 50 x Wire Clips
- 1 x User Manual

Image 2.1: All components included in the CPE661 Wireless Bridge kit.
3. Product Overview
3.1 Ports and Indicators
Each CPE661 unit is equipped with dual Ethernet ports and LED indicators for status and signal strength. The ports include a 100Mbps LAN port and a 100/1000Mbps LAN/PoE port. A digital display indicates the channel number for configuration.

Image 3.1: Detailed view of CPE661 ports and indicators.
3.2 Master/Slave Configuration
The CPE661 units are pre-configured for ease of use. One unit acts as the Master Bridge (Transmitter) and the other as the Slave Bridge (Receiver). The A/B switch on each unit determines its role. Ensure one unit is set to 'A' (Master) and the other to 'B' (Slave) for proper operation.

Image 3.2: Master and Slave bridge configuration.
4. Setup
The CPE661 wireless bridge system is designed for plug-and-play setup. Follow these steps for initial configuration:
- Unpack Components: Carefully remove all items from the packaging.
- Power Connection: Connect the included 24V PoE adapters to each CPE661 unit via the LAN/PoE port. Plug the adapters into a power outlet.
- Master/Slave Assignment: Verify that one unit is set to 'A' (Master) and the other to 'B' (Slave) using the physical switch on the unit.
- Channel Matching: The units are pre-paired. If re-pairing is needed, short press the reset button on each unit to cycle through channels until both units display the same channel number.
- Connect to Network: Connect the Master Bridge's LAN port to your existing router or network device using an Ethernet cable.
- Connect Remote Devices: The Slave Bridge can connect to devices either wirelessly (via its built-in WiFi hotspot) or via its LAN port to a switch, computer, or IP camera.
Setup Video Tutorial
Video 4.1: A tutorial demonstrating the unboxing and fast setup process for the CPE661 Wireless Bridge.
Network Extension Diagram

Image 4.2: Network extension configurations using the CPE661 bridges.
5. Operating Modes
The CPE661 supports various operating modes to suit different network extension needs.
5.1 Point-to-Point (PtP) Network Extension
In PtP mode, two CPE661 units create a dedicated wireless link to extend your network. The Master Bridge connects to your main network, and the Slave Bridge provides network access at the remote location. This is ideal for extending internet to a separate building like a barn or garage.
5.2 Point-to-Multipoint (PtMP) Networking
For PtMP applications, one Master Bridge can connect to multiple Slave Bridges, allowing you to extend your network to several remote locations simultaneously. Ensure all Slave Bridges are within the Master Bridge's line of sight and within the recommended angular range (typically 60 degrees).
5.3 Dual WiFi Broadcasting
A key feature of the CPE661 is its ability for both the Master and Slave units to broadcast WiFi signals directly. This eliminates the need for an additional router at the remote end, allowing devices like phones, tablets, smart TVs, and wireless cameras to connect directly to the bridge's WiFi network.
Dual WiFi Broadcasting Video
Video 5.1: Demonstration of both CPE661 bridge units acting as WiFi hotspots.
5.4 Video Transmission Applications
The CPE661 is suitable for extending network access for security cameras and other video surveillance systems. It can provide a stable connection for both wired and wireless IP cameras.

Image 5.1: Video transmission setup with CPE661 bridges.
CCTV Camera Integration Video
Video 5.2: A video demonstrating the CPE661 Wireless Bridge working with CCTV cameras.
6. Installation & Mounting
The CPE661 is designed for outdoor installation and includes flexible mounting options.
6.1 Mounting Options
The kit provides adjustable wall and pole mounting options. The brackets allow for 60° horizontal and 30° vertical alignment, which is crucial for achieving optimal signal strength and throughput between the units.

Image 6.1: Example of outdoor wall installation.

Image 6.2: Example of pole mounting installation.
6.2 Alignment for Optimal Performance
For best performance, ensure a clear line of sight between the Master and Slave bridges. Obstructions like buildings or dense foliage can degrade signal quality. Aim the units directly at each other for maximum throughput.
7. Power Options
The CPE661 offers flexible power options to simplify outdoor and remote installations.
- LAN1 Port: Supports 24V Passive PoE (Non-standard). This is typically powered by the included 24V PoE adapter.
- LAN2 Port: Supports 24-48V Active PoE (IEEE 802.3af/at compliant). This allows the unit to be powered by a compatible PoE switch, enabling unified power management for multiple devices.

Image 7.1: Flexible power options for the CPE661.
8. Maintenance
To ensure long-term reliable operation of your AdaLov CPE661 Wireless Bridge, consider the following maintenance guidelines:
- Regular Inspection: Periodically check the physical installation for any loose mounts, damaged cables, or signs of wear.
- Clear Line of Sight: Ensure that the line of sight between the two bridge units remains unobstructed by new foliage growth or other obstacles.
- Firmware Updates: Check the manufacturer's website for any available firmware updates. Updating firmware can improve performance, stability, and security.
- Cleaning: Gently clean the exterior of the units with a soft, damp cloth if they accumulate dirt or debris. Avoid using harsh chemicals or abrasive materials.

Image 8.1: The CPE661's weatherproof design for outdoor durability.
9. Troubleshooting
If you encounter issues with your CPE661 Wireless Bridge, refer to the following common troubleshooting steps:
- No Power: Ensure both PoE adapters are properly connected to the units and plugged into working power outlets. Check all cable connections.
- No Link/Poor Signal:
- Verify clear line of sight between the Master and Slave units.
- Re-align the units to ensure they are facing each other directly.
- Check the signal strength indicators on the units.
- Ensure the channel numbers on both units match.
- No Internet Access:
- Confirm your main router has internet access.
- Check the Ethernet cable connection from the Master Bridge to your main router.
- If using the Slave Bridge's LAN port, ensure the connected device is configured correctly.
- WiFi Connectivity Issues (Slave Bridge):
- Ensure the Slave Bridge's WiFi broadcasting is enabled (if applicable).
- Check for interference from other 5.8GHz devices.
- Factory Reset: If issues persist, you can perform a factory reset by pressing and holding the reset button for approximately 5-10 seconds until the indicators change. Note that this will revert all settings to default, and you will need to reconfigure the units.
10. Specifications
| Brand | AdaLov |
| Model Number | CPE661 |
| Frequency | 5.8 GHz |
| Coverage | Up to 3 km (1.9 miles) |
| Data Transfer Rate | Up to 900 Mbps |
| Number of Ports | 2 (100Mbps LAN, 100/1000Mbps LAN/PoE) |
| PoE Support | LAN1: 24V Passive PoE; LAN2: 24-48V Active PoE (IEEE 802.3af/at) |
| Weatherproof Rating | IP65 |
| Item Weight | 0.45 Kilograms |
| Connectivity Protocol | Wi-Fi |
11. Warranty
The AdaLov CPE661 Wireless Bridge comes with a 1-year manufacturer's warranty. Please retain your proof of purchase for warranty claims. For specific terms and conditions, refer to the warranty information provided with your product or contact AdaLov customer support.
12. Support
For further assistance, technical support, or inquiries regarding your AdaLov CPE661 Wireless Bridge, please refer to the contact information provided in your product packaging or visit the official AdaLov website. Online resources, FAQs, and additional troubleshooting guides may also be available.