Stondon G520
Stondon Blood Glucose Monitor Kit User Manual
Model: G520
1. Introduction and Kit Contents
This user manual provides essential information for the safe and effective use of your Stondon Blood Glucose Monitor Kit. Please read this manual thoroughly before first use and keep it for future reference.
What's in the Box:
- Stondon Blood Glucose Monitor
- 50 Safe Strips (Test Strips)
- 50 Lancets
- Pain-free Lancing Pen (Lancing Device)
- Carrying Case
- User Manual (this document)

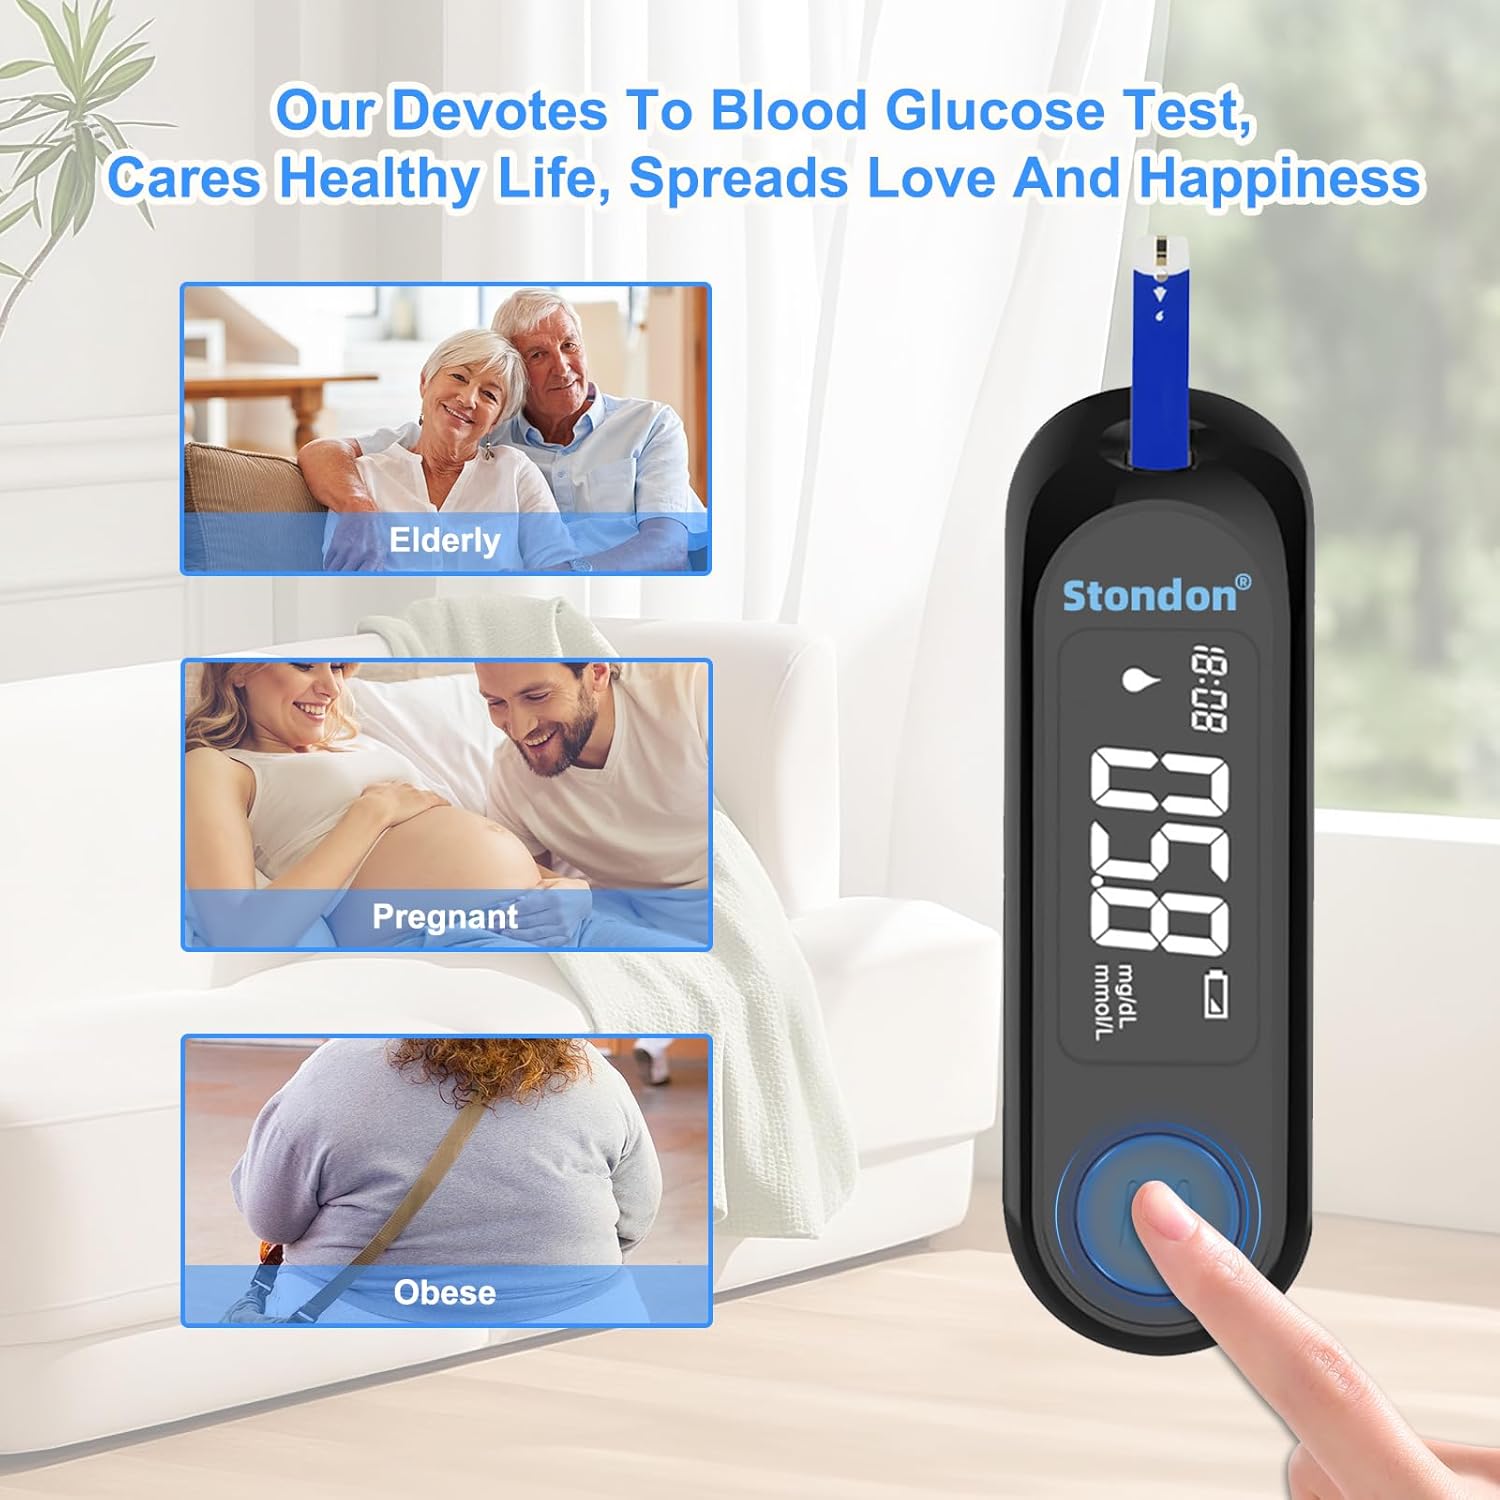
The Stondon Blood Glucose Monitor Kit is designed for convenient and accurate blood sugar testing at home. It features quick results (5 seconds), requires a small blood sample (0.7µl), and includes auto-coding for ease of use.
2. Setup
Before performing your first test, ensure all components are present and prepare your lancing device and meter.
2.1 Preparing the Lancing Device
- Rotate to Remove Cap: Gently twist and pull the cap off the lancing device.
- Insert Lancet: Firmly insert a new, sterile lancet into the lancet holder.
- Remove Lancet Cap: Twist off the protective cap from the lancet and save it for safe disposal.
- Replace Cap: Carefully replace the lancing device cap.
- Adjust Depth: Select the desired penetration depth by rotating the adjustable tip. Start with a lower setting (e.g., 2-3) and adjust as needed for a sufficient blood sample.
- Prime Device: Pull back the cocking mechanism until it clicks, indicating it's ready for use.
2.2 Preparing the Meter
The Stondon Blood Glucose Monitor features auto-coding, meaning no manual calibration is required. Simply insert a test strip, and the meter will automatically recognize the batch code.
3. Operating Instructions: Performing a Blood Glucose Test
Follow these steps to perform an accurate blood glucose test:

- Wash and Dry Your Hands: Use warm, soapy water and dry thoroughly. This helps prevent contamination and promotes blood flow.
- Assemble the Lancing Device: As described in Section 2.1, ensure a new lancet is inserted and the device is primed.
- Remove a Test Strip and Close Vial: Take one test strip from the vial and immediately close the vial cap tightly to protect remaining strips from moisture.
- Insert the Test Strip: Insert the test strip into the meter's test strip port. The meter will turn on automatically and display a blood drop symbol, indicating it's ready for a blood sample.
- Collect Blood Sample: Press the lancing device firmly against the side of your fingertip and press the release button. Gently squeeze your finger to form a small, round drop of blood.
- Apply the Blood Sample: Touch the absorbent hole at the tip of the test strip to the blood drop. The blood will be automatically drawn into the strip. Do not smear the blood.
- Get Results: The meter will begin a countdown (5 seconds) and then display your blood glucose result.
- Eject Used Strip and Lancet: Use the strip ejection feature on the meter to hygienically remove the used test strip. Carefully remove the lancet from the lancing device and dispose of both safely in a sharps container.
4. Understanding Your Results
Your Stondon Blood Glucose Monitor displays results in mg/dL (milligrams per deciliter) or mmol/L (millimoles per liter), depending on the unit setting. The meter can store up to 500 readings and provides a 14-day average of your results.


4.1 Home Test vs. Hospital Test Results
It is important to understand that home blood glucose monitor results (whole blood) may differ slightly from laboratory plasma glucose results. Whole blood glucose results are approximately 12-15% lower than lab plasma test results. This difference is normal and in accordance with ISO 15197 standards.

5. Maintenance and Care
5.1 Cleaning the Meter
Wipe the meter's exterior with a soft, damp cloth. Do not immerse the meter in water or use harsh cleaning agents. Ensure no liquid enters the test strip port.
5.2 Storage
- Store the meter, test strips, and lancing device in the provided carrying case.
- Keep test strips in their original vial with the cap tightly closed to protect them from moisture and light.
- Store all components in a cool, dry place, away from direct sunlight and extreme temperatures.
5.3 Important Notes
- Never reuse a test strip or lancet.
- Dispose of used lancets and test strips in a puncture-resistant container (sharps container) as per local regulations.
6. Troubleshooting
If you encounter issues with your Stondon Blood Glucose Monitor Kit, refer to the following common problems and solutions:

| Problem | Possible Cause | Solution |
|---|---|---|
| Meter does not turn on. | Low or dead battery. | Replace the battery. Ensure it is inserted correctly. |
| Error message displayed. | Test strip issue (expired, damaged, improperly inserted). Insufficient blood sample. | Ensure test strip is not expired and is inserted correctly. Use a new test strip. Ensure adequate blood sample is applied. |
| Inaccurate or inconsistent results. | Test strip contamination or damage. Insufficient blood sample. Repeated measurements from the same blood drop. | Always use fresh, uncontaminated test strips. Ensure a sufficient blood sample is collected. Do not re-apply blood to a used strip. Ensure hands are clean and dry. |
| Difficulty obtaining blood sample. | Lancing device depth setting too low. Insufficient blood flow. | Increase the lancing device depth setting. Massage your finger for 10 seconds and lower your arm for 5 seconds before lancing to improve blood flow. |
For further troubleshooting or persistent issues, please refer to the detailed troubleshooting section in the full user manual included with your kit or contact customer support.
7. Specifications
| Feature | Specification |
|---|---|
| Model Number | G520 |
| Measurement Unit | mg/dL and mmol/L |
| Blood Sample Volume | 0.7 microliters (µl) |
| Test Time | 5 seconds |
| Memory Capacity | Up to 500 readings |
| Average Readings | 14-day average |
| Battery Type | Alkaline (specific type not provided, refer to device for details) |
| Package Dimensions | 4.76 x 3.62 x 2.01 inches |
| Item Weight | 4.16 ounces |
8. Warranty and Support
For detailed warranty information, product registration, and customer support, please refer to the complete user manual included in your Stondon Blood Glucose Monitor Kit packaging. You may also visit the official Stondon website for additional resources and contact information.
Related Documents - G520
 |
Global Tag User Guide and FCC Compliance Instructions on how to use the Global Tag device, including powering on/off, reset functions, Bluetooth pairing with the Apple Find My app, and FCC compliance information. |
 |
Руководство пользователя цифрового сотового телефона Panasonic EB-G520 Подробное руководство по эксплуатации для цифрового сотового телефона Panasonic G520 (EB-G520), предназначенного для работы в сетях GSM. Включает информацию по использованию, безопасности, установке SIM-карты и батареи. |
 |
Panasonic G520 Digital Mobile Phone User Manual Comprehensive user manual for the Panasonic G520 digital mobile phone, covering setup, basic and advanced operations, call management, phonebook, messaging, security features, battery information, and troubleshooting. Includes details on standard equipment and specifications. |
 |
SAVA Electric Bicycle User Manual Comprehensive user manual for SAVA electric bicycles, covering operation, maintenance, technical specifications, and safety guidelines for various models. |
 |
Lantronix G520 Series SDK Application Note: Building Custom Firmware This application note details how to use the Lantronix G520 Series SDK and Image Builder to create custom firmware images, develop custom packages, and customize user interface elements for Lantronix G520 devices. It also covers essential procedures for implementing Secure Boot. |
 |
BH Fitness G520 Power Rack Assembly and User Manual Detailed assembly instructions and user guide for the BH Fitness G520 Power Rack. Includes safety precautions, maintenance procedures, and a complete parts list for home gym setup. |
Ask a question about this manual
Ask about setup, troubleshooting, compatibility, parts, safety, or missing instructions. Manuals+ will review the question and use this page’s manual context to help answer it.