
1. Introduction
The Stondon G430 Blood Glucose Monitor Kit is designed for self-testing blood glucose levels at home. This kit provides a convenient and reliable method for monitoring blood sugar, aiding in the management of diabetes. It features a large display, no-coding technology, and quick results.

Image 1.1: Stondon G430 Blood Glucose Monitor, highlighting its reliable quality.
2. Important Safety Information
- This device is intended for self-testing outside the body (in vitro diagnostic use) by people with diabetes at home.
- Do not use this device for the diagnosis of diabetes or for screening newborns.
- Consult your healthcare professional before making any medical decisions based on your test results.
- Keep the device and all components out of reach of children.
- Dispose of used test strips and lancets properly in a sharps container to prevent injury and infection.
3. Package Contents
The Stondon G430 Blood Glucose Monitor Kit typically includes the following items:
- Stondon G430 Blood Glucose Monitor
- Test Strips (50 or 100 counts, as specified on packaging)
- Lancets (50 or 100 counts, as specified on packaging)
- Lancing Device
- Control Solution (1 bottle)
- Carrying Case
- User Manual (this document)

Image 3.1: Overview of the Stondon G430 Blood Glucose Monitor Kit components.
4. Product Components
4.1 Blood Glucose Monitor (Glucometer)
The monitor displays your blood glucose readings. It features a large display for easy readability and a single 'M' button for operation and memory recall.
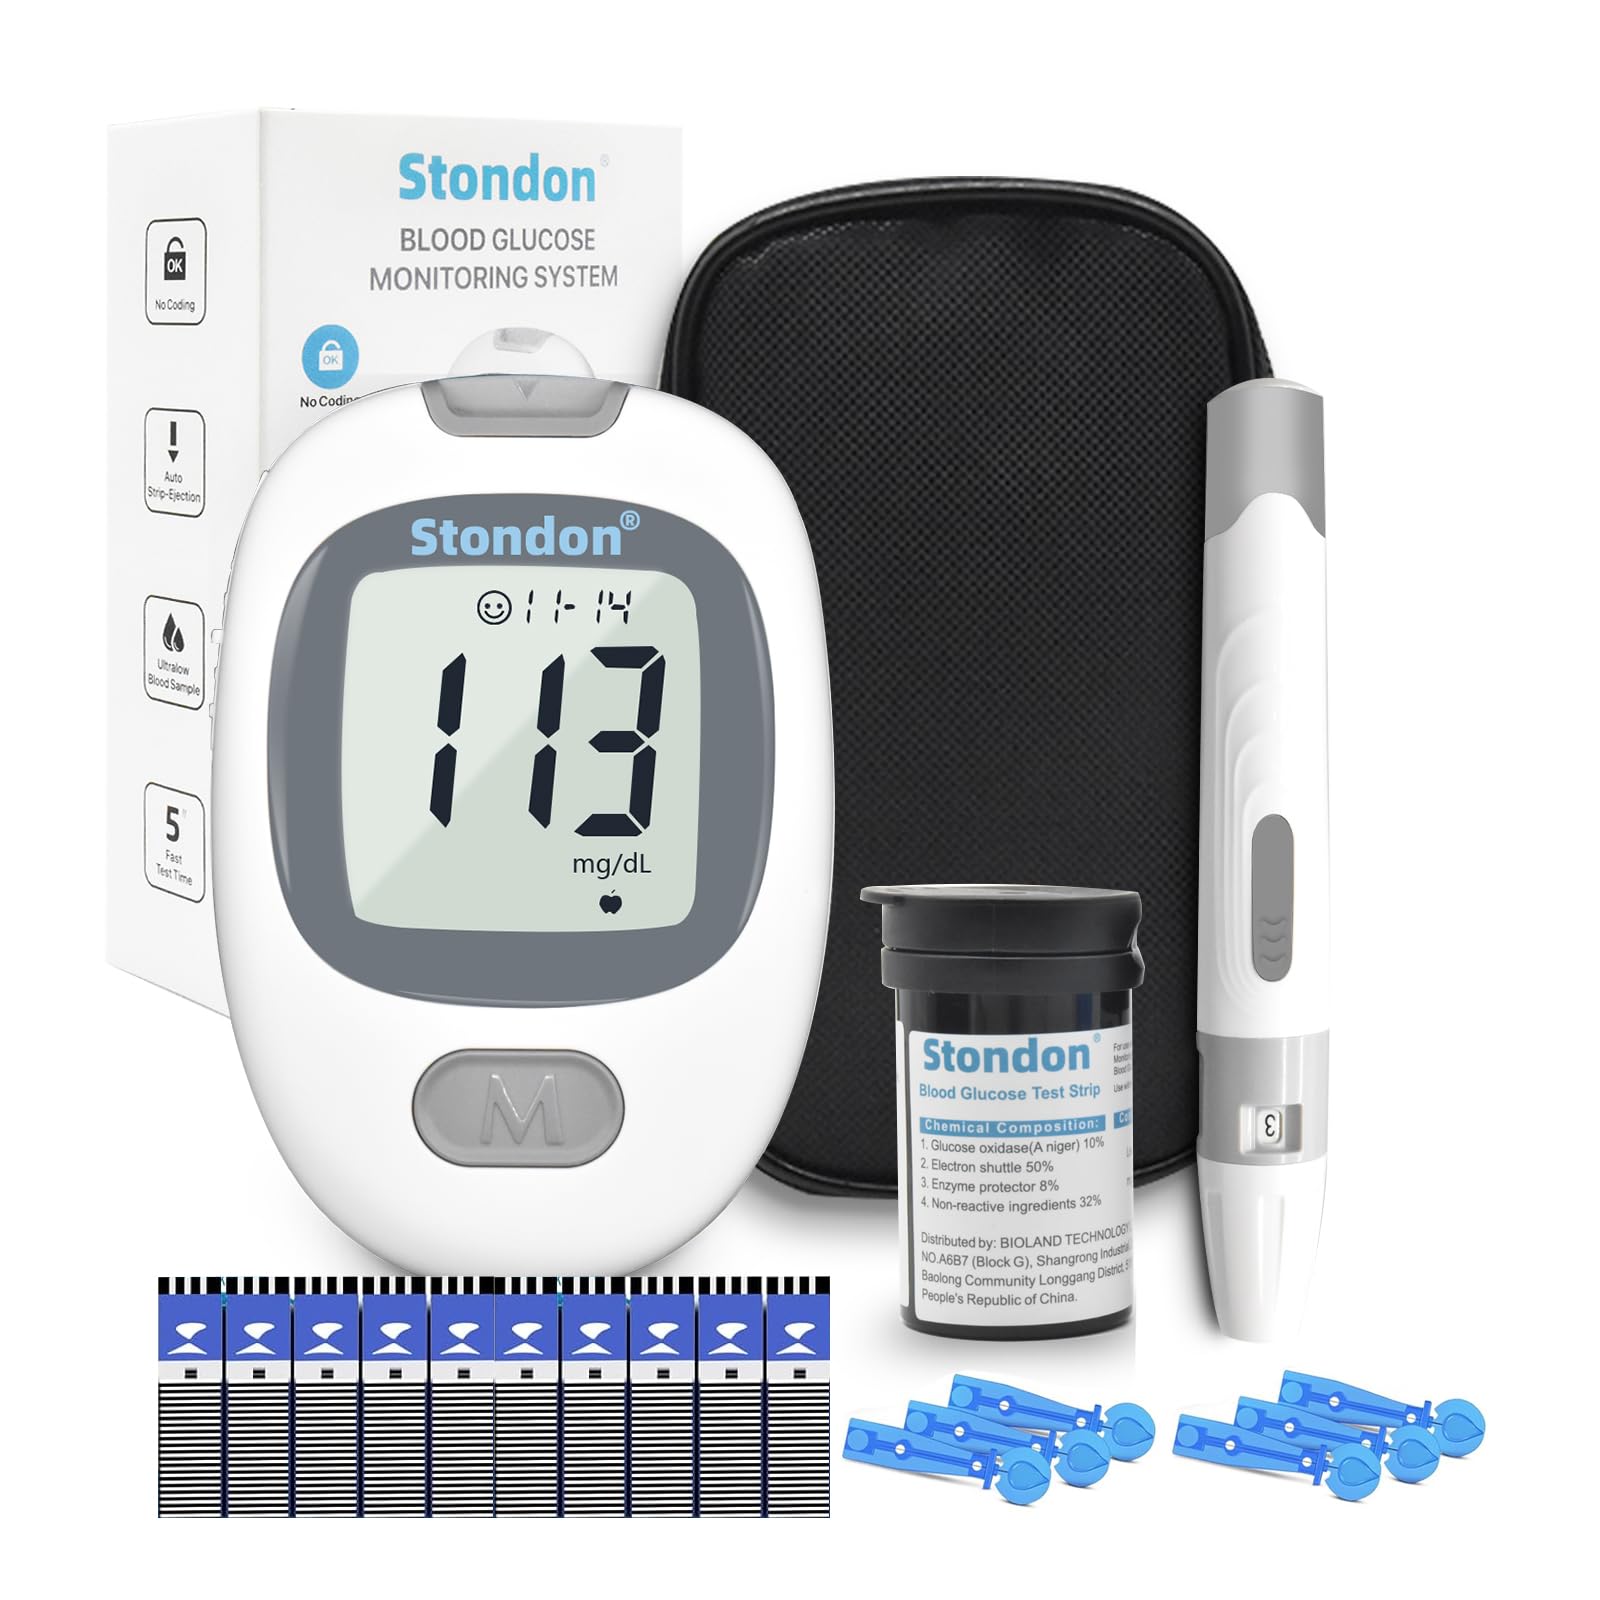
Image 4.1: The Stondon G430 Blood Glucose Monitor.
4.2 Test Strips
The test strips are used to collect the blood sample and react with the blood to provide a glucose reading. The Stondon G430 uses advanced anti-interference strips for stable and accurate results. No coding is required as the monitor automatically recognizes the batch codes.

Image 4.2: Stondon Blood Glucose Test Strips.
4.3 Lancing Device and Lancets
The lancing device is used to obtain a small blood sample from your fingertip. It allows for adjustable penetration depths to minimize discomfort. Lancets are sterile, single-use needles inserted into the lancing device.

Image 4.3: Stondon Lancing Device and Lancet features.
5. Setup and First Use
5.1 Battery Installation
The Stondon G430 monitor uses DC 3V (AAA x 2 alkaline batteries). Open the battery compartment on the back of the monitor and insert the batteries, ensuring correct polarity. Close the compartment securely.
5.2 Preparing the Lancing Device
- Unscrew the lancing device cap.
- Insert a new, sterile lancet firmly into the lancet holder.
- Twist off the protective cap from the lancet.
- Replace the lancing device cap.
- Adjust the penetration depth by rotating the cap. Start with a shallower setting (e.g., 2-3) and adjust as needed for a sufficient blood sample.
- Pull back the cocking control until it clicks, indicating the device is ready to use.
6. Operating Instructions: Performing a Blood Glucose Test
Follow these steps for an accurate blood glucose measurement:
- Wash and Dry Hands: Thoroughly wash your hands with soap and warm water, then dry them completely. This helps prevent contamination and improves blood flow.
- Prepare Lancing Device: Assemble the lancing device with a new sterile lancet as described in Section 5.2.
- Insert Test Strip: Remove a test strip from its vial and immediately close the vial lid tightly. Insert the test strip into the monitor's test strip port. The monitor will turn on automatically.
- Obtain Blood Sample: Press the lancing device firmly against the side of your fingertip and press the release button. A small drop of blood will form.
- Apply Blood Sample: Gently touch the tip of the test strip to the blood drop. The strip will draw the blood into the absorption hole. Do not apply blood to the top of the strip.
- Read Results: The monitor will display your blood glucose reading in approximately 5 seconds.
- Eject Used Strip and Lancet: Use the single-touch strip ejection feature to hygienically remove the used test strip. Eject the used lancet into a sharps container.

Image 6.1: Step-by-step guide for blood glucose testing.
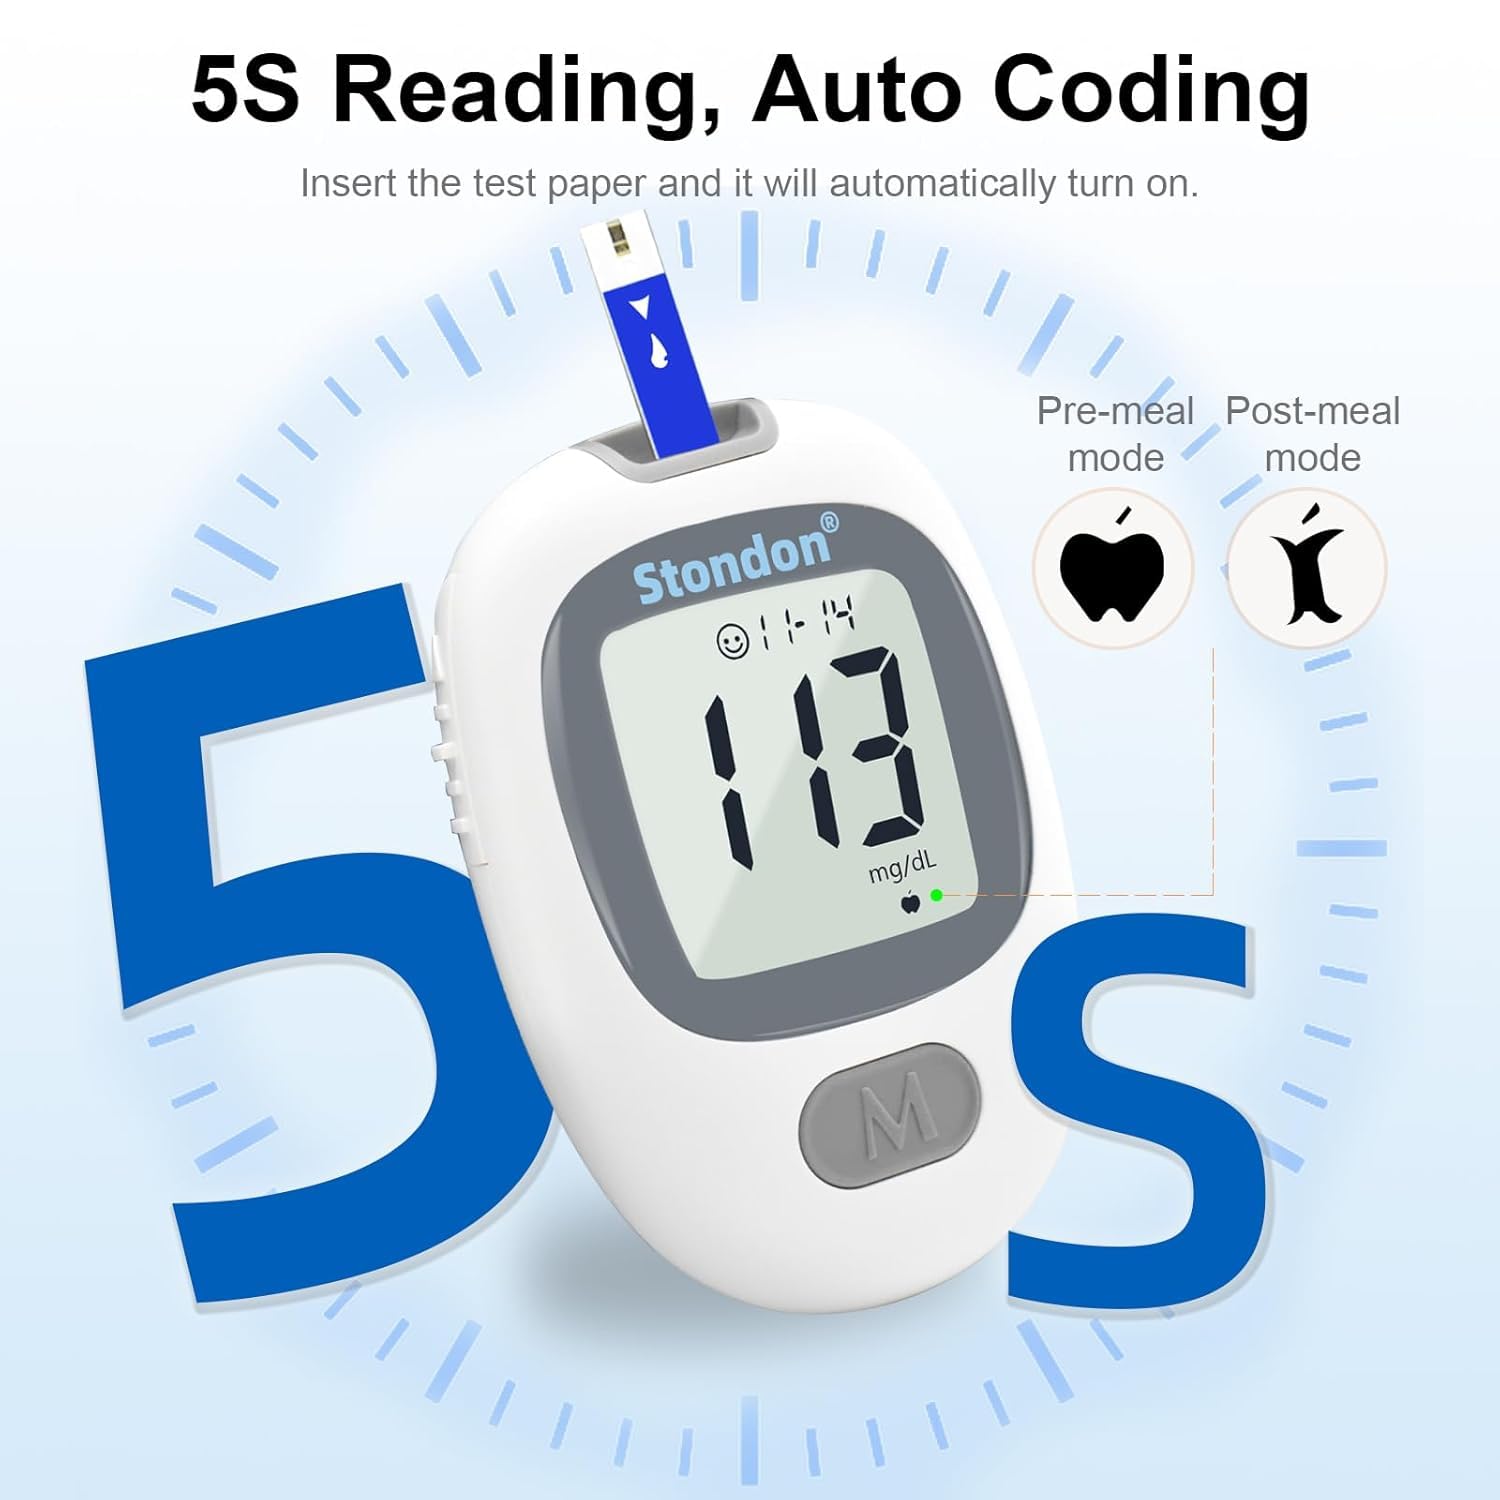
Image 6.2: The monitor displays results in 5 seconds and supports pre-meal/post-meal tagging.
7. Control Solution Testing
Control solution testing verifies that your monitor and test strips are working correctly. Perform a control solution test when:
- You open a new vial of test strips.
- You suspect the monitor or test strips are not working correctly.
- Your test results do not match how you feel.
- You have dropped the monitor.
To perform a control solution test:
- Insert a test strip into the monitor.
- Press and hold the “M” button until the “CTL” icon appears in the upper right corner of the screen. This indicates Control Solution Mode.
- Apply a drop of control solution to the test strip.
- Compare the result with the range printed on the control solution vial. If the result is within the specified range, the system is working correctly.
- Press and hold “M” again to return to blood measurement mode after the test.
Important: Testing without CTL Mode may give incorrect results when using control solution.
8. Memory Function
The Stondon G430 monitor automatically stores up to 500 blood glucose readings. To review past results:
- With the monitor off, short press the “M” button. The most recent test result will appear for 1 second.
- Continue short pressing the “M” button to scroll through previous test results.
- The monitor also calculates 14-day averages, which can be accessed through the memory function.

Image 8.1: The monitor stores up to 500 readings.
9. Maintenance and Care
9.1 Cleaning the Monitor
Wipe the exterior of the monitor with a soft, damp cloth. Do not immerse the monitor in water or use harsh cleaning agents. Ensure no liquid enters the test strip port.
9.2 Test Strip Storage
- Store test strips in their original vial with the cap tightly closed.
- Keep strips away from direct sunlight, heat, and moisture.
- Do not use expired test strips. Check the expiration date on the vial.
9.3 Lancet Disposal
Always dispose of used lancets in an approved sharps container to prevent accidental needle sticks.
10. Troubleshooting
If you encounter an error message or unexpected results, refer to the table below. If the issue persists, contact customer service.

Image 10.1: System Troubleshooting Guide.
| Message | What It Means | Actions |
|---|---|---|
| E-b | Battery power is low | Replace the battery |
| E-U | A used test strip is inserted | Use a new test strip |
| E-F | Indicates that you may remove prematurely the strip after applying blood to the absorbent hole | Try again with a new strip |
| E-E | Problem with the meter | Re-test with a new test strip. If the problem is still unsolved. |
| E-t | Environmental temperature is lower than 50°F -104°F | Please test at an environmental temperature within 50°F - 104°F |
10.1 Factors Affecting Accuracy
Several factors can influence the accuracy of your blood glucose readings:
- Impurities on the skin (alcohol, sweat, dirt).
- Not enough blood on the test strip.
- Using the first drop of blood (it's often recommended to wipe away the first drop and use the second).
- Improper test strip storage.
- Blood collection site (fingertip samples are generally more accurate than alternate sites).
- Insufficient interval between two consecutive tests using the same blood sample.

Image 10.2: How to get accurate test results.
11. Understanding Your Results
11.1 Interpreting Blood Glucose Levels
Blood glucose levels can vary based on factors like fasting, meal times, and individual health conditions. Consult your healthcare provider for personalized target ranges.

Image 11.1: Blood Glucose Level Card for reference.
11.2 Differences Between Home and Hospital Tests
Home blood glucose monitors typically measure whole blood, while laboratory tests often measure plasma glucose. Whole blood glucose test results are approximately 12-15% lower than lab plasma test results. For example, if your glucose meter result (whole blood) is 200 mg/dL and your lab result (plasma) is 230 mg/dL, the difference is within acceptable limits (Whole Blood Glucose = Plasma Glucose / Plasma * 70%, which results in 200-230/230*70% ± 13%, in accordance with ISO 15197).

Image 11.2: Understanding differences between home and hospital test results.
11.3 Differences Between Consecutive Tests
Slight variations between consecutive tests are normal due to physiological changes and testing technique. If two consecutive tests are performed within 5-10 seconds using the same blood, the reading should be consistent. Factors like impurities on the skin, insufficient blood, or improper strip storage can also cause variations.

Image 11.3: Reasons for differences in continuous test results.
12. Specifications
| Feature | Specification |
|---|---|
| Model Name | G-430 |
| Display | LCD display |
| Machine Size | 79mm(L)x54mm(W)x24mm(H) |
| Weight | 38.5g (Excluding batteries) |
| Measuring Range | 20 mg/dL - 600 mg/dL |
| Memory | 500 blood glucose tests |
| Power Source | DC 3V (AAA x 2 alkaline batteries) |
| Blood Volume | Minimum 0.7 microliter |
| Test Time | 5 seconds |
| Operating Conditions | 50°F - 104°F (10°C - 40°C), Humidity 10% - 85% RH |
| Storage Condition (meter) | -4°F - 131°F (-20°C - 55°C), Humidity ≤ 93% RH |
| Storage Condition (system: meter and test strips) | 39°F - 86°F (4°C - 30°C), Humidity 10% - 85% RH |
13. Warranty and Support
For warranty information or technical support, please refer to the contact details provided on the product packaging or contact the manufacturer directly. Keep your purchase receipt as proof of purchase.