
Sybrioka Floating Bathroom Vanity
Sybrioka 18-Inch Floating Bathroom Vanity with Ceramic Sink Combo
Instruction Manual
1. Introduction
This manual provides detailed instructions for the installation, operation, and maintenance of your Sybrioka 18-Inch Floating Bathroom Vanity with Ceramic Sink Combo. Please read this manual thoroughly before beginning installation or use to ensure proper function and longevity of the product. Keep this manual for future reference.
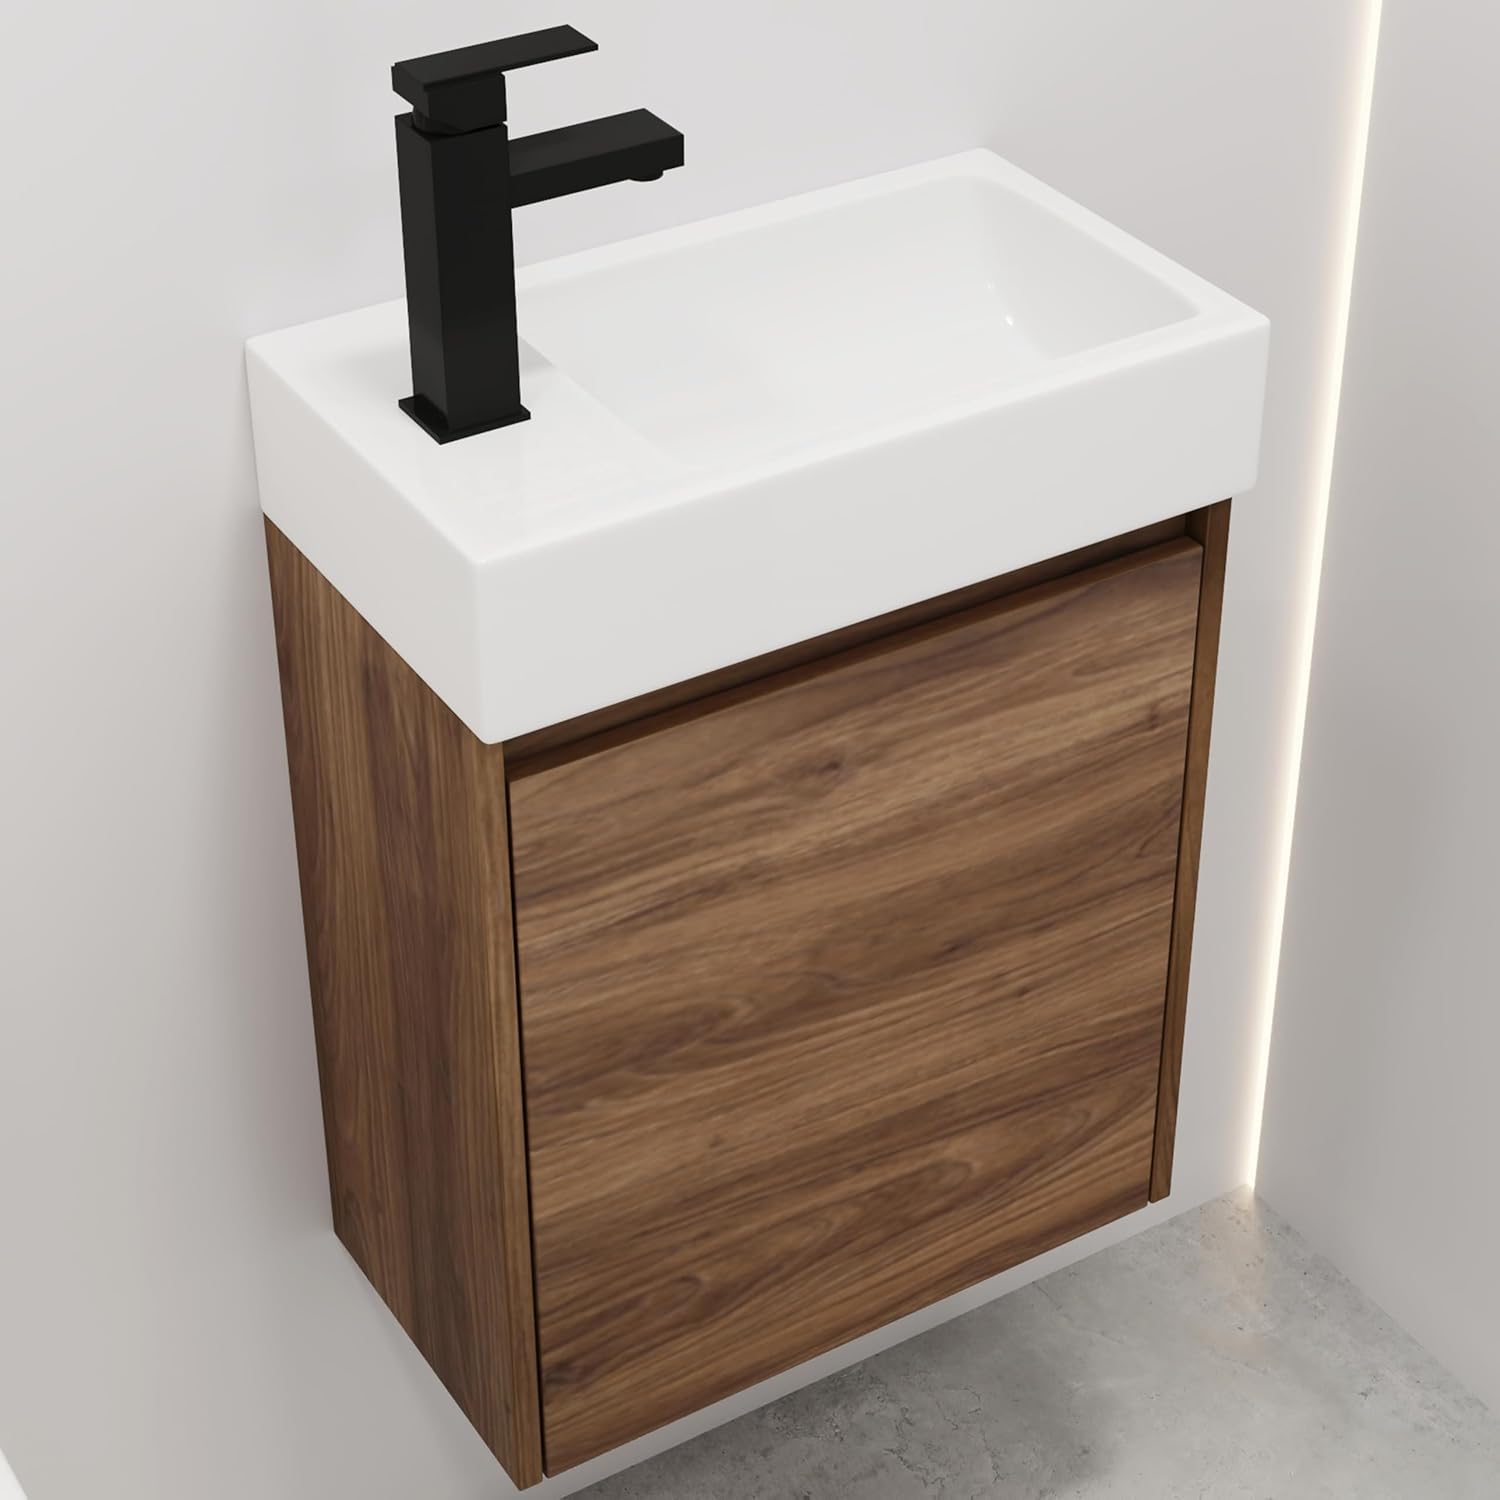
Image 1.1: The Sybrioka 18-Inch Floating Bathroom Vanity with Ceramic Sink Combo, featuring a walnut finish cabinet and white ceramic sink.
2. Safety Information
Observe the following safety precautions during installation and use:
- Always wear appropriate personal protective equipment (PPE) during installation, including safety glasses and gloves.
- Ensure the wall structure is capable of supporting the weight of the vanity and its contents. Consult a professional if unsure.
- Turn off the main water supply before connecting or disconnecting any plumbing.
- Do not overtighten plumbing connections to avoid damage.
- Keep small parts away from children to prevent choking hazards.
- Avoid using harsh chemicals or abrasive cleaners on the vanity surfaces.
3. Package Contents
Verify that all components are present and undamaged before beginning installation. If any parts are missing or damaged, contact customer support.
- Floating Vanity Cabinet (Walnut, Engineered Wood)
- Ceramic Sink
- Mounting Hardware (screws, anchors, brackets)
- Instruction Manual
Note: Faucet, drain assembly, and P-trap are typically sold separately and are not included.
4. Specifications
| Feature | Detail |
|---|---|
| Brand | Sybrioka |
| Model | Floating Bathroom Vanity |
| Color | Walnut |
| Material | Engineered Wood (Cabinet), Ceramic (Sink) |
| Product Dimensions (D x W x H) | 18.11" x 10.06" x 23.6" (460mm x 255mm x 600mm) |
| Installation Type | Wall-Mount |
| Item Weight | 33.2 pounds |
| Hole Count | 1 (for faucet) |
| Drain Type | Pop-Up (compatible) |

Image 4.1: Detailed dimensions of the vanity, showing width (18 1/8" / 460mm), depth (10 1/16" / 255mm), and height (23 5/8" / 600mm).

Image 4.2: Illustration highlighting the use of plywood for the cabinet construction, emphasizing its stability and moisture resistance compared to MDF or granular plate.
5. Setup and Installation
Professional installation is recommended. If performing a DIY installation, ensure you have the necessary tools and expertise.
5.1 Tools Required (Not Included)
- Drill
- Level
- Measuring Tape
- Pencil
- Stud Finder
- Adjustable Wrench
- Screwdrivers
- Caulk Gun and Silicone Sealant
5.2 Installation Steps
- Prepare the Wall: Locate wall studs using a stud finder. Mark the desired height for the top of the vanity, ensuring it is level. Consider plumbing rough-ins.
- Install Mounting Brackets: Securely attach the provided wall mounting brackets to the wall studs at the marked height. Use appropriate anchors if studs are not available at desired locations, ensuring they can support the vanity's weight.
- Mount the Cabinet: Carefully lift the vanity cabinet and align it with the installed wall brackets. Secure the cabinet to the brackets according to the hardware instructions. Ensure the cabinet is level and firmly attached.
- Install the Sink: Place the ceramic sink onto the top of the vanity cabinet. Apply a bead of silicone sealant along the top edges of the cabinet where the sink will rest to create a watertight seal. Press the sink firmly into place.
- Install Faucet and Drain: Install your chosen faucet and drain assembly into the ceramic sink according to their respective manufacturer's instructions.
- Connect Plumbing: Connect the hot and cold water supply lines to the faucet. Connect the drain assembly to the P-trap and then to the wall drain pipe. Ensure all connections are hand-tightened, then use an adjustable wrench for a final quarter-turn, avoiding overtightening.
- Test for Leaks: Turn on the main water supply slowly and check all connections for leaks. Tighten any leaking connections as necessary.
- Final Sealing: Apply a thin bead of silicone sealant around the perimeter of the sink where it meets the wall to prevent water infiltration.
6. Operating Instructions
The Sybrioka floating vanity is designed for straightforward use.
- Using the Sink: Operate your faucet as per its manufacturer's instructions to control water flow and temperature.
- Accessing Storage: The cabinet features a single door for storage. Open and close the door gently. The silent cache hinges are designed for smooth and quiet operation, prolonging service life.

Image 6.1: Detail of the silent cache hinge, designed for quiet and smooth door operation.
7. Maintenance
Regular cleaning and proper care will help maintain the appearance and functionality of your vanity.
7.1 Ceramic Sink Care
- Clean the ceramic sink regularly with a soft cloth or sponge and mild soap or non-abrasive bathroom cleaner.
- Rinse thoroughly with water after cleaning and wipe dry to prevent water spots.
- Avoid abrasive cleaners, scouring pads, or harsh chemicals (e.g., bleach, acid-based cleaners) as they can damage the ceramic surface.
- Promptly wipe up any spills to prevent staining.
7.2 Cabinet Care
- Wipe the engineered wood cabinet surfaces with a soft, damp cloth. Dry immediately with a clean, soft cloth.
- Avoid prolonged exposure to moisture. Wipe up water splashes immediately.
- Do not use abrasive cleaners, wax-based polishes, or silicone-based sprays, as these can damage the finish.
- For stubborn spots, use a mild, non-abrasive wood cleaner, testing in an inconspicuous area first.

Image 7.1: The premium ceramic sink is designed to be easy to clean and resistant to scratches and stains.
8. Troubleshooting
Refer to the following table for common issues and their solutions.
| Problem | Possible Cause | Solution |
|---|---|---|
| Water Leakage | Loose plumbing connections, improper sealant application. | Check and tighten all plumbing connections. Reapply silicone sealant around the sink if necessary. |
| Cabinet Door Misalignment | Hinge adjustment needed. | Adjust the screws on the hinges to realign the door. Consult hinge manufacturer instructions if available. |
| Slow Drainage | Partial clog in drain or P-trap. | Clear any debris from the pop-up drain. If necessary, disassemble and clean the P-trap. |
| Water Spots on Sink/Cabinet | Hard water residue, not drying surfaces after use. | Wipe surfaces dry after each use. For hard water spots, use a vinegar-based cleaner (diluted) on ceramic, rinse well. Avoid on wood. |
9. Warranty and Support
For warranty information or technical support, please refer to the documentation provided with your purchase or contact Sybrioka customer service directly. Keep your proof of purchase for warranty claims.
Manufacturer: Sybrioka
Model Number: Floating Bathroom Vanity
ASIN: B0F482878S
Ask a question about this manual
Ask about setup, troubleshooting, compatibility, parts, safety, or missing instructions. Manuals+ will review the question and use this page’s manual context to help answer it.