
Sharper Image SI004
Sharper Image Automatic Cat Feeder Wireless Model SI004 User Manual
Model: SI004 | Brand: Sharper Image
Introduction
Thank you for choosing the Sharper Image Automatic Cat Feeder Wireless Model SI004. This device is designed to simplify your pet feeding routine by providing scheduled meals with precise portion control. It supports various food types, including dry, moist, and wet food, and features dual ice packs to maintain freshness. Please read this manual thoroughly to ensure proper setup, operation, and maintenance of your feeder.

Image: The wireless feeder can be placed in various locations around the home, such as a living room, bedroom, or kitchen, offering flexible placement options.
Important Safety Information
- Read all instructions before using the feeder.
- Keep the main unit, especially electronic components, dry. Do not immerse in water.
- This appliance is intended for pet food only. Do not use with human food.
- Supervise pets during initial use to ensure they adapt to the feeder.
- Keep packaging materials away from children and pets.
- The feeder features a paw-safe design that stops rotation if a pet's paw is detected, preventing injury.
- Ensure the feeder is placed on a stable, level surface.

Image: The feeder's auto-reverse safety feature is shown, indicating that the rotating tray will reverse direction if a pet's paw obstructs its movement.
Package Contents
Verify that all items are present in the package:
- Automatic Cat Feeder Unit
- Removable Food Tray (6 compartments)
- 2 x Ice Packs
- USB-C Charging Cable
- User Manual (this document)
Product Overview
The Sharper Image Automatic Cat Feeder consists of a main unit with an LCD screen and control buttons, a removable food tray with six compartments, and slots for two ice packs to keep food fresh.

Image: The main unit of the automatic feeder, showing the digital display, a single exposed food compartment with wet food, and the two ice packs.

Image: A detailed view of the feeder's six compartments, illustrating their capacity for different food types. Each slot can hold 10 FL OZ of dry food or 7 FL OZ of wet food.
Setup
1. Charging the Feeder
Before first use, fully charge the feeder. Connect the provided USB-C cable to the feeder's charging port and to a 5V 1~2A USB power adapter (not included). A full charge takes approximately 4.5 hours and provides up to 40 days of use.

Image: Visual representation of the low battery indicator, the recommended 5V 1~2A charger, the approximate 4.5-hour charging time, and the 40-day battery life on a full charge.
2. Preparing Ice Packs
For wet or moist food, freeze the two included ice packs for at least 6-8 hours. Once frozen, place them into the designated slots beneath the food tray. These ice packs help keep food fresh for over 12 hours.

Image: A cutaway view of the feeder showing the placement of the two ice packs and their effectiveness in preserving food freshness for extended periods.
3. Assembling the Feeder
Place the removable food tray onto the main unit, ensuring it sits securely. Then, align the top lid and press down gently until it clicks into place. Ensure the lid is properly secured to prevent pets from accessing food prematurely.
Operating the Feeder
1. Unlocking the Feeder
To unlock the control panel for programming, press the "Hr" and "Min" buttons simultaneously. The display will activate, indicating it is ready for settings adjustments.

Image: A visual guide demonstrating the simultaneous press of the 'Hr' and 'Min' buttons to unlock the feeder's control panel, a necessary step before programming.
2. Setting Current Time
After unlocking, press the "Hr" button to adjust the hour and the "Min" button to adjust the minute. The time is displayed in 24-hour format.
3. Programming Feeding Schedules
The feeder allows you to program up to 6 meals per day (1 immediate and 5 scheduled). Press the "Set" button to cycle through the meal settings (1-6). For each meal, use the "Hr" and "Min" buttons to set the desired feeding time. The feeder remembers your schedule, eliminating the need for daily resets.
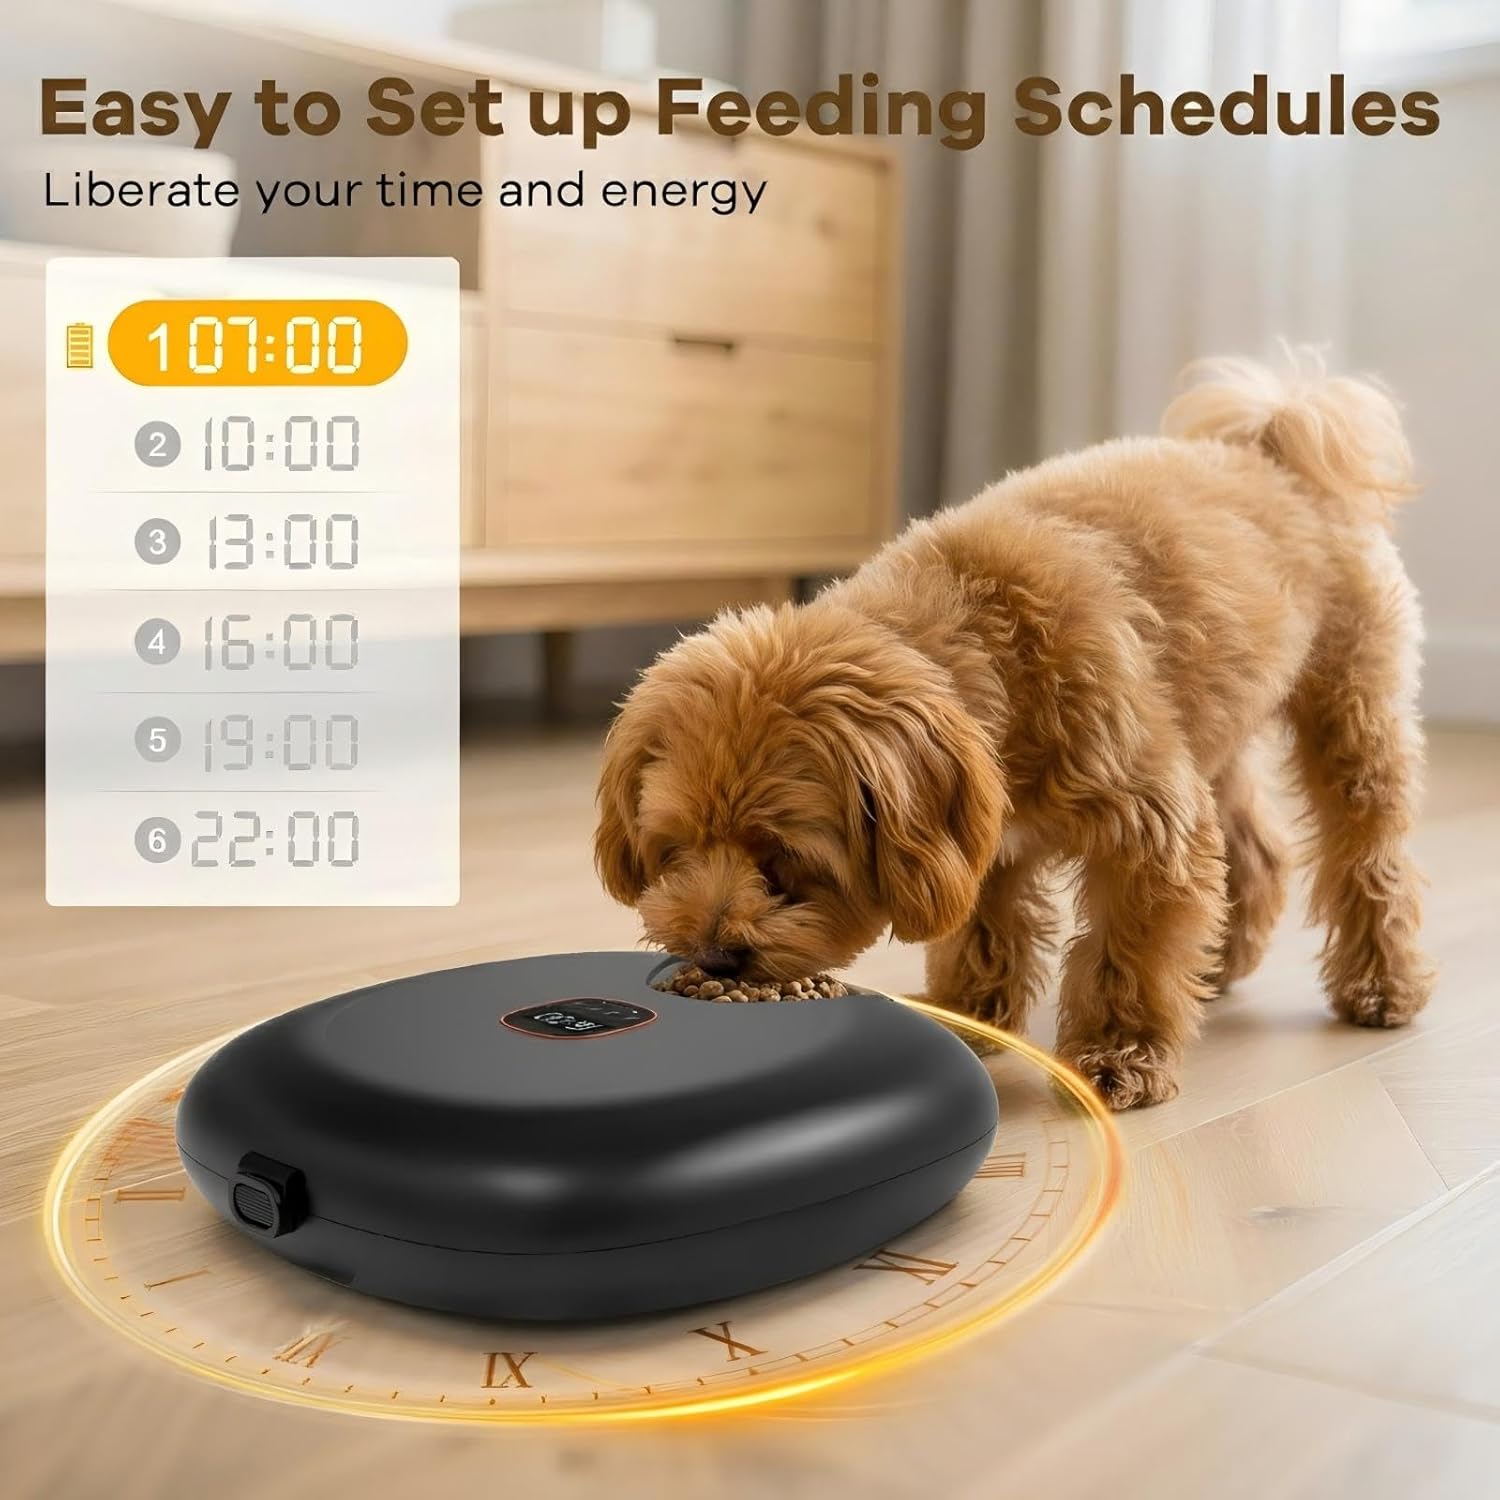
Image: The feeder's display showing a programmed schedule of feeding times, illustrating the ease of setting up meal routines for your pet.
4. Filling Food Compartments
Lift the lid and fill the available compartments with your pet's preferred dry, moist, or wet food, or snacks. Each compartment has a capacity of 10 FL OZ for dry food and 7 FL OZ for wet food. Ensure not to overfill.
5. Manual Feeding
To dispense an immediate meal, press the 'M' button. The feeder will rotate to the next available compartment.
6. Locking the Feeder
To prevent pets from tampering with the settings or accessing food prematurely, ensure the lockable panel is engaged after programming. This is typically done by allowing the screen to time out or by a specific button combination if indicated on the device itself.

Image: The feeder's security features, including a button lock to prevent manipulation and a protective claw design that reverses rotation if resistance is met.
Maintenance
Cleaning
The top lid and food tray are removable for easy cleaning. Hand wash these components with mild soap and water. Ensure they are completely dry before reassembling. Do not wash the main unit with electronic components; wipe it clean with a damp cloth.

Image: The detachable food tray and lid are shown under running water in a sink, demonstrating the ease of cleaning these components.
Storage
When not in use for an extended period, ensure the feeder is clean and dry. Store it in a cool, dry place away from direct sunlight.
Troubleshooting
- Feeder not turning on: Ensure the battery is charged. Connect the USB-C cable and charge for 4.5 hours.
- Meals not dispensing: Check if the feeder is unlocked. Verify that feeding times are correctly programmed. Ensure the food tray is properly seated and not obstructed.
- Food spoiling quickly: Ensure ice packs are frozen and correctly placed in their slots. For wet food, consider shorter intervals between meals or more frequent ice pack changes.
- Pet interfering with feeder: Ensure the lockable panel is engaged. The paw-safe design should prevent injury if a pet attempts to stop rotation.
- Display not responding: Try unlocking the feeder by pressing "Hr" and "Min" simultaneously. If issues persist, ensure the battery is charged.
Specifications
| Model Number | SI004 |
| Dimensions (L x W x H) | 14.5 x 13.6 x 5 inches |
| Item Weight | 4.4 Pounds |
| Material | Plastic |
| Battery | 1 Lithium Ion (included) |
| Battery Life | Up to 40 days (on full charge) |
| Charging Input | USB-C, 5V 1~2A |
| Food Compartments | 6 |
| Dry Food Capacity per Slot | 10 FL OZ |
| Wet Food Capacity per Slot | 7 FL OZ |
Warranty and Support
Warranty Information
This Sharper Image product is covered by a one-year replacement warranty and a one-month refund policy from the date of purchase. This warranty covers manufacturing defects and malfunctions under normal use. It does not cover damage caused by misuse, accidents, or unauthorized modifications.
Customer Support
For technical assistance, warranty claims, or any questions regarding your Sharper Image Automatic Cat Feeder, please contact our customer support team. Refer to the product packaging or the official Sharper Image website for the most current contact information.
Ask a question about this manual
Ask about setup, troubleshooting, compatibility, parts, safety, or missing instructions. Manuals+ will review the question and use this page’s manual context to help answer it.