1. Introduction
Thank you for choosing the YPMart Smart Sweeping Robot. This innovative 3-in-1 appliance is designed to simplify your home cleaning routine by combining vacuuming, sweeping, and mopping functionalities. Its compact size allows it to easily navigate various furniture crevices, ensuring thorough cleaning of hard-to-reach areas. This manual provides essential information for the safe and efficient operation, maintenance, and troubleshooting of your new sweeping robot.

Figure 1.1: The YPMart Smart Sweeping Robot showcasing its intelligent cleaning capabilities, including twice suction, large area filter screen, lithium battery power supply, and 45dB low noise operation.
2. Safety Information
Please read all safety instructions carefully before using the appliance. Keep this manual for future reference.
- Do not immerse the robot or its charging cable in water or other liquids.
- This appliance is for indoor use only. Do not use outdoors or on wet surfaces.
- Keep hair, loose clothing, fingers, and all parts of the body away from openings and moving parts.
- Do not operate the robot in areas with open flames or explosive/flammable materials.
- Ensure the charging voltage matches the specifications. Use only the provided USB charging cable.
- Do not allow children to play with the robot. Supervise children and pets when the robot is operating.
- Turn off the robot and unplug it before cleaning or performing maintenance.
- Do not use the robot to pick up large debris, sharp objects, or liquids.
3. Package Contents
Verify that all items are present in the package:
- Sweeping Robot Host (1 unit)
- USB Charging Cable (1 unit)
- Mop Cloth (1 unit)
4. Product Overview
Familiarize yourself with the main components of your sweeping robot.

Figure 4.1: Top view of the YPMart Smart Sweeping Robot, showing the central power button and side brushes.
- Power Button: Located on the top surface, used to turn the robot on/off and start/pause cleaning.
- Side Brushes: Two rotating brushes on the sides that sweep debris into the suction path.
- Charging Port: Located on the side for connecting the USB charging cable.
- Dust Box: Internal compartment for collecting dust and debris.
- Mop Cloth Attachment: Area on the bottom where the mop cloth is attached for wet cleaning.
5. Setup
5.1 Initial Charging
Before first use, fully charge the robot. Connect the provided USB charging cable to the robot's charging port and plug the other end into a compatible USB power adapter (not included) or a computer USB port.

Figure 5.1: The robot is powered by a 400mAh lithium battery, ensuring sufficient power for cleaning cycles.
The charging indicator light will provide feedback on the charging status. A full charge typically takes several hours.
5.2 Preparing the Cleaning Area
- Remove any large obstacles, loose cables, or fragile items from the floor.
- For mopping, attach the mop cloth to the designated area on the bottom of the robot. Dampen the mop cloth slightly for better results.
6. Operating
6.1 Starting a Cleaning Cycle
- Ensure the robot is fully charged and placed on the floor.
- Press the power button on the top of the robot. The robot will emit a sound and begin its cleaning cycle.
- The robot will automatically navigate and clean the area, combining sweeping, vacuuming, and mopping functions.

Figure 6.1: The robot's surging suction effectively removes dust and garbage from various floor types.
6.2 Pausing/Resuming Cleaning
To pause the cleaning cycle, press the power button once. To resume, press the power button again.
6.3 Ending a Cleaning Cycle
To manually stop the robot, press and hold the power button until it turns off. The robot will also automatically stop once its battery is low or the cleaning cycle is complete.
7. Maintenance
Regular maintenance ensures optimal performance and extends the lifespan of your robot.
7.1 Emptying the Dust Box
It is recommended to empty the dust box after each use or when it appears full.
- Turn off the robot.
- Locate the dust box compartment (usually under a removable top cover).
- Open the dust box and carefully empty its contents into a trash bin.
- Close the dust box securely and reinsert it into the robot.

Figure 7.1: The robot features a large capacity dust box, easily accessible for emptying and cleaning.
7.2 Cleaning the Filter Screen
The filter screen should be cleaned regularly to maintain suction power.
- Remove the dust box.
- Carefully remove the filter screen from the dust box.
- Tap the filter gently to remove loose dust, or use a small brush. Do not wash the filter with water unless specified by the manufacturer.
- Reinsert the clean filter into the dust box.
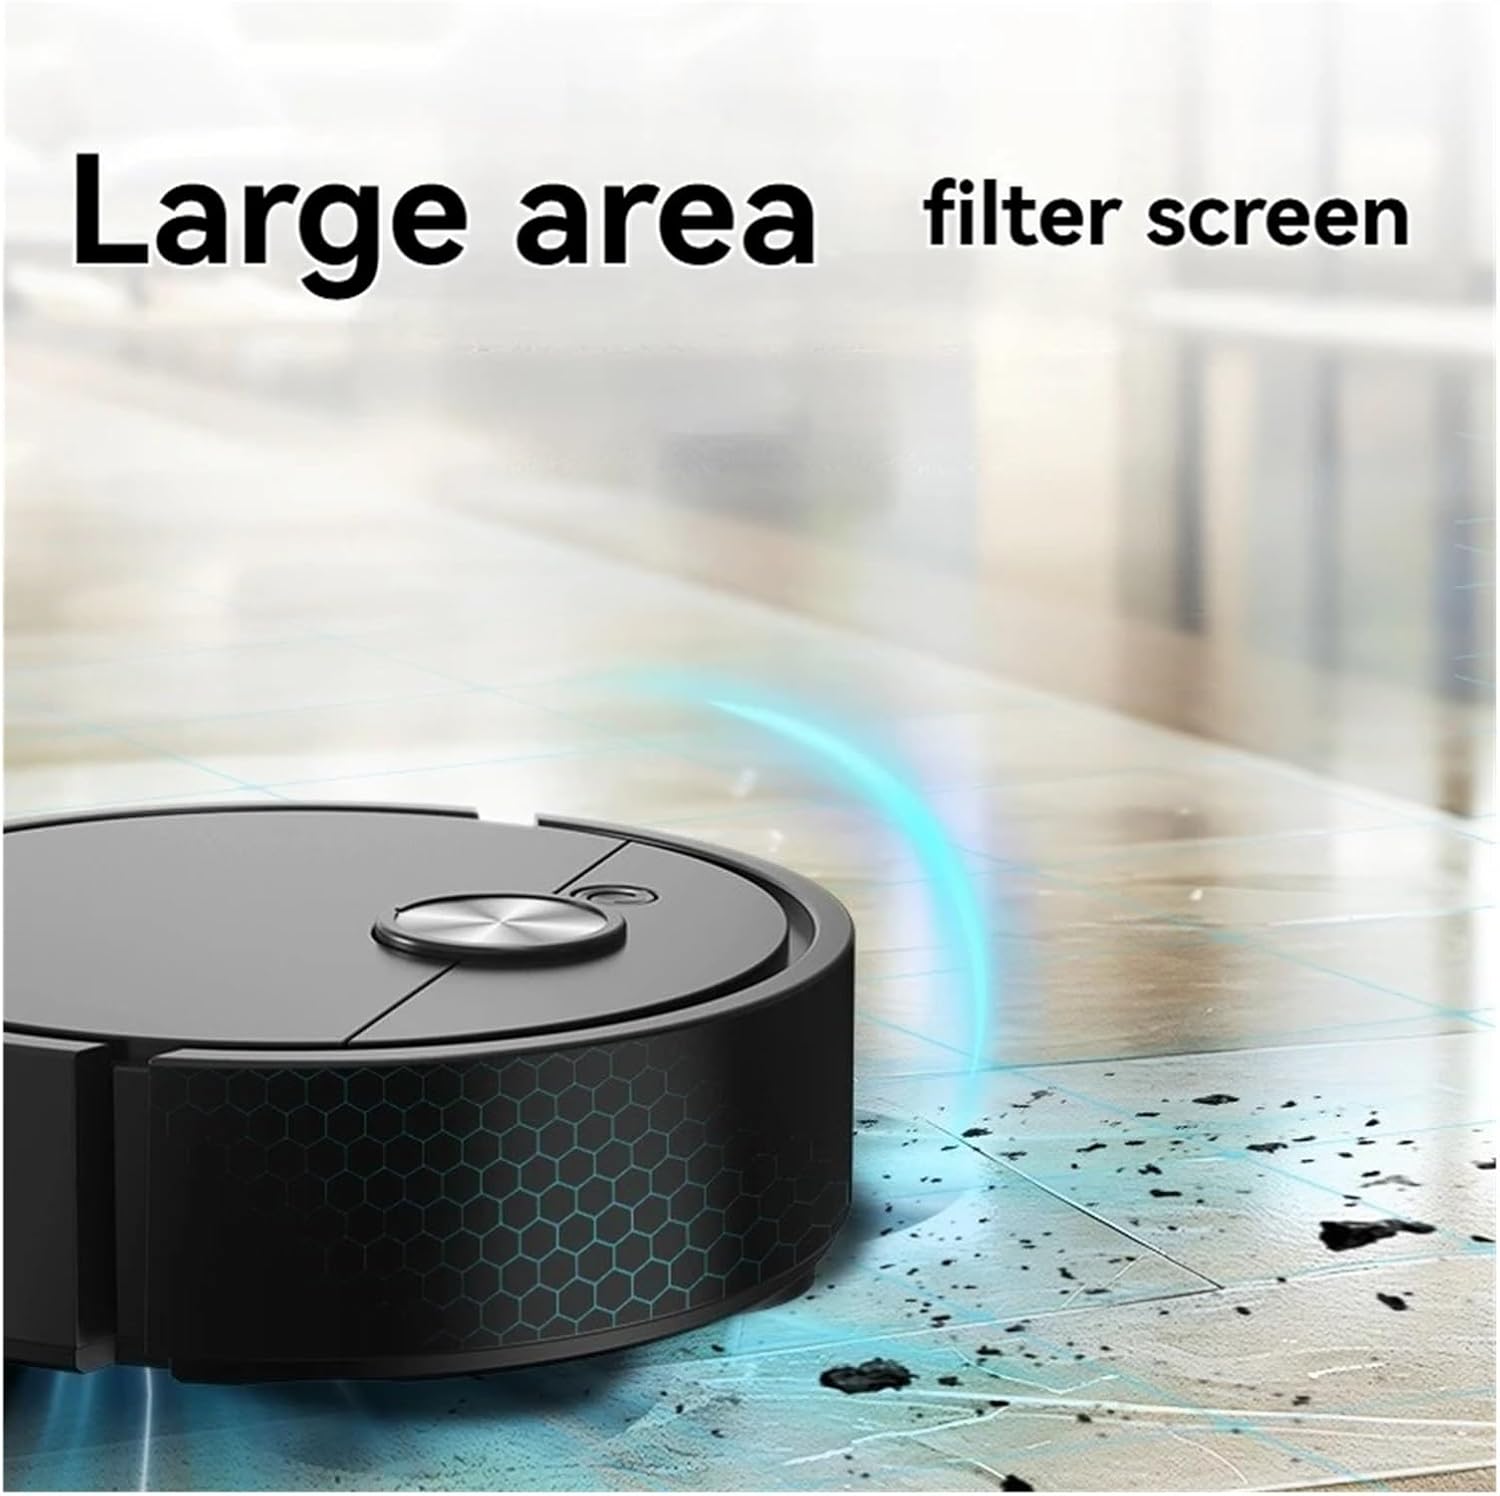
Figure 7.2: The robot is equipped with a large area filter screen for efficient dust capture.
7.3 Cleaning the Mop Cloth
After each mopping session, remove and clean the mop cloth.
- Detach the mop cloth from the robot.
- Rinse the mop cloth under running water until clean.
- Allow the mop cloth to air dry completely before reattaching or storing.
7.4 Cleaning Side Brushes and Wheels
Periodically check side brushes and wheels for tangled hair or debris. Use scissors to cut away any tangled hair and a cloth to wipe down the components.
8. Troubleshooting
If you encounter issues with your robot, refer to the following common problems and solutions:
| Problem | Possible Cause | Solution |
|---|---|---|
| Robot does not turn on. | Low battery; Power button not pressed correctly. | Charge the robot fully; Press and hold the power button for a few seconds. |
| Robot stops unexpectedly. | Low battery; Obstruction; Dust box full. | Recharge the robot; Remove any obstructions; Empty the dust box. |
| Poor cleaning performance. | Dust box full; Filter clogged; Side brushes tangled. | Empty dust box; Clean or replace filter; Clean side brushes. |
| Robot gets stuck frequently. | Too many obstacles; Uneven surfaces. | Clear the cleaning area of clutter; Ensure the robot is used on suitable surfaces. |
9. Specifications
Technical details of the YPMart Smart Sweeping Robot:
- Model: XFX015
- Operating Voltage: 3.7 V
- Product Size: 16 x 16 x 6 cm (Length x Width x Height)
- Weight: 270 G (0.27 kg)
- Battery Capacity: 400mAh Lithium Battery
- Charging Method: USB Charging
- Functions: Vacuuming, Sweeping, Mopping (3-in-1)
- Noise Level: Approximately 45dB (low noise)
10. Warranty and Support
10.1 Warranty Information
This product is covered by a standard manufacturer's warranty. Please refer to your purchase documentation or contact your retailer for specific warranty terms and conditions. The warranty typically covers defects in materials and workmanship under normal use.
10.2 Customer Support
For technical assistance, troubleshooting beyond this manual, or warranty claims, please contact YPMart customer support through the retailer where you purchased the product. Have your model number (XFX015) and purchase receipt ready when contacting support.